

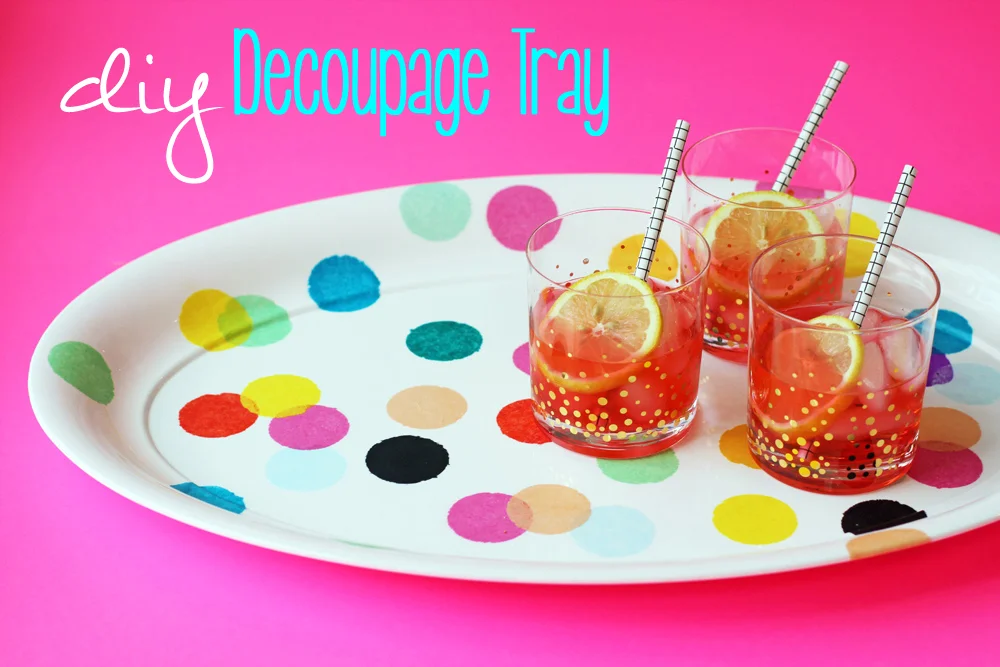
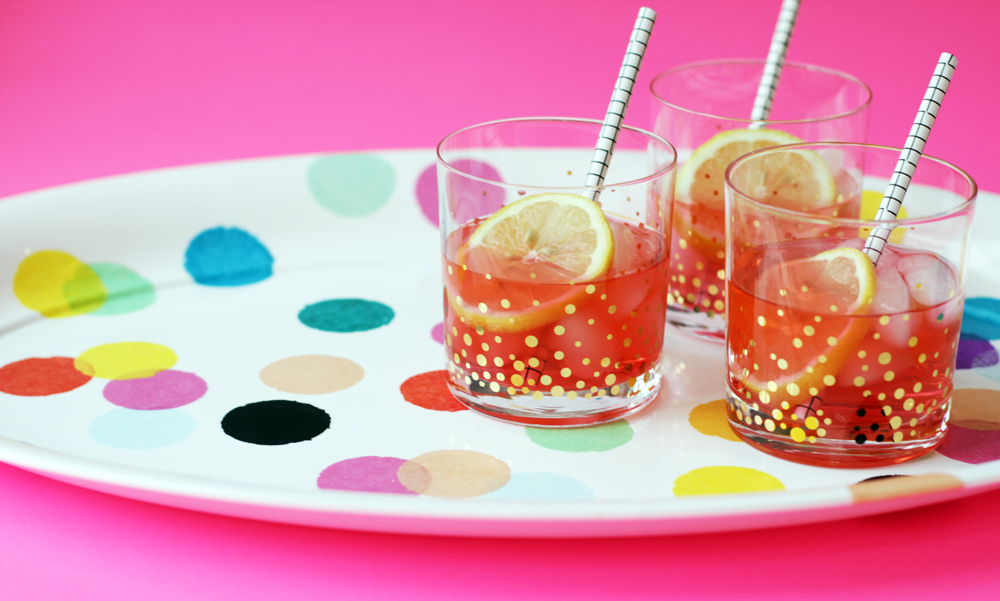
DIY Decoupage Circle Tray
It's January 3rd, 2016 and I'm reading 'The Life-Changing Magic of Not Giving a F*ck' by Sarah Knight. I think the title is self explanatory, but in case you're still hung over from New Years and you're just riding into 2016 it's about how to stop spending time you don't have with people you don't like, doing things you don't want to do. I knowwwwww. Right!? In case you're afraid of curse words, but you still want to rid yourself of unwanted obligations, shame, and guilt you can still make my super-duper, happy, polka dot no f*cks given DIY tray! Scroll down for the tutorial creative people!


DIY Decoupage Circle Tray
What you need
Plastic or Wood Serving Tray
Martha Stewart Decoupage glue
Tissue Paper (Different Colors)
Martha Stewart Circle punch or Scissors
Paint Brush
Directions
1. Use your circle punch or scissors to cut circles out of different colored tissue paper.
2. Brush a thin layer of decoupage glue onto top of tray in area you want to place a circle.
2. Place first circle down and very gently take your brush and paint decoupage over the circle. Brush in one motion so it doesn't pull off. If your circle rips, just take it off and place a new one down. The tissue paper is very thin, so work quickly and carefully. You only need a couple brush strokes to cover the circle. You could also use paper or fabric.
3. Continue with the rest of the circles and let dry. Once everything is dry you can apply a thin coat of decoupage over the entire tray so it looks consistent.