

Checkerboard Lazy Susan
This is one of my favorite projects we have ever done. I just think it's so beautiful. I love Lazy Susans and this one doubles as a Checker Board. I lalalalove it. Scroll down for the tutorial.
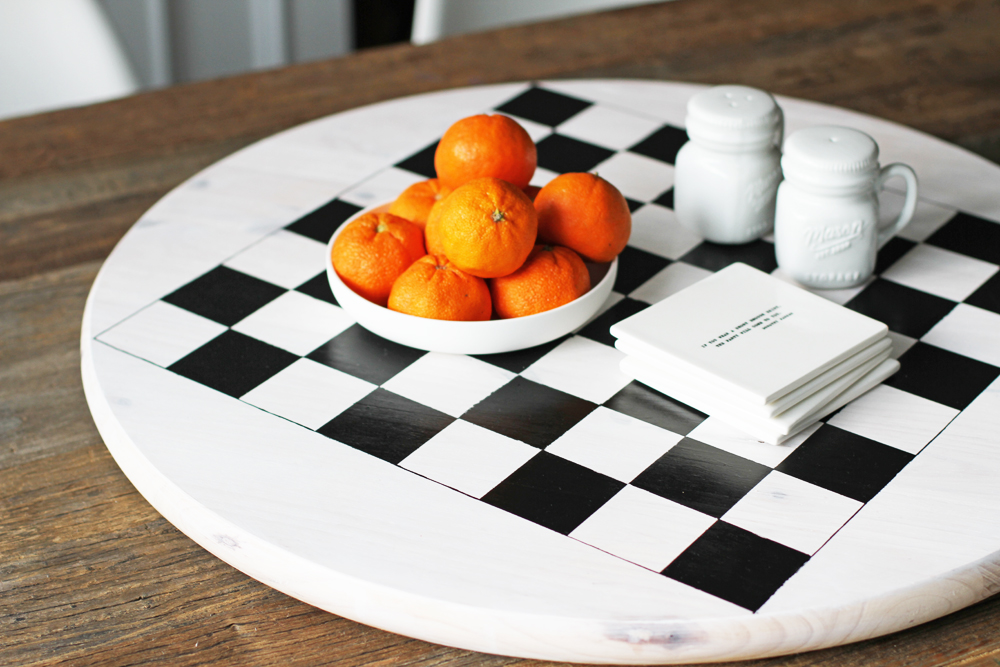

DIY Checkerboard Lazy Susan
What you need
24" Wood Round
Lazy Susan Hardware (at any Home improvement store)
(4) 1/4" - 1/2" Screws
Screw Driver
Hot Glue
Martha Stewart Wood Stain
Black and White Wood Paint
UV Clear Spray paint
Ruler and Pencil
Tape
Felt
Instructions
1. Stain your wood round and let dry. I used the new Martha Stewart white wood stain. Her wood stains come in a squeeze bottle now so there is no mess. (Martha = Happiness)
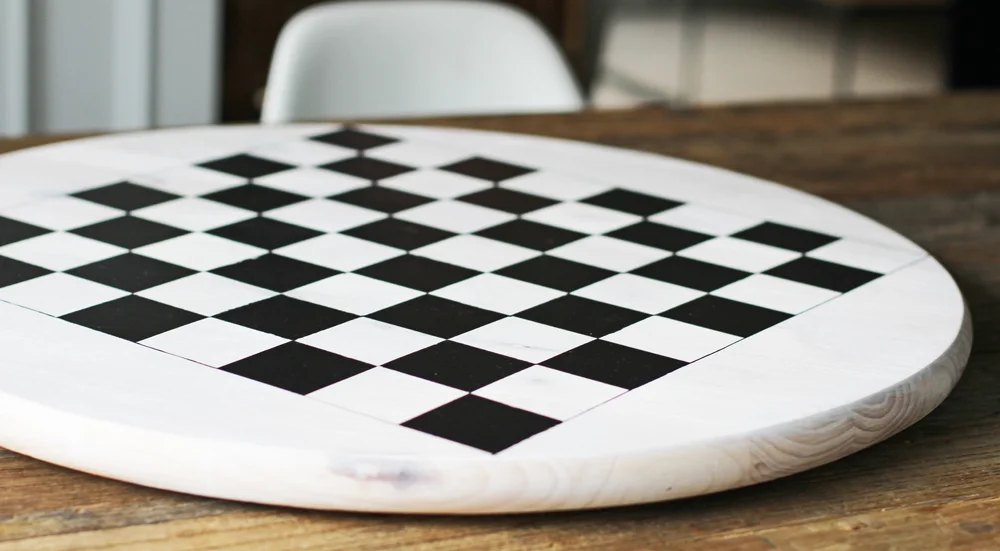
2. Now carefully measure your lazy susan to make your checkerboard even. A standard checkerboard is 16"x16" (64 - 2" squares) so 8 squares across and 8 squares down. You will want to carefully mark your board using a ruler and a pencil.
3. Once everything is correct you can paint your squares by placing tape in the opposite squares (see pic). This way you get straight black lines, without having the paint bleed into the next square. Let everything dry then follow up with a UV clear coat so the paint wont ever chip in the future. TIP: A Sharpie can be used to make the line on the outisde of all the squares if you don't want to use a paintbrush.)
3. Next you want to cut a piece of felt to the size of your lazy susan hardware and hot glue it directly to the metal on the bottom of your lazy susan hardware. The felt makes a soft base so when you put your lazy susan on the table it doesn't scratch the surface.
4. Using a screw driver, screw the lazy susan hardware to the center of the back of your wood lazy susan.
Tips: I found that Home Depot only offered two sizes of wood rounds, but my Ace Hardware store had multiple sizes and very nice wood in addition to cheap plywood.