Opens in a new tab

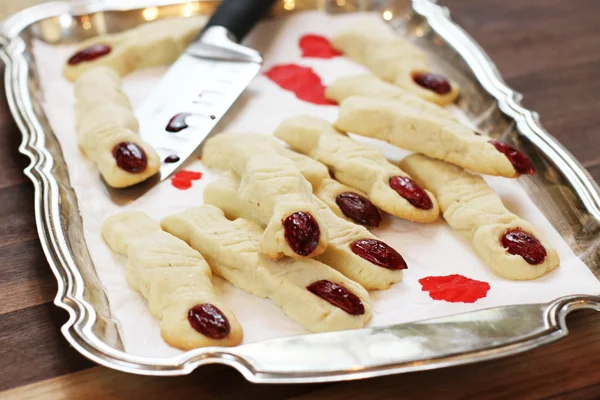
Spooky Witch Finger Cookies

by Jessie Daye

First published: October 21, 2012 | Updated: June 10, 2026

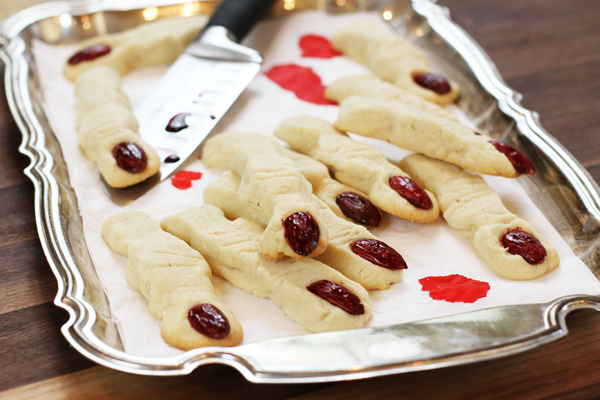
Halloween is one of my favorite Holidays. I go all out. We decorate our entire house then have everyone over for a Halloween party full of yummy food, spooky treats, and a night of Trick or Treating! Well this is one of those spooky desserts that I have always seen, but never actually made ….. until this Halloween. I am not sure who made up the recipe but I saw it on Martha Stewart first so that’s who I am giving credit to : ) I altered her recipe so see below!
witchfingers5(2).jpg
witchfingers2.jpg
witchfingers4.jpg
witchfingers.jpg

Spooky Witch Finger Cookies

Serves 28

Ingredients
Red food coloring or food gel
28 blanched almonds
2 large eggs
1 2/3 cups all-purpose flour
1/2 teaspoon pure vanilla extract
8 tablespoons unsalted butter (1 stick), room temperature
3/4 cup confectioners’ sugar
5 tablespoons granulated sugar
Pinch of salt


Spooky Witch Finger Cookies

Author: Jessie Daye
No ratings yet
Share
Print
Prep 30 minutes
Cook 12 minutes
Total 42 minutes
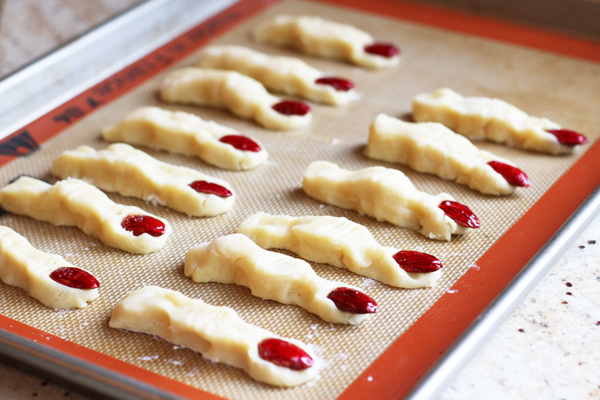
Spooky Halloween cookies shaped like witch fingers with almond nails and red food coloring.
Servings 28 cookies

Ingredients

  • 8 tablespoons unsalted butter 1 stick, room temperature
  • ¾ cup confectioners' sugar
  • 5 tablespoons granulated sugar
  • 2 large eggs
  • ½ teaspoon pure vanilla extract
  • 1 ⅔ cups all-purpose flour
  • 1 pinch salt
  • 28 blanched almonds for nails
  • red food coloring or food gel

Method

  1. Preheat oven to 350 degrees. Line two baking sheets with Silpats or parchment paper. Set aside.
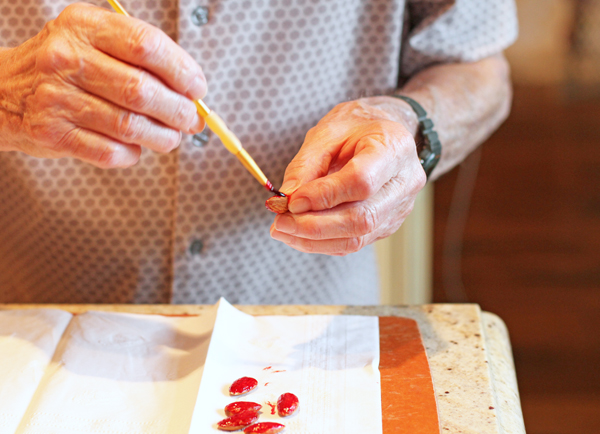
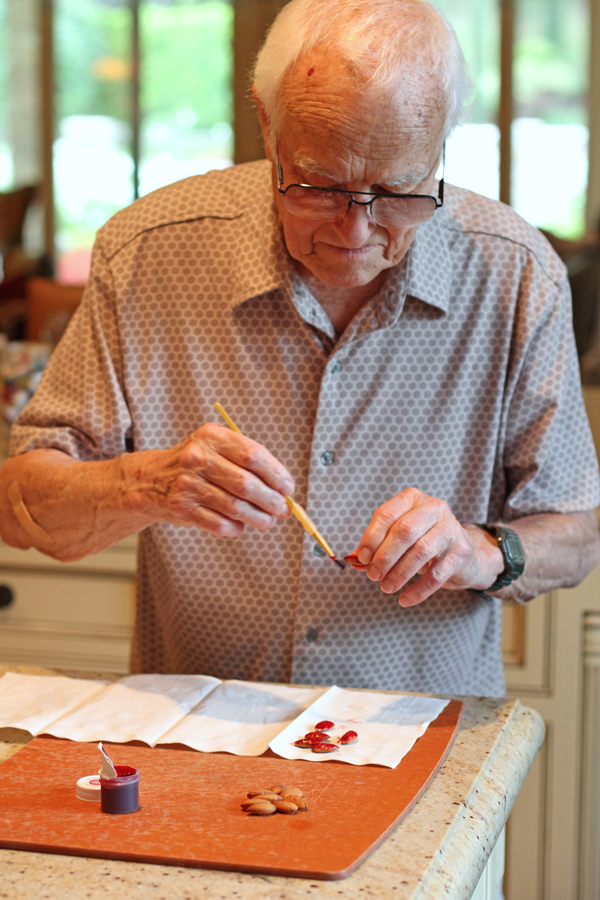
  2. Using a small paintbrush, color side of each almond with your red food coloring gel. Set aside to dry. (The gel will never completely dry)
  3. Whisk together eggs and vanilla. Set aside.
  4. In the bowl of an electric mixer fitted with the paddle attachment, combine butter, confectioners' sugar, granulated sugar, and salt. Beat on medium speed until well combined. Add egg and vanilla mixture, and beat until smooth, about 2 minutes. Add the flour, and mix on low speed just until incorporated. Wrap the dough in plastic wrap and chill until firm for 30 minutes.
  5. Divide the dough in half and work with one piece at a time, keeping remaining dough covered with plastic wrap and chilled in the fridge. Divide the first half into 14 pieces. On a lightly floured surface, roll each piece back and forth with your palms into finger shapes. They should be about 4 inches long. Start pinching the dough to form knuckles. It's best to look at your own finger for reference. Score each knuckle lightly with the back of a small knife to make the creases in the finger.
  6. Transfer your fingers to the prepared baking sheets and position almond nails. You need to push the almonds down into the dough so they stick. (Leave the red side up) Bake until lightly browned on the bottoms. (About 12 minutes) Cool completely and Enjoy!

Notes

Store in refrigerator. Recipe adapted from Martha Stewart.

Tried this recipe?

Let us know how it was!

Leave the first comment

Recipe Rating


This post may contain affiliate links, please see our privacy policy for details.

Hi, I'm Jessie. 

I’m a Los Angeles mama, home renovator, and lifelong creative, sharing the things that make everyday life a little more beautiful. I believe food is one of the best ways to bring people together, which is why I love cooking: it turns an ordinary Tuesday into something worth remembering. From recipes I make on repeat to DIY projects, home design, and a little bit of real life in between — welcome to my corner of the internet. I’m so glad you’re here.

More about Jessie

Let’s be friends!

Be the first to receive exclusive content, hear about upcoming collaborations, and special events!

* indicates required

Intuit Mailchimp