Opens in a new tab

How to make Quick Crunchy Homemade Bread in a Dutch Oven

by Jessie Daye

First published: April 20, 2021 | Updated: June 22, 2026
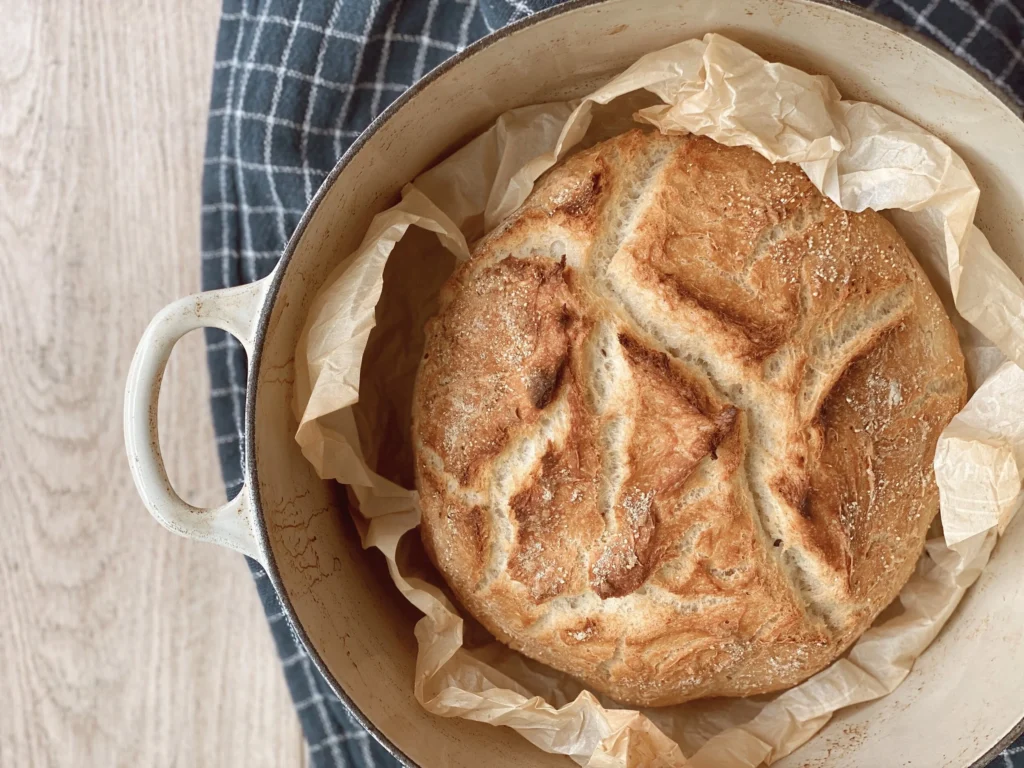
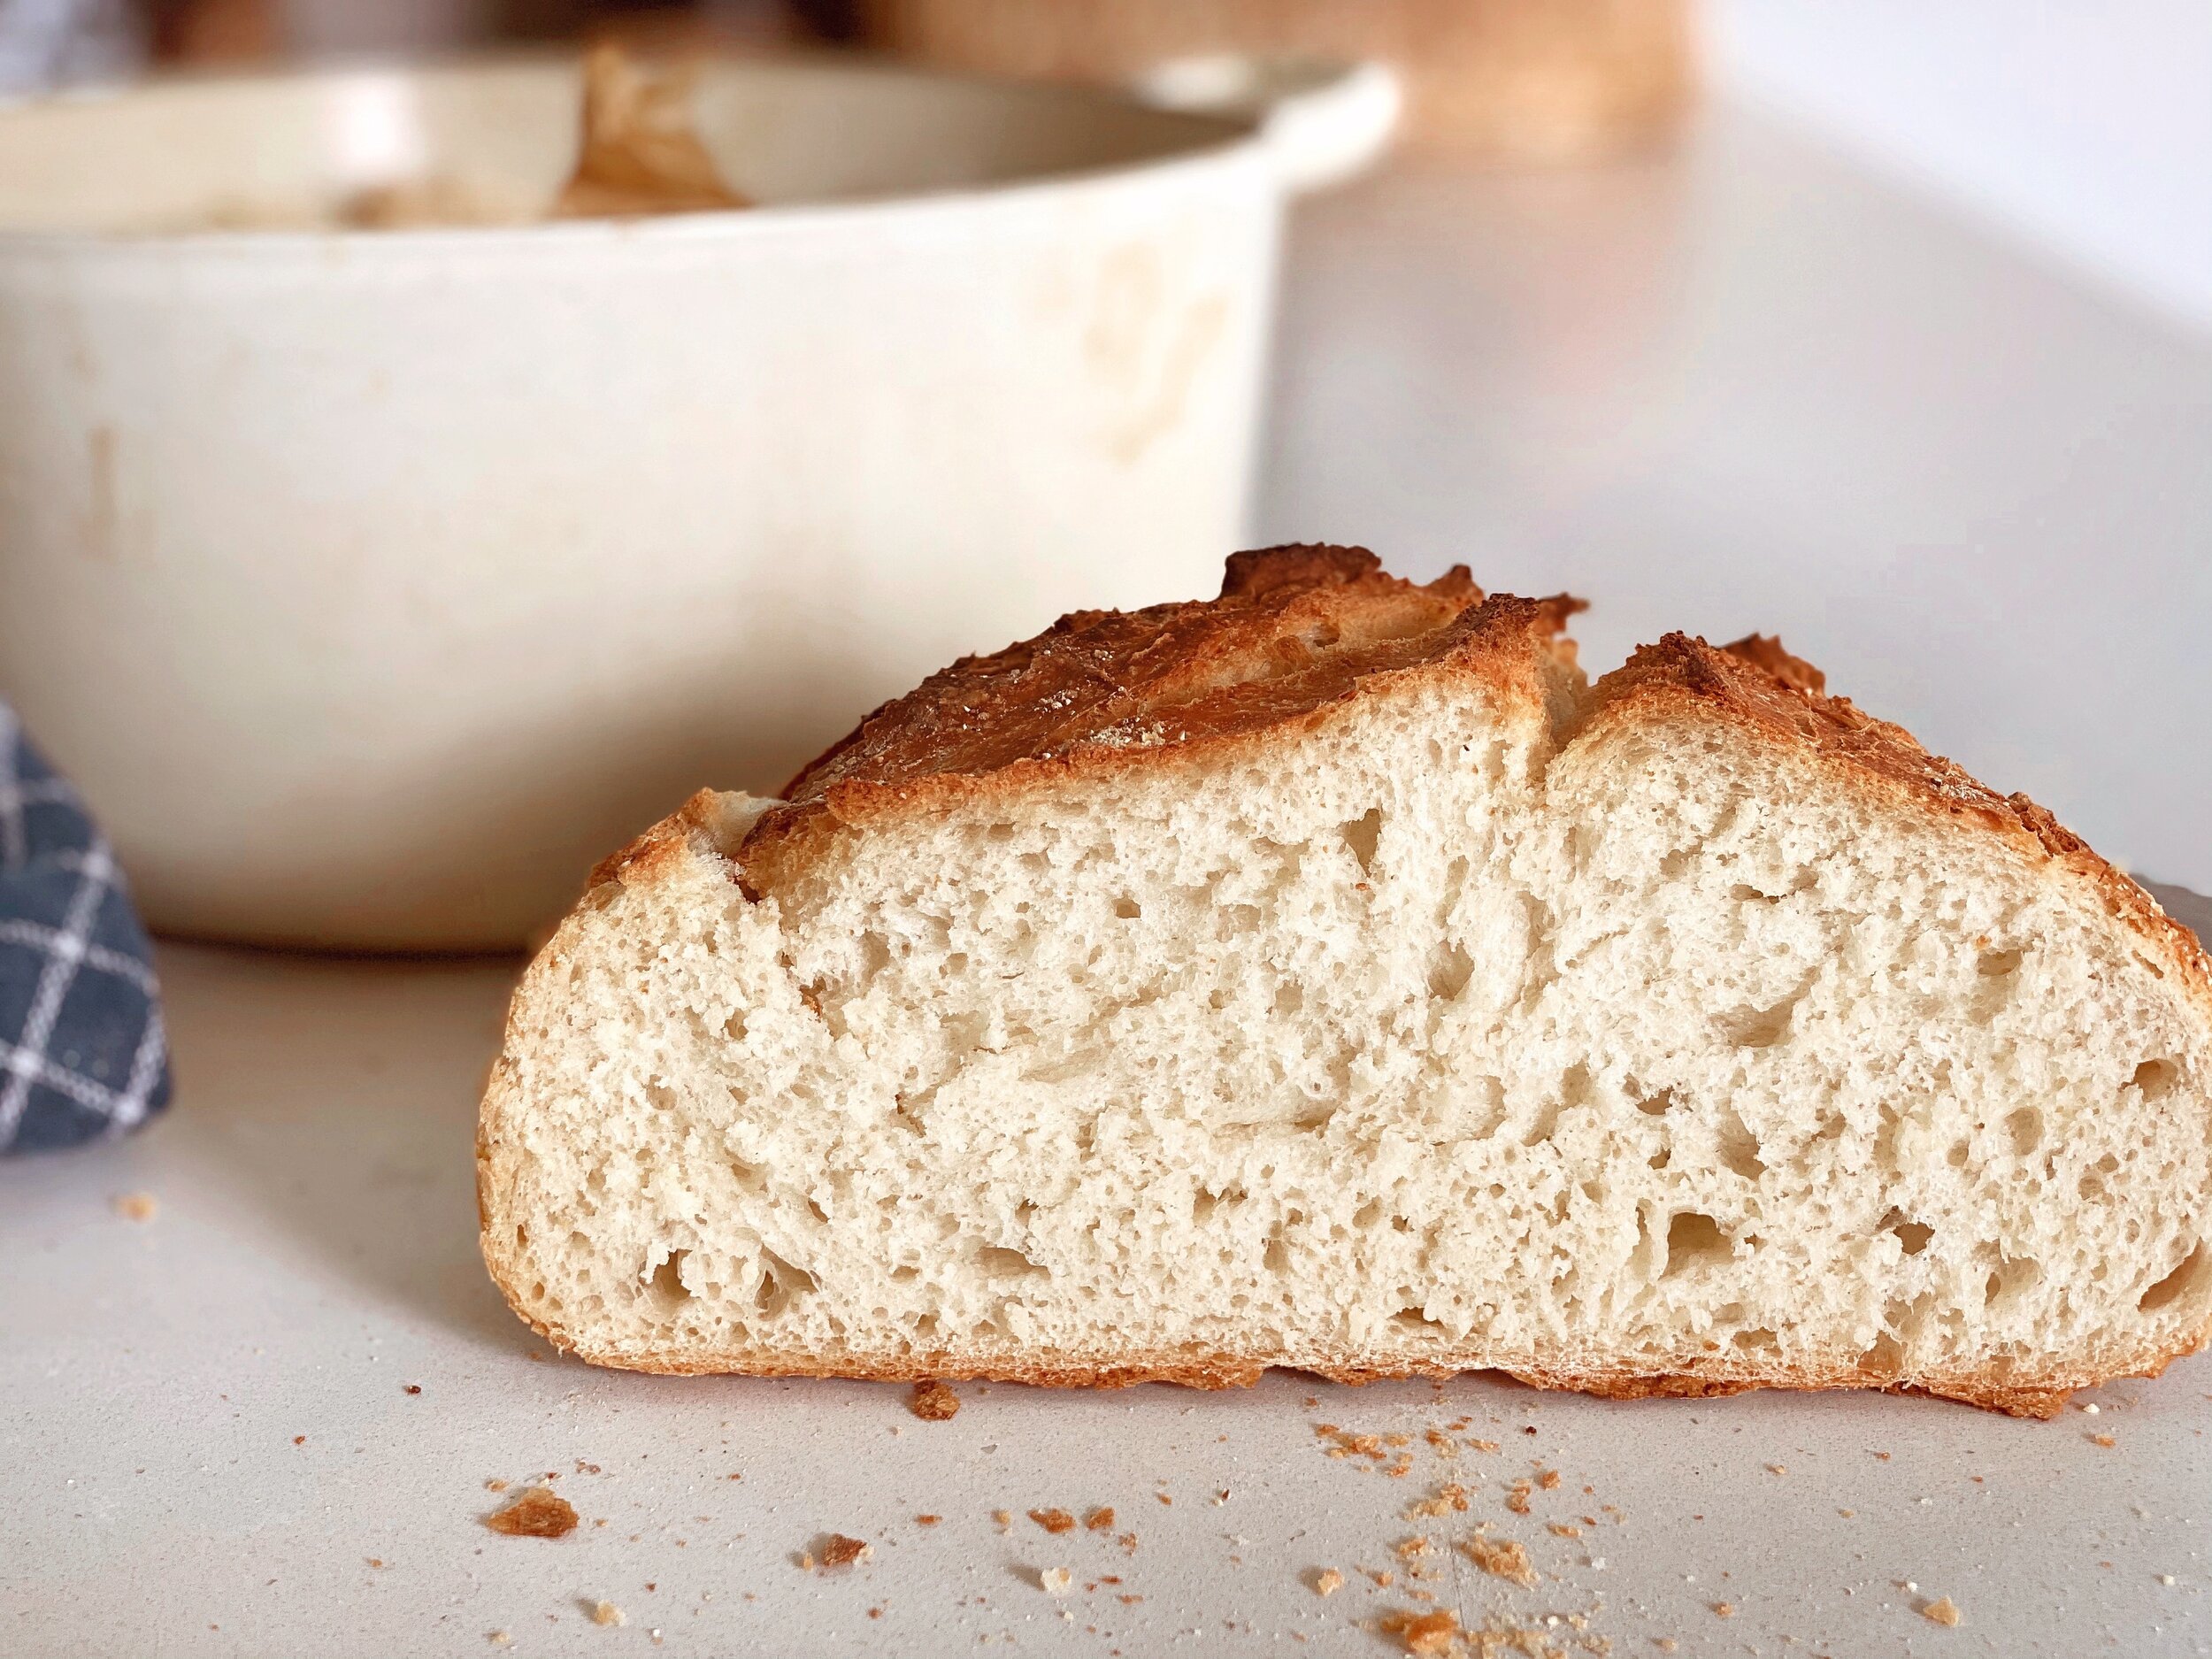
QuickCrunchyBread-JessieDaye1.JPG
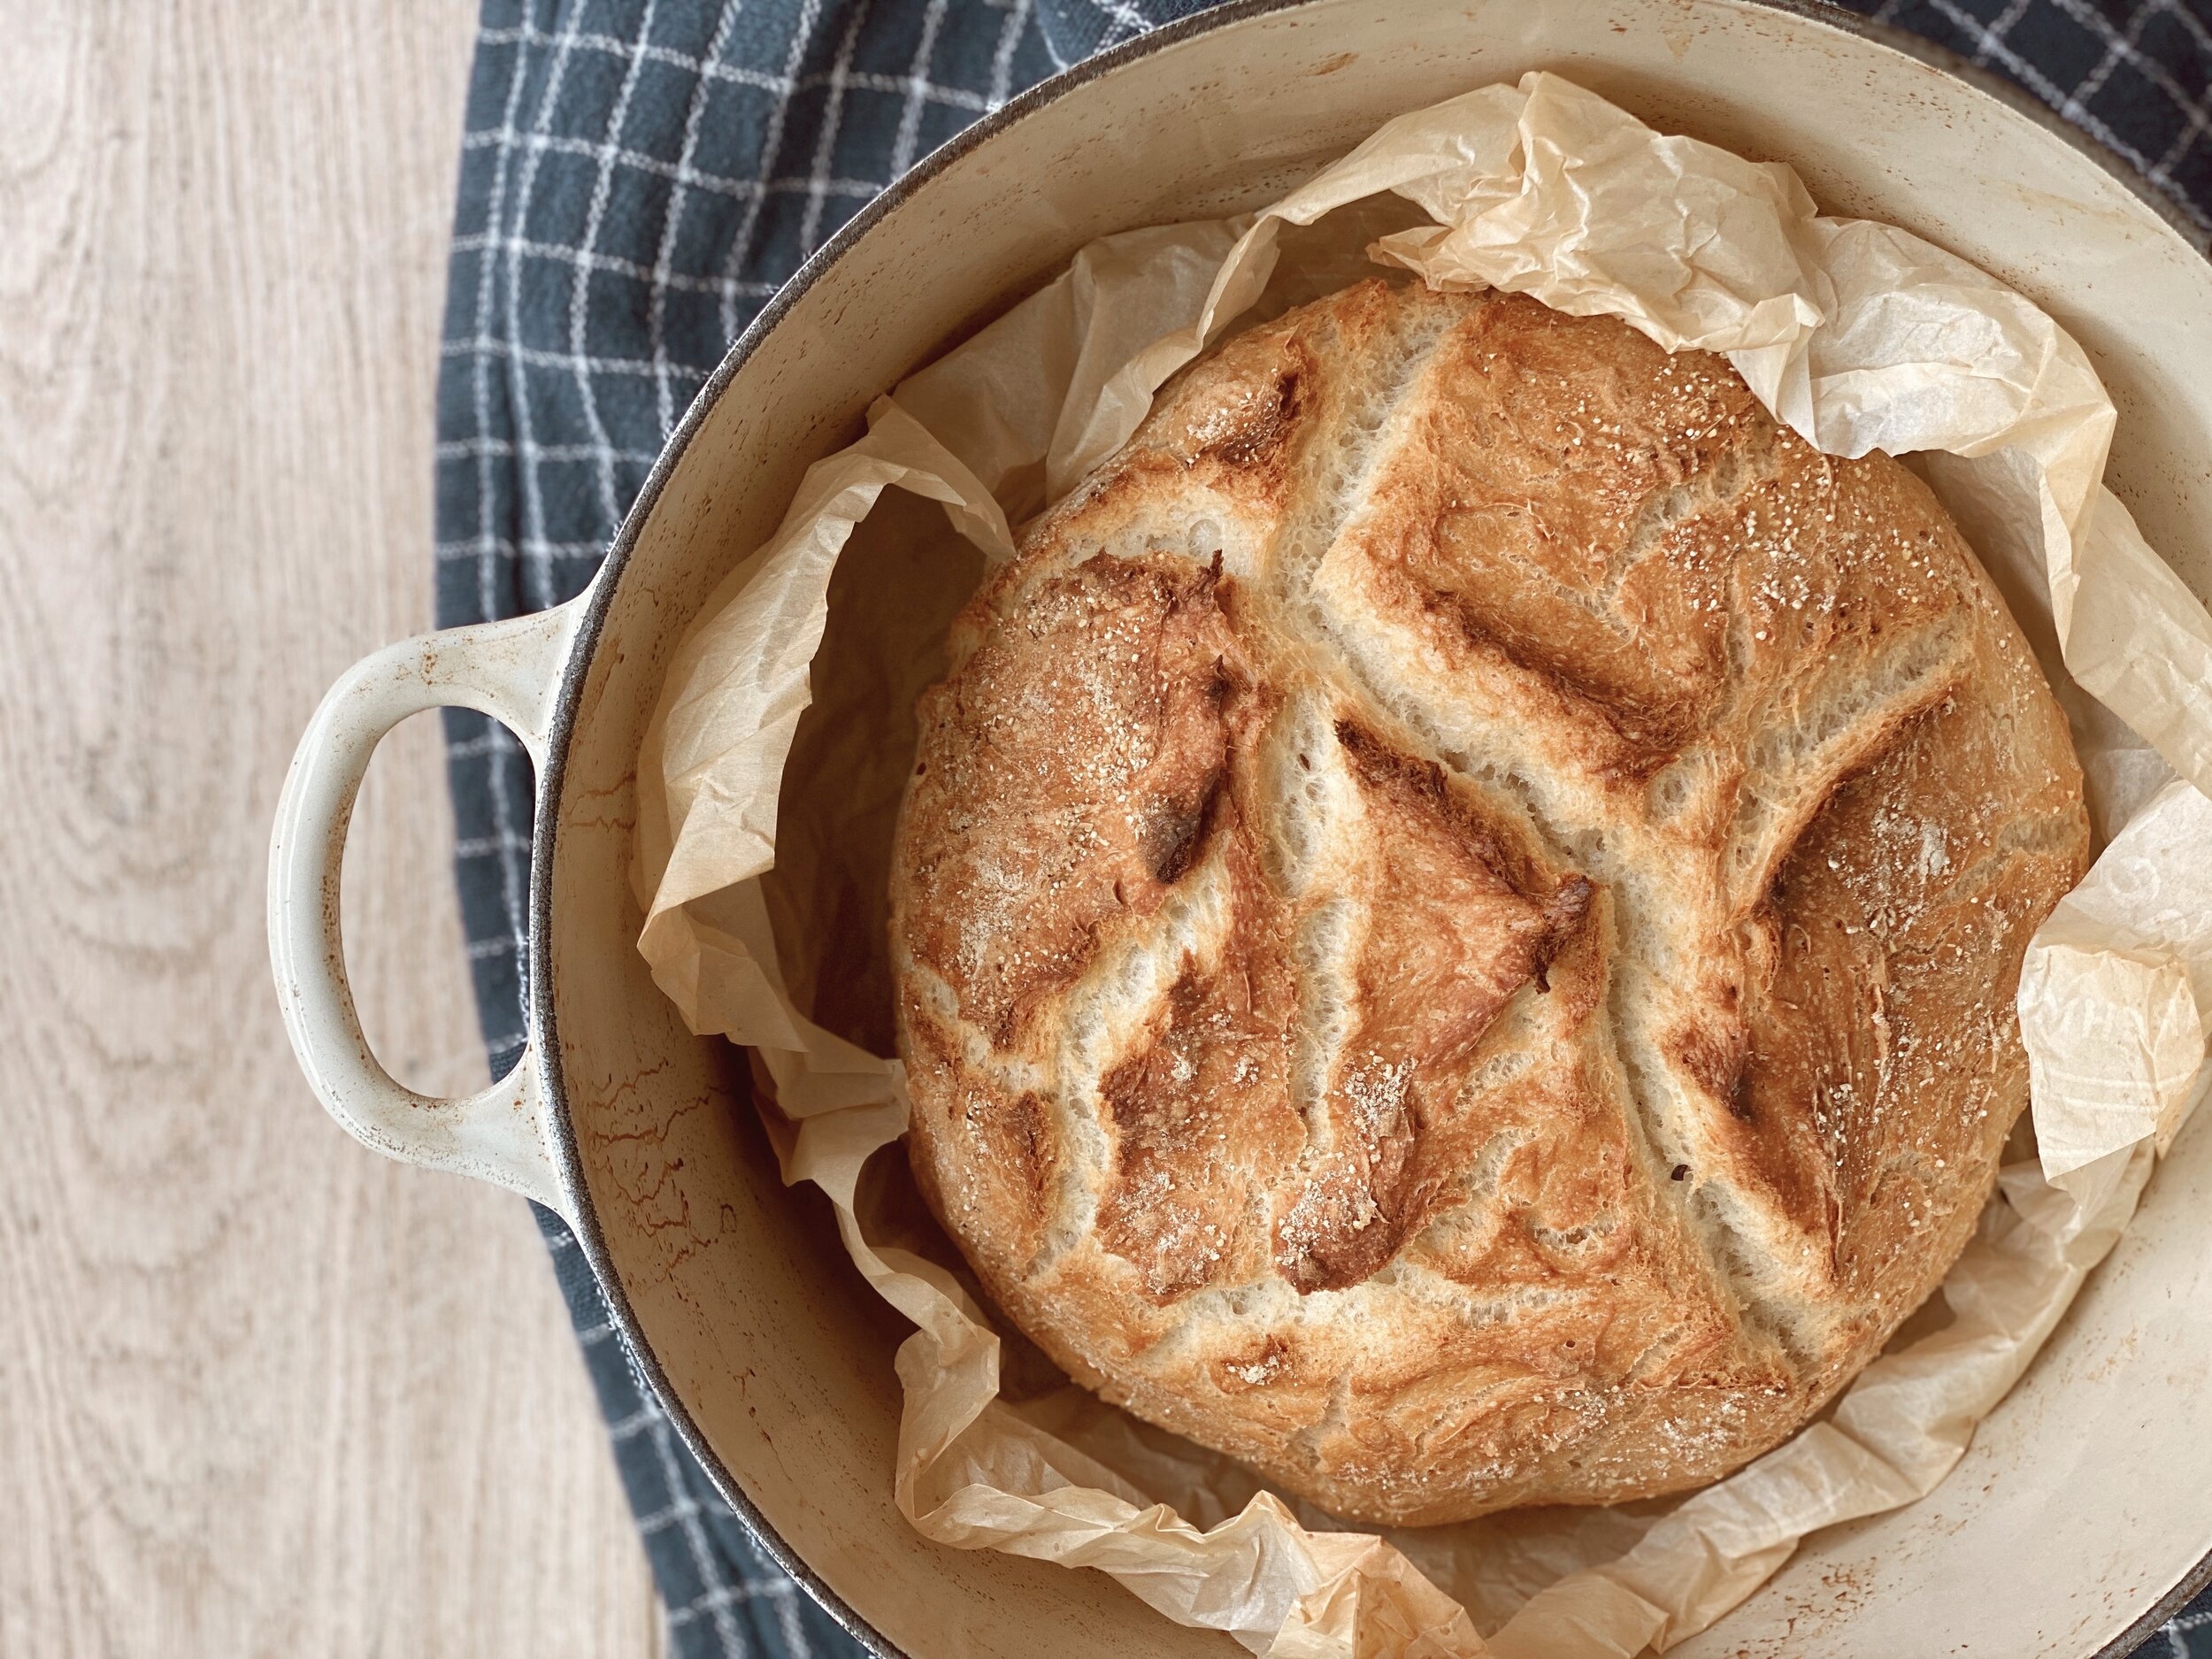
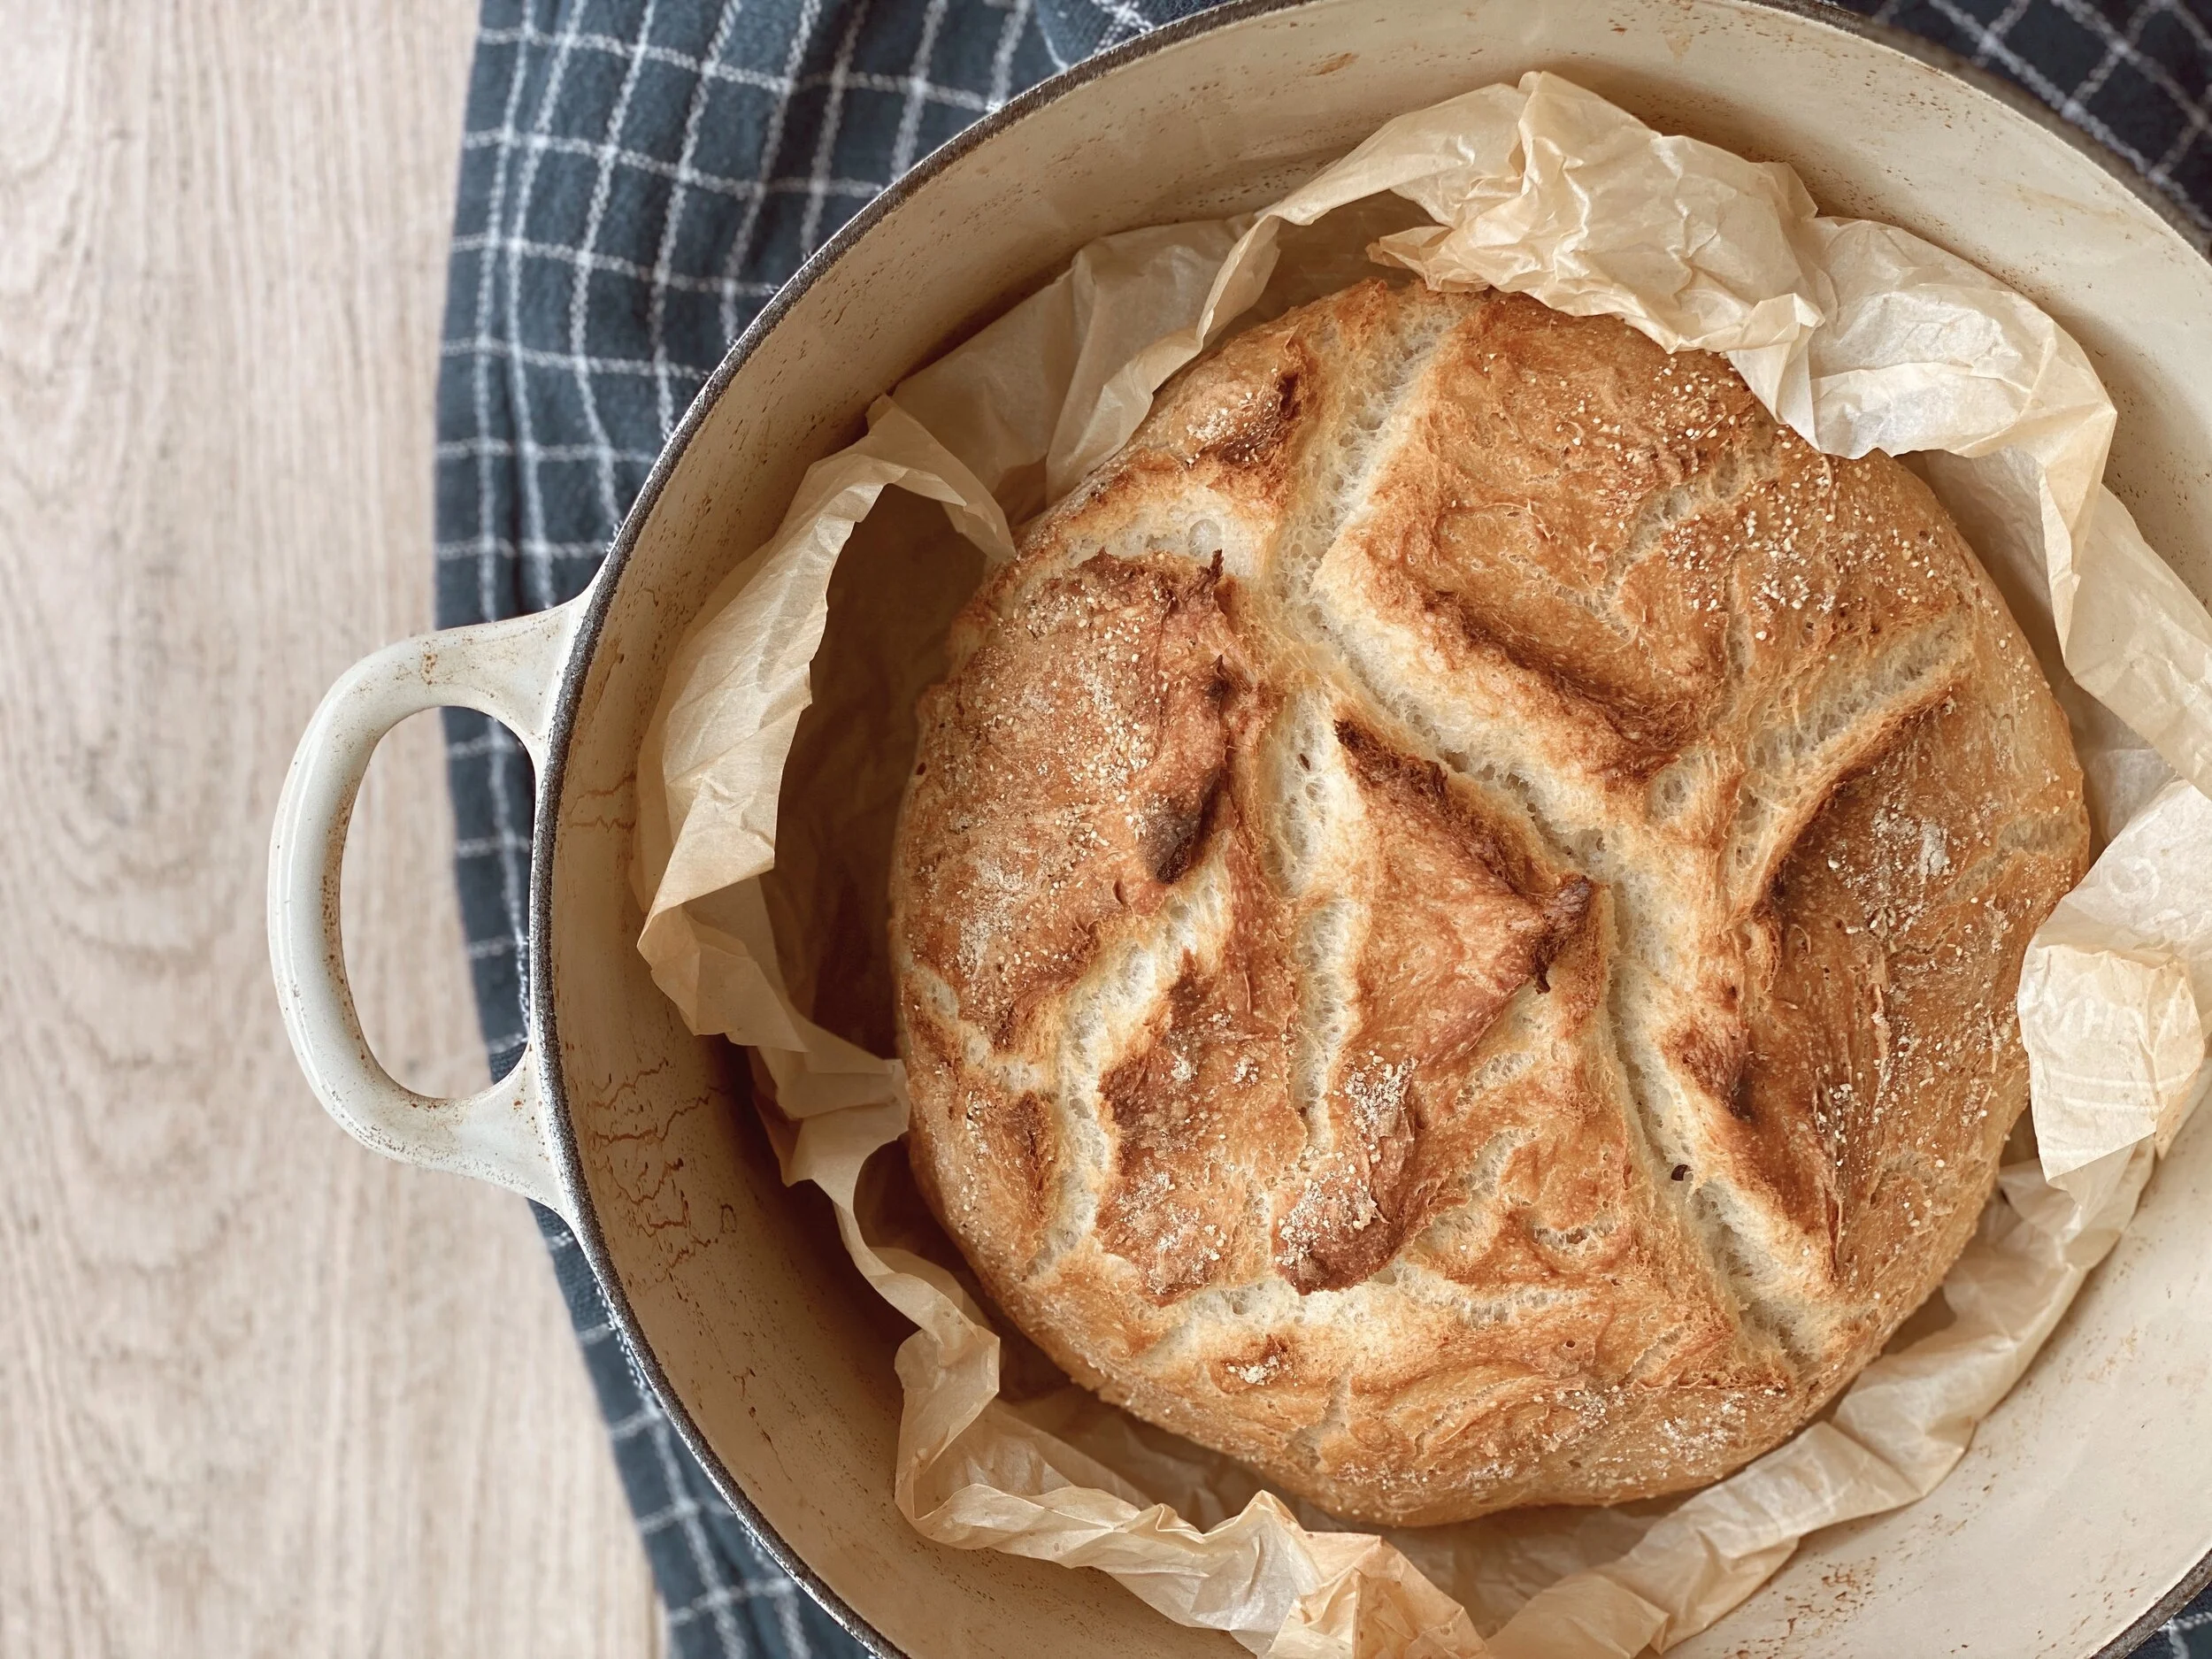
QuickCrunchyBread-JessieDaye2.JPG

Quick Crunchy Homemade Bread

INGREDIENTS

2 1/4 teaspoons active dry yeast

1 teaspoon granulated sugar

1 1/4 cups warm water

1 1/2 teaspoons kosher salt

3 to 3 1/2 cups All-Purpose Flour

directions

  1. Combine yeast, sugar, and warm water in a large mixing bowl or in the bowl of a stand mixer fitted with a dough hook.

  2. Let the yeast proof for about 5 minutes, until the mixture forms bubbles on top.

  3. Add kosher salt and flour. Mix on low speed until all flour is incorporated and dough starts to pull away from the sides of the bowl. The dough will be slightly sticky.

  4. Lightly flour the top of your dough and place in a clean bowl dusted with flour. Cover with a towel and let rise on the counter for about 1 hour, until dough has doubled in size.

  5. Using your fingers , go along the edges of your bowl and gradually fold the dough back into the middle of the bowl, forming a more elastic dough ball. Be careful not to knead the dough or massage it too much. Cover with towel and let rise again for 30 minutes more.

  6. Preheat oven to 450 degrees and place your dutch oven (with lid on) inside the oven WHILE it is preheating. This is important. A hot dutch oven will help create a crunchy top on the loaf.

  7. Once oven is to temp, crinkle a piece of parchment paper and run it under cold water. Shake off the parchment paper so it’s just slightly wet. Unfold it and carefully lay it inside your hot dutch oven. Be careful not touch the dutch oven as it will be very hot. Place your dough inside the middle of the parchment paper seam-side up.

  8. Cook bread for 30 minutes with the lid on, then remove the lid and cook for another 10-15 minutes, until the top is crunchy and browned.

  9. Let cool for 15 minutes before slicing.
How to make Quick Crunchy Homemade Bread in a Dutch Oven

Author: Jessie Daye
No ratings yet
Share
Print

Ingredients

  • 2 ¼ teaspoons active dry yeast
  • 1 teaspoon granulated sugar
  • 1 ¼ cups warm water
  • 1 ½ teaspoons kosher salt
  • 3 to 3 1/2 cups All-Purpose Flour

Method

  1. Combine yeast, sugar, and warm water in a large mixing bowl or in the bowl of a stand mixer fitted with a dough hook.
  2. Let the yeast proof for about 5 minutes, until the mixture forms bubbles on top.
  3. Add kosher salt and flour. Mix on low speed until all flour is incorporated and dough starts to pull away from the sides of the bowl. The dough will be slightly sticky.
  4. Lightly flour the top of your dough and place in a clean bowl dusted with flour. Cover with a towel and let rise on the counter for about 1 hour, until dough has doubled in size.
  5. Using your fingers , go along the edges of your bowl and gradually fold the dough back into the middle of the bowl, forming a more elastic dough ball. Be careful not to knead the dough or massage it too much. Cover with towel and let rise again for 30 minutes more.
  6. Preheat oven to 450 degrees and place your dutch oven (with lid on) inside the ovenWHILEit is preheating. This is important. A hot dutch oven will help create a crunchy top on the loaf.
  7. Once oven is to temp, crinkle a piece of parchment paper and run it under cold water. Shake off the parchment paper so it’s just slightly wet. Unfold it and carefully lay it inside your hot dutch oven. Be careful not touch the dutch oven as it will be very hot. Place your dough inside the middle of the parchment paper seam-side up.
  8. Cook bread for 30 minutes with the lid on, then remove the lid and cook for another 10-15 minutes, until the top is crunchy and browned.
  9. Let cool for 15 minutes before slicing.

Tried this recipe?

Let us know how it was!

Leave the first comment

Recipe Rating


This post may contain affiliate links, please see our privacy policy for details.

Hi, I'm Jessie. 

Mama to three girls and a lifelong creative who loves making everyday moments feel a little more special. Here, I share whimsical recipes, holiday inspiration, and creative projects designed to bring a little more joy to your day. I hope to inspire you to get creative, celebrate the little things, and make something beautiful. Welcome!

More about Jessie

Let’s be friends!

Be the first to receive exclusive content and hear about my upcoming BOOK!

* indicates required

Intuit Mailchimp