Opens in a new tab

North Pole Christmas Hand Pies

by Jessie Daye

First published: October 29, 2023 | Updated: June 10, 2026

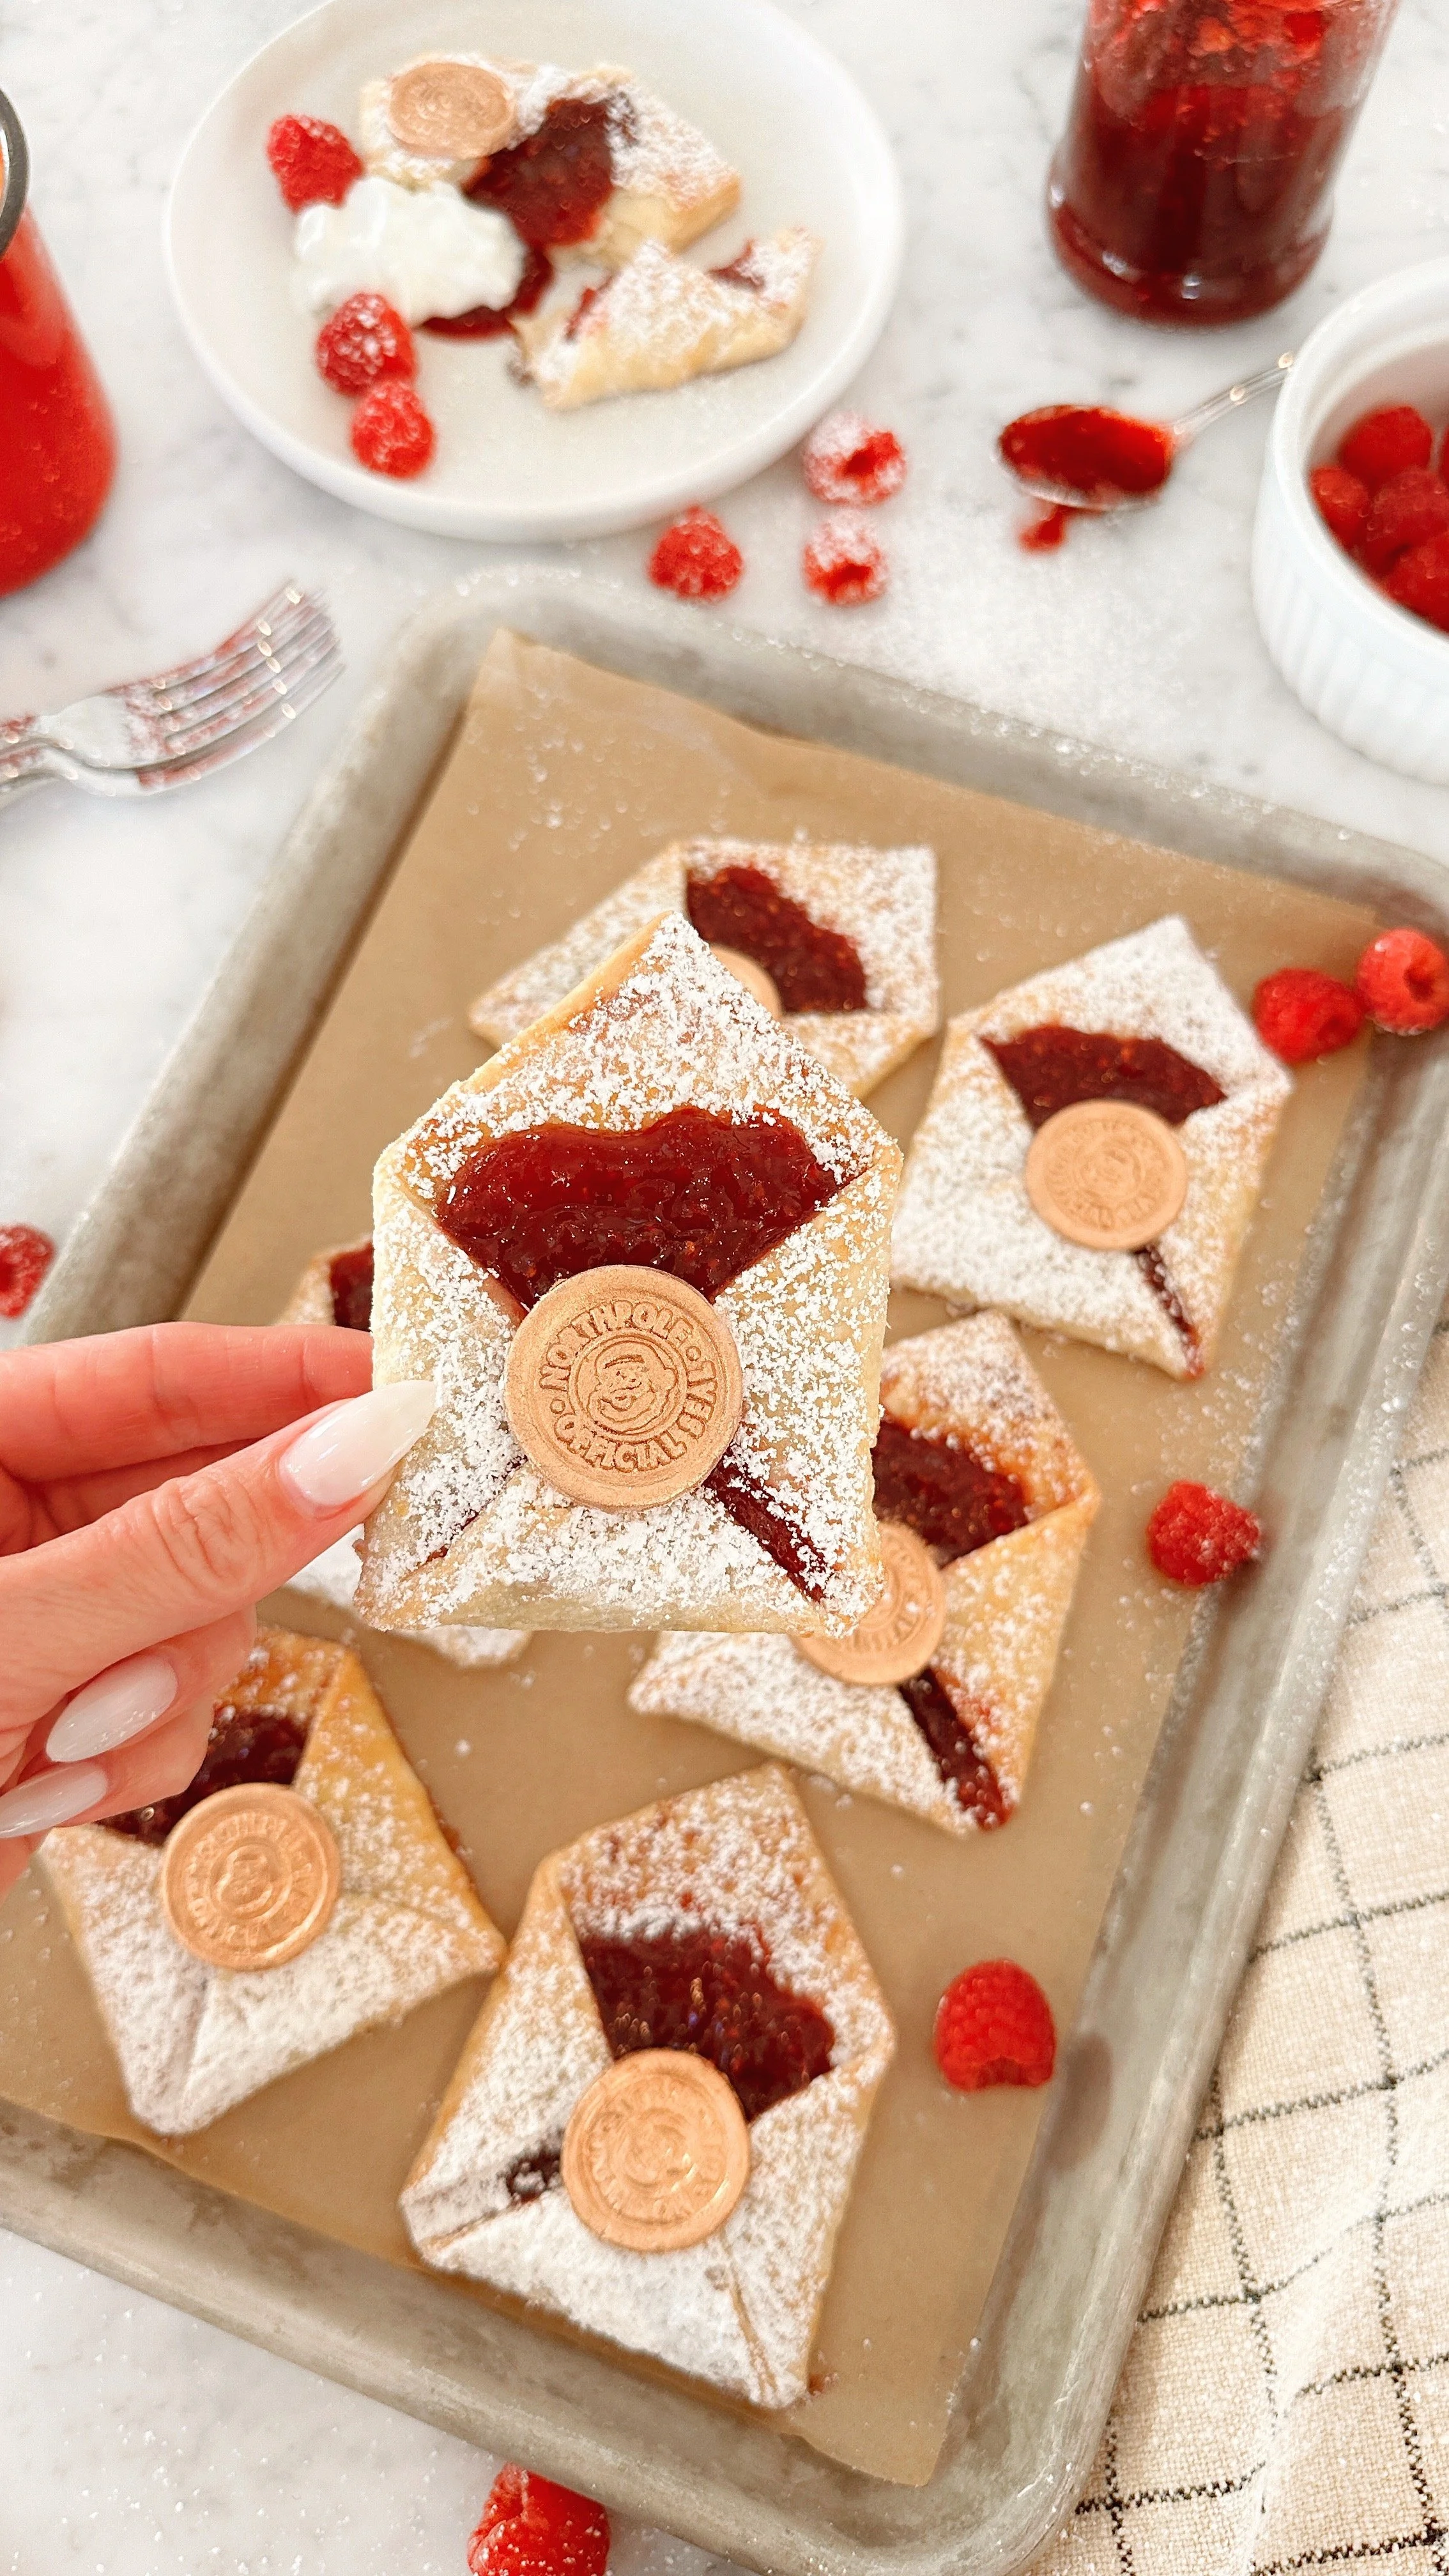
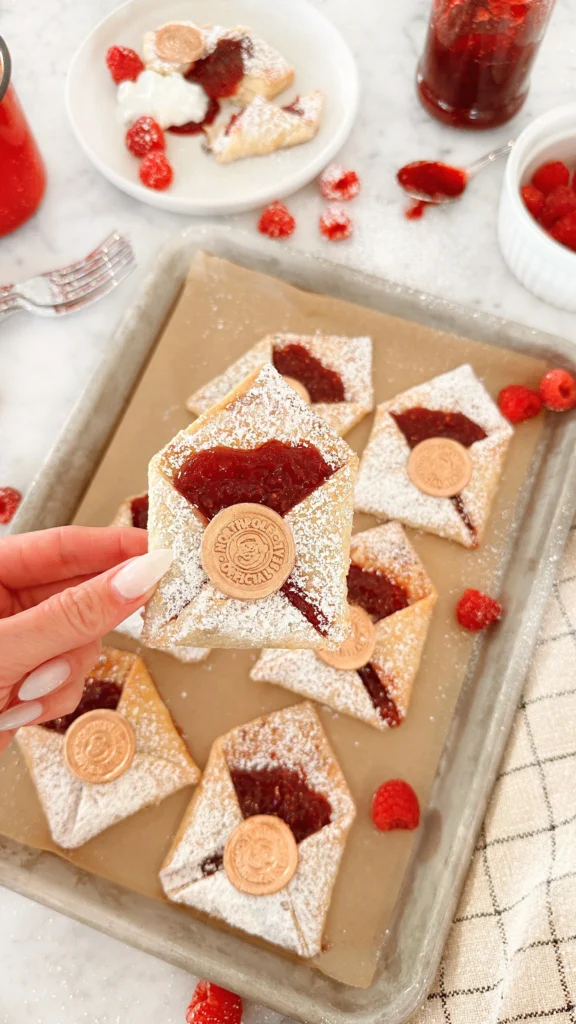
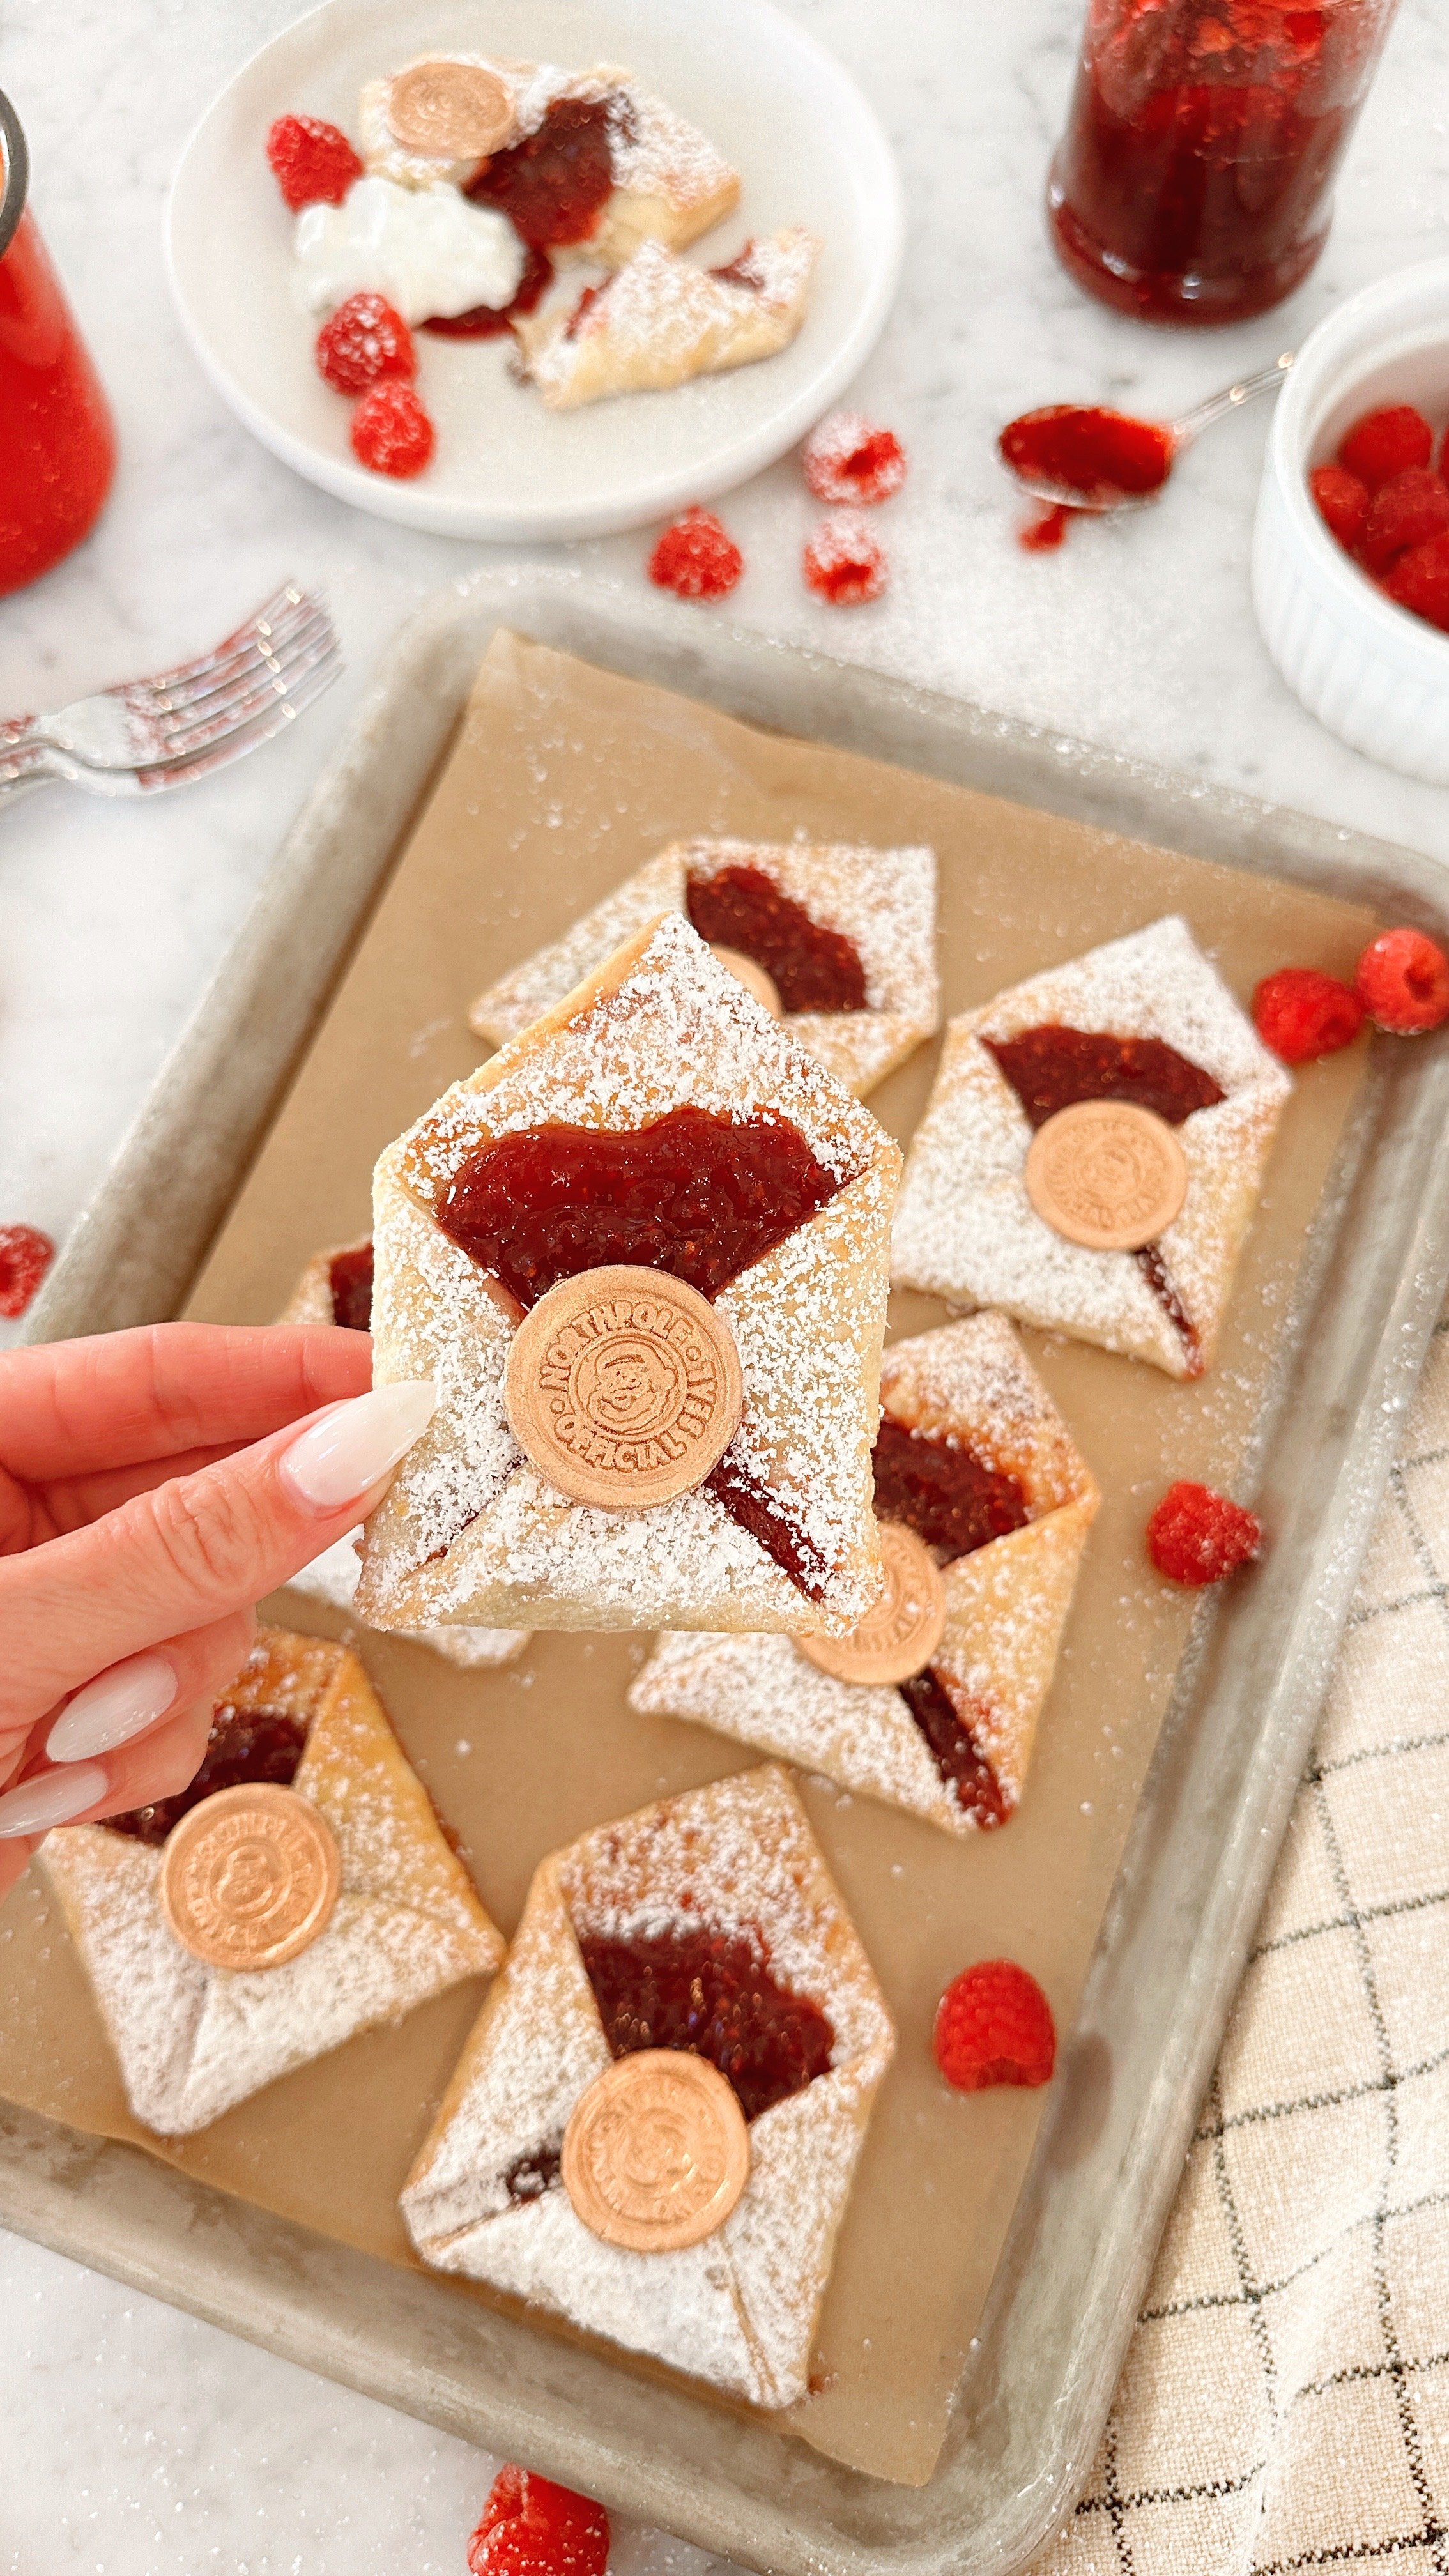
These Christmas hand pies are a play on the wedding invite pies I made for a bridal shower. All I did was switch the stamp from their Initial to a North Pole stamp. You could honestly make these for so many holidays: Valentine’s Day, Christmas, an engagement party, bridal shower, baby shower invites. You get the picture. They are just so incredibly cute. I originally had one of these mini letter pies from a company called Tiny Pie. They were and still are based out of Austin (I believe) and a friend got one of their mini letters. It was sealed with a small little heart and packed with cherry filling. I thought the idea was adorable so I altered it and used fondant and made them for a bridal shower. I absolutely love the idea for Christmas now. Scroll down for the recipe.
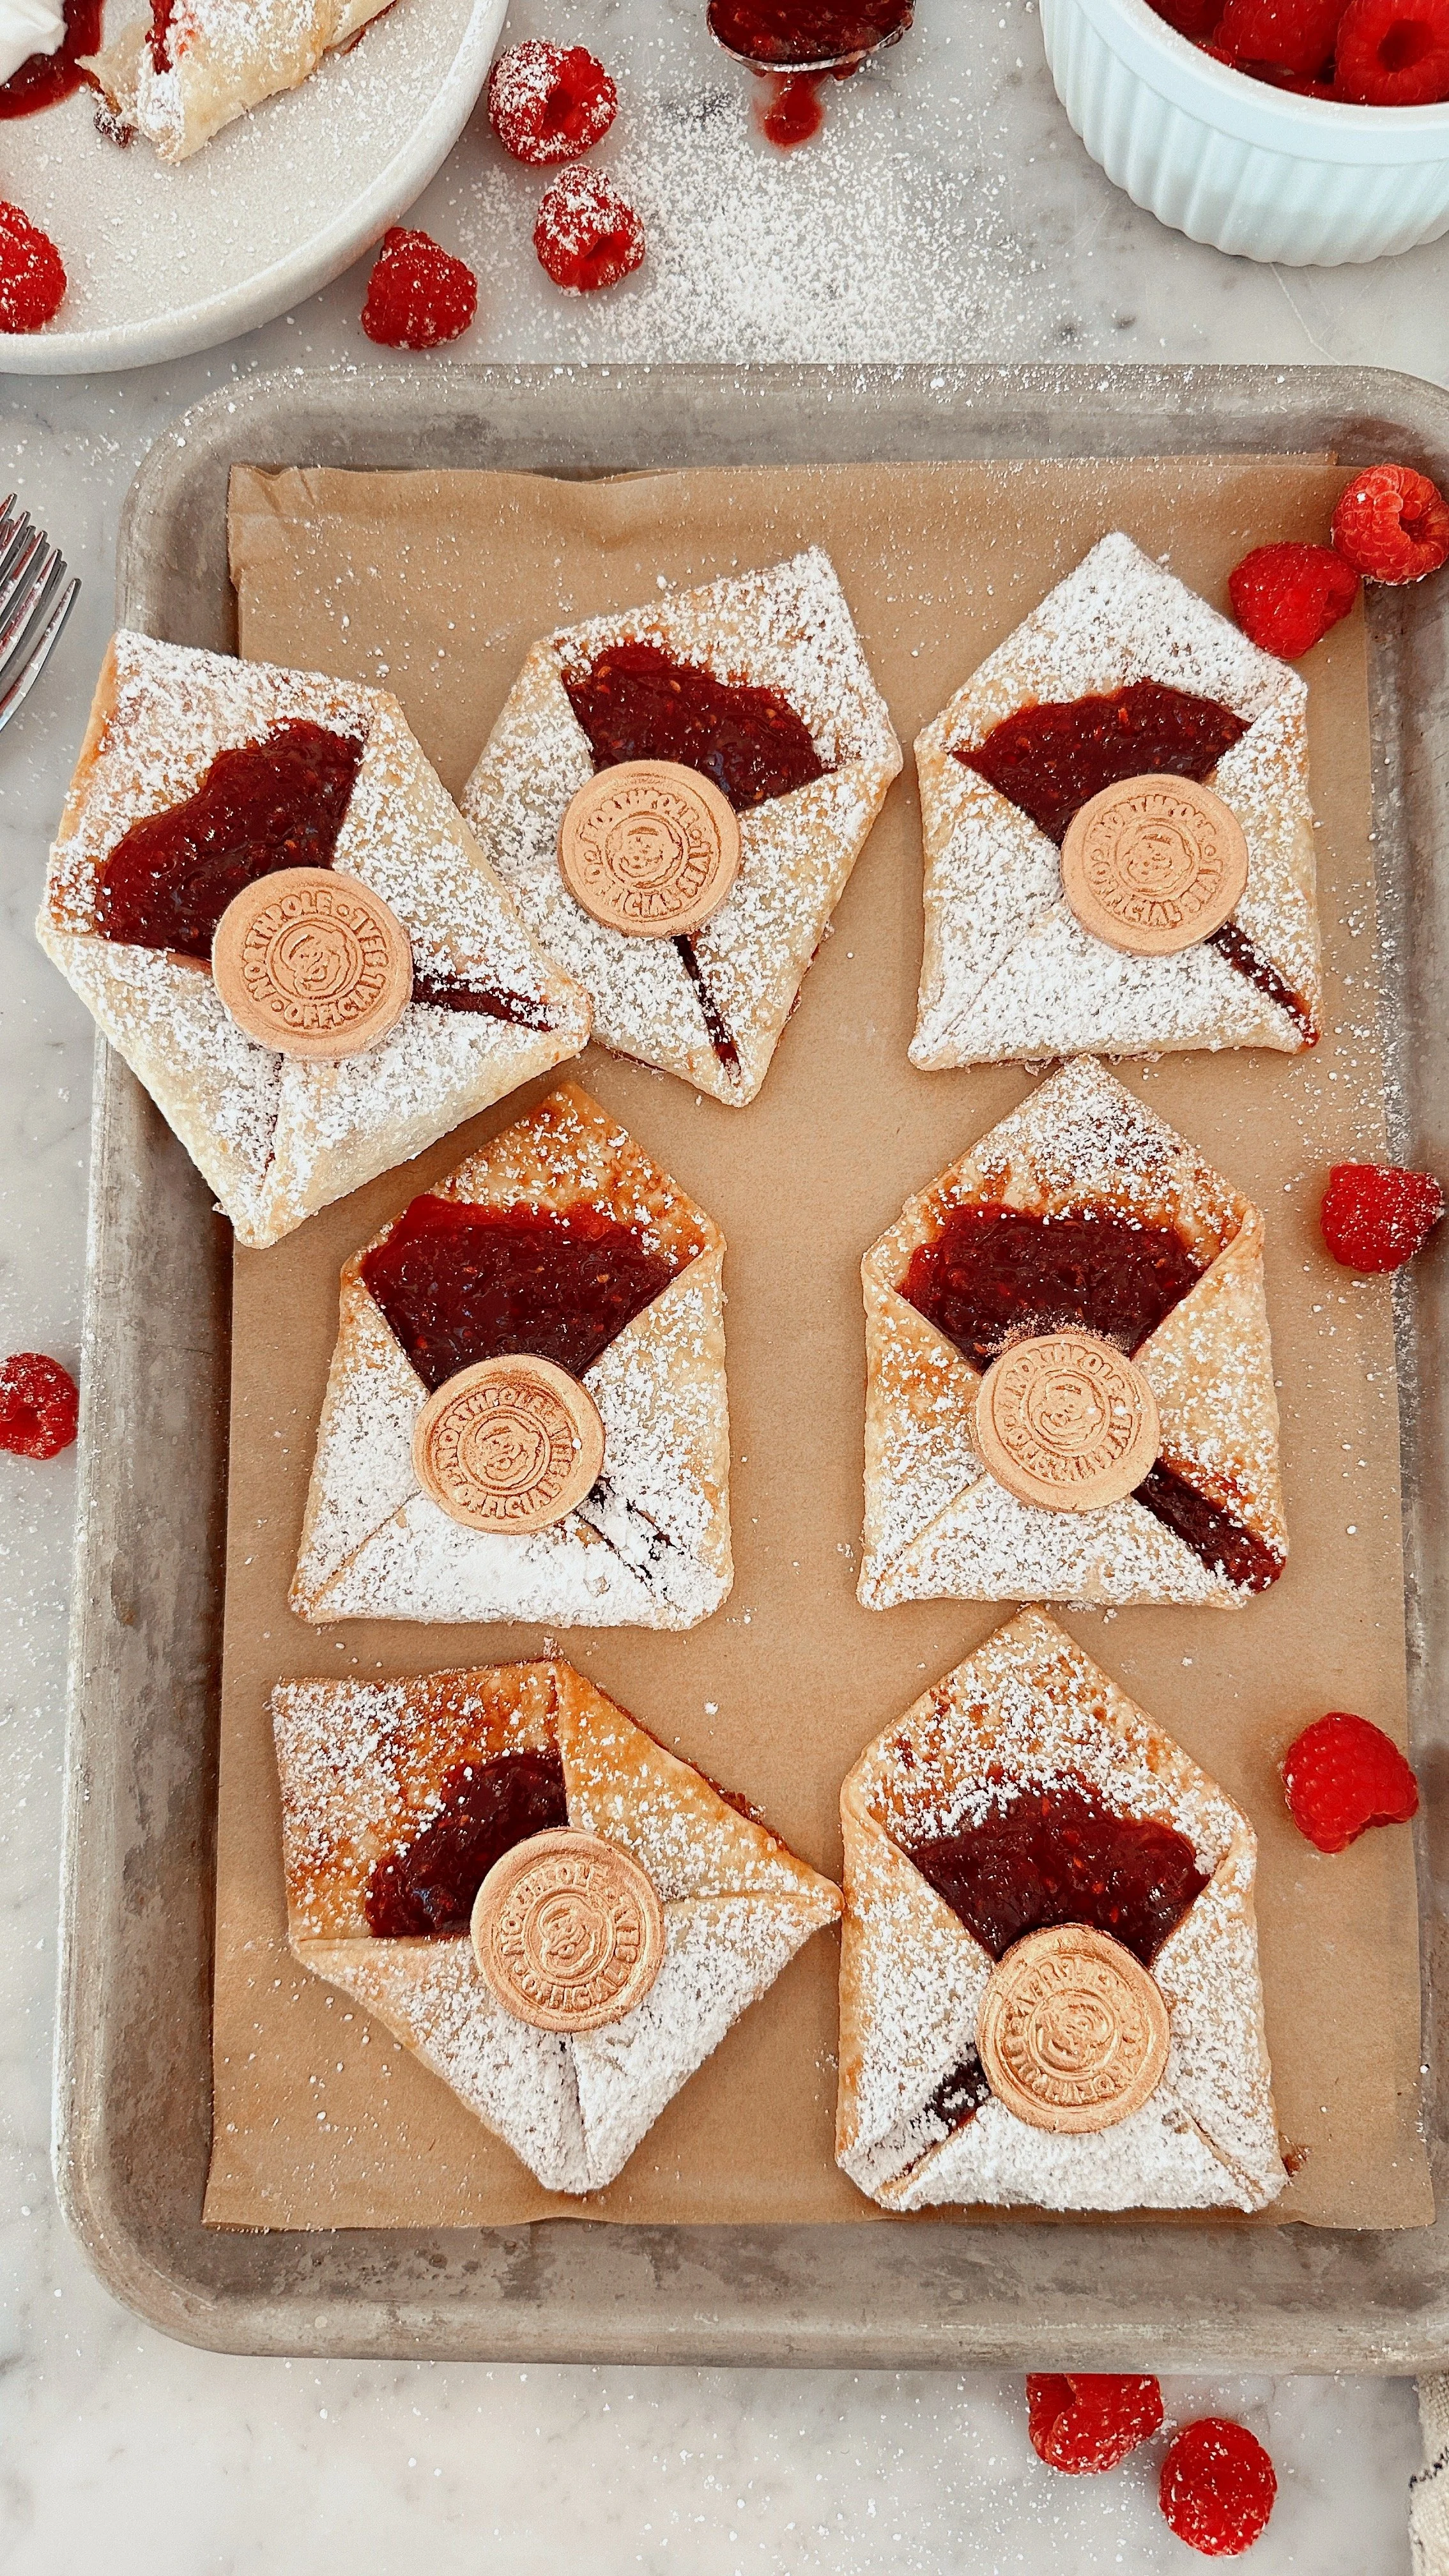
Raspberry Christmas Hand Pies

North Pole Christmas Hand Pies

North Pole Christmas Hand Pies

Author: Jessie Daye
No ratings yet
Share
Print
Cook 22 minutes
Cute Christmas hand pies shaped like envelopes and sealed with fondant North Pole stamps.
Servings 10 hand pies

Ingredients

  • 2 Premade Pillsbury pie crust
  • Raspberry Jam or Cherry pie filling
  • ½ cup granulated sugar
  • 1 egg (egg wash)
  • Powdered sugar
  • Fondant
  • Edible silver glitter or gold glitter
  • North Pole stamp
  • 4 inch square cookie cutter

Method

  1. Preheat oven to 425 degrees F.
  2. Roll out both pie crust sheets and use a rolling pin to smooth out the dough if there are any crinkles.
  3. Using a 4" square cookie cutter or knife, cut out four squares from each dough round. If you roll out all the scraps you can get 2 more squares for a total of 10 hand pies.
  4. Turn your square at a diagonal and fill with about a tablespoon of raspberry jam.
  5. Fold the two sides of your square into the center of the hand pie so the corners meet. Gently press down then fold the bottom triangle up to the middle of the pie so it slightly overlaps the two sides. Press down so the envelope sticks together. Continue with all the hand pies.
  6. Whisk up one egg in a small bowl and brush the egg wash over all the pies, carefully avoiding the jam.
  7. Bake for approximately 20-24 minutes until golden brown. Remove and let cool.
  8. Dust with powdered sugar then gently spoon a small amount of additional jam mixture on the top fold of the pie envelope. The extra jam looks pretty peeking out the top of the powdered sugar envelop.
  9. If you wish to make the fondant seal, simply roll out the fondant so it's about 1/8" thick and use the North Pole stamp to make the "wax seals". Use a knife or cookie cutter to cut into small circles and dust with edible glitter.

Notes

To make the edible glitter stick more easily, dip your paintbrush in vodka or honey before adding the glitter. These hand pies can be made for various holidays by changing the stamp design.

Tried this recipe?

Let us know how it was!

10 comments

  • How thick or thin do you roll out the pie crust too? Quarter inch thick?

  • Jillian

    I’ve tried these twice now and both times the jam kinda melts and spills out all over everything. I’m using a tablespoon or even less, any tips? 🙁 they at least taste good!

    • I had that happen too. Have you tried a different brand of jam? I have learned that some stay put better than others.

  • How did you adhere the North Pole seal to the cookie?

  • Frencis Barbic

    I’d like to know how I can get the seal/stamp to stick to the pie?

  • What do I do with the 1/2 cup granulated sugar?

    • Good question. I sprinkled some on my pies right before they went in the oven, but I only used a few pinches. They tasted good though!

  • Zoë Wildgust

    These turned out amazing! I spread the jam out in a thin layer for baking and then topped with jam after they cooled. Used a drop of honey to affix the fondant and after chilling everything set beautifully.

Leave your comment

Recipe Rating


This post may contain affiliate links, please see our privacy policy for details.

Hi, I'm Jessie. 

I’m a Los Angeles mama, home renovator, and lifelong creative, sharing the things that make everyday life a little more beautiful. I believe food is one of the best ways to bring people together, which is why I love cooking: it turns an ordinary Tuesday into something worth remembering. From recipes I make on repeat to DIY projects, home design, and a little bit of real life in between — welcome to my corner of the internet. I’m so glad you’re here.

More about Jessie

Let’s be friends!

Be the first to receive exclusive content, hear about upcoming collaborations, and special events!

* indicates required

Intuit Mailchimp