
Opens in a new tab

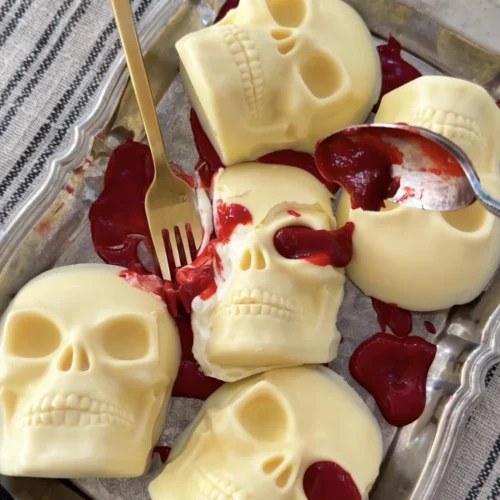
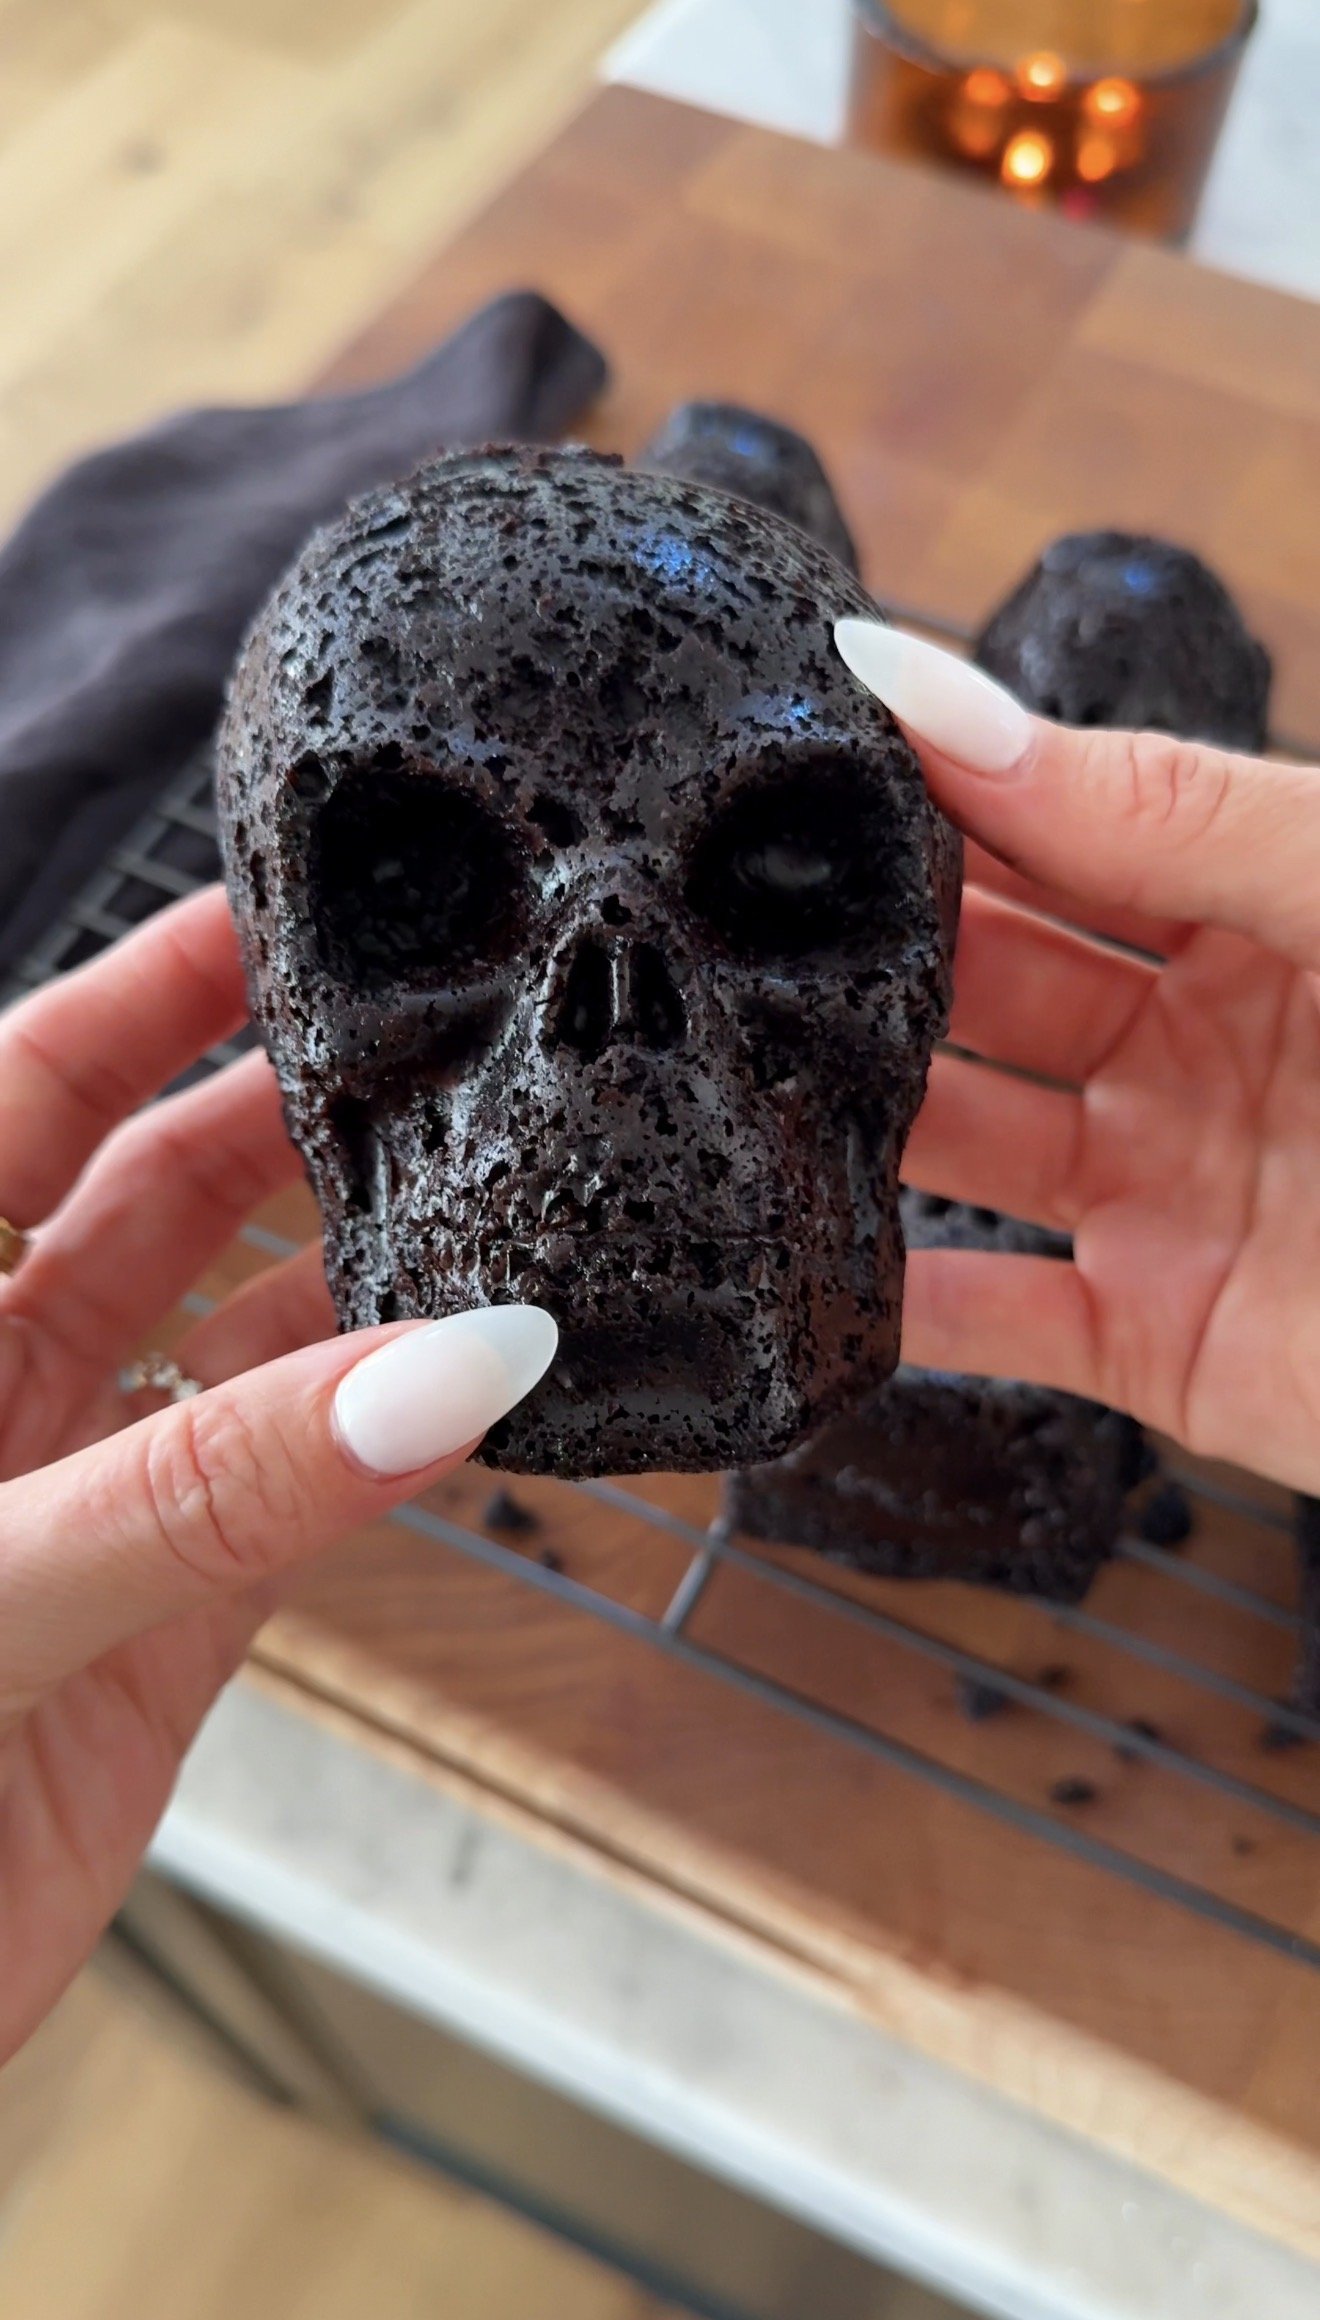
Chocolate Hostess Cake Skulls

by Jessie Daye

First published: July 18, 2026 | Updated: September 14, 2026

Chocolate Hostess Cake Skulls

Author: Jessie Daye
No ratings yet
Share
Print
Shortcut Option: If you want a quick version of this recipe, use (2) boxes of Duncan Hines Chocolate Cake Mix. Reduce the water by ½ cup per box and replace it with hot coffee. Add ½ cup sour cream to the batter for a richer, homemade flavor.
Course Cake, Desserts
Cuisine American

Ingredients

Cake Ingredients
  • 2 cups 240 g all-purpose flour
  • 2 cups 396 g granulated sugar
  • ½ cup 40 g unsweetened cocoa powder
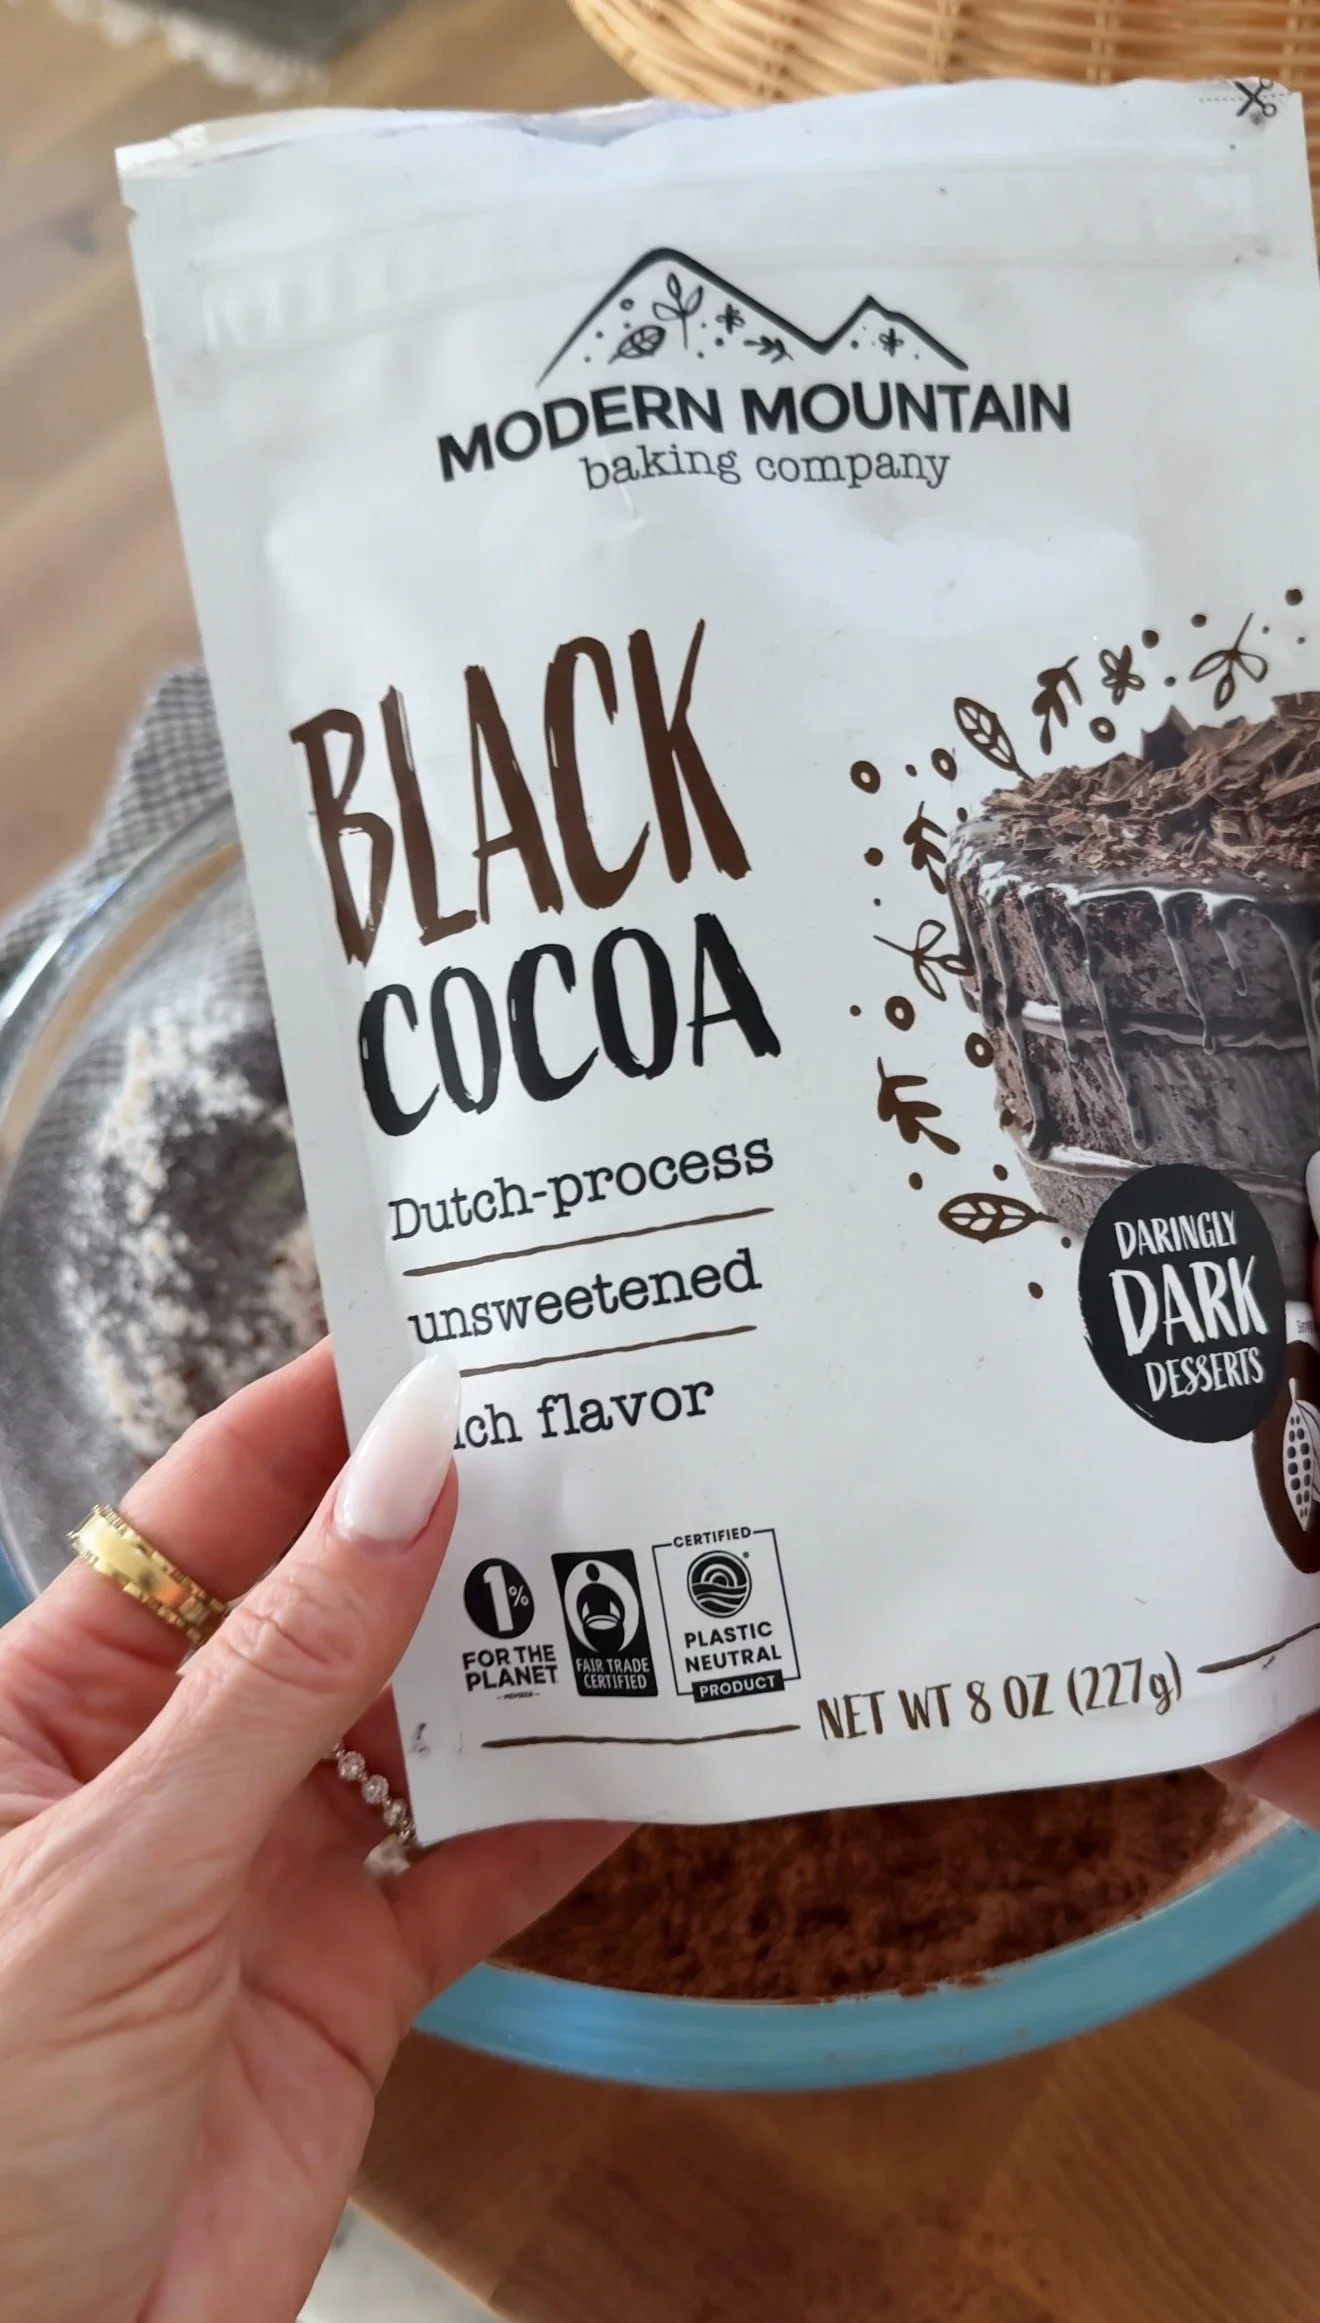
  • ¼ cup 20 g black cocoa powder
  • 1½ teaspoons baking soda
  • 2 teaspoons baking powder
  • ½ teaspoon kosher salt
  • 2 large eggs
  • 1 cup buttermilk or full-fat sour cream
  • ½ cup vegetable oil
  • 2 teaspoons vanilla extract
  • 1 cup hot coffee or boiling water
Marshmallow Crème Filling
  • 7 ounces marshmallow fluff
  • 6 tablespoons salted butter softened
  • 1¾ cups powdered sugar
  • 1¼ teaspoons vanilla extract
  • 1½ tablespoons whole milk or heavy cream room temperature
  • ⅛ tsp fine sea salt
Chocolate Ganache
  • 8 ounces quality semi-sweet chocolate finely chopped
  • 1 cup 240 ml heavy cream

Method

  1. Preheat the oven to 350°F. Generously grease a large silicone skull mold (or two molds if needed) with nonstick baking spray.
  2. In a large bowl whisk together the flour, sugar, unsweetened cocoa powder, black cocoa powder, baking soda, baking powder, and salt. Set aside.
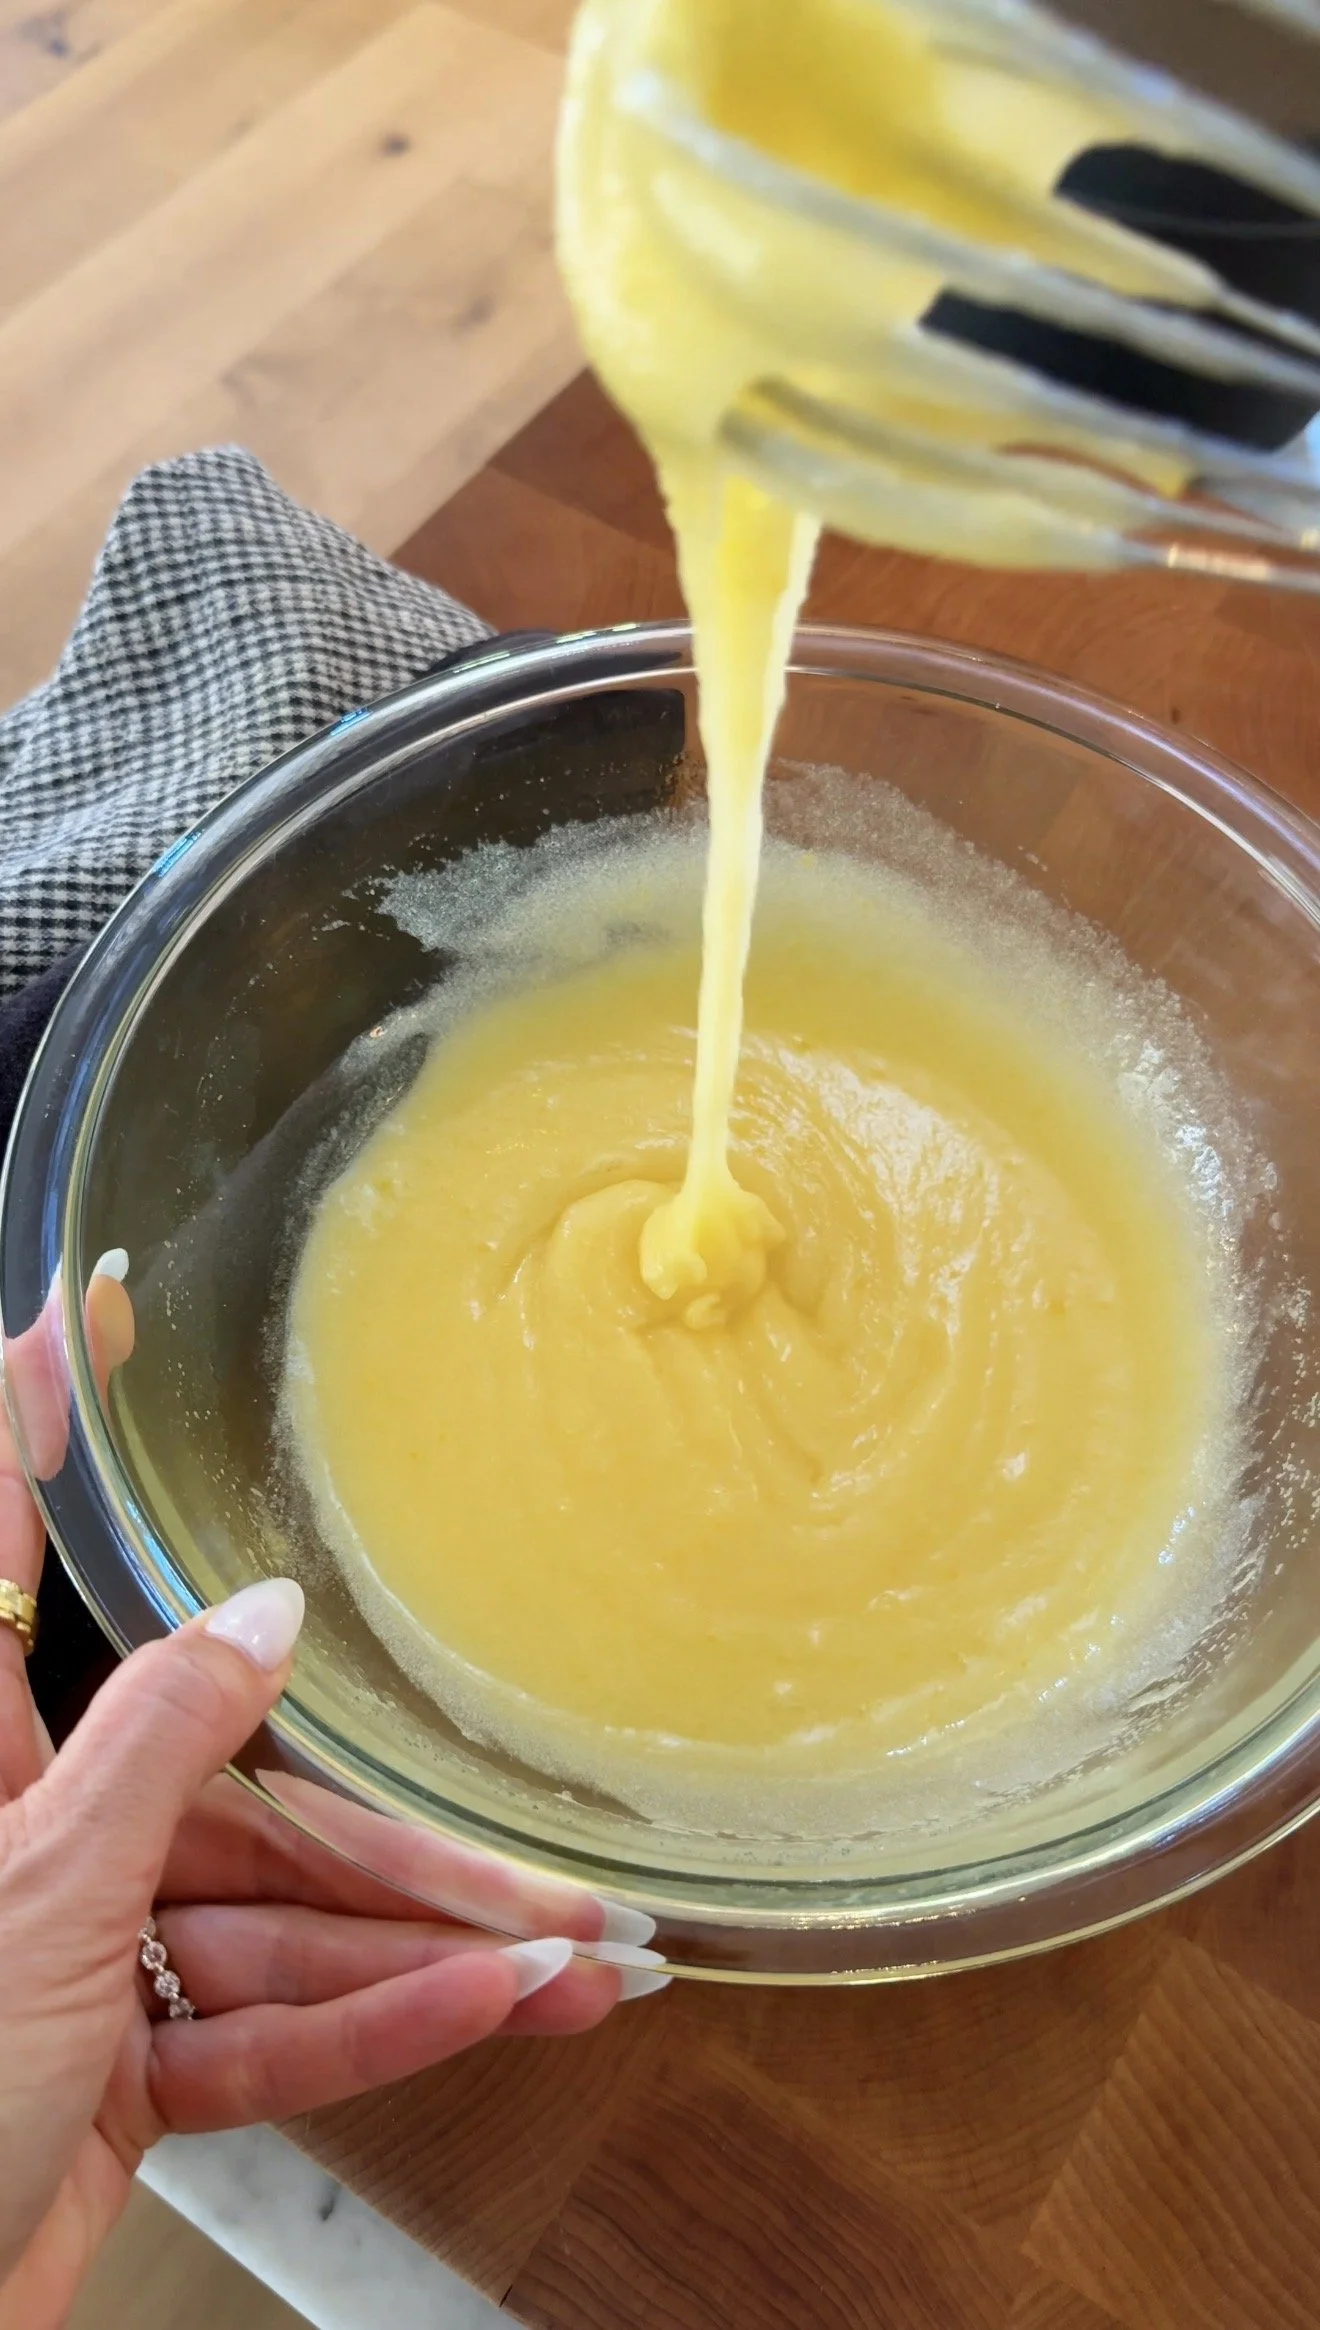
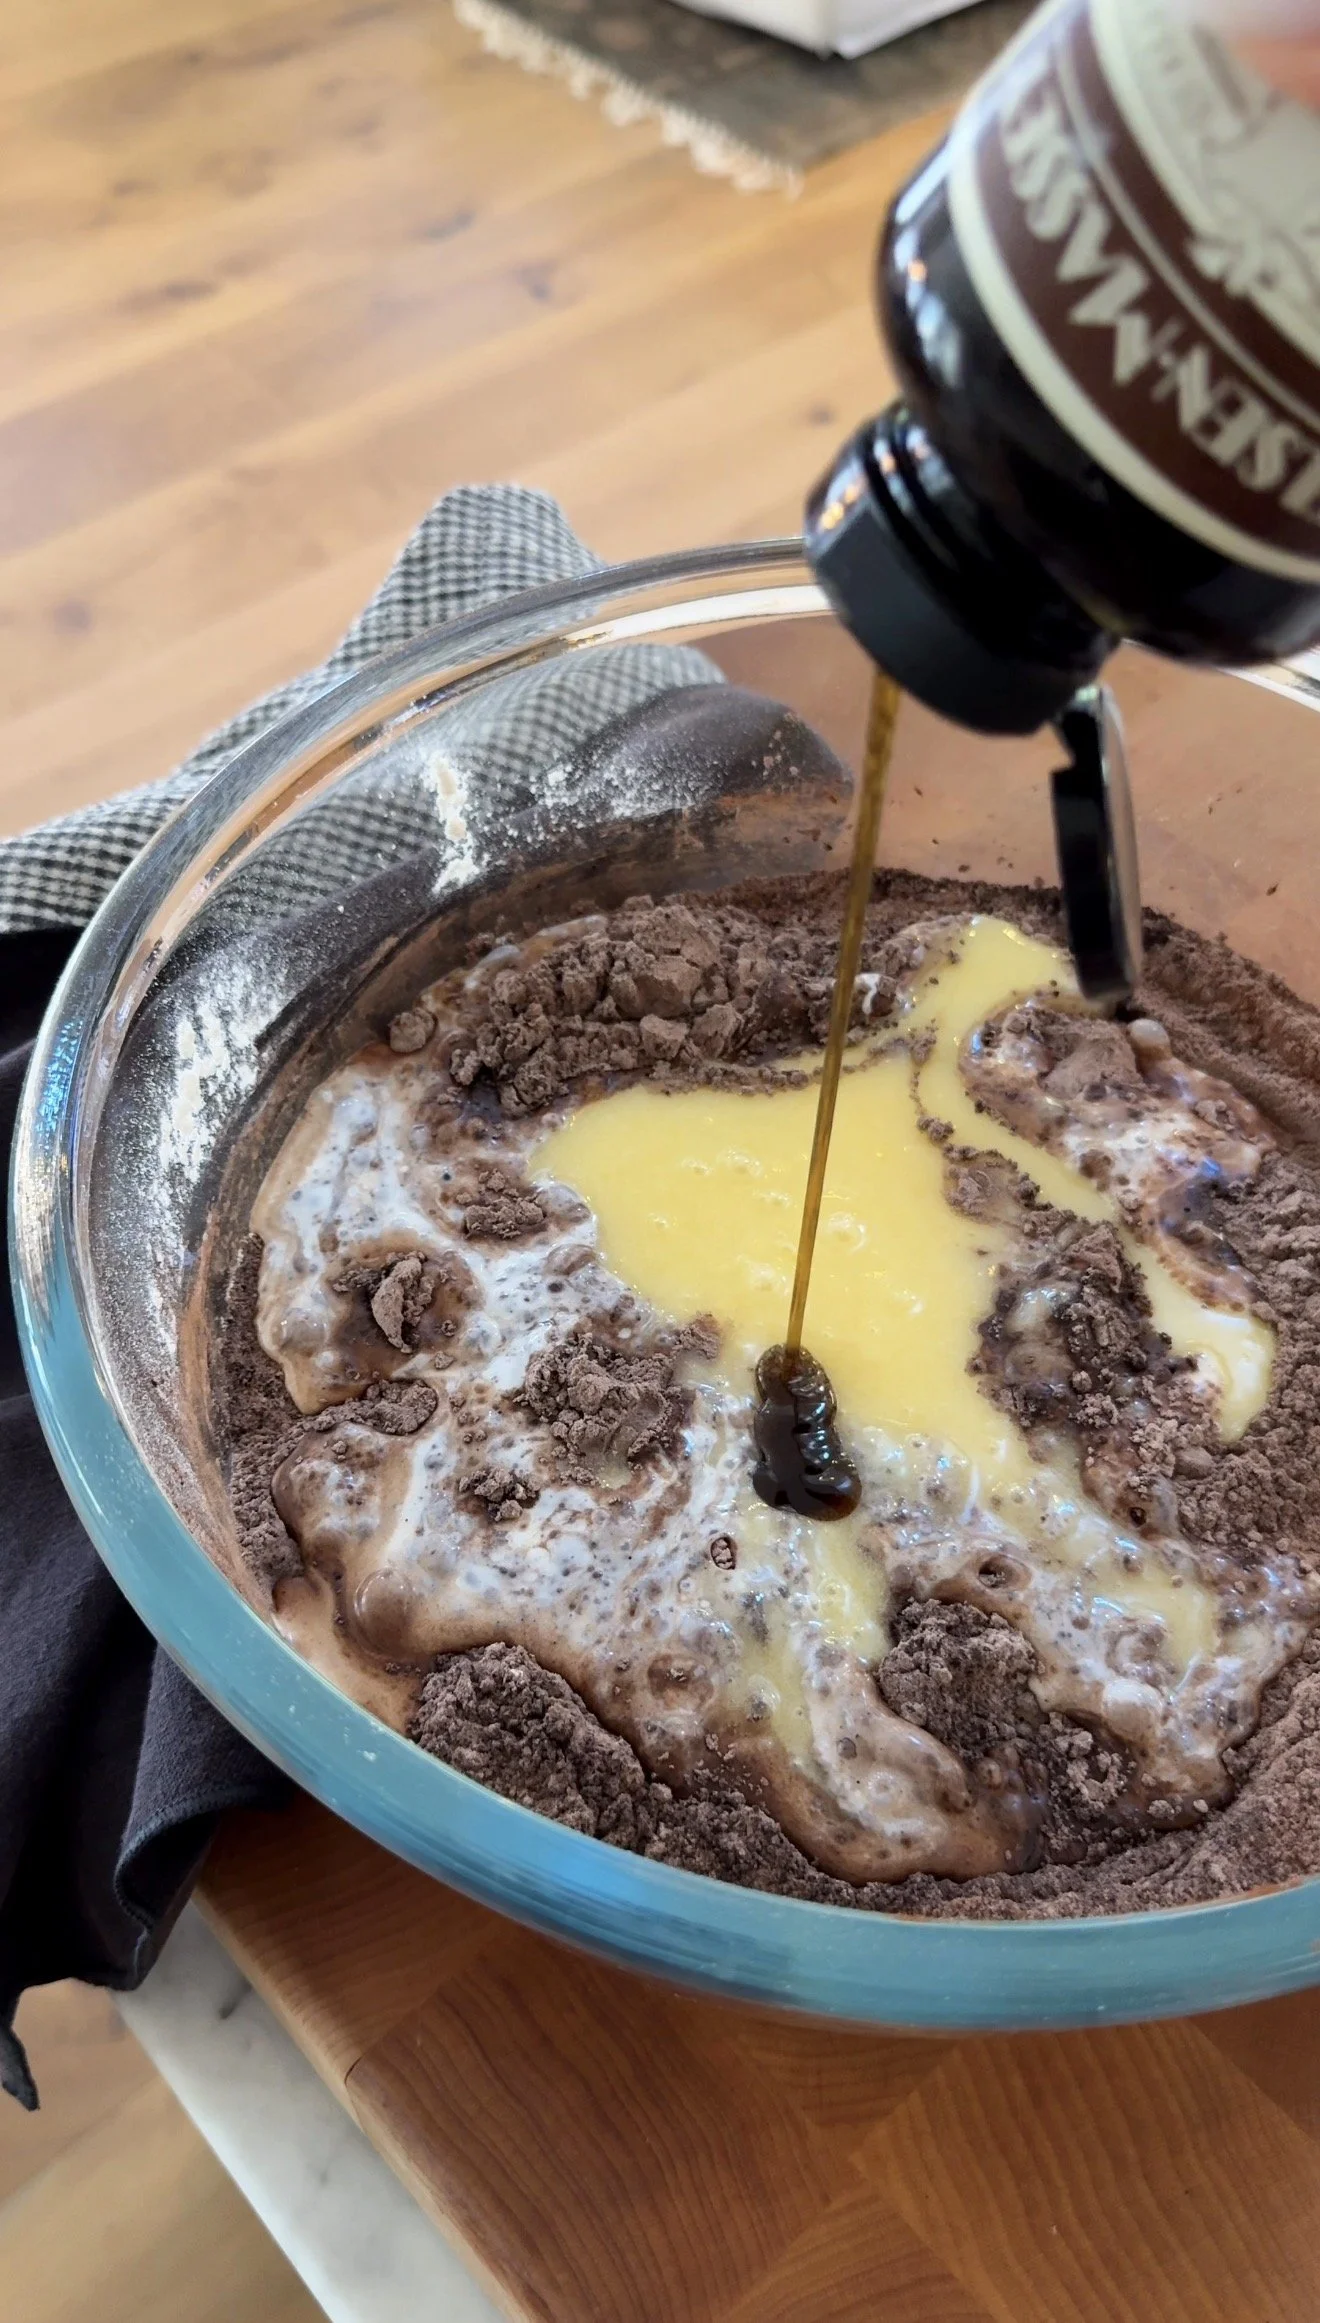
  3. In a separate bowl add the eggs and sugar and mix until creamy. Add the buttermilk (or sour cream), vegetable oil, and vanilla. Mix until combined.
  4. Slowly pour in the hot coffee while mixing on low speed. The batter will be thin.
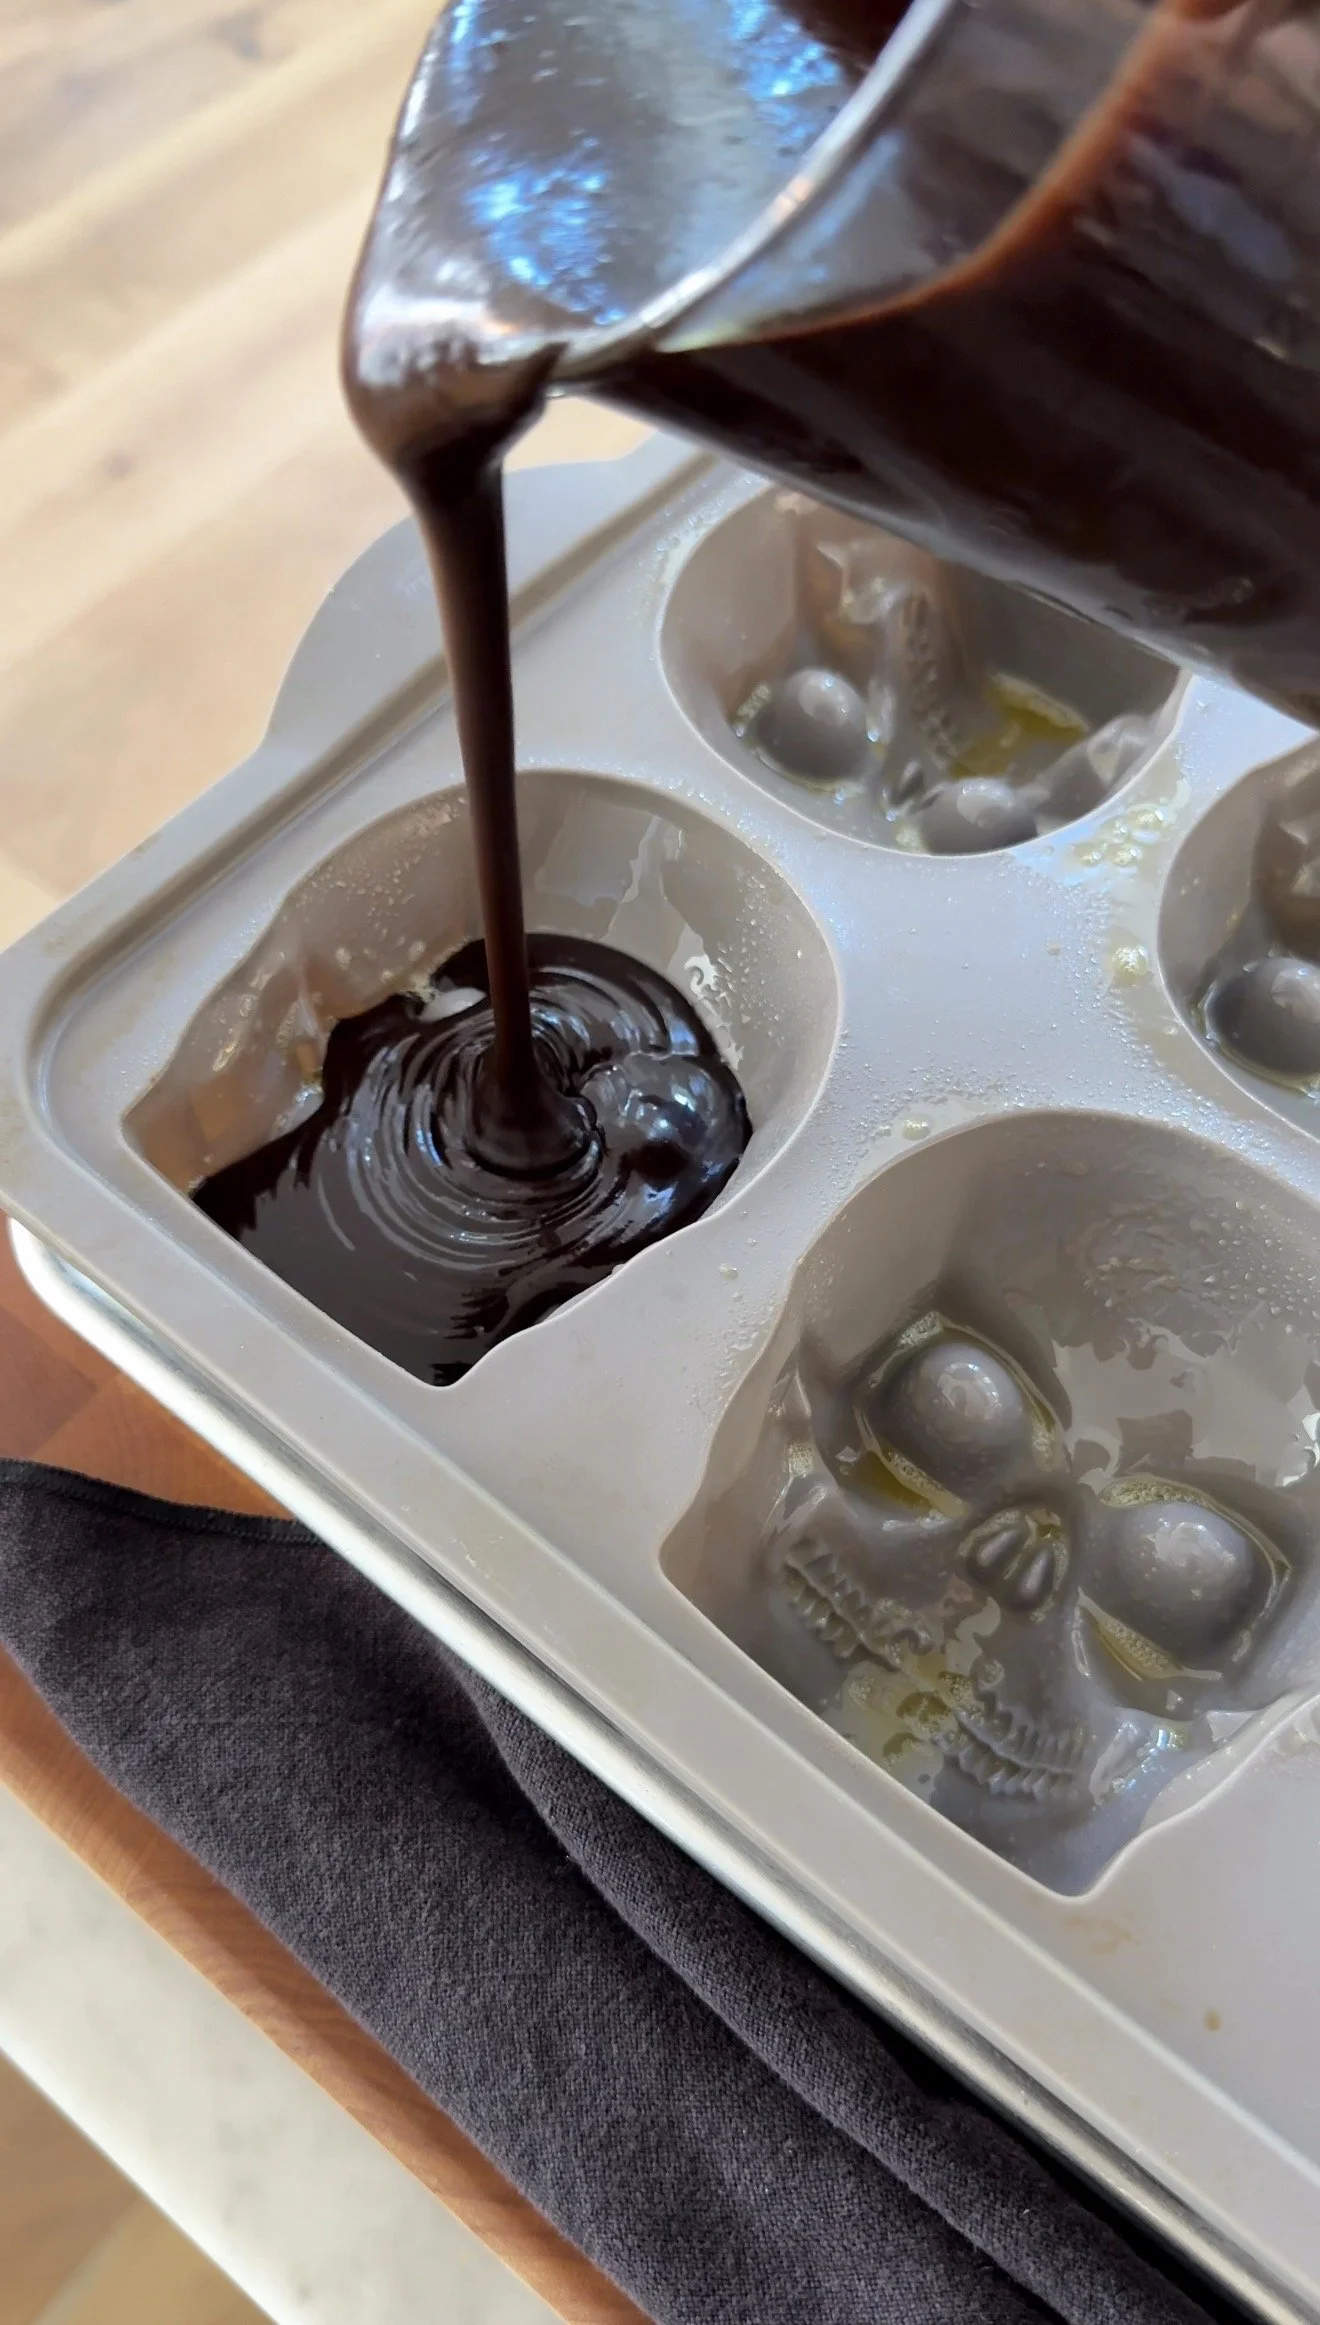
  5. Fill each skull cavity about two-thirds full, leaving room for the cake to rise. Depending on the size of your mold, you may have 8-10 skulls. **If you only have one mold it’s ok to leave the rest of the batter on the counter until ready to fill again after baking the first set.
  6. Bake for 40-55 minutes (depending on the depth of your mold), or until a toothpick inserted into the center comes out with a few moist crumbs. Baking time will vary depending on the depth of your mold.
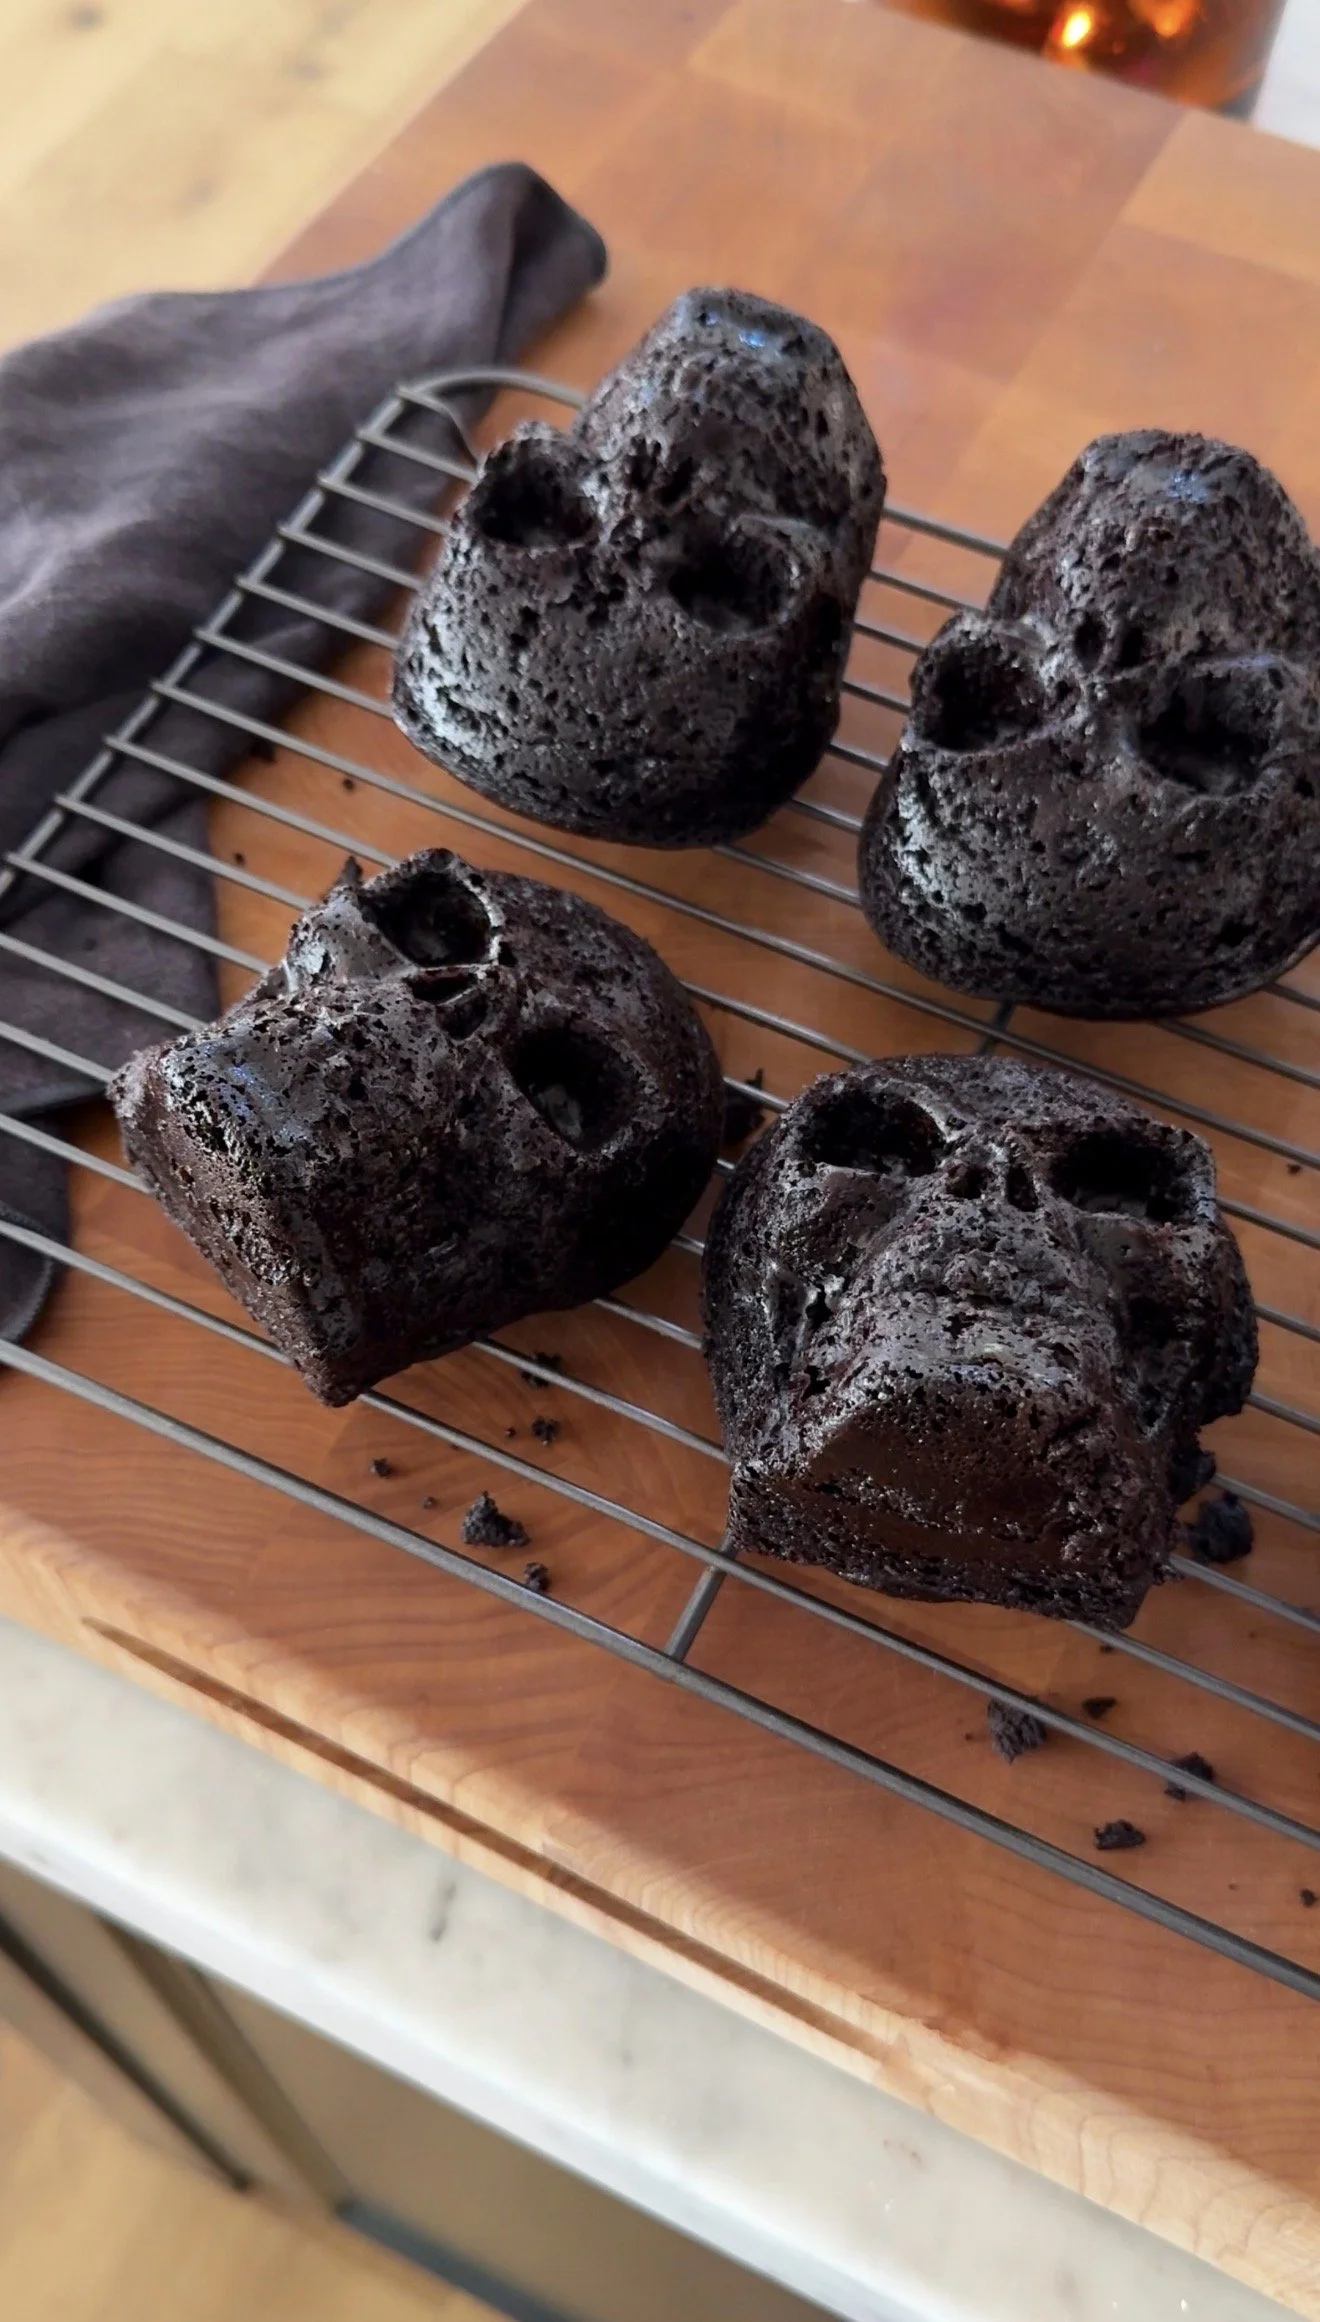
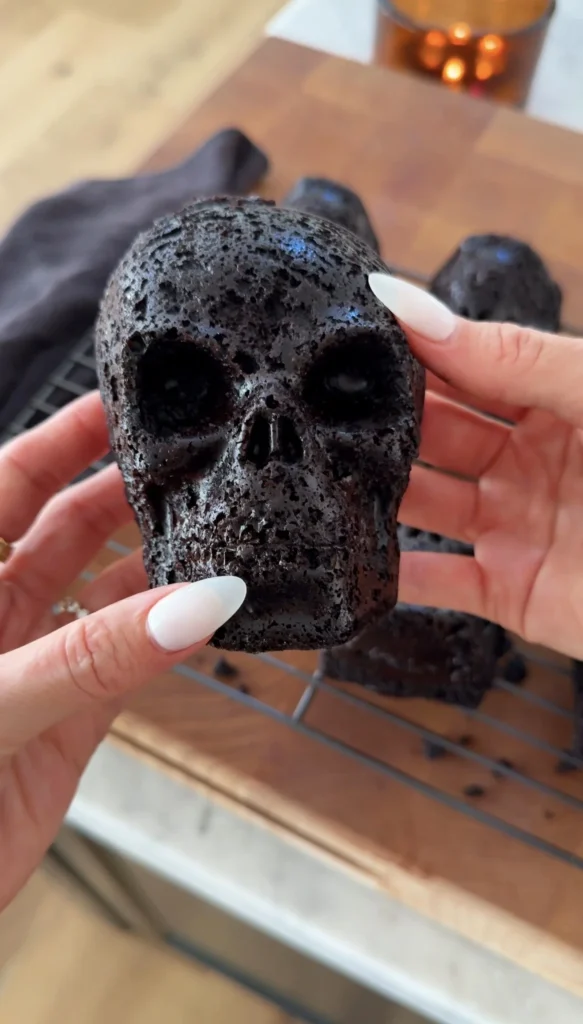
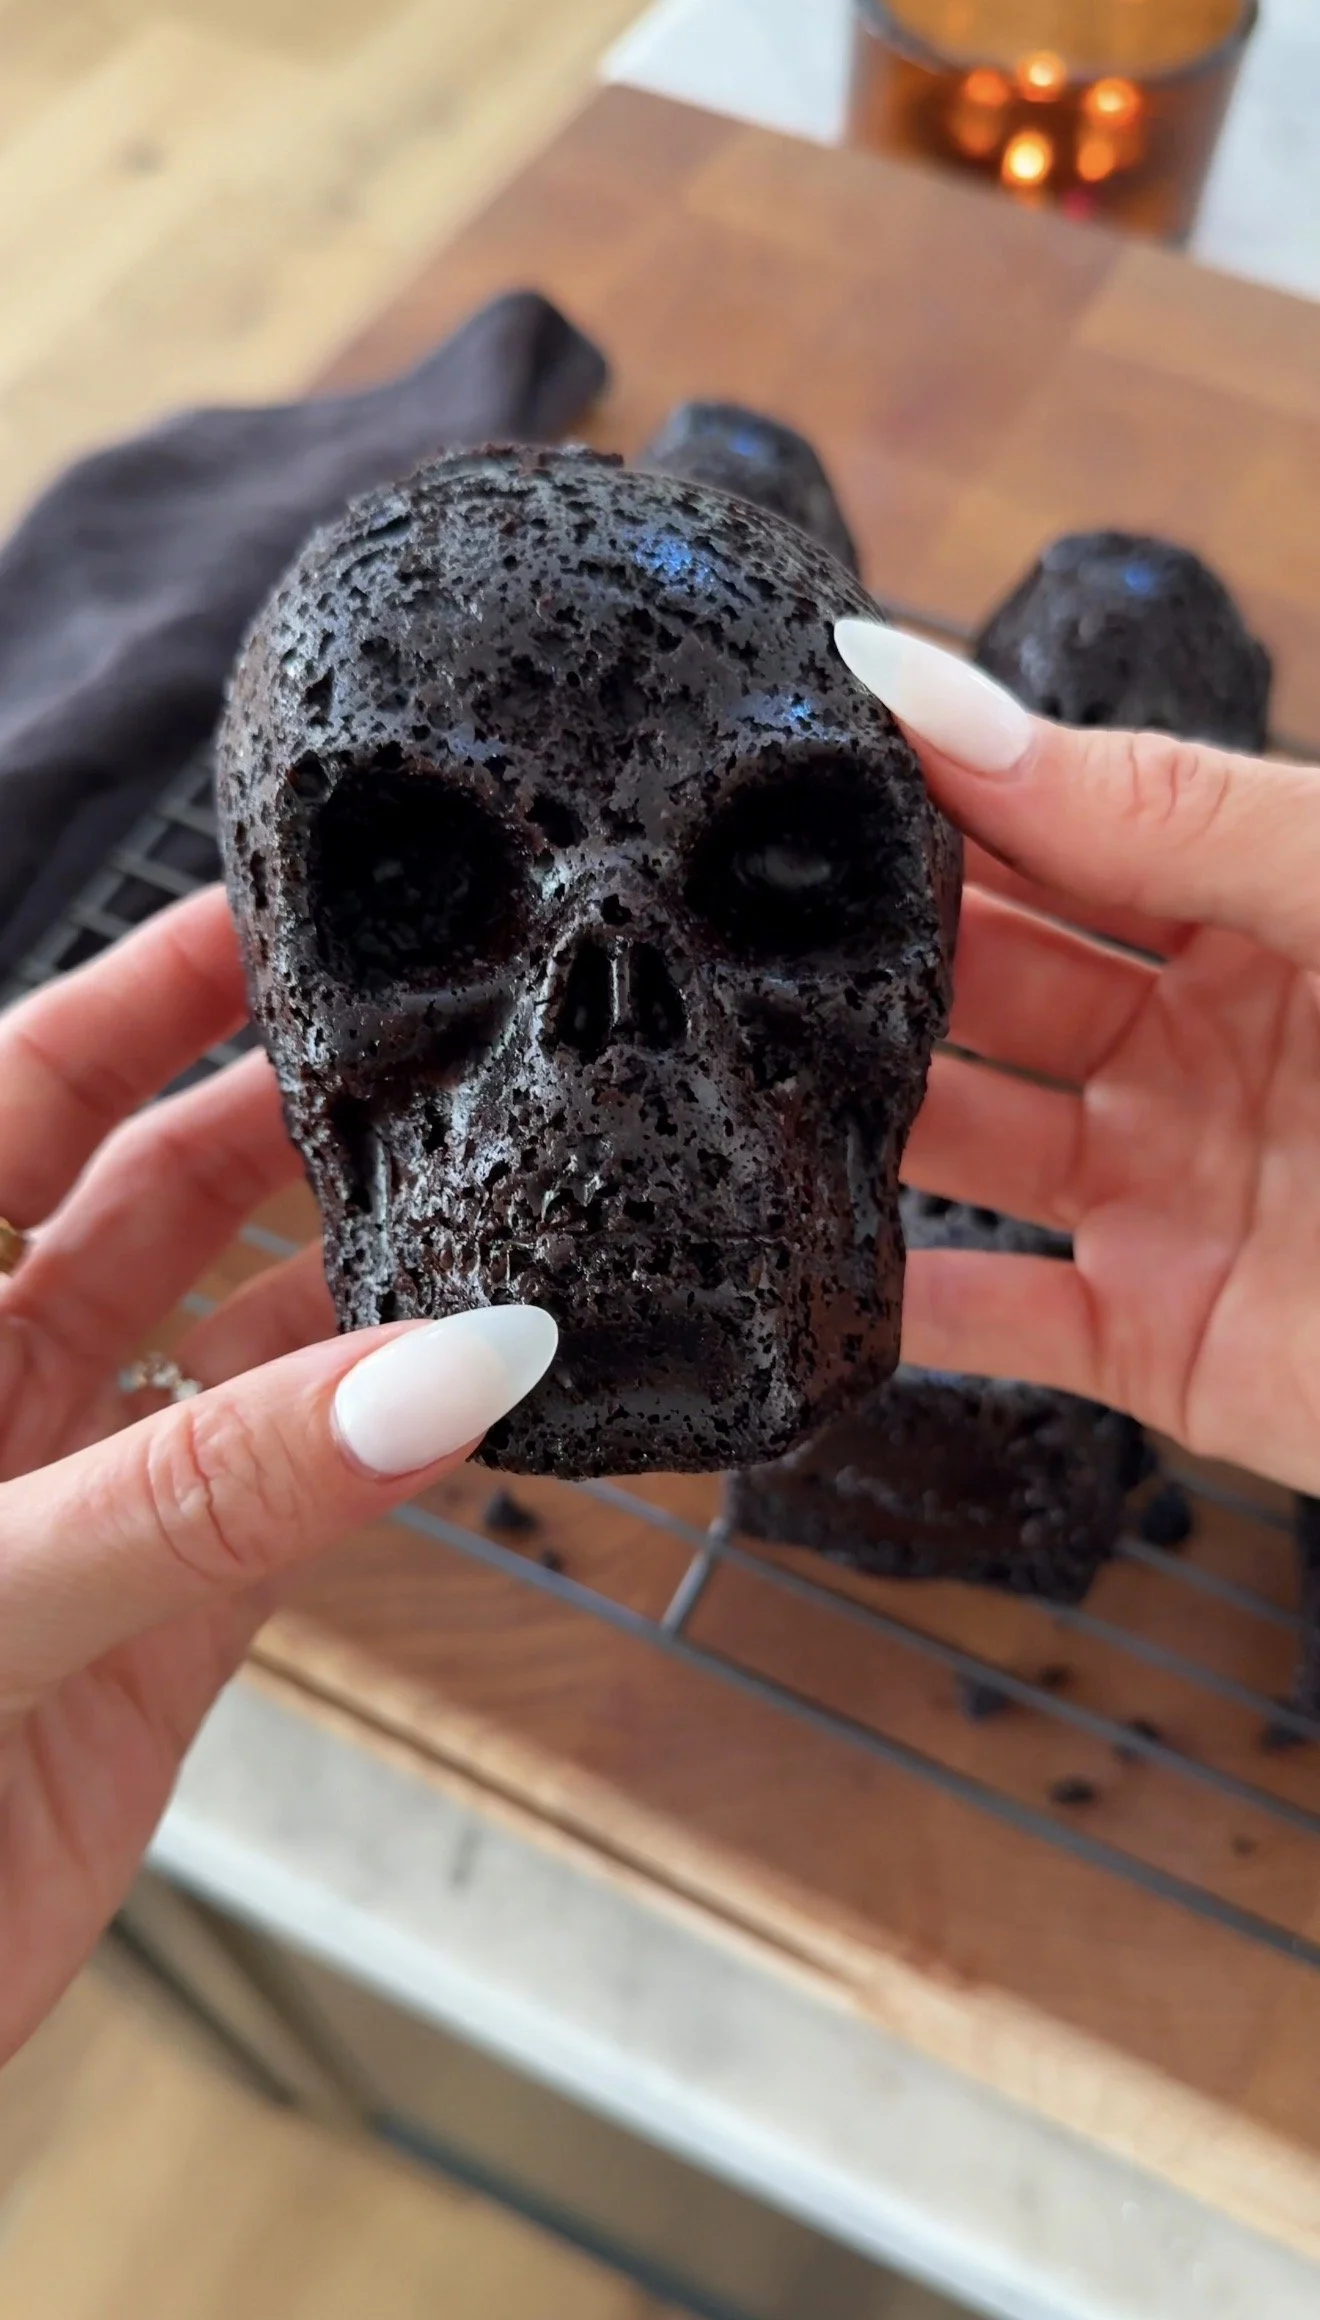
  7. Let the cakes cool in the mold for about 20 minutes, then carefully remove and transfer to a wire rack. Refrigerate until completely chilled, at least 2 hours.
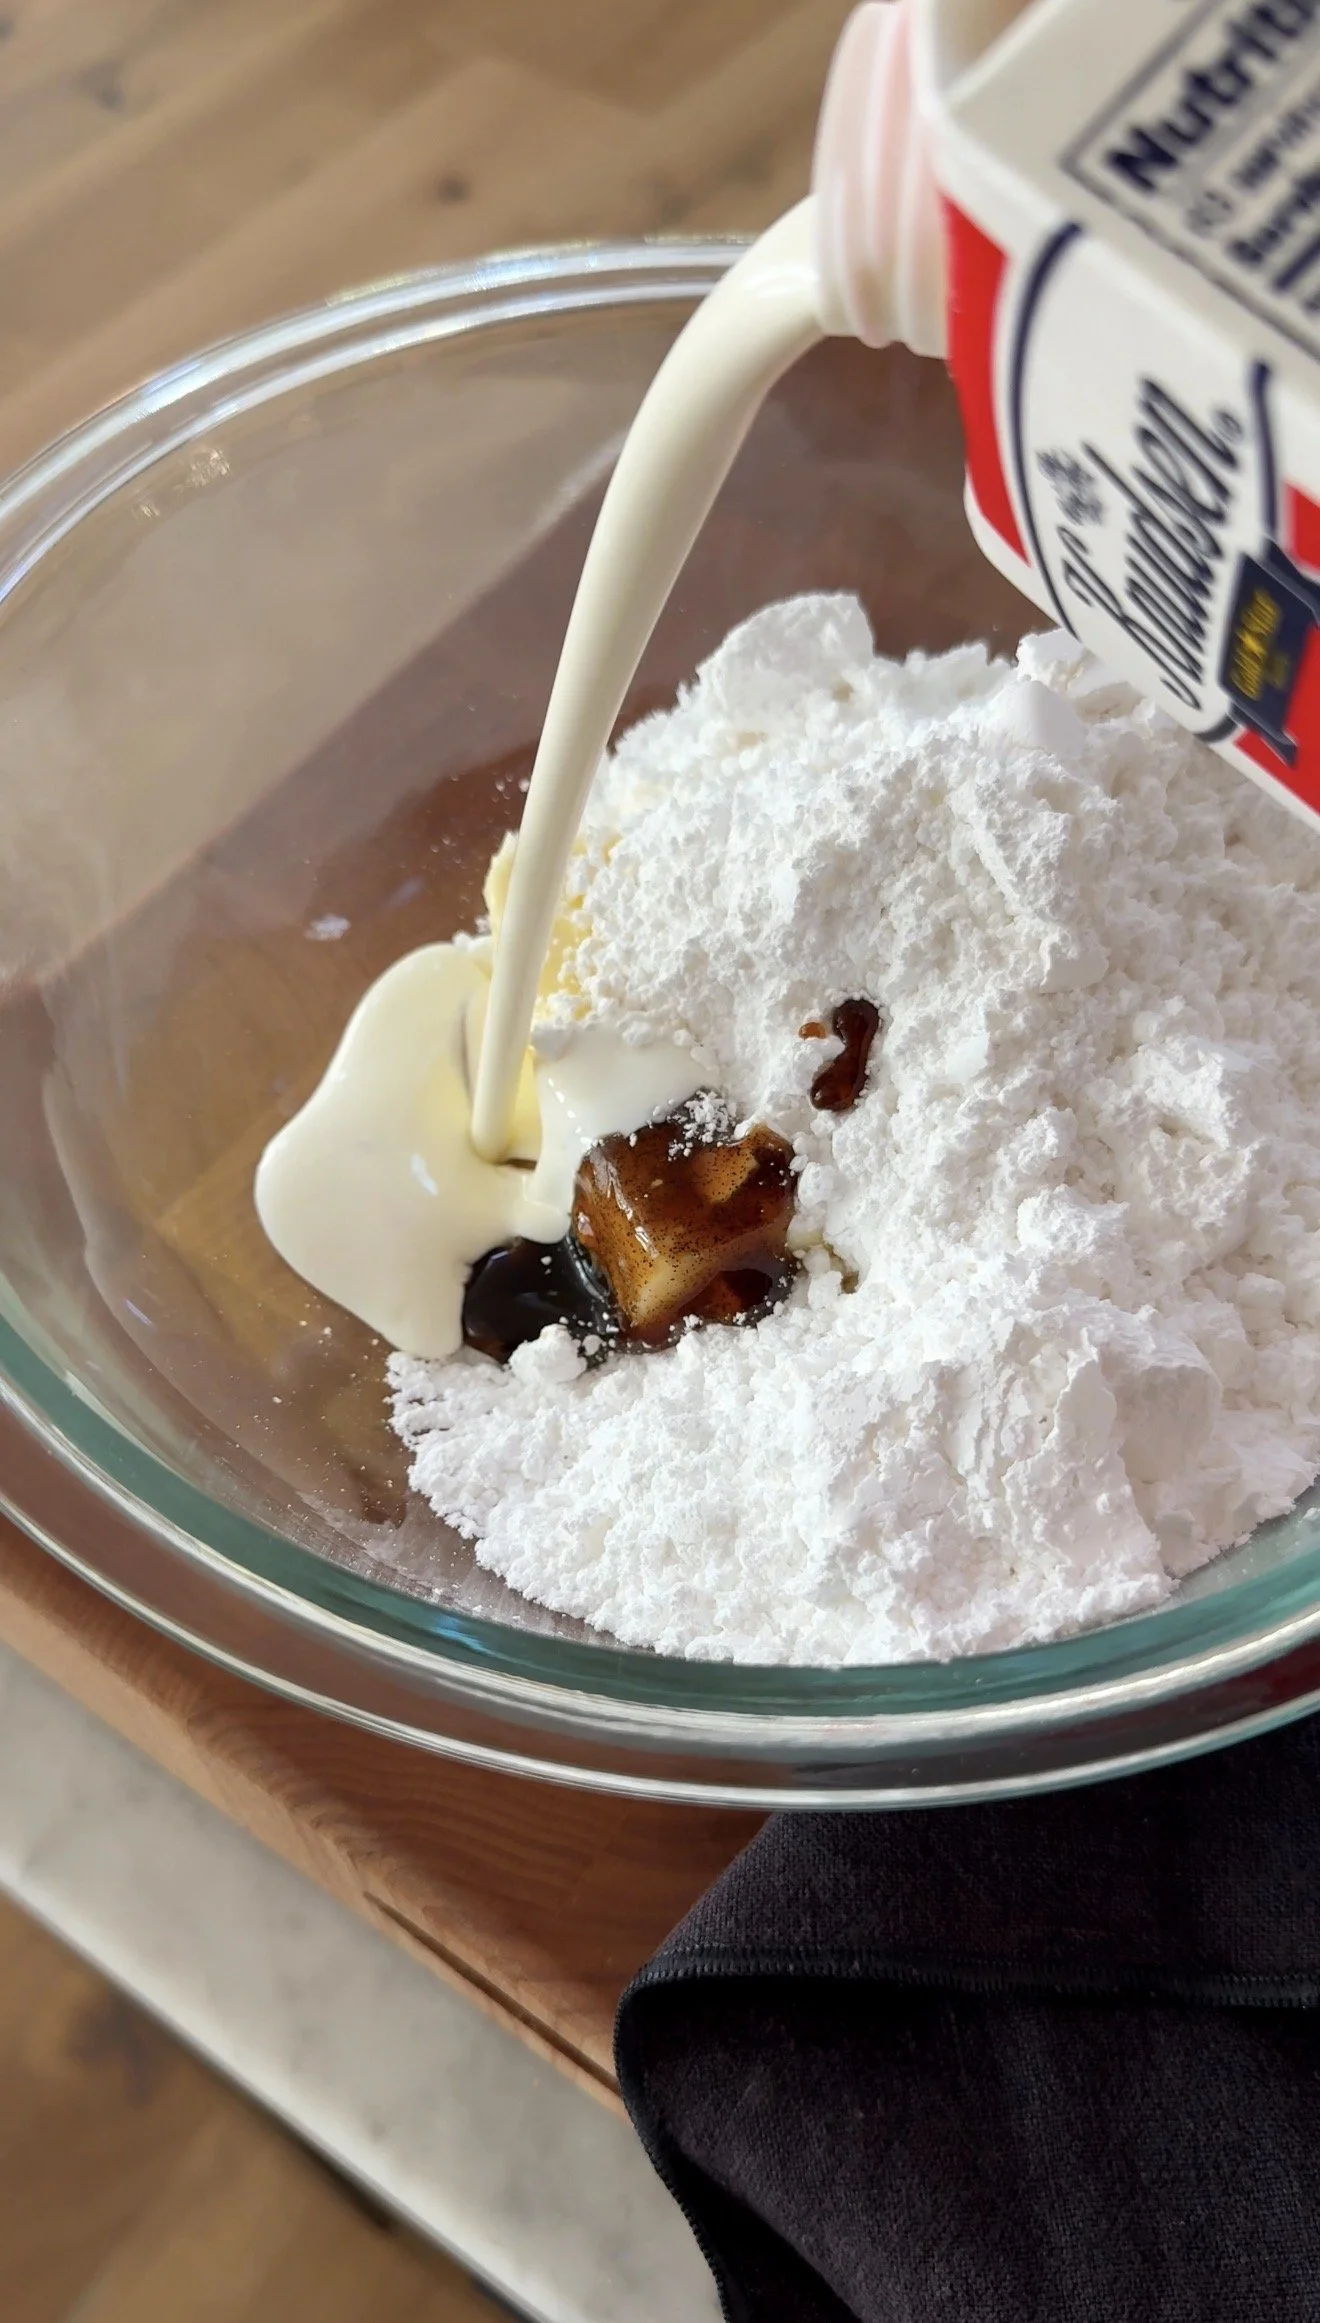
  8. While the cakes cool, prepare the marshmallow filling. Beat the butter until smooth and creamy. Add about three-quarters of the marshmallow fluff and beat until light and fluffy. Mix in the vanilla, powdered sugar, salt, and milk until smooth. Add additional milk, 1 teaspoon at a time, if needed for a pipeable consistency.
  9. If using ganache, prepare the ganache by placing the chopped chocolate in a heatproof bowl. Heat the heavy cream in a saucepan until it just begins to simmer. Pour over the chocolate and let sit for 2 to 3 minutes. Stir until smooth. Refrigerate for about 2 hours, stirring occasionally, until thick enough to spread or pipe. Do not microwave.
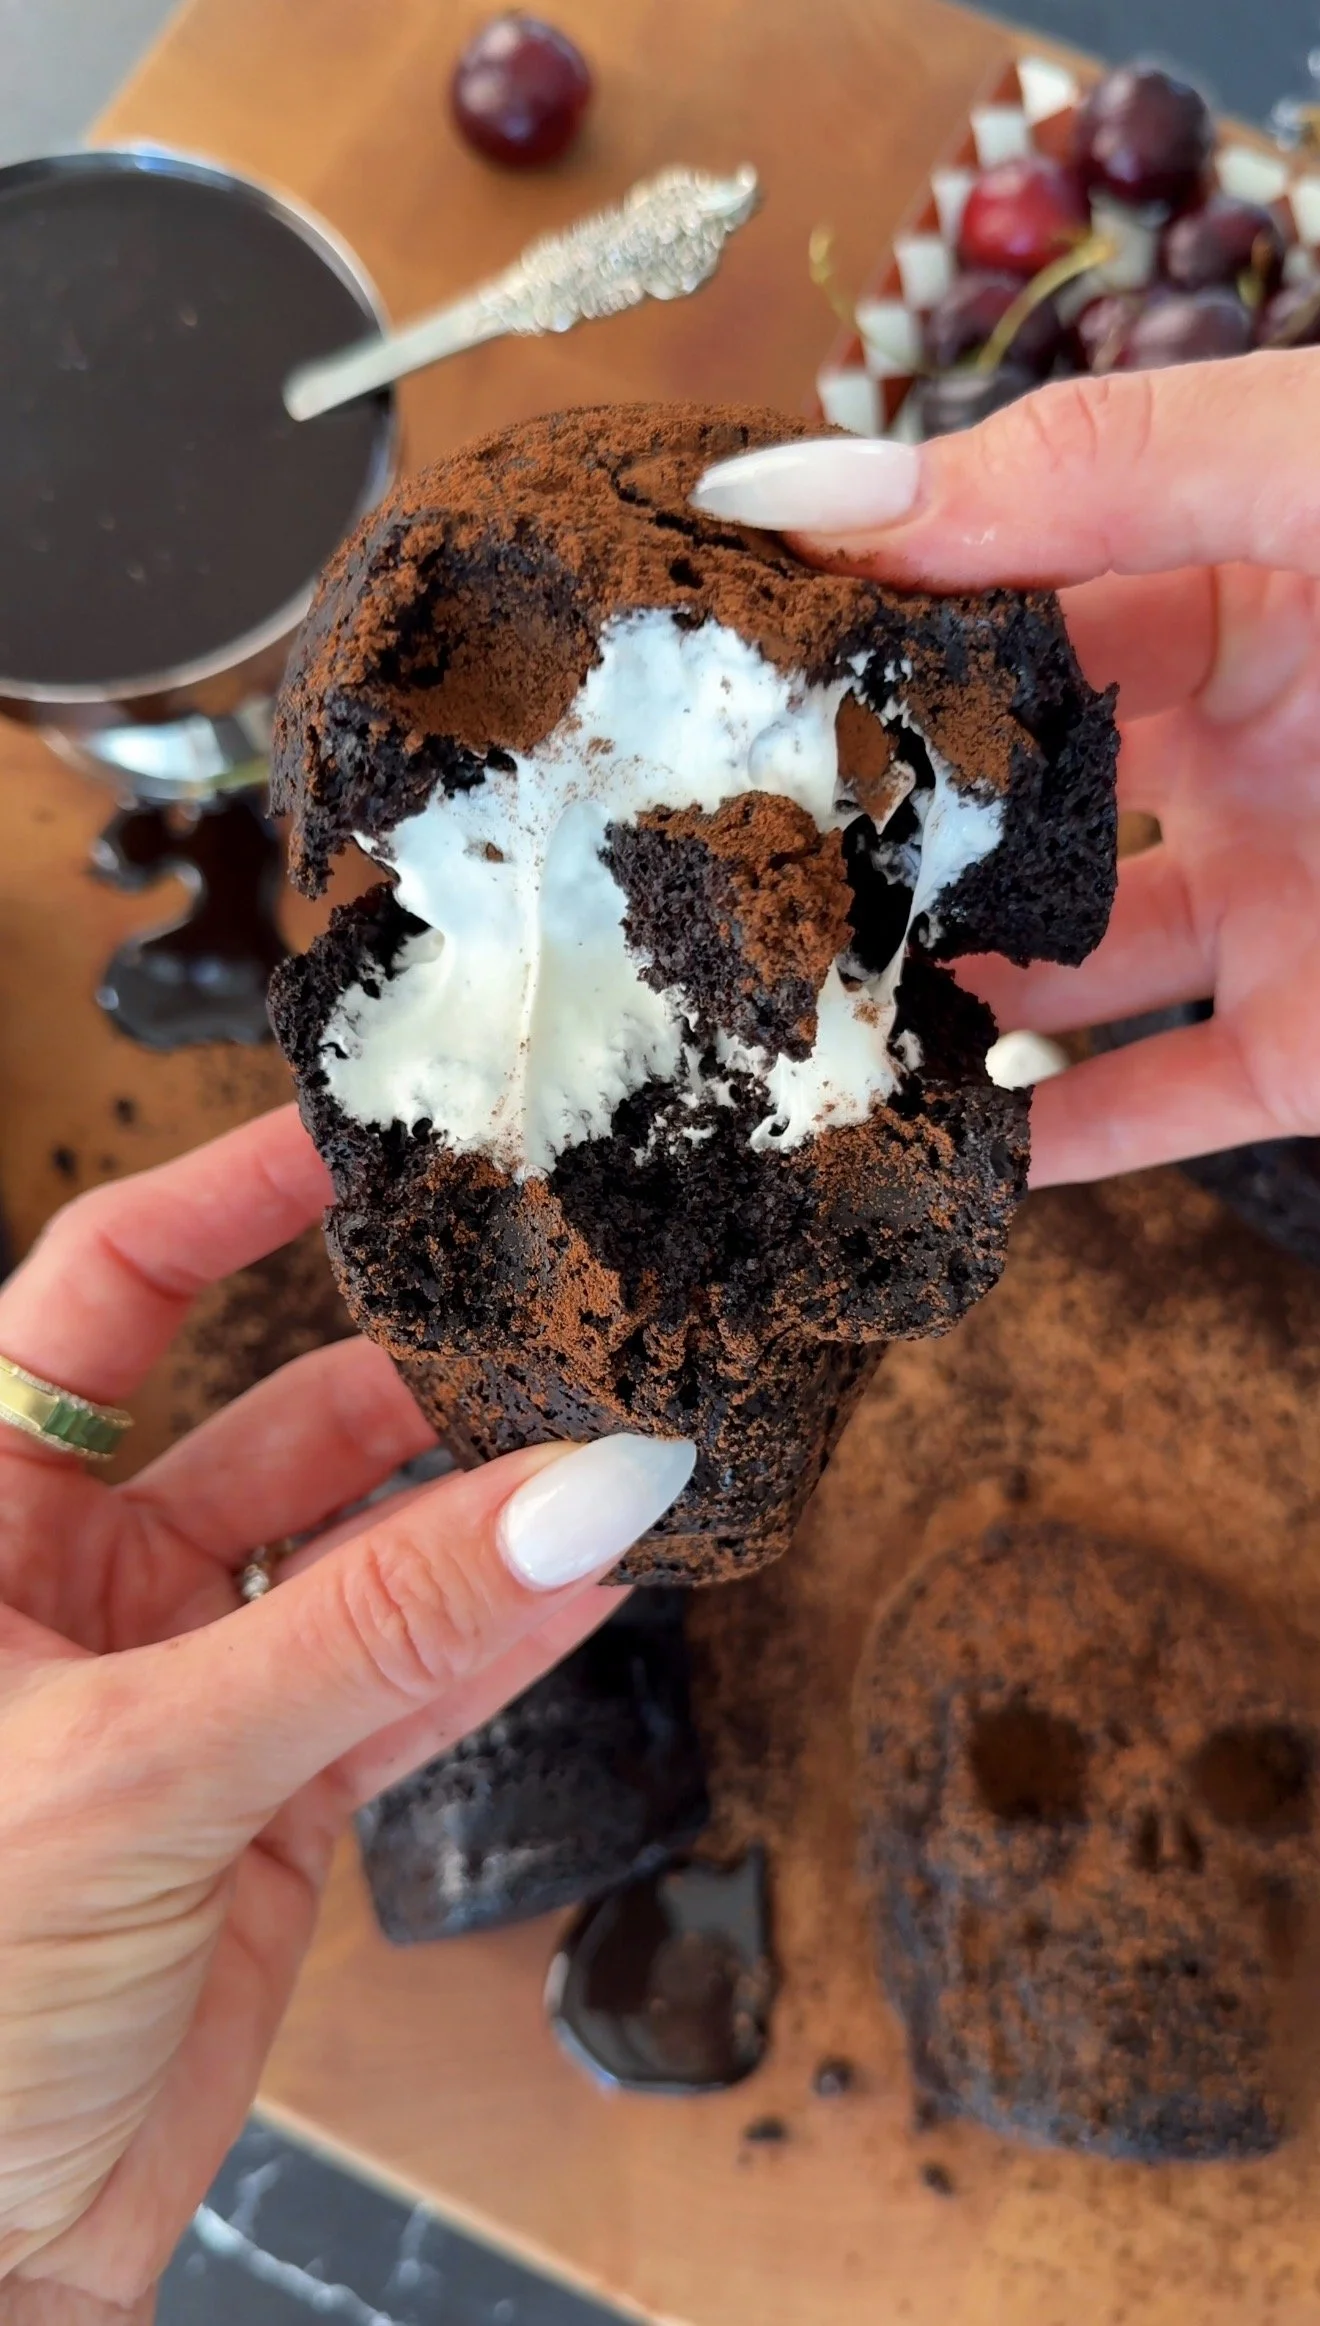
  10. Turn each chilled skull over so the flat back is facing up. Transfer the marshmallow crème filling to a piping bag and pipe the filling into the back of each hollowed skull.
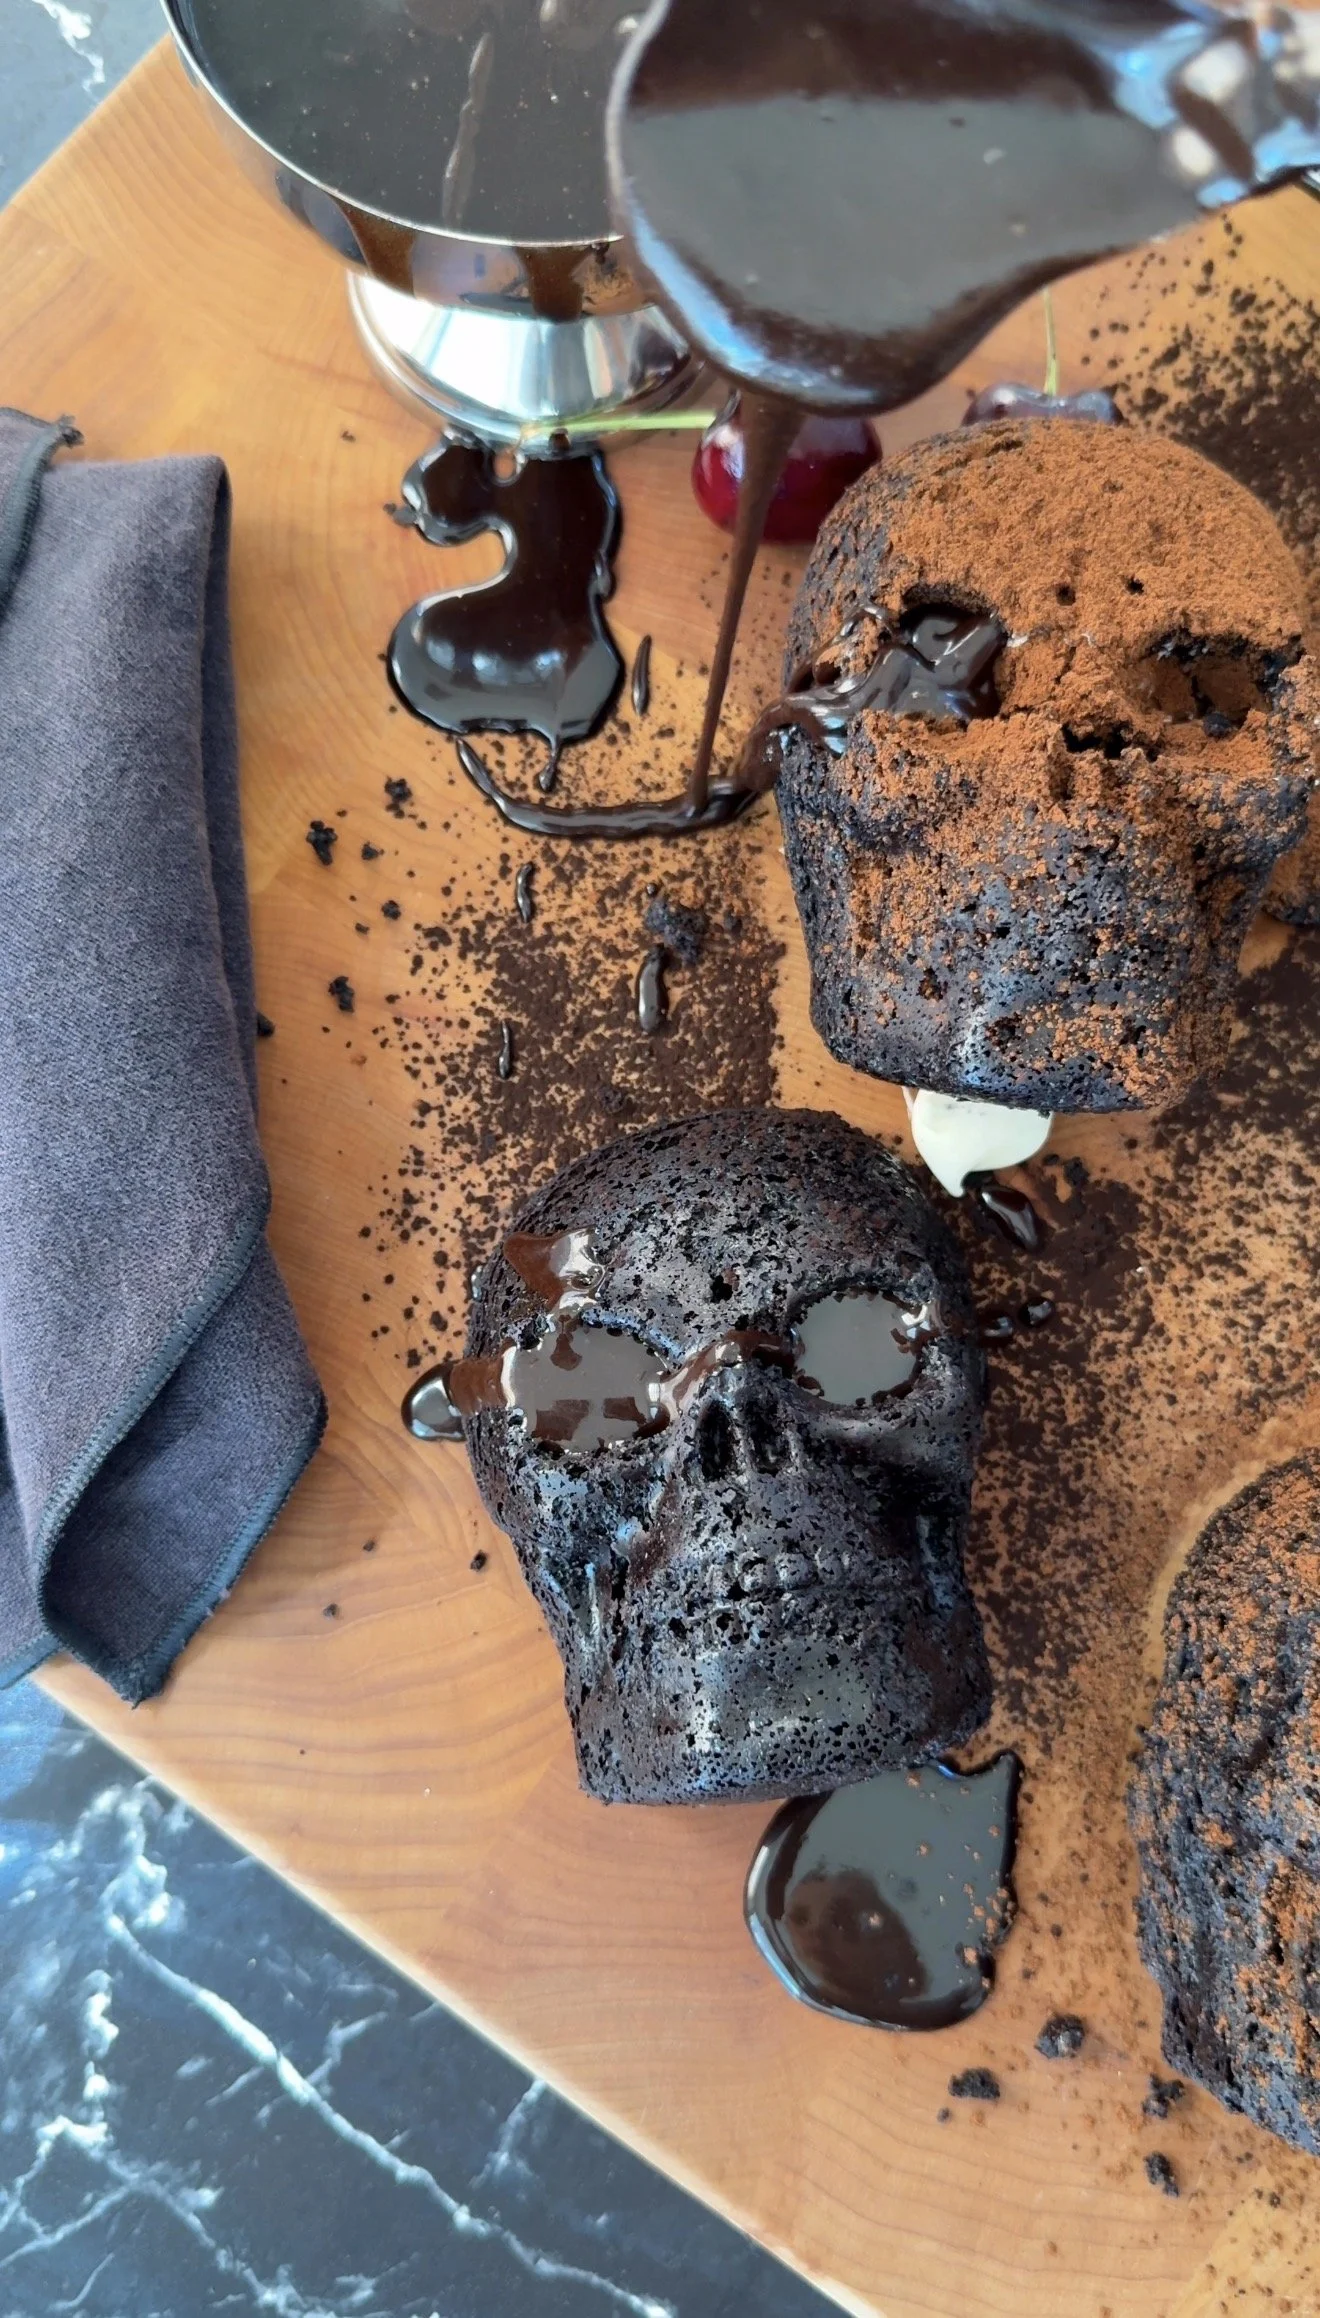
  11. Pour chocolate ganache over the skull before serving.
  12. For a classic Hostess-inspired finish, pipe a small marshmallow squiggle across the mouth of each skull after the ganache has set.
  13. Refrigerate until ready to serve. Store covered in the refrigerator for up to 4 days.

Tried this recipe?

Let us know how it was!

Leave the first comment

Recipe Rating


This post may contain affiliate links, please see our privacy policy for details.

Hi, I'm Jessie. 

I’m a Los Angeles mama, home renovator, and lifelong creative, sharing the things that make everyday life a little more beautiful. I believe food is one of the best ways to bring people together, which is why I love cooking: it turns an ordinary Tuesday into something worth remembering. From recipes I make on repeat to DIY projects, home design, and a little bit of real life in between — welcome to my corner of the internet. I’m so glad you’re here.

More about Jessie

Let’s be friends!

Be the first to receive exclusive content, hear about upcoming collaborations, and special events!
* indicates required

Intuit Mailchimp