Opens in a new tab

Brioche Easter Nests with Thermador

by Jessie Daye

First published: March 22, 2026 | Updated: September 14, 2026

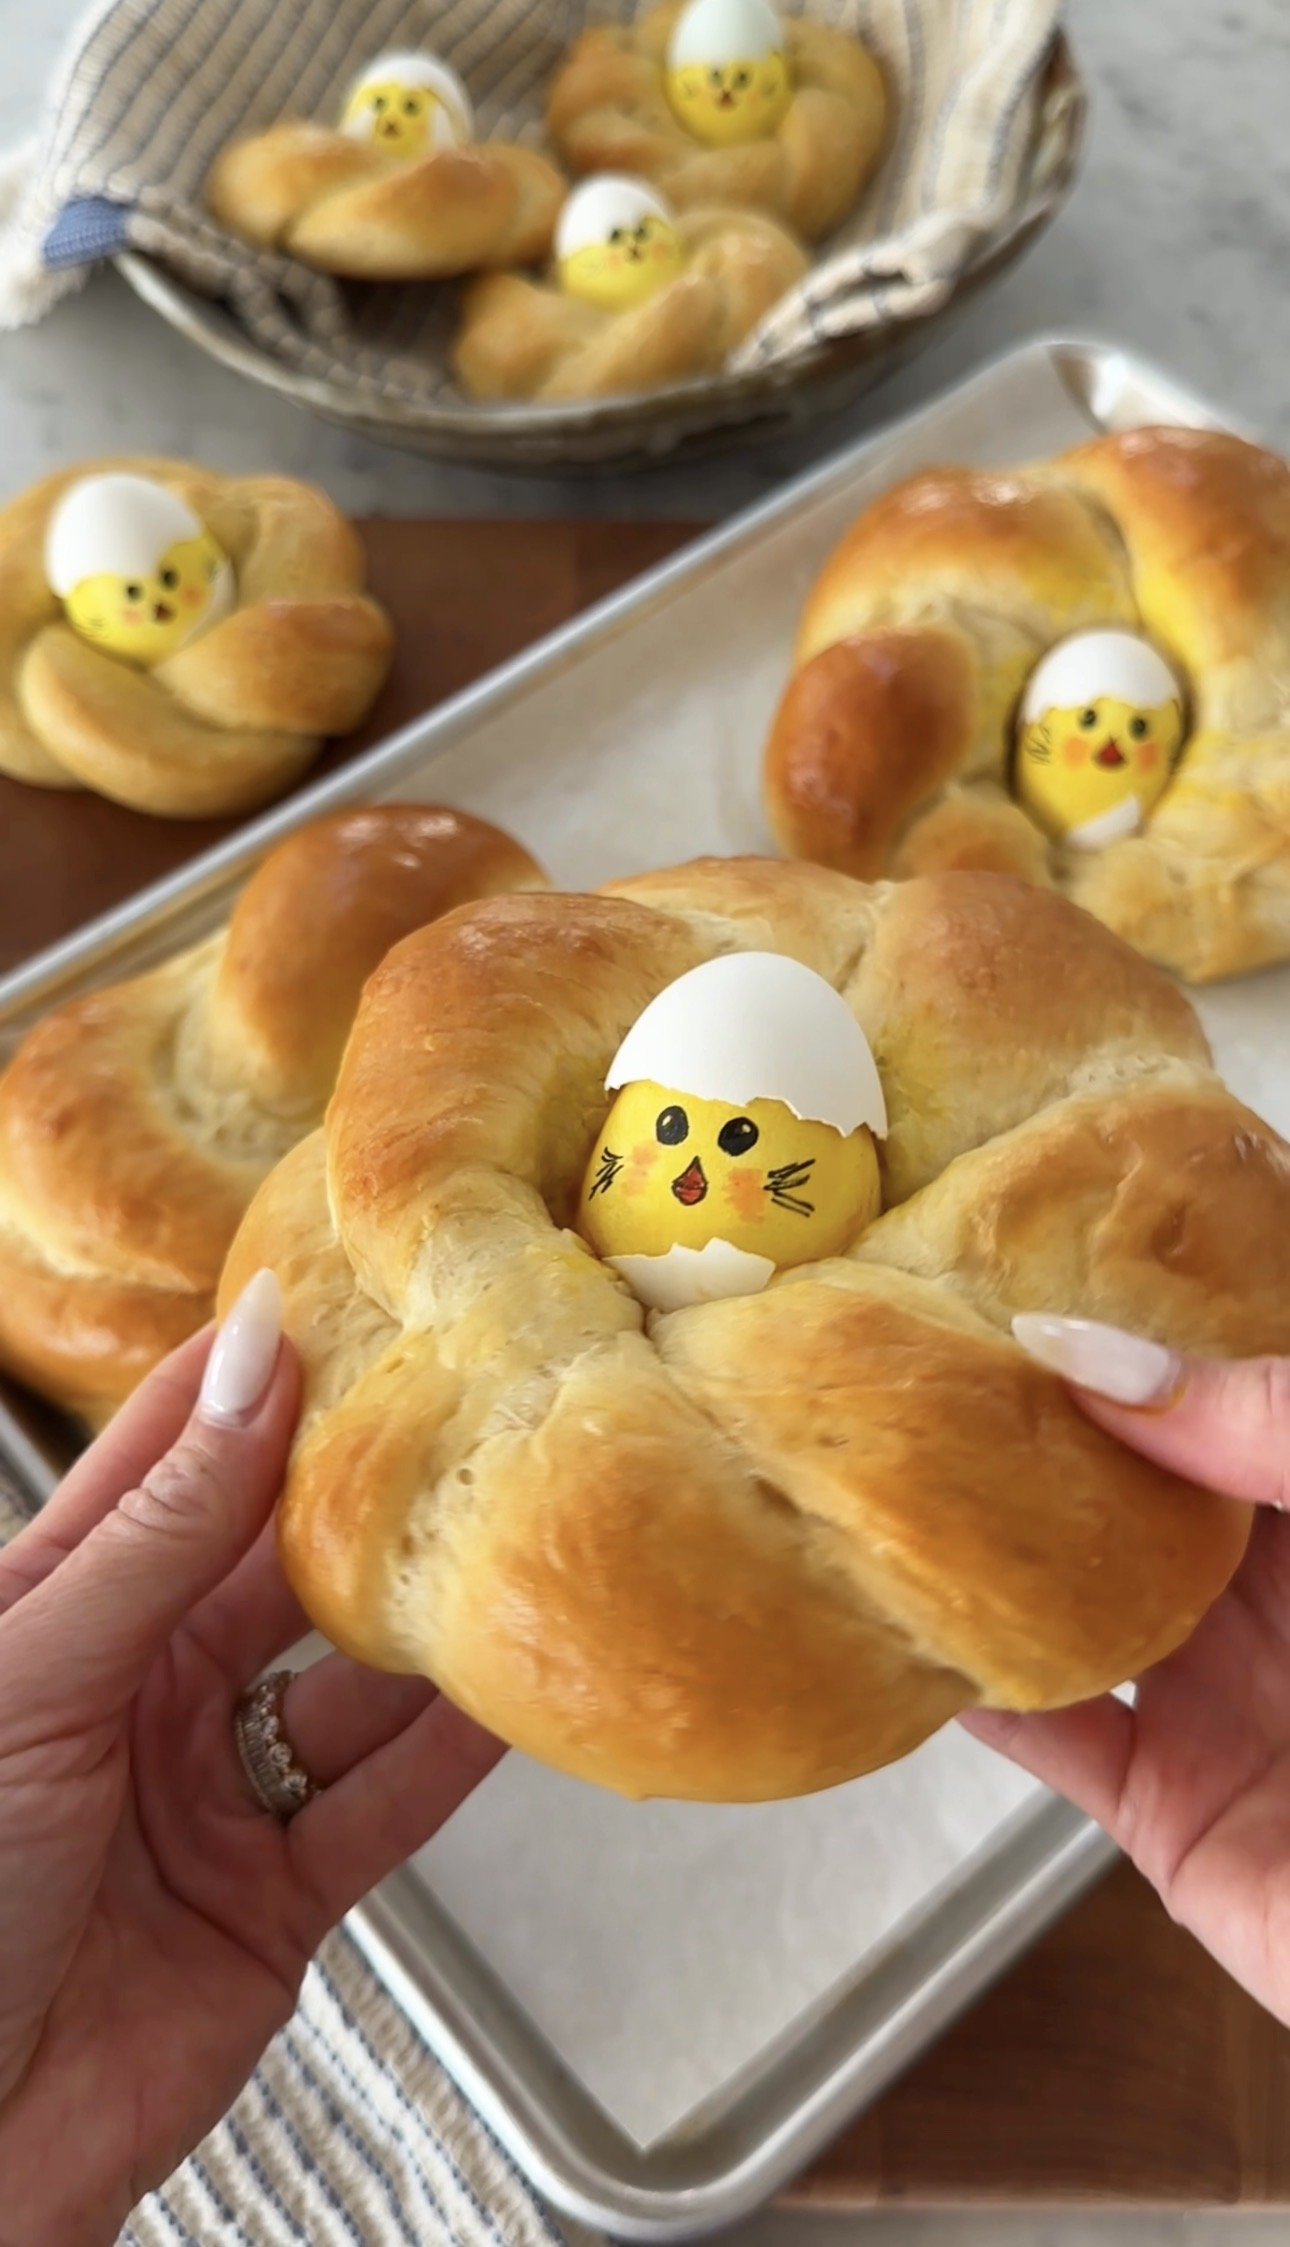
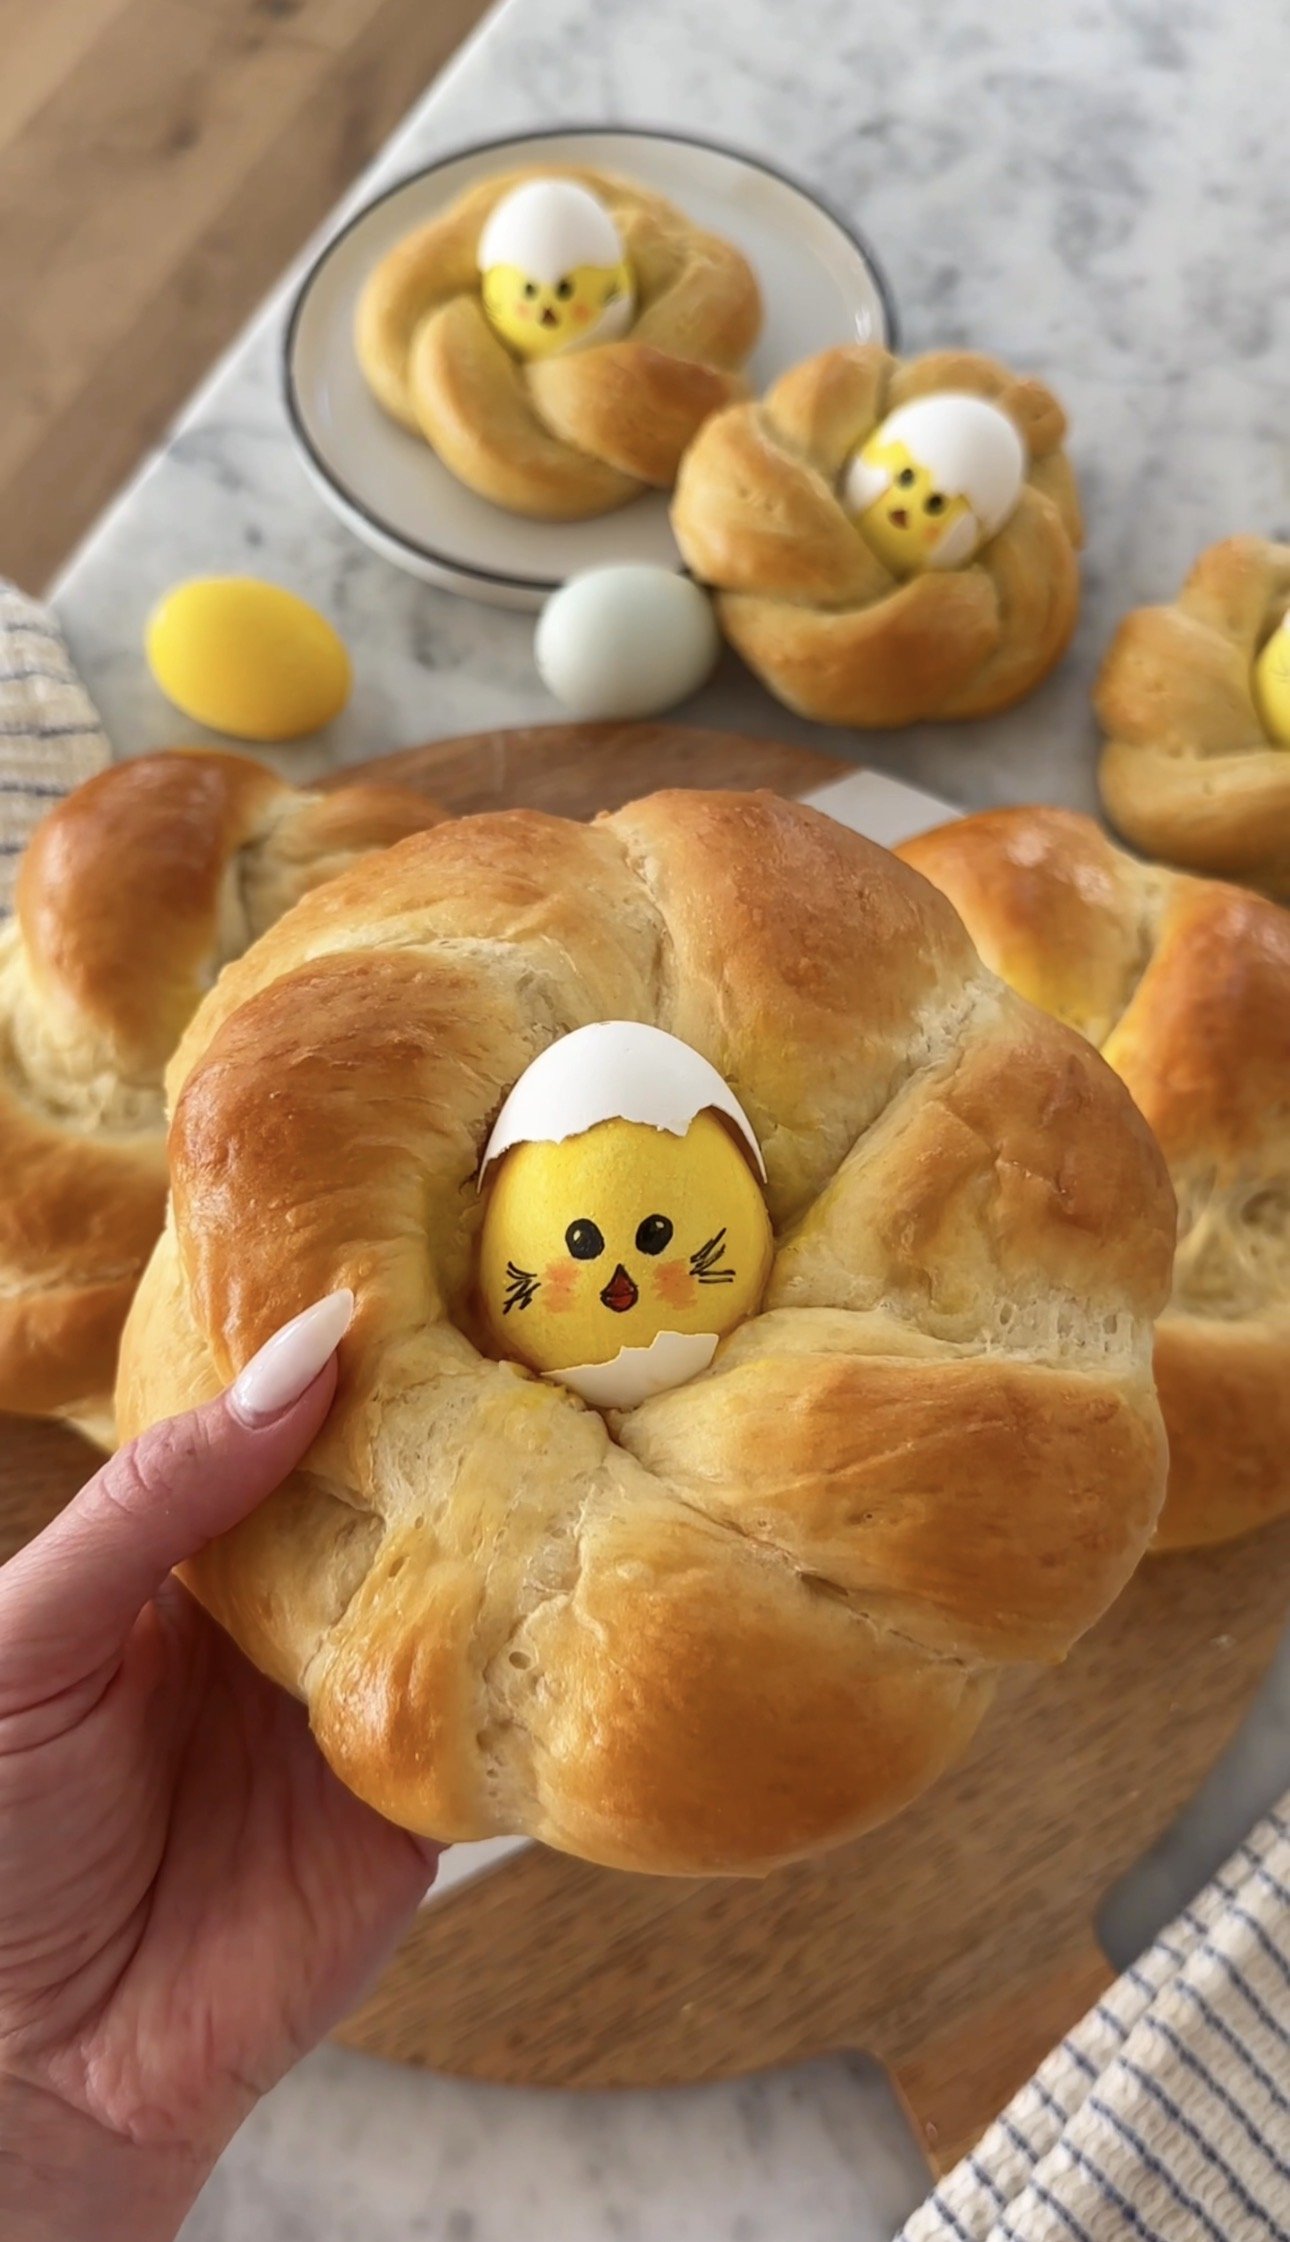
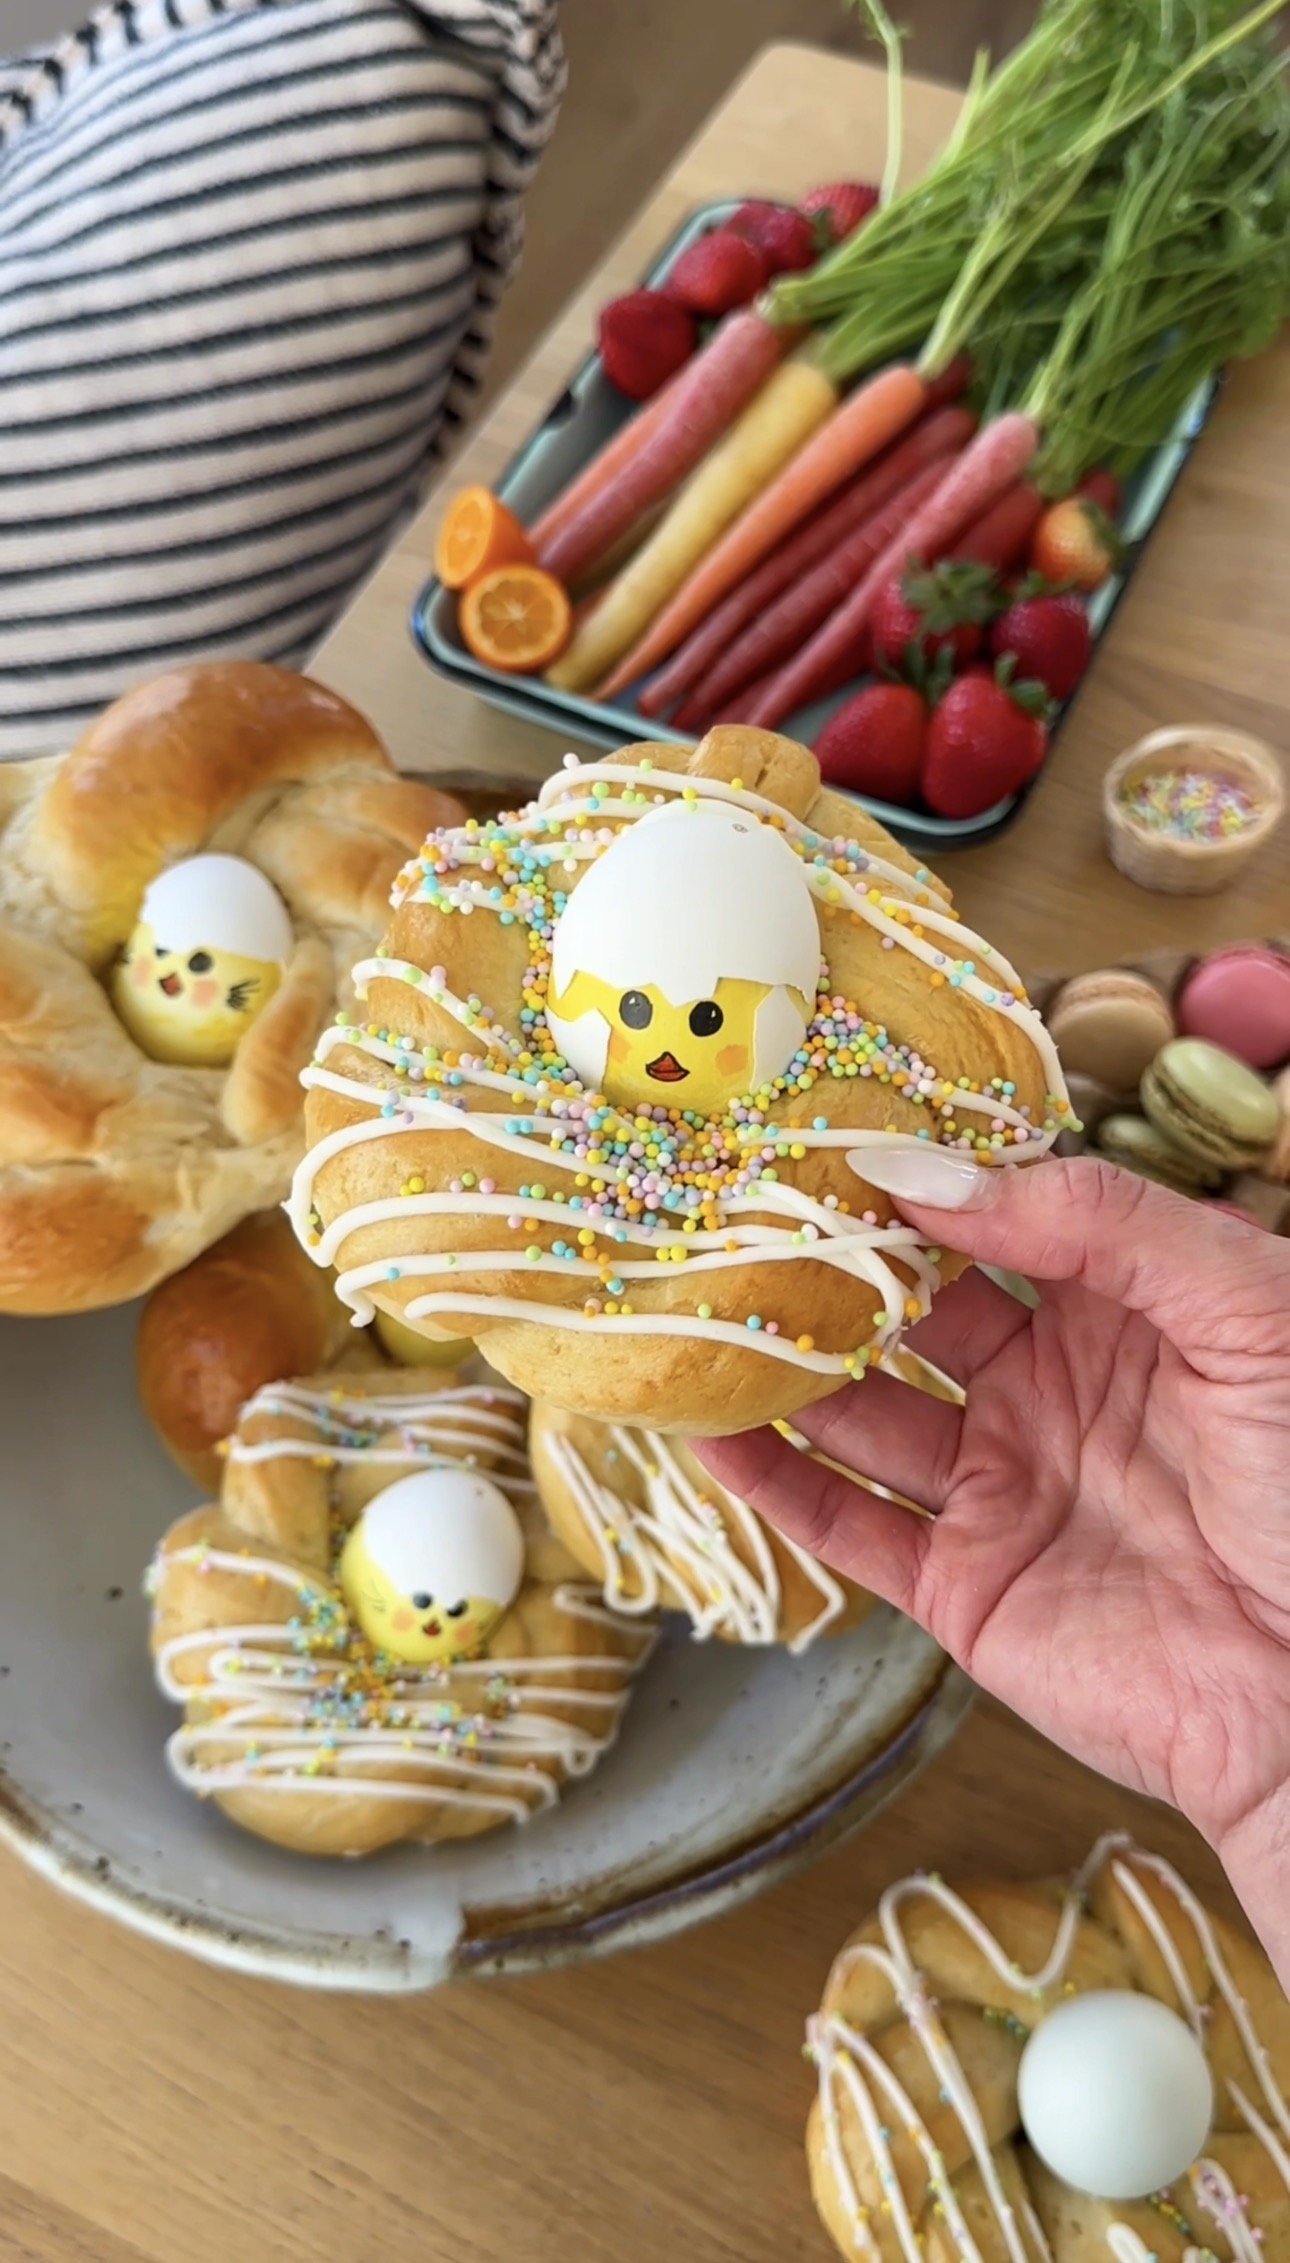
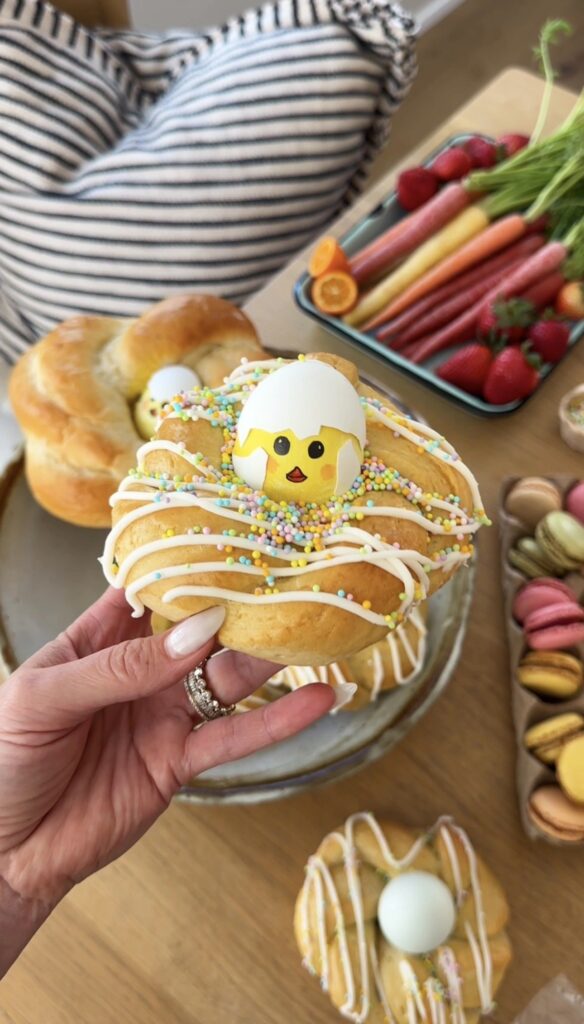
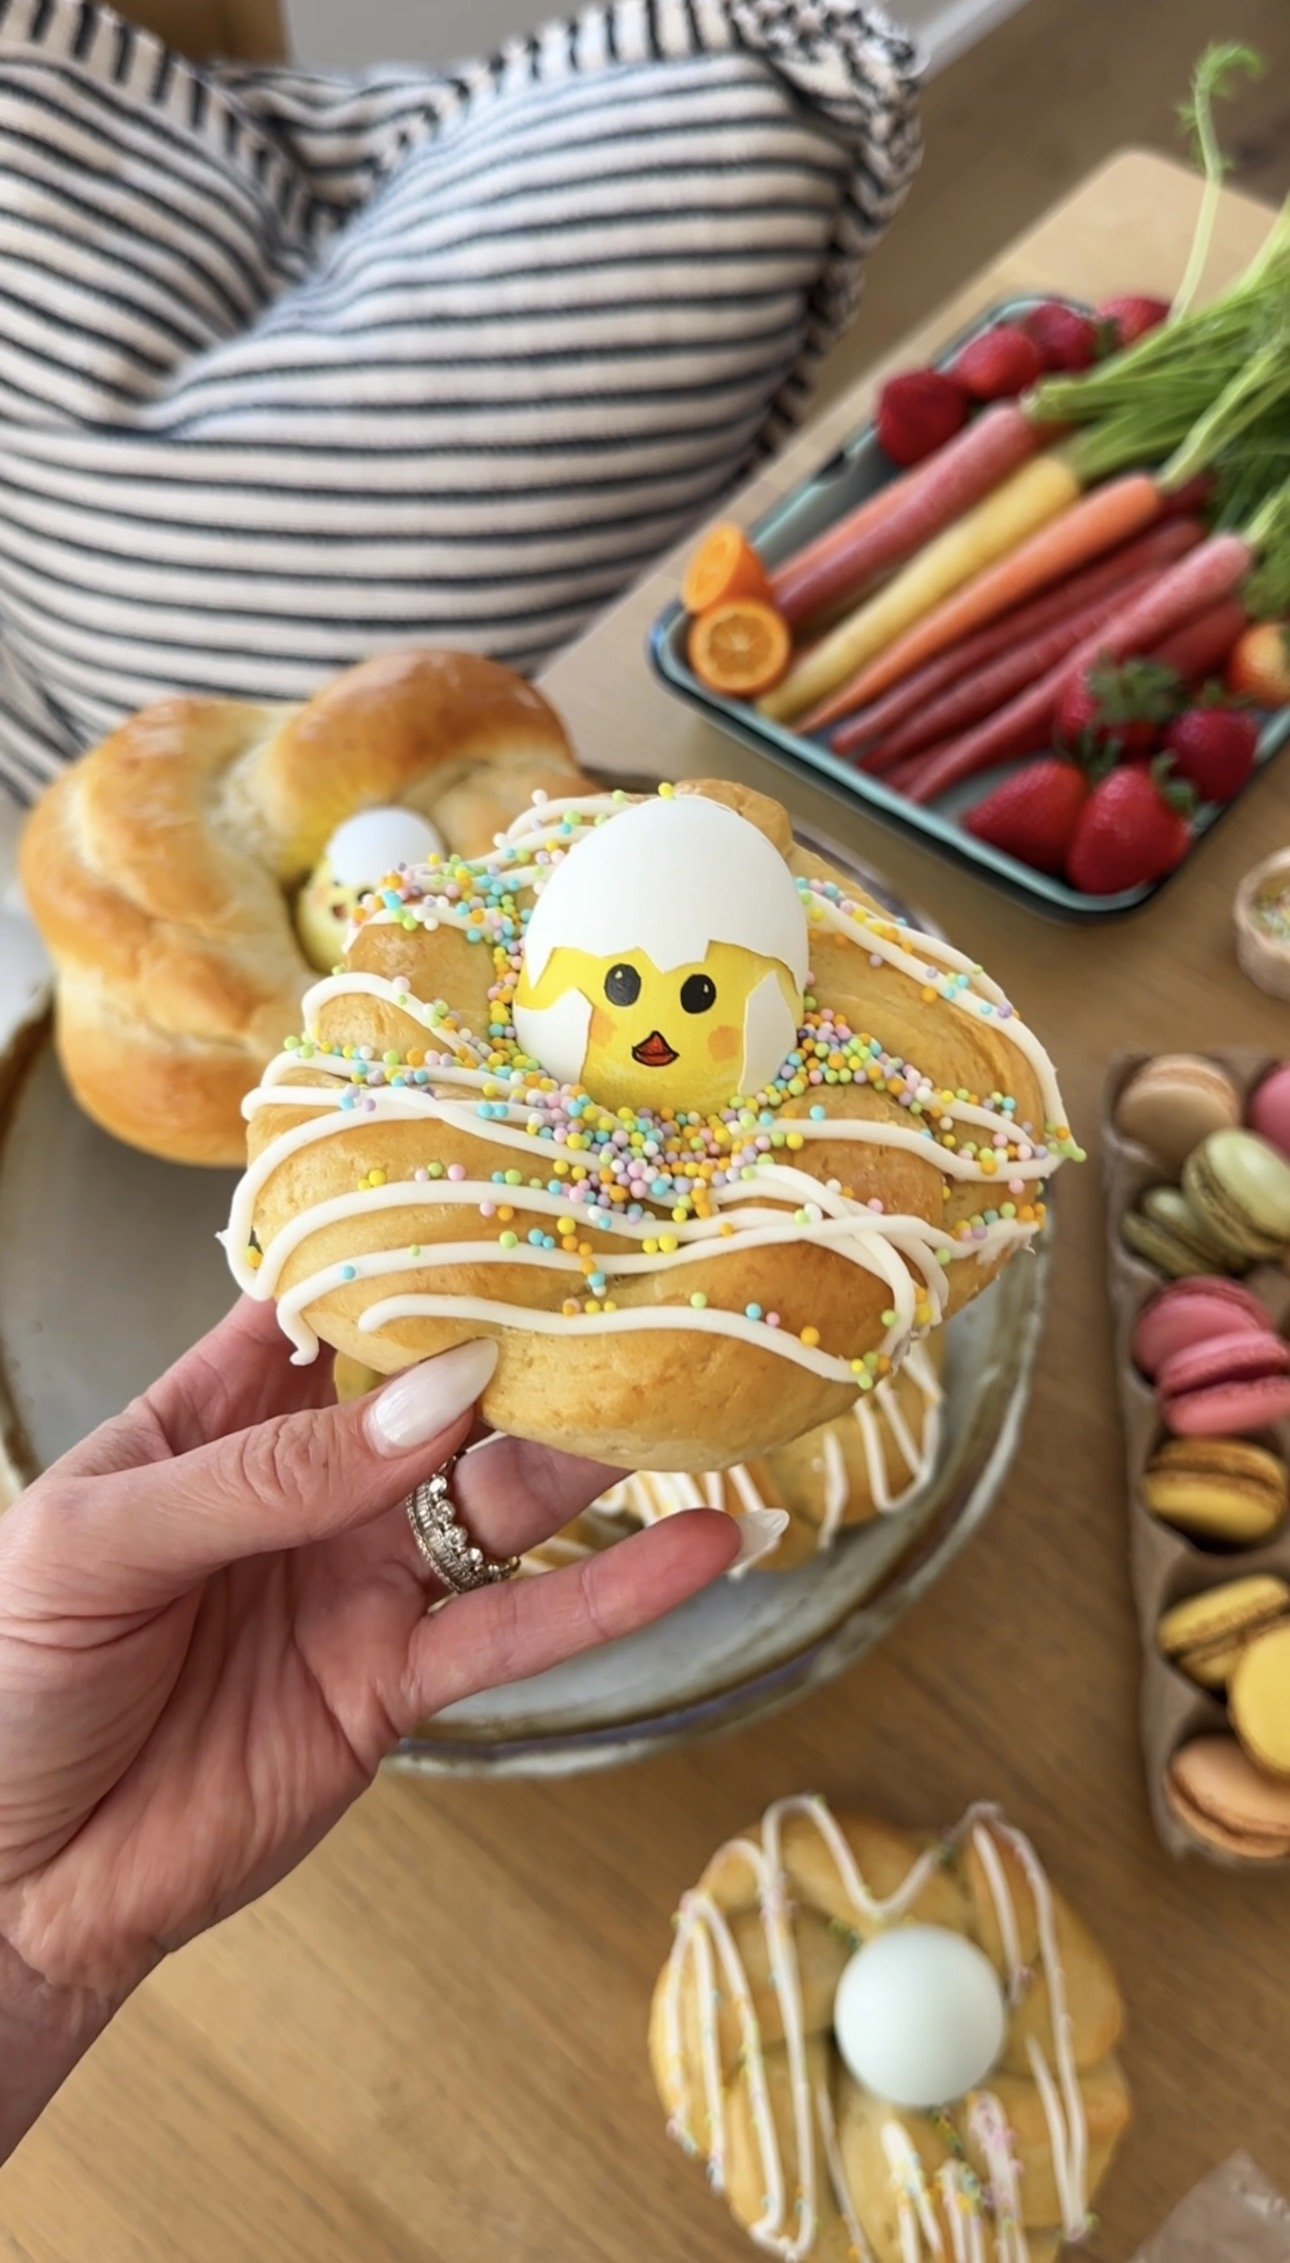
Spring Brioche Nests with @thermadorhome because I can count on them like no one else… and honestly, who doesn’t love sweet Italian Easter bread ✨Golden, soft, and baked to perfection—these little nests are basically spring in bread form. These are so good you guys. Tutorial and step-by-step photos are below.

And check out Thermador products near you!
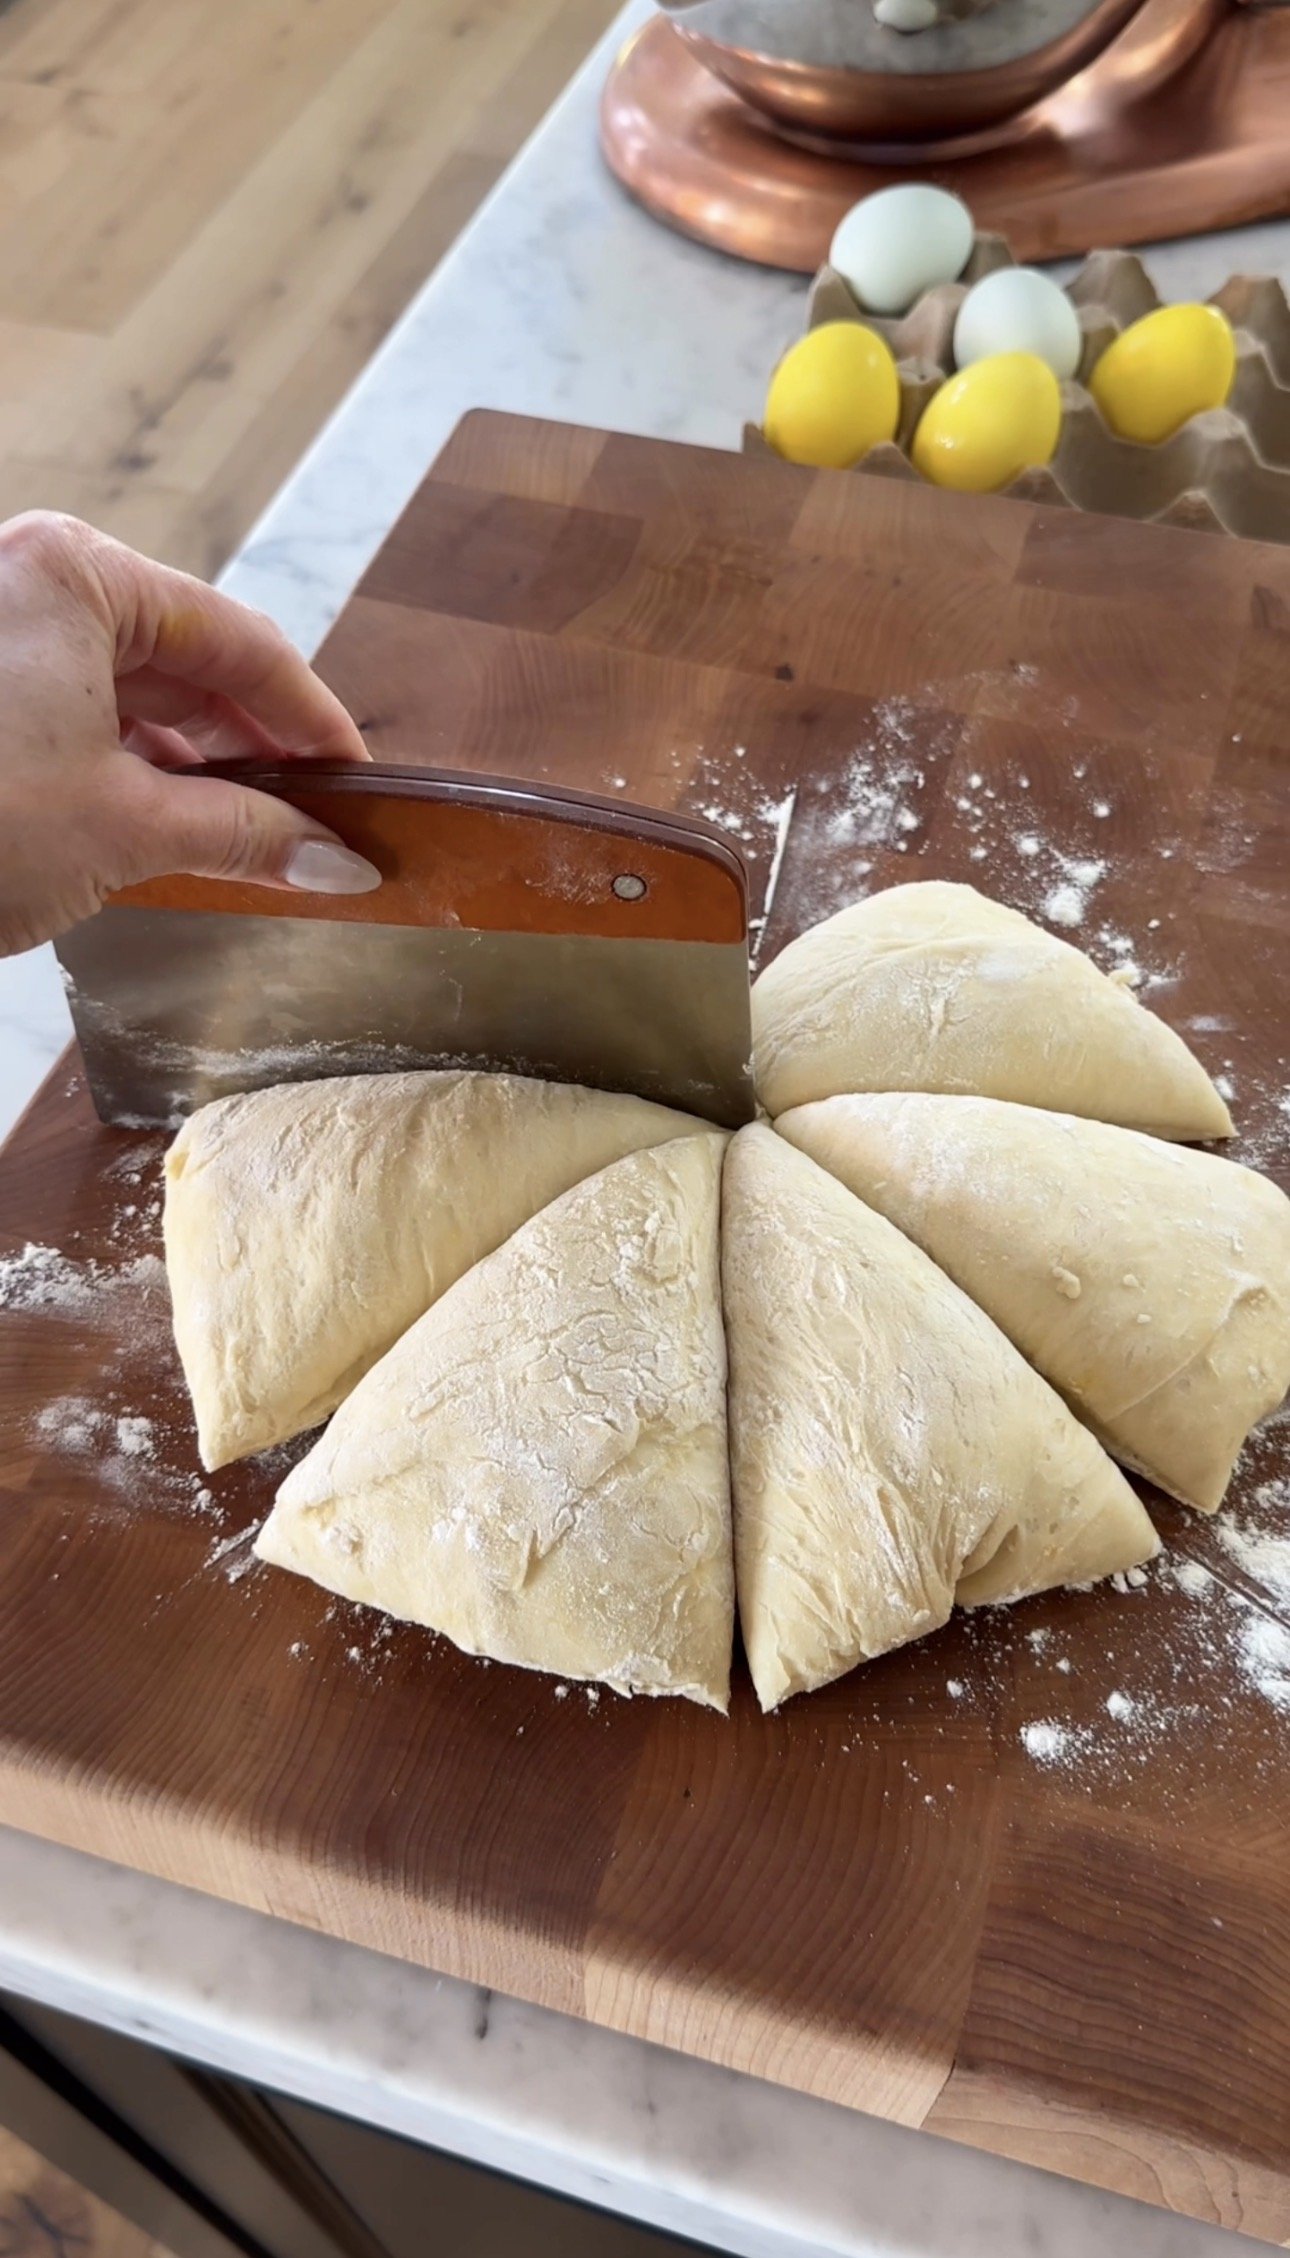
Cut the dough into 6 pieces. * This is for 3 LARGE nests.
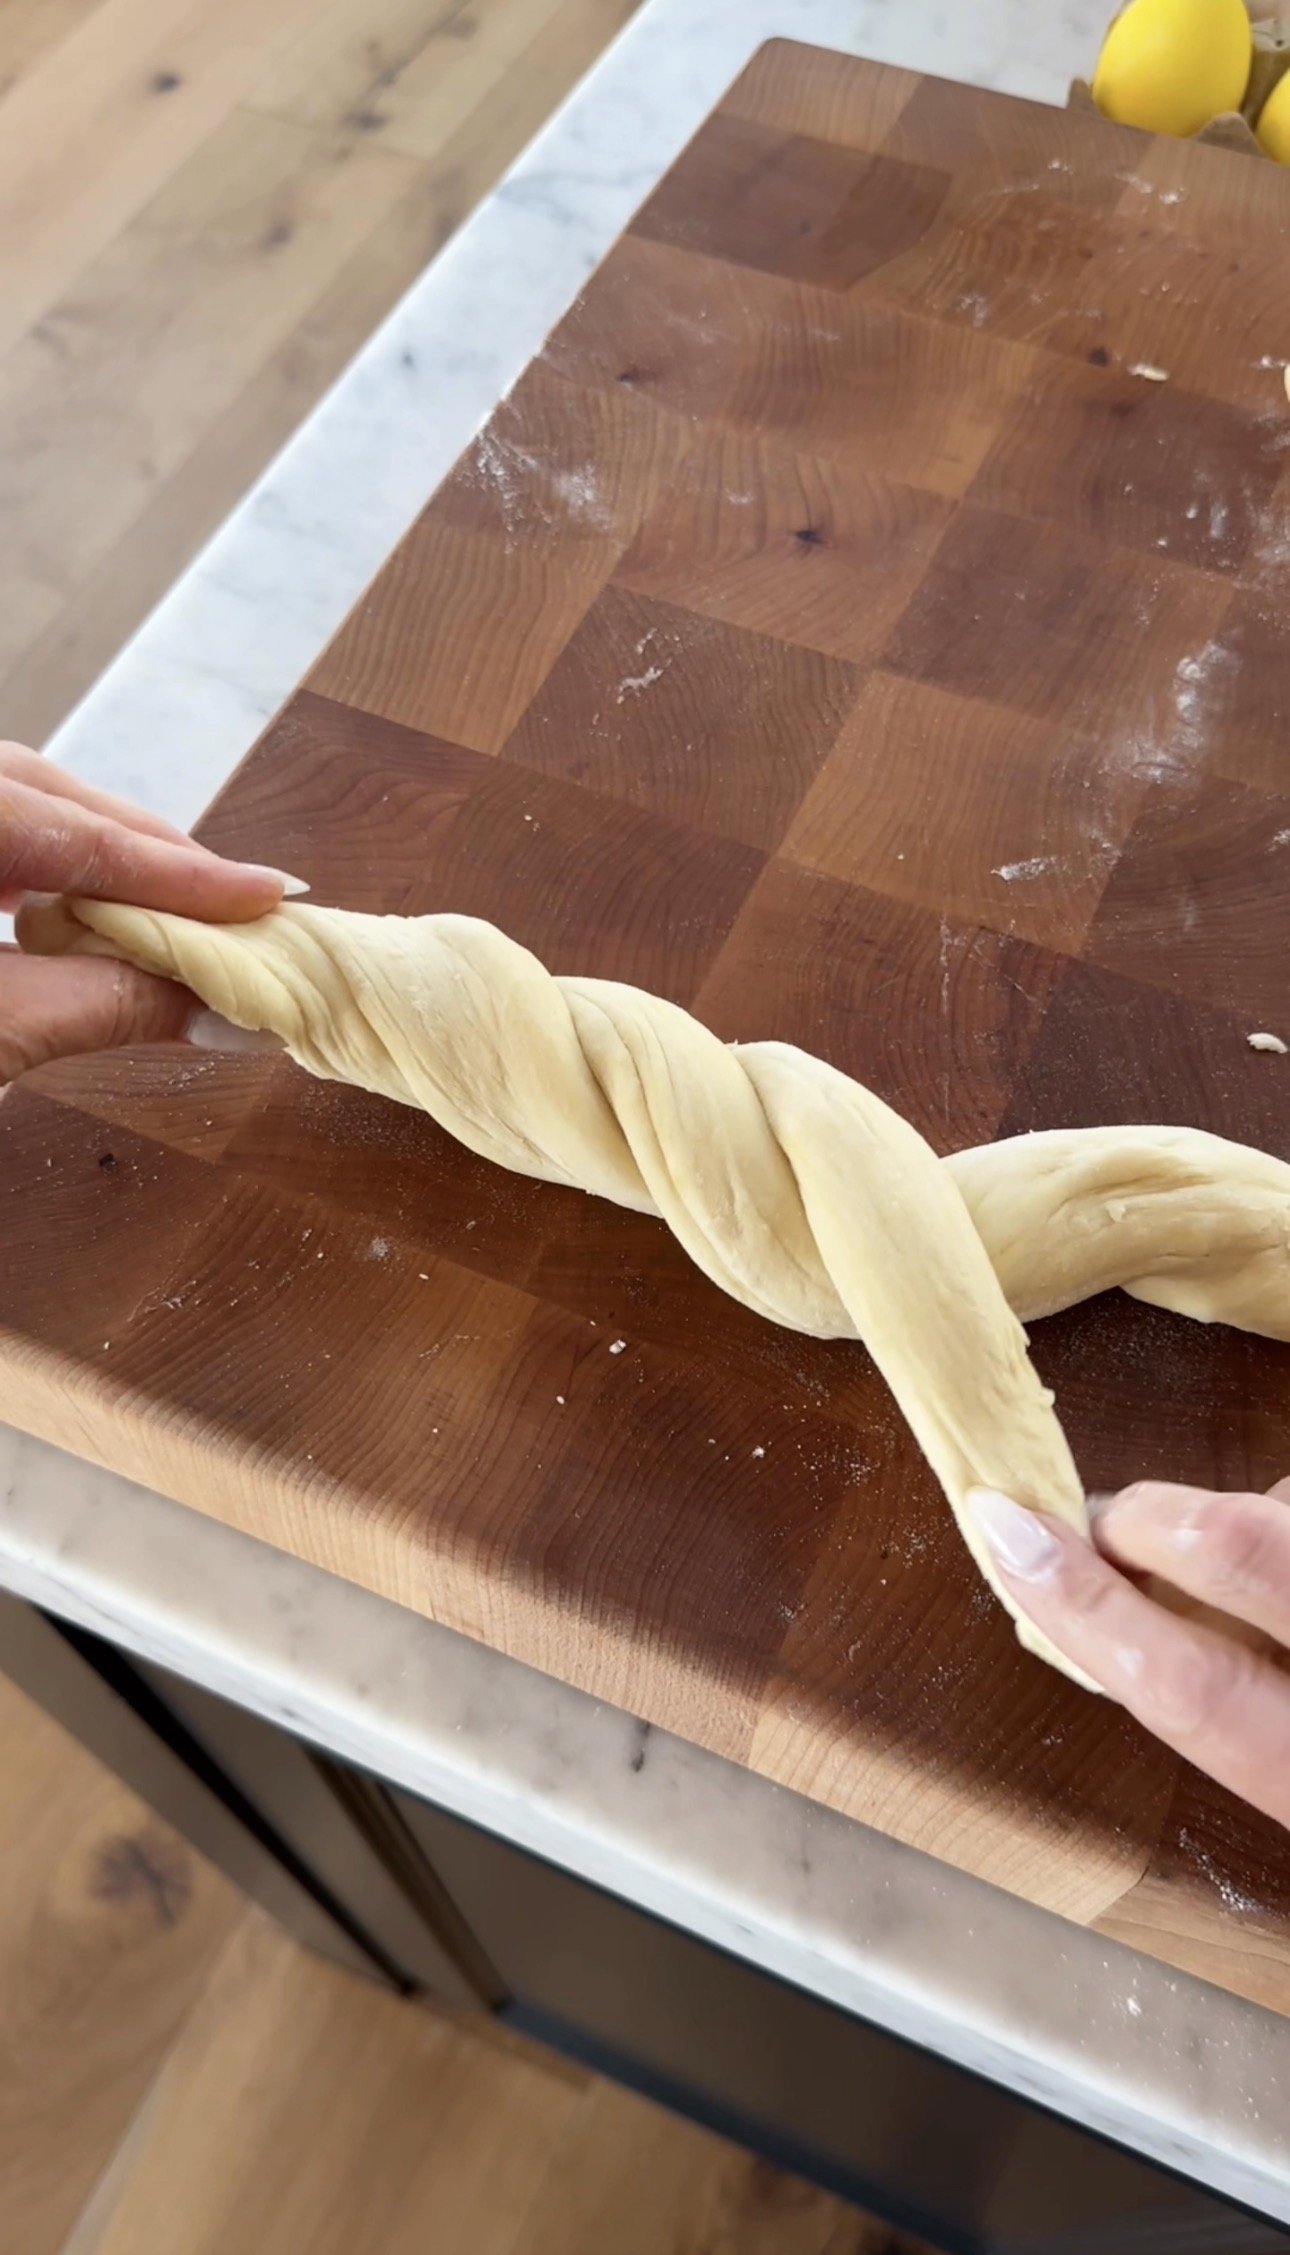
Roll each piece to form a 1-inch wide rope, about 14 inches long. Twist two ropes to make each nest.
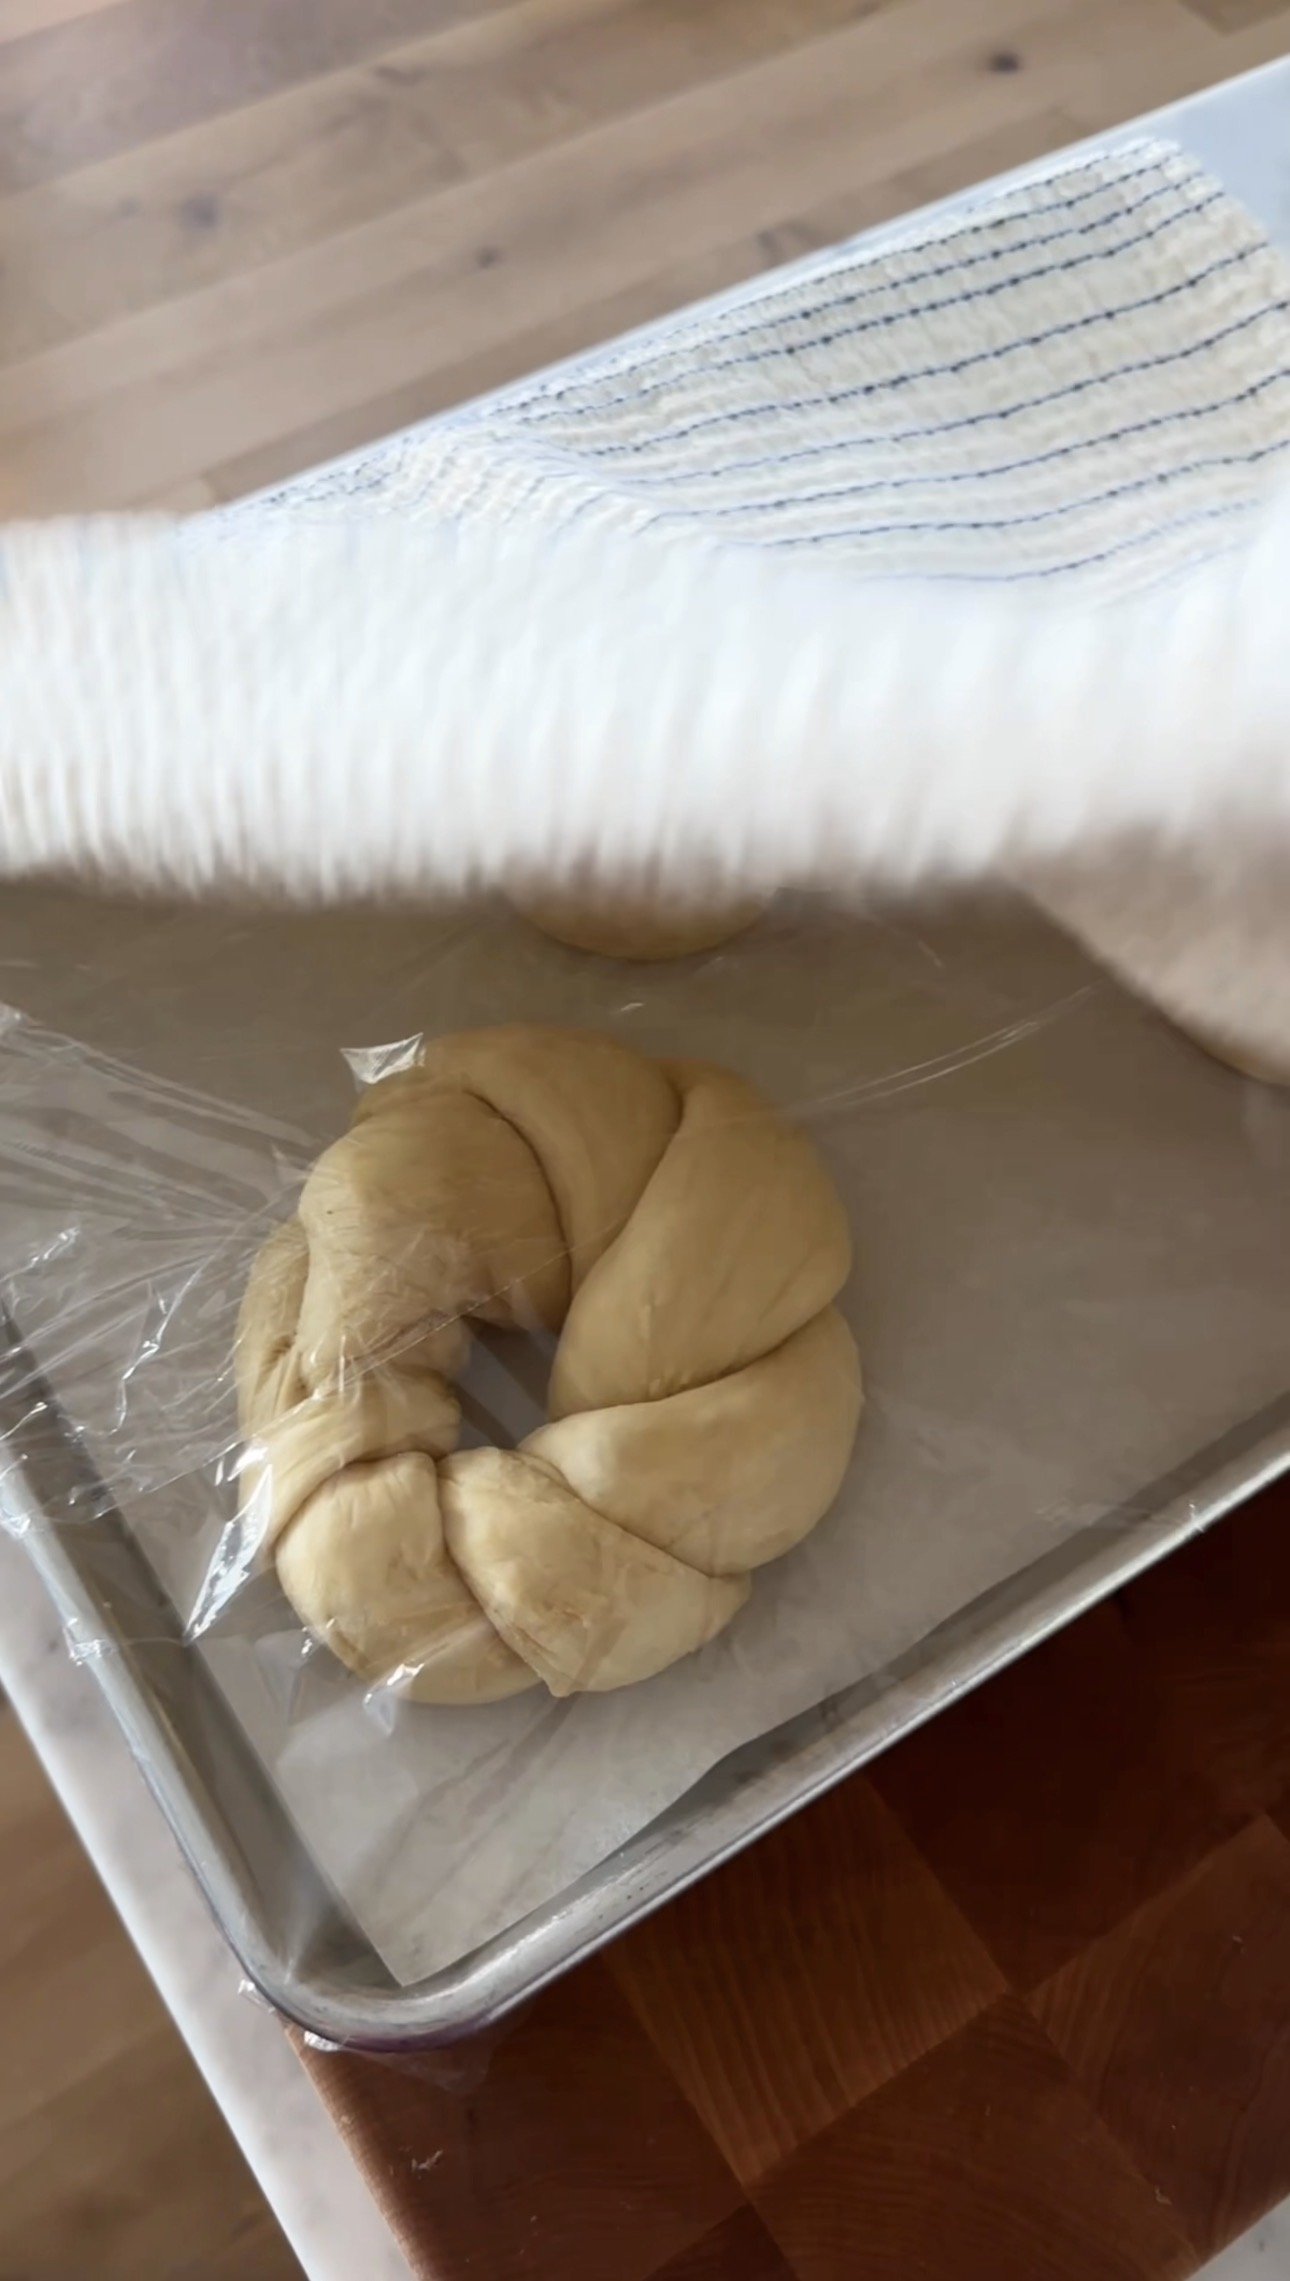
Loosely cover the shaped dough with plastic wrap and a dish towel and place it in a warm area. Let it rise until doubled in size, about 1 hour to 90 minutes (if your kitchen is colder.
Brioche Easter Nests with Thermador

Author: Jessie Daye
No ratings yet
Share
Print

Ingredients

  • 1 ¼ cups milk
  • ⅓ cup unsalted butter cut into small cubes
  • 2 ¼ teaspoons rapid rise instant yeast (1 package)
  • ⅛ teaspoon kosher salt
  • ½ cup granulated sugar
  • 2 large eggs whisked
  • 4 ½ cups all-purpose flour divided, plus 1/4 more for kneading
  • 1 large egg whiskedwith 1 teaspoon water
  • 3-4 large dyed Easter eggs (raw)
  • Colored sprinkles

Method

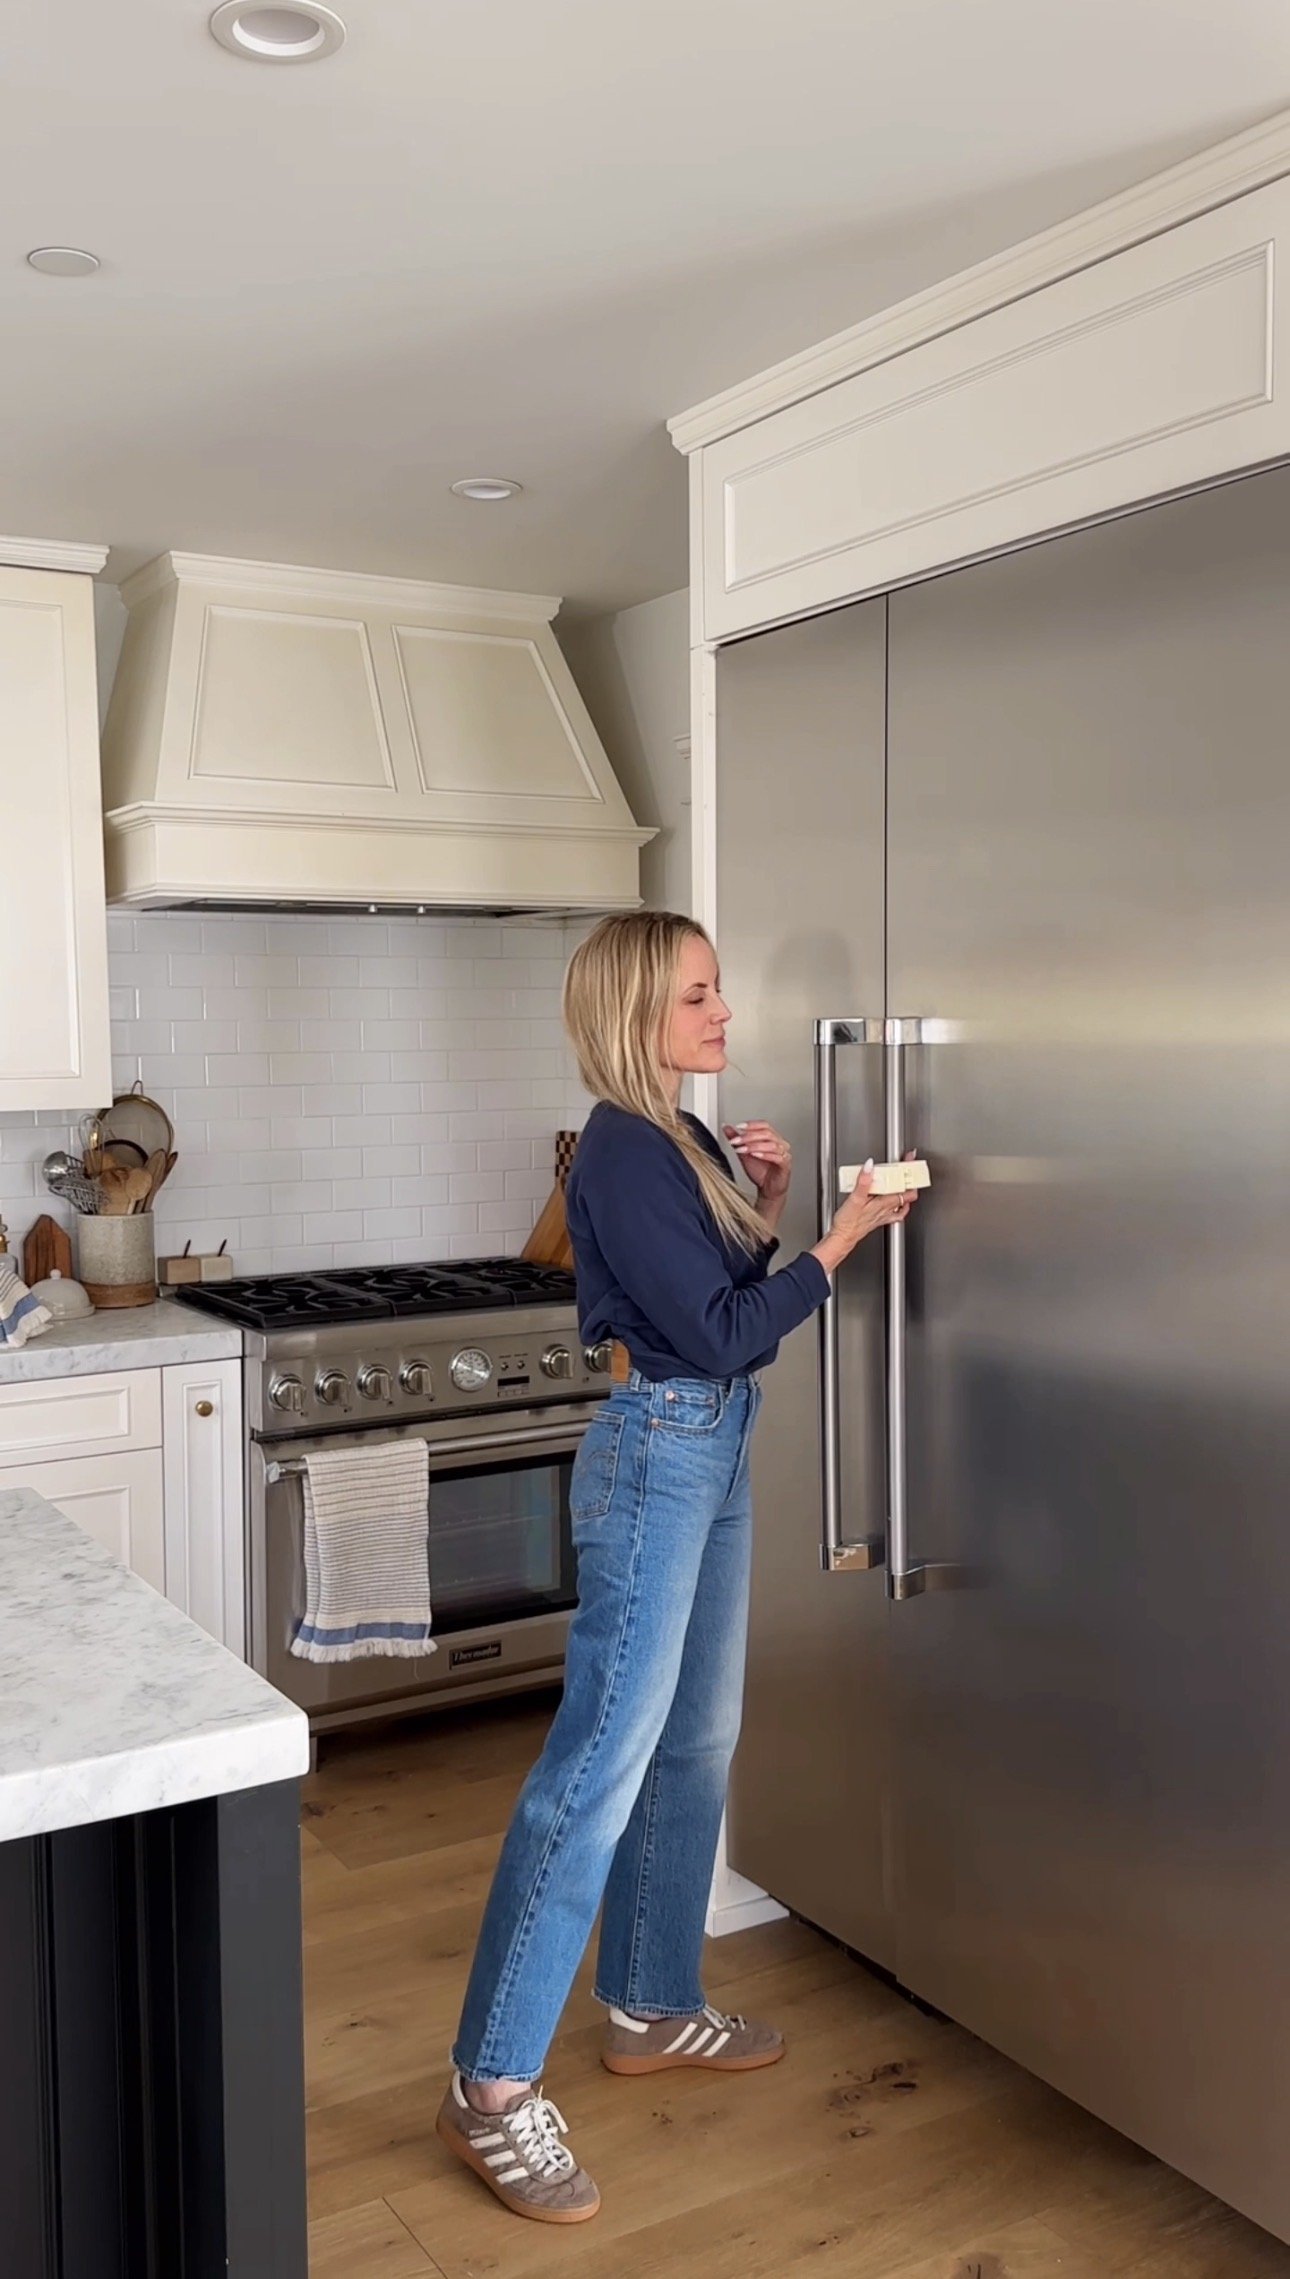
  1. Warm the Milk and Butter. In a small saucepan, add milk and butter. Heat over medium-low heat until it reaches 120 °F (49°C), stirring until the butter melts. Allow to cool to 110 degrees °F.
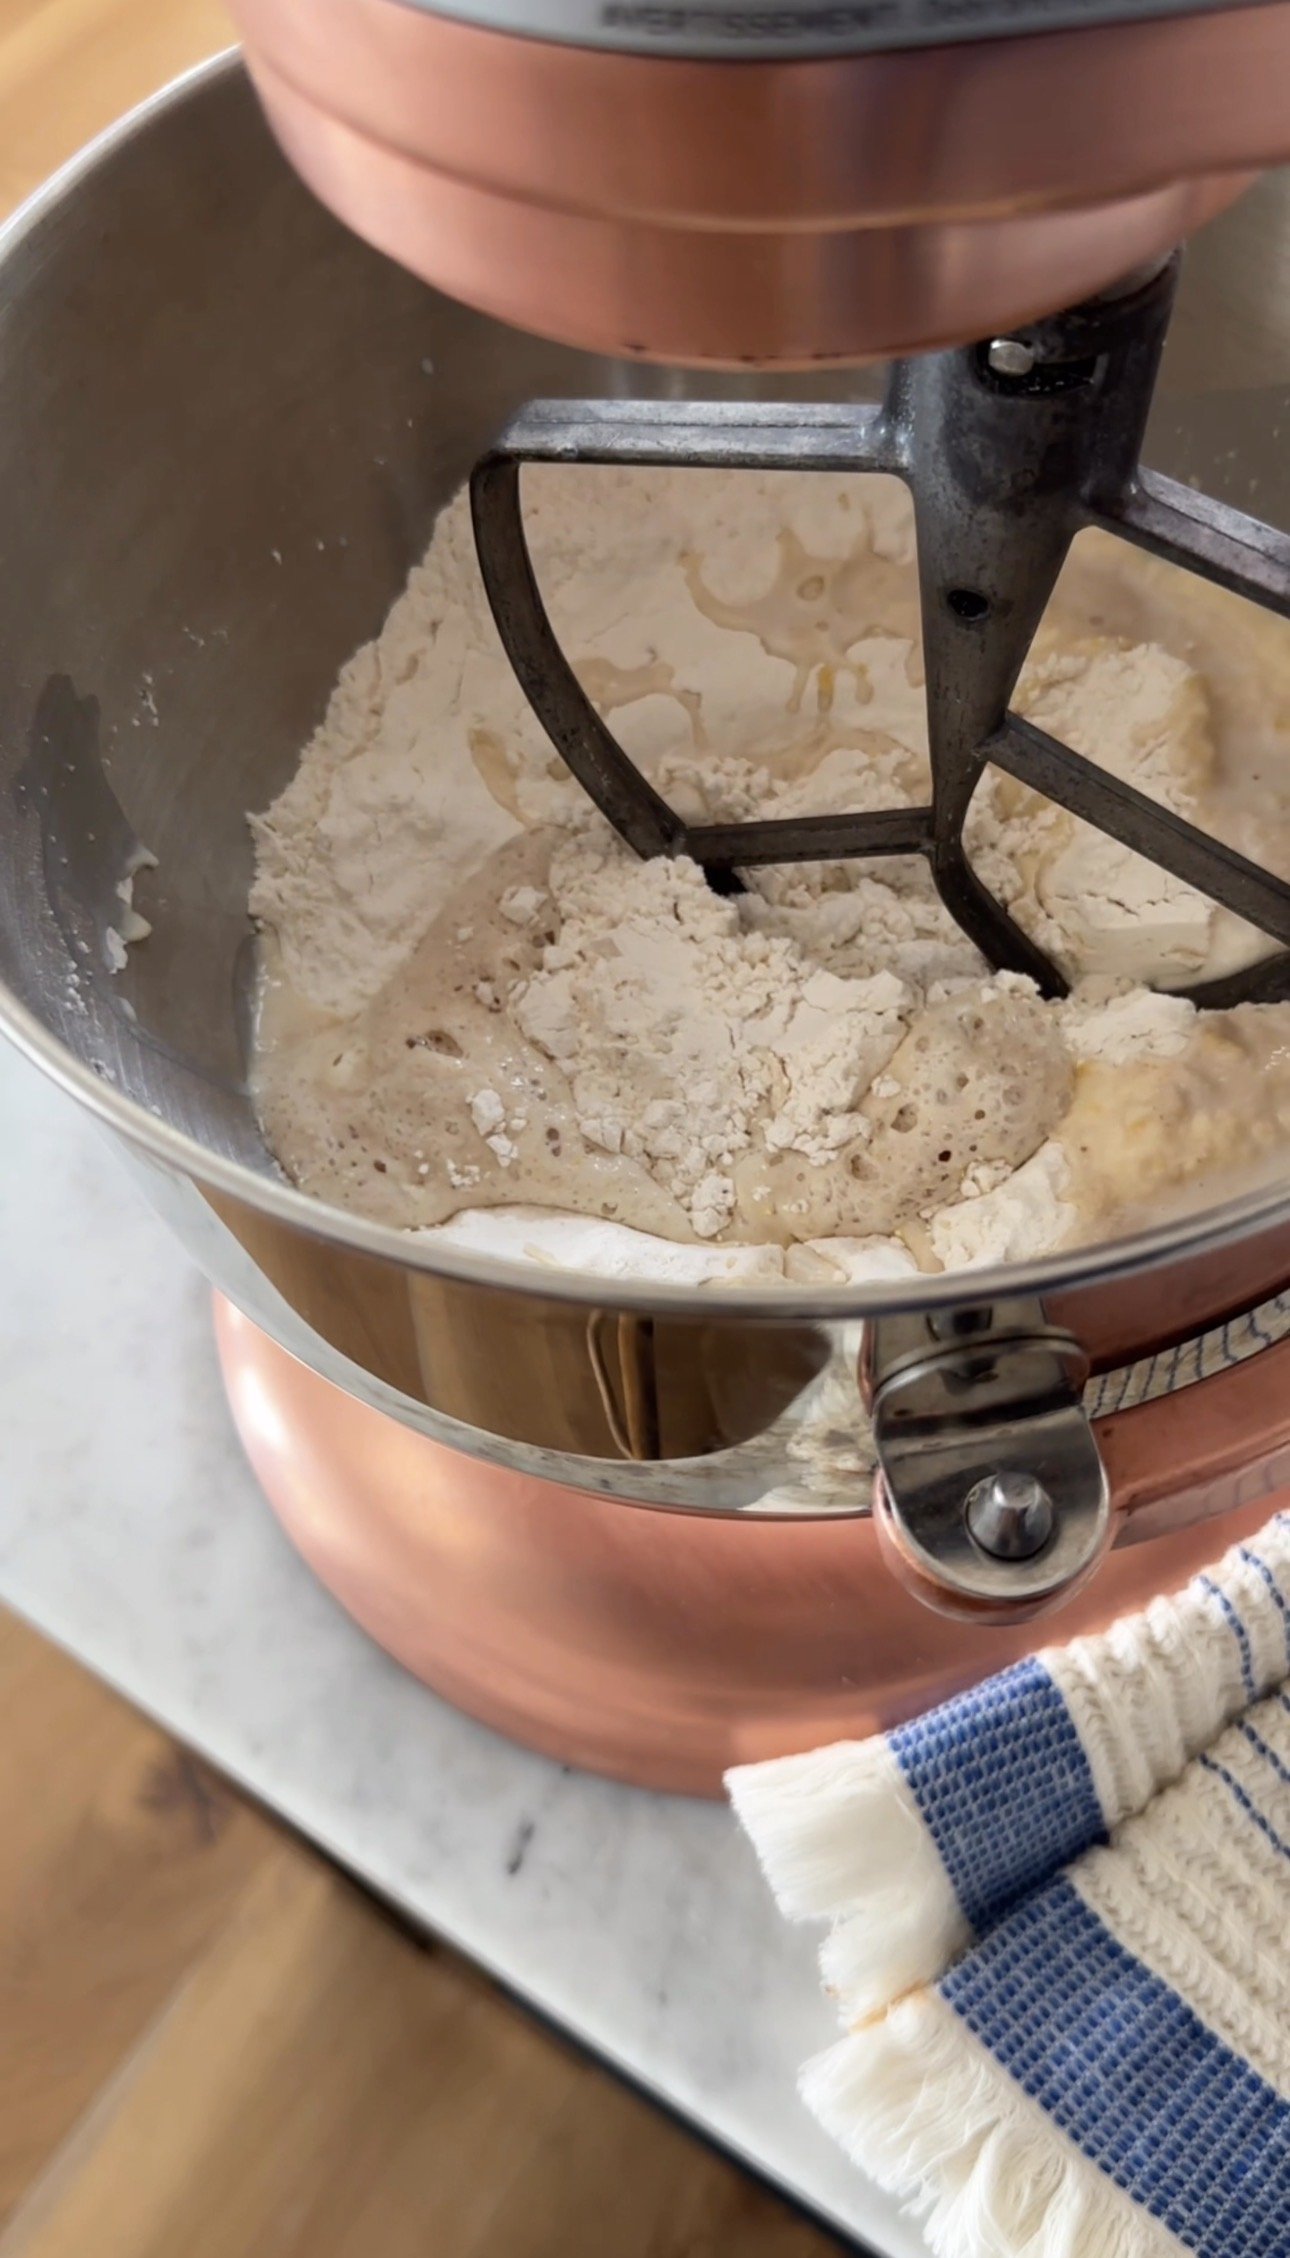
  2. In a large stand mixer, fit with a dough hook, combine sugar, dry yeast, salt, and 2 eggs. Whisk together. Add the warmed milk and butter mixture, and 2 cups of flour and combine on medium speed until smooth, about 2 minutes. Scrape the sides with a spatula as needed.
  3. Slowly add the remaining 2 1/2 cups of flour to the mixer on medium-low speed and scrape the sides as needed. Knead until the dough is stiff and slightly sticky, about 10 minutes.
  4. Knead the Dough by Hand. Place the dough on a lightly floured board and hand knead for about 3 to 4 minutes by hand, adding up to 1/4 cup more flour to prevent sticking. Do not add more.
  5. Rest the Dough. Shape dough into a ball, cover with a dish towel, and allow to rest for 10 minutes.
  6. Cut the dough into 6 pieces. Roll each piece to form a 1-inch wide rope, about 14 inches long. ** This is for 3 LARGE nests.
  7. Prepare two large baking sheets with parchment paper. Twist two dough ropes together to create a braided nest, then pinch the ends firmly to secure them and form the twisted dough into a circle, ensuring the ends are tightly pinched under the nest. Place it on a large parchment-lined baking sheet.
  8. Repeat with the remaining dough ropes. Arrange only two loaves per baking sheet to allow enough space for rising.
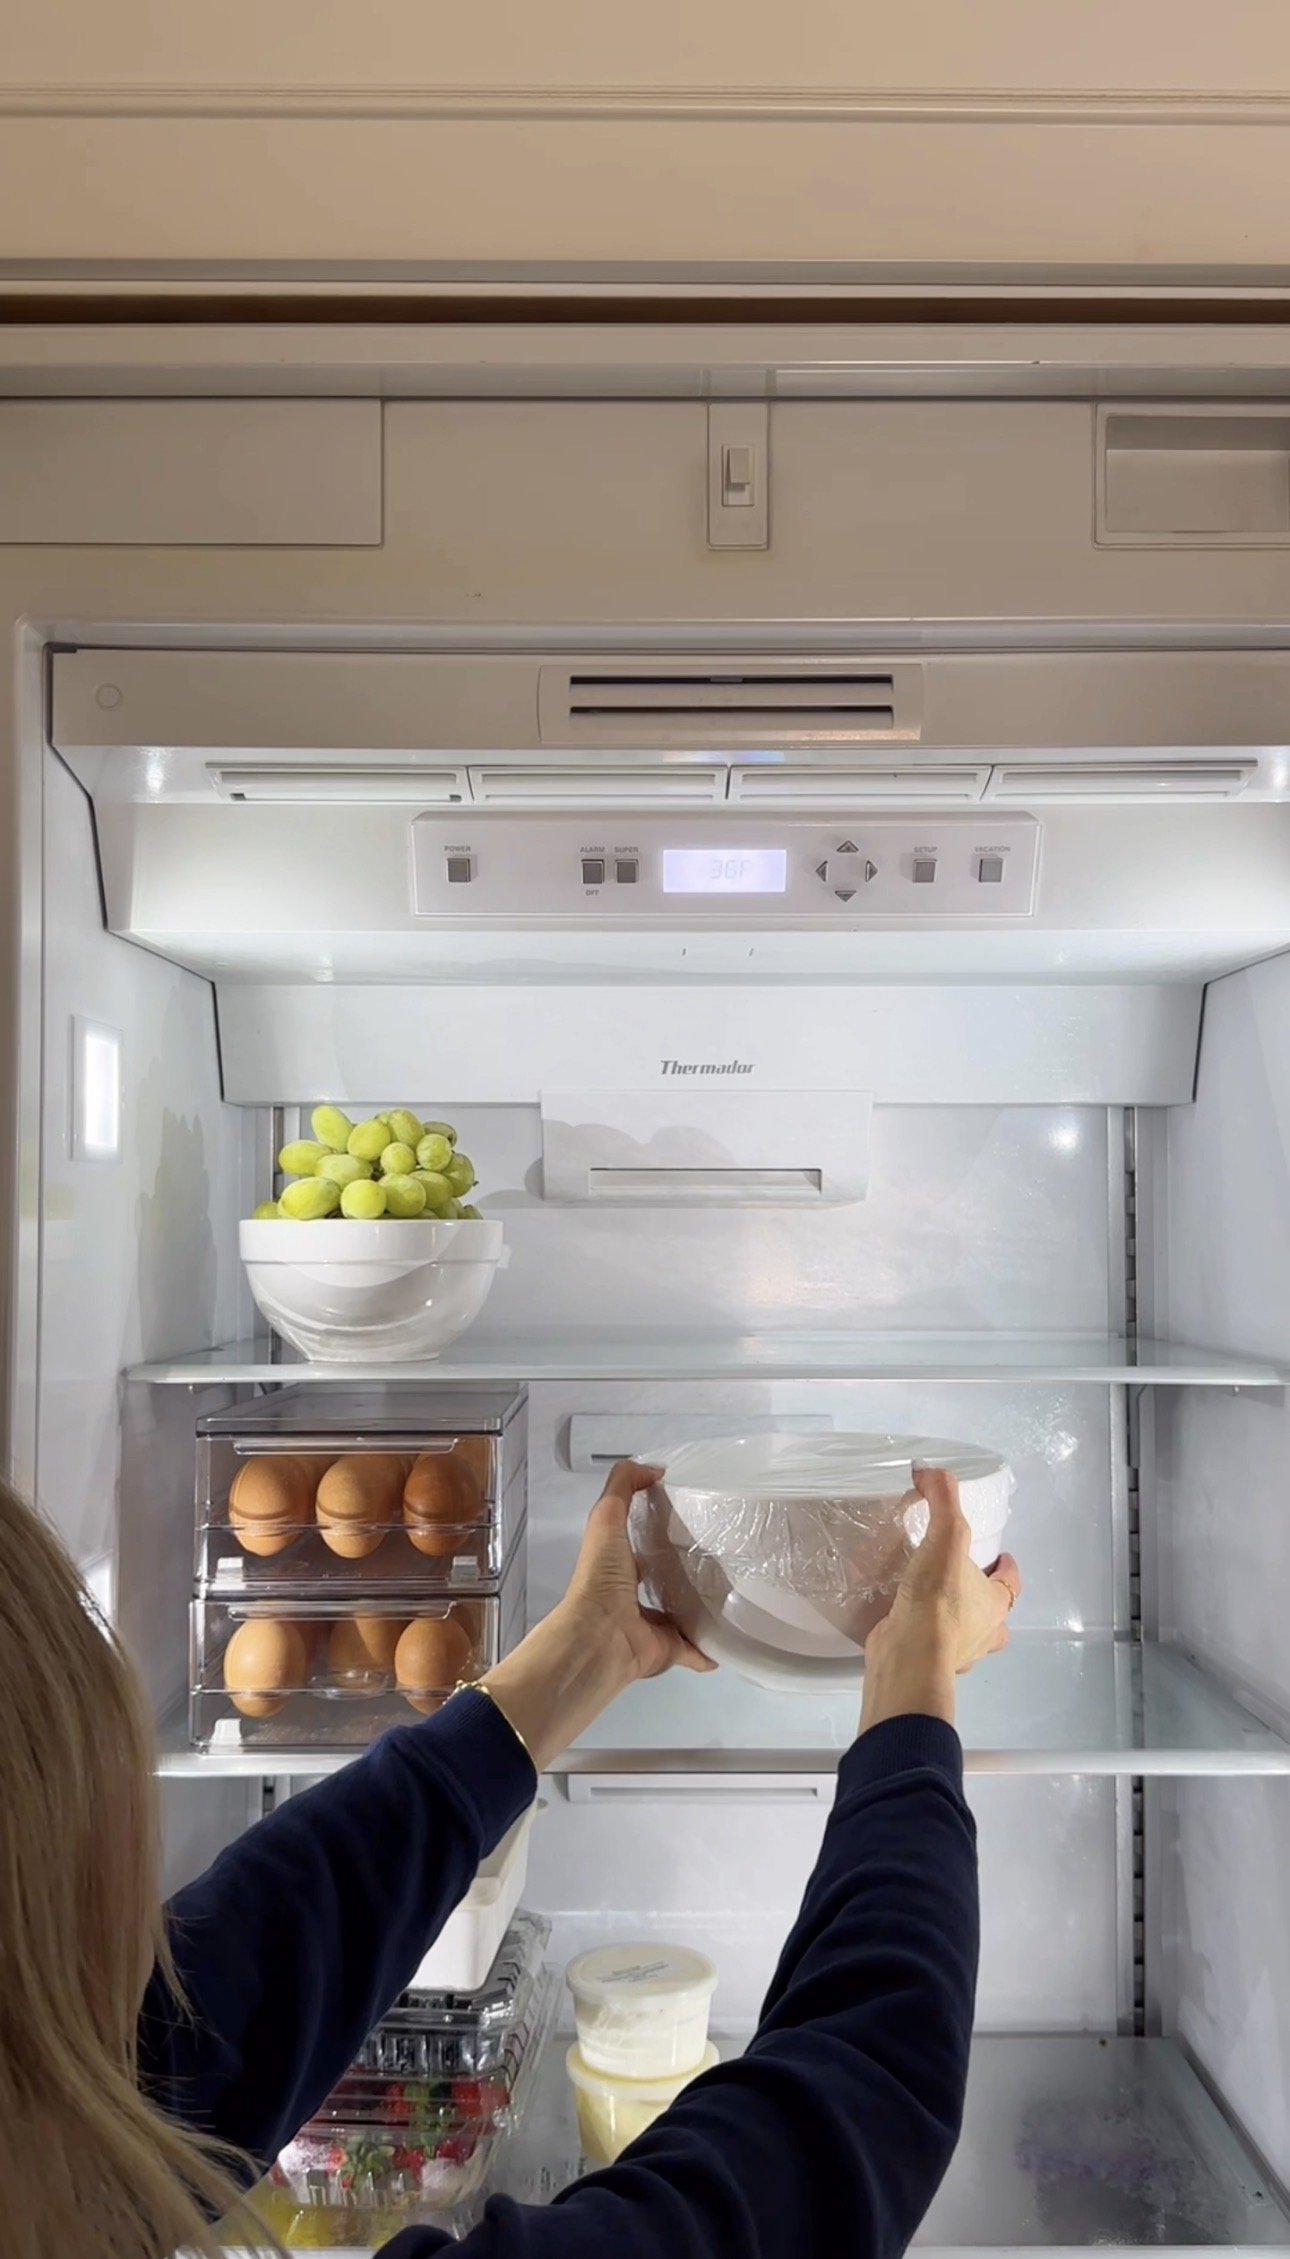
  9. Let the Dough Rise. Loosely cover the shaped dough with plastic wrap and a dish towel and place it in a warm area. Let it rise until doubled in size, about 1 hour to 90 minutes (if your kitchen is colder).
  10. Preheat your oven to 350°F (177ºC).
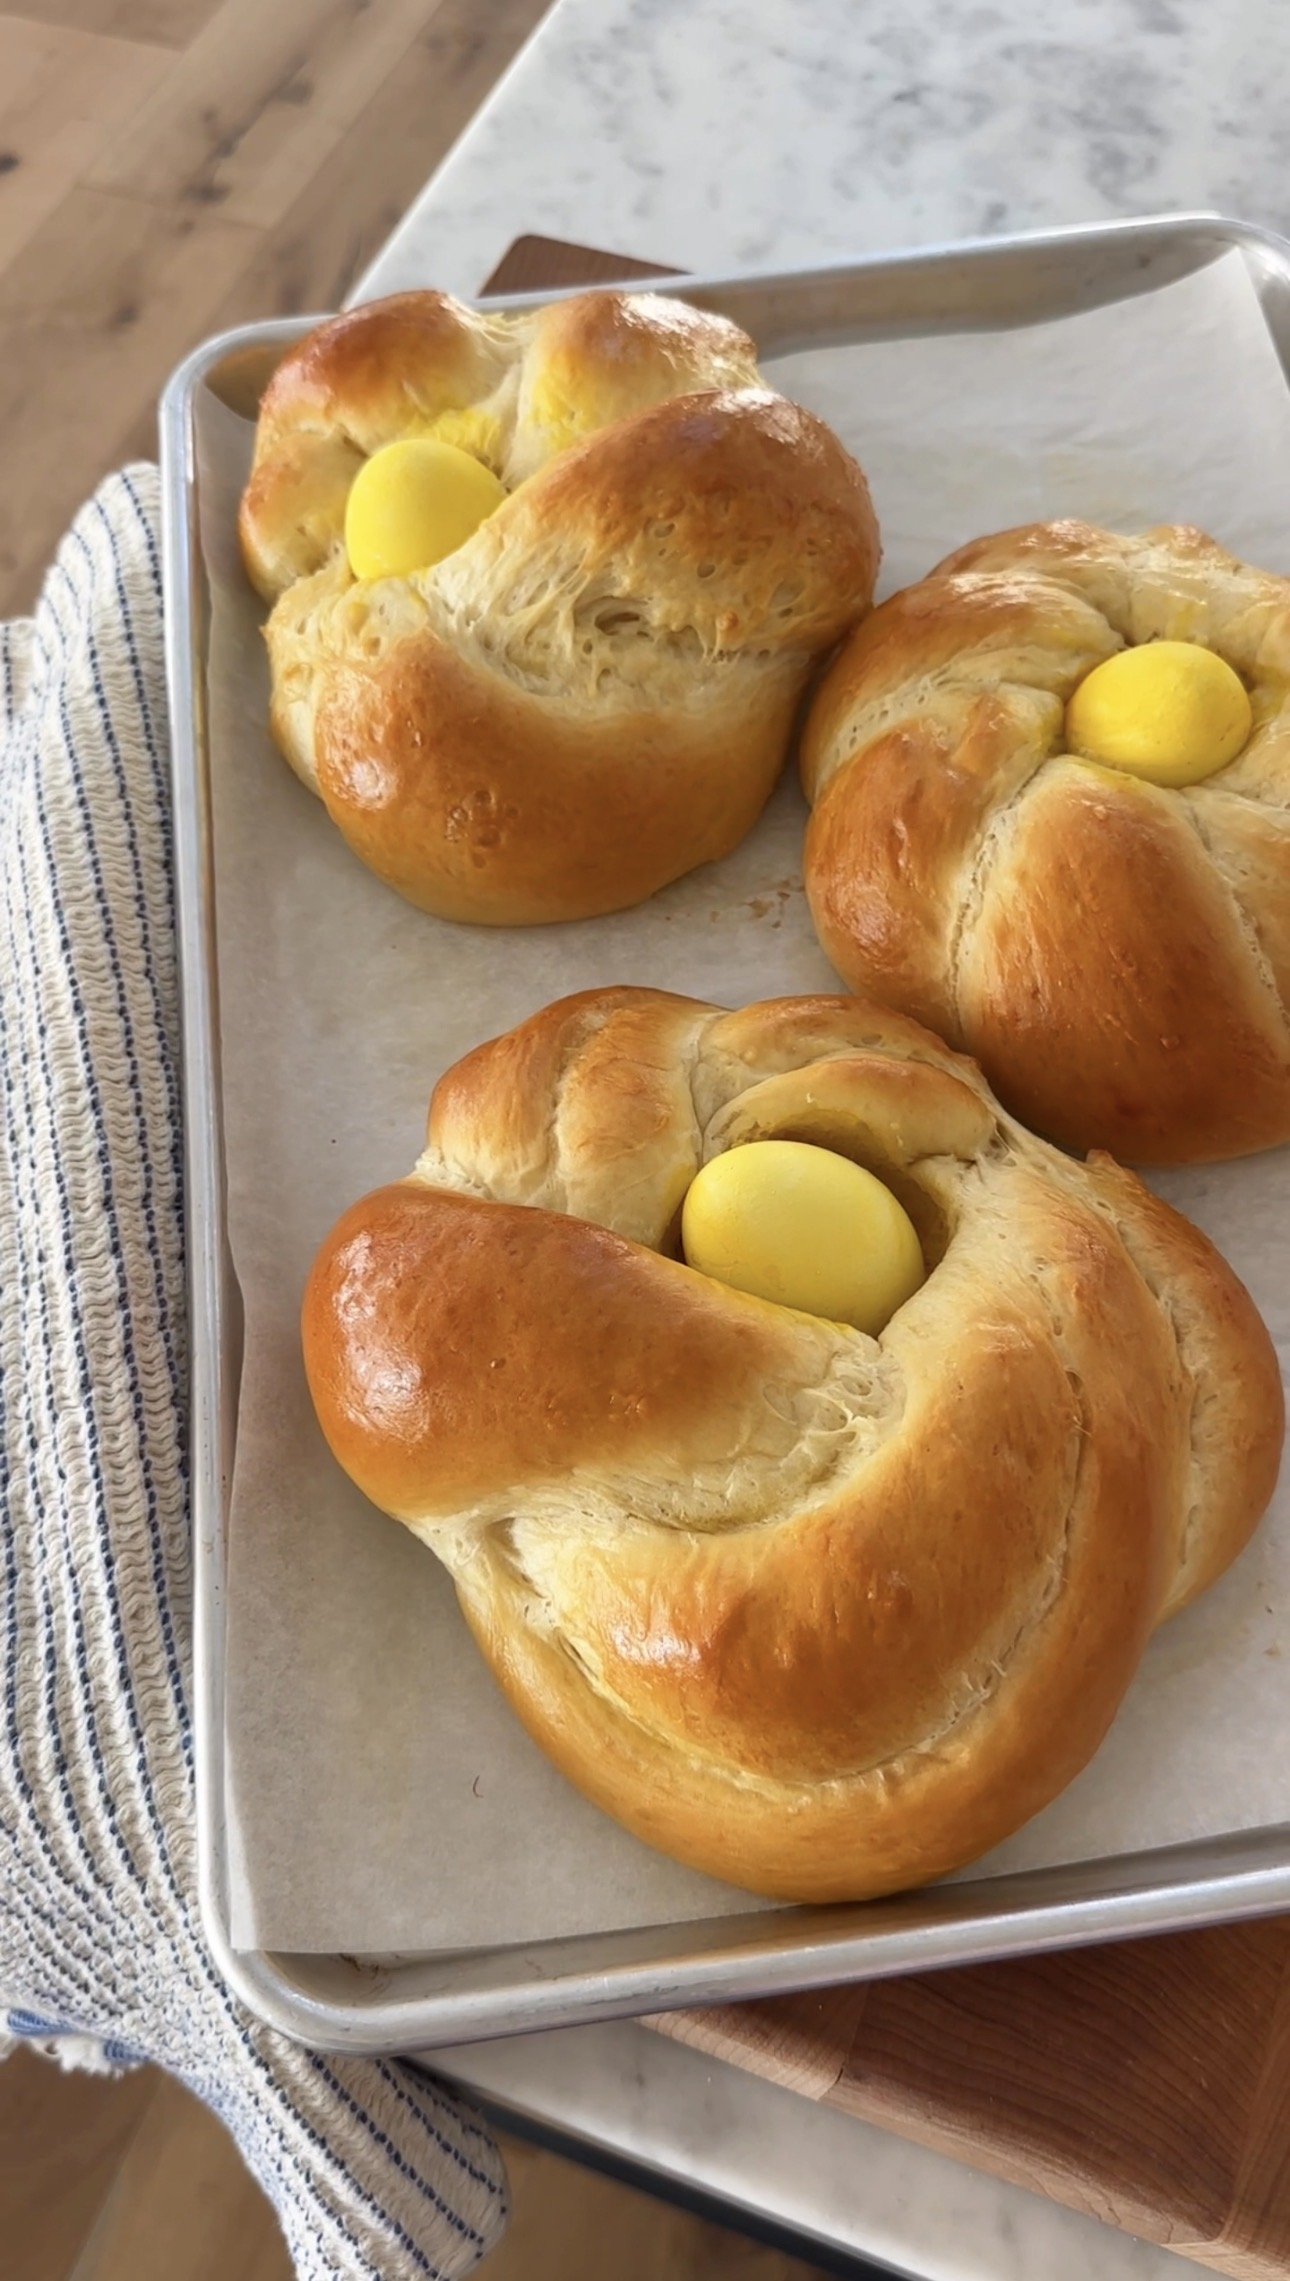
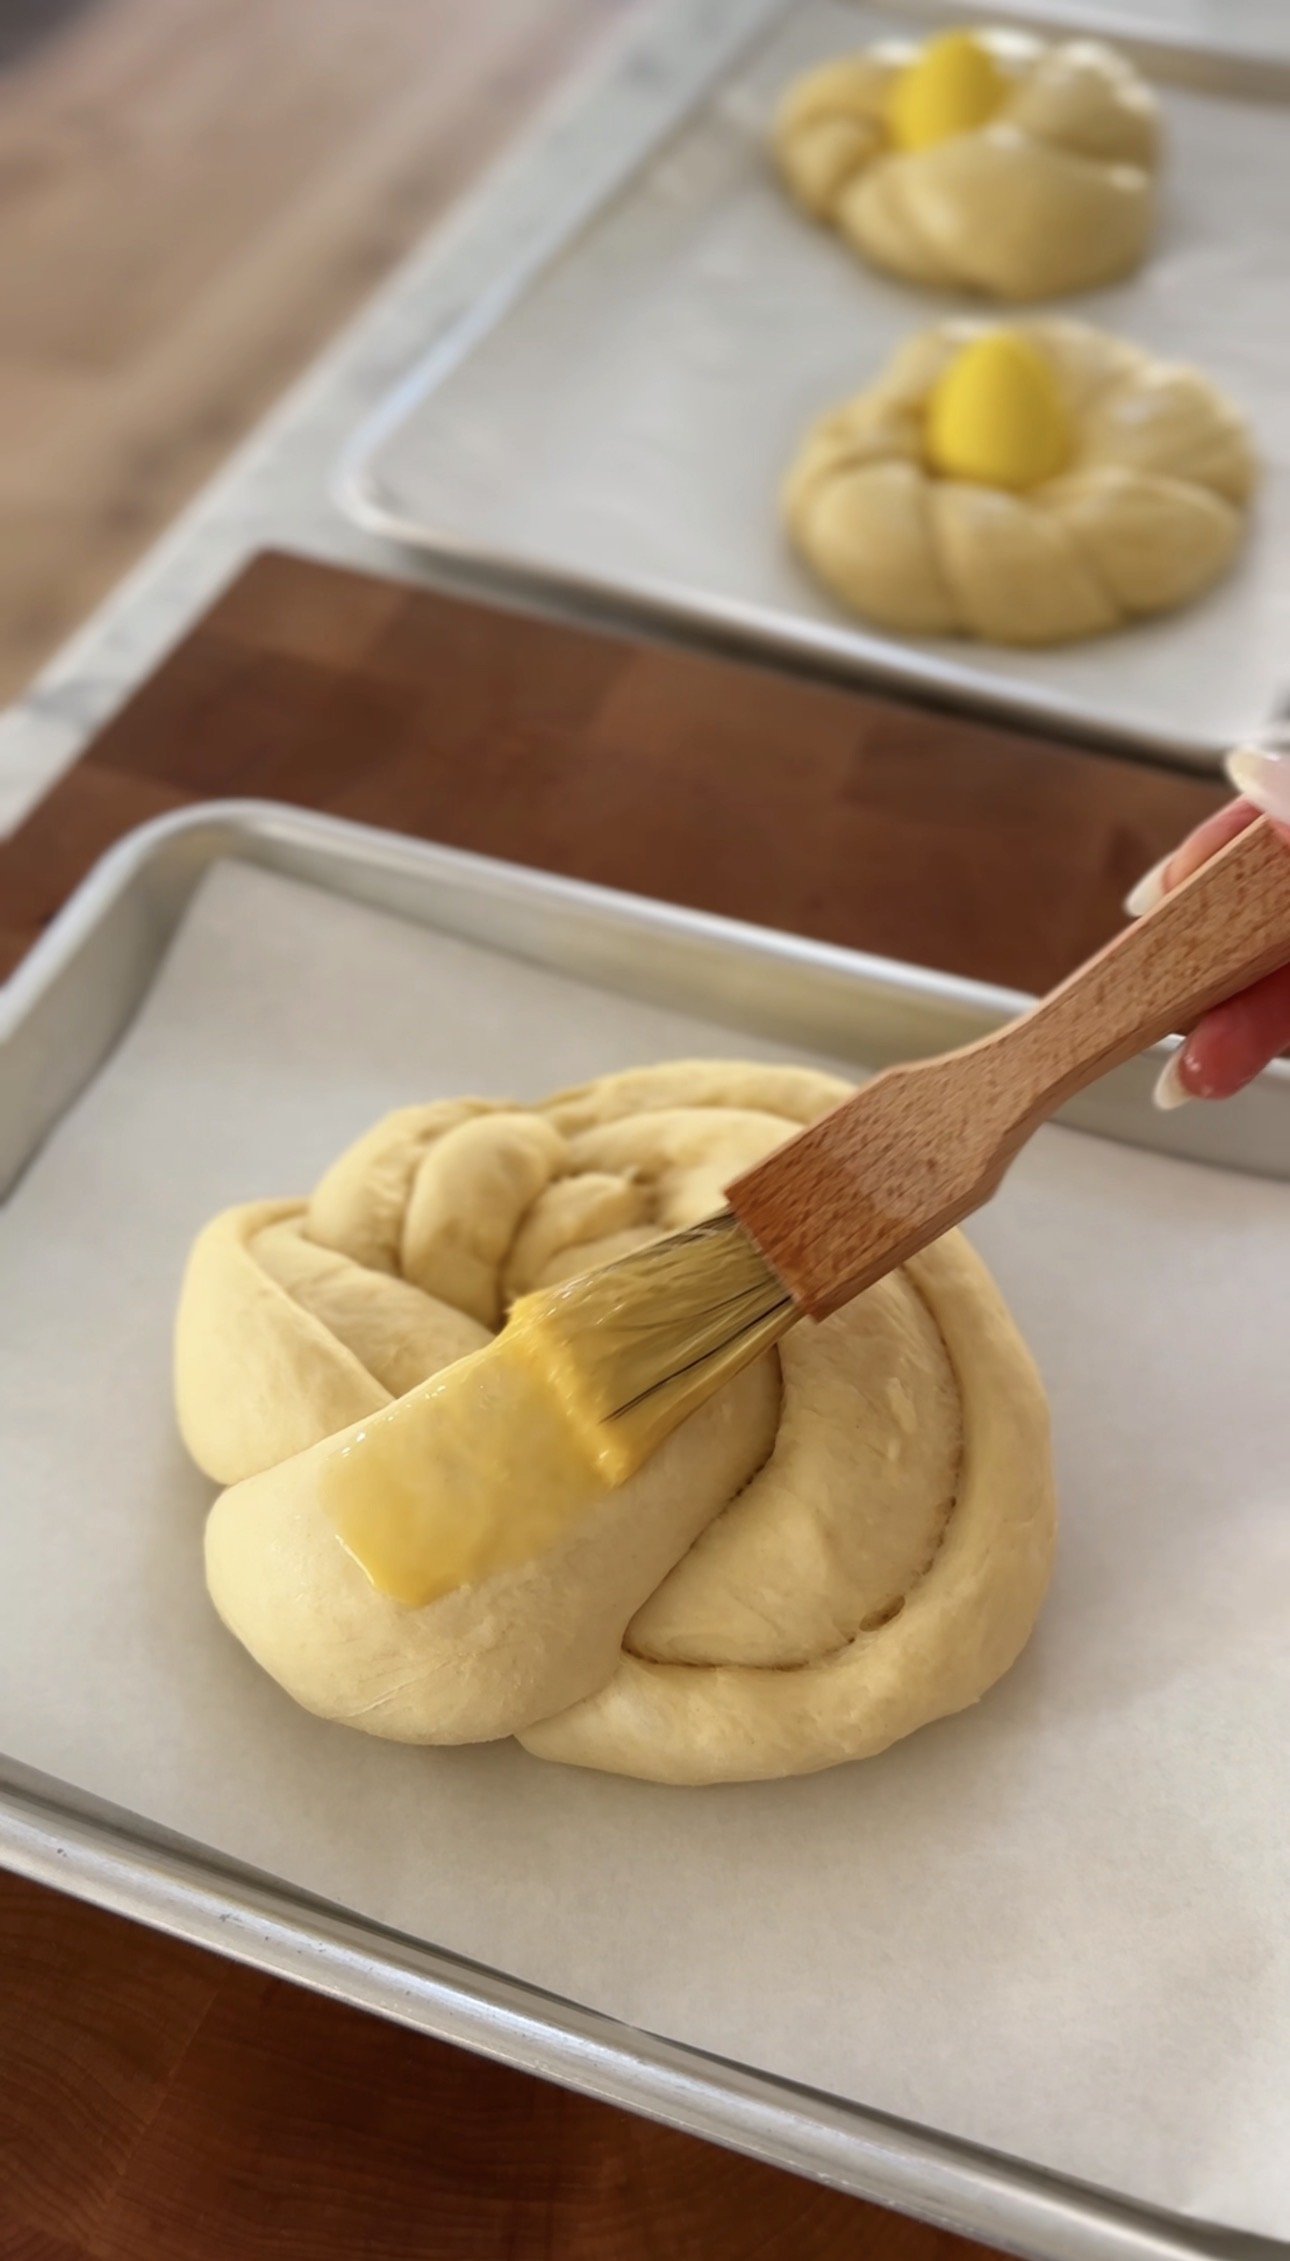
  11. Whisk together 1 egg and 1 teaspoon of water and brush each braided bread with the egg wash. If desired, top the bread with sprinkles. Gently place one dyed egg in the center of each braided ring. Do not press into the dough - it will sink into the bread as it bakes.
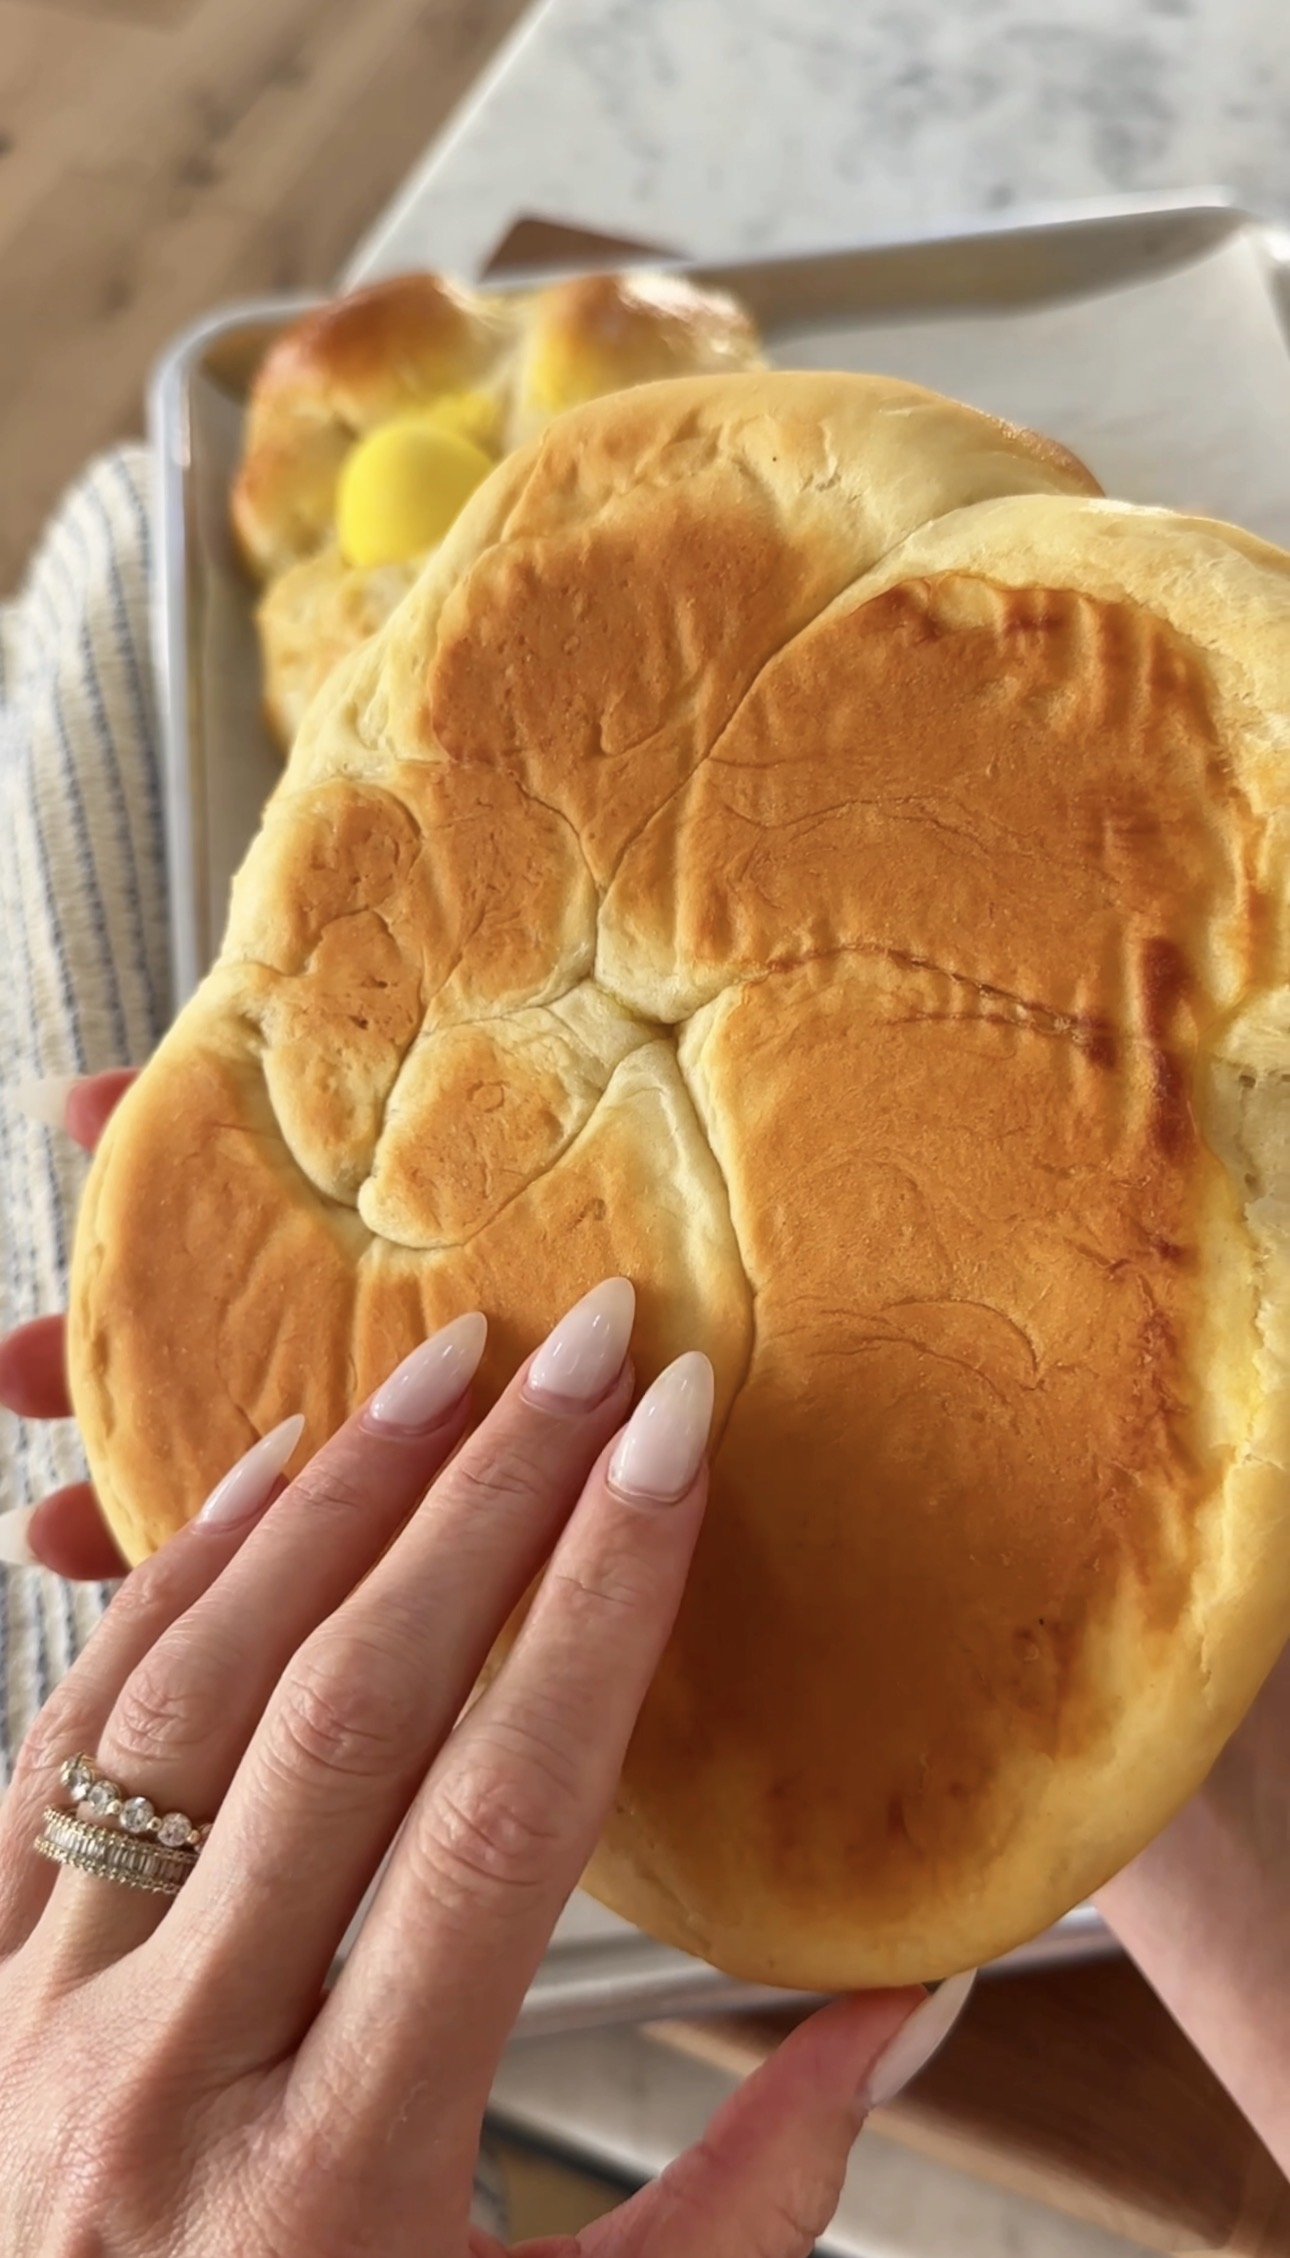
  12. Bake one tray at a time until golden brown, approximately 18-20 minutes. Transfer the baked bread to a cooling rack to cool.

Tried this recipe?

Let us know how it was!

Leave the first comment

Recipe Rating


This post may contain affiliate links, please see our privacy policy for details.

Hi, I'm Jessie. 

Mama to three girls and a lifelong creative who loves making everyday moments feel a little more special. Here, I share whimsical recipes, holiday inspiration, and creative projects designed to bring a little more joy to your day. I hope to inspire you to get creative, celebrate the little things, and make something beautiful. Welcome!

More about Jessie

Let’s be friends!

Be the first to receive exclusive content and hear about my upcoming BOOK!

* indicates required

Intuit Mailchimp