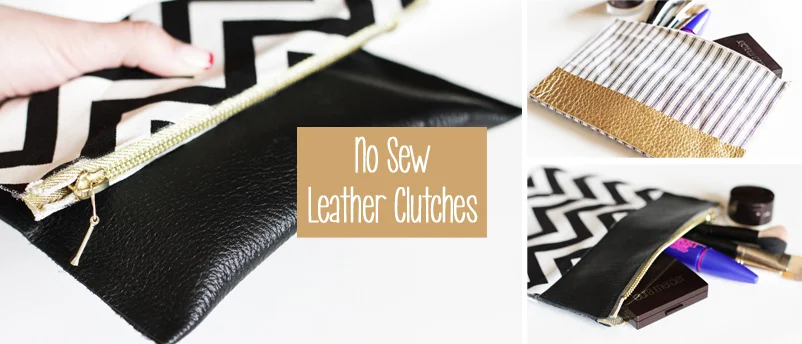

DIY Leather Clutches
There are some things that are just truly meant to be. Hot chocolate on a rainy day. Sweatpants and pancakes Sunday morning. Churros and a smile at Disneyland. And myself and my bags!! If you know me at all you know how much I love my bags. If you are a true bag collector you don't even say "purse" you just say "bag". That bag is awesome ... OMG, I love your bag ... Wow, where did you get that ammmmazzzzzing bag? It just fits. You know what I mean? Yesterday on Home and Family on the Hallmark Channel I made these fun DIY leather clutches. Each clutch is under $10 and still fabulous. If you missed the episode you can scroll down for the tutorial.
What you need
(1) 8 1/2" x 11" piece of Leather or fabric
(1) 7" zipper (any color)
Hot Glue
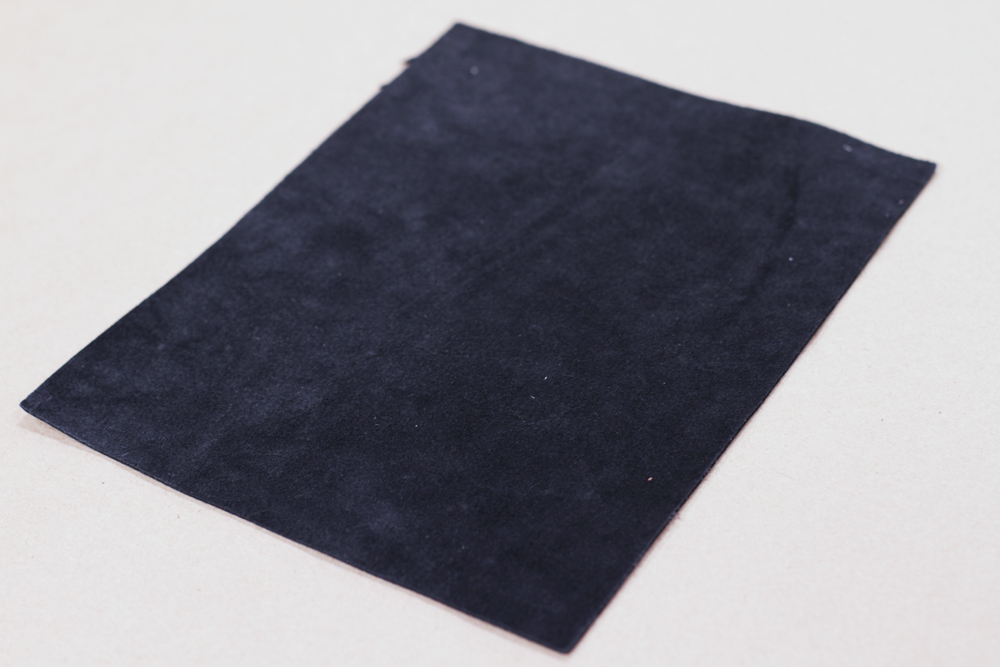
You want to start with an 8 1/2" x 11" piece of leather. You can get these exact size sheets at Michaels Craft Store or Joanne's Fabric. Flip the sheet over so the side you want to showcase is face to your surface. My suede side will be on the inside of my bag.

Now fold the sheet in half and lay your zipper in front of the clutch. I am using a 7" zipper which actually means it's an 8 1/2" strip but the zipper part is 7". These zippers come in all colors and sizes so if you chose to make a different size bag you would have to get a longer zipper.

Apply glue across the whole bottom half of the zipper. I am using hot glue but you could also use fabric adhesive. Work quickly because as soon as you apply the hot glue you will need to attach your leather.

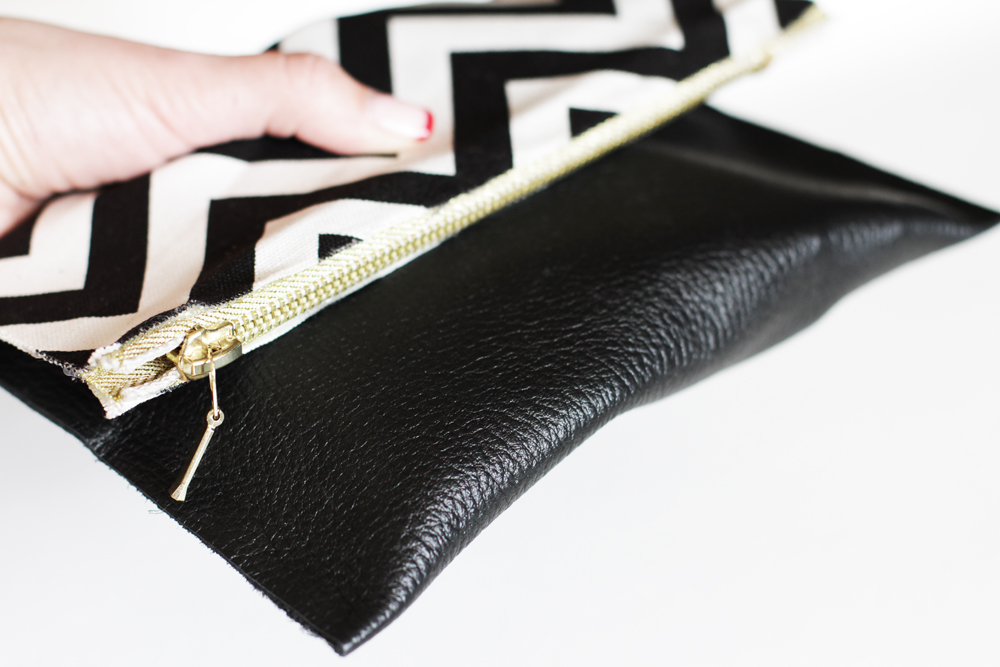
Now press your leather down to the glue. Run your finger across the leather so it firmly sticks to the zipper. If your zipper sticks out a tiny bit you can trim the edge.

Now apply glue to the other side of the zipper and fold your leather so it sticks to the other side as shown below. Remember to apply glue to the entire length of the zipper.

Let the other side dry, firmly running your finger across the zipper making sure it is completely adhered. Now we will glue the sides of the clutch.

Now apply glue to the sides of the clutch. Apply the glue all the way down and press the leather together firmly. You can peel off any excess glue once it's all dry.

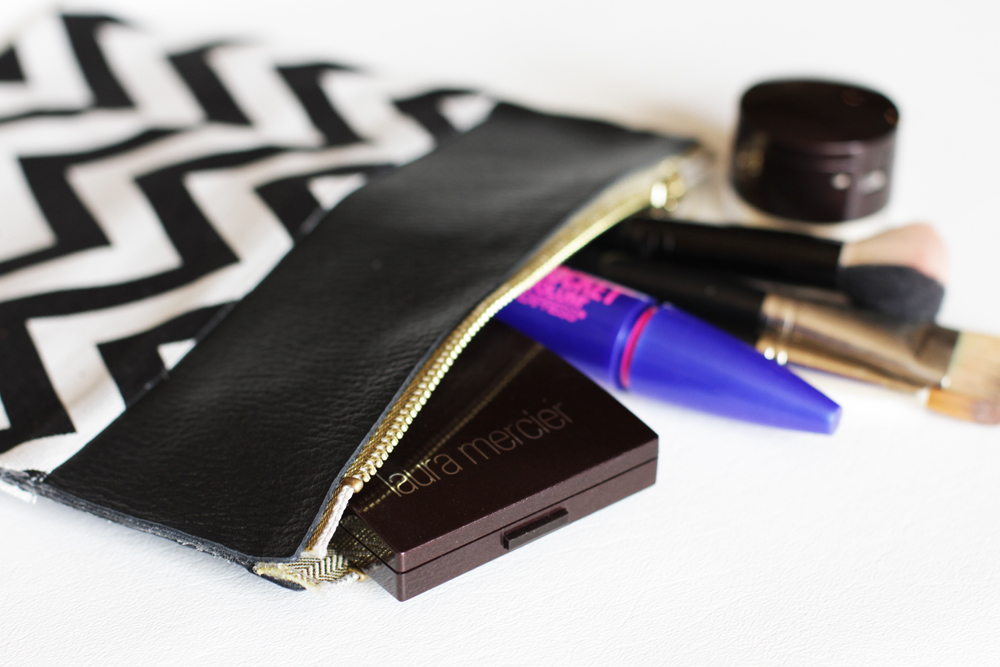
You should have clean edges. It should be completely secure.
You can even make two-toned clutches. Here, I glued fabric to half the clutch in the same manner I did the all leather version.

On this bag I used the leather on the bottom and applied soft chevron fabric to the top so I could fold it over.

On this bag I used canvas in the same way I did the leather version and then took a strip of gold leather and just applied it to the front of the pouch.