

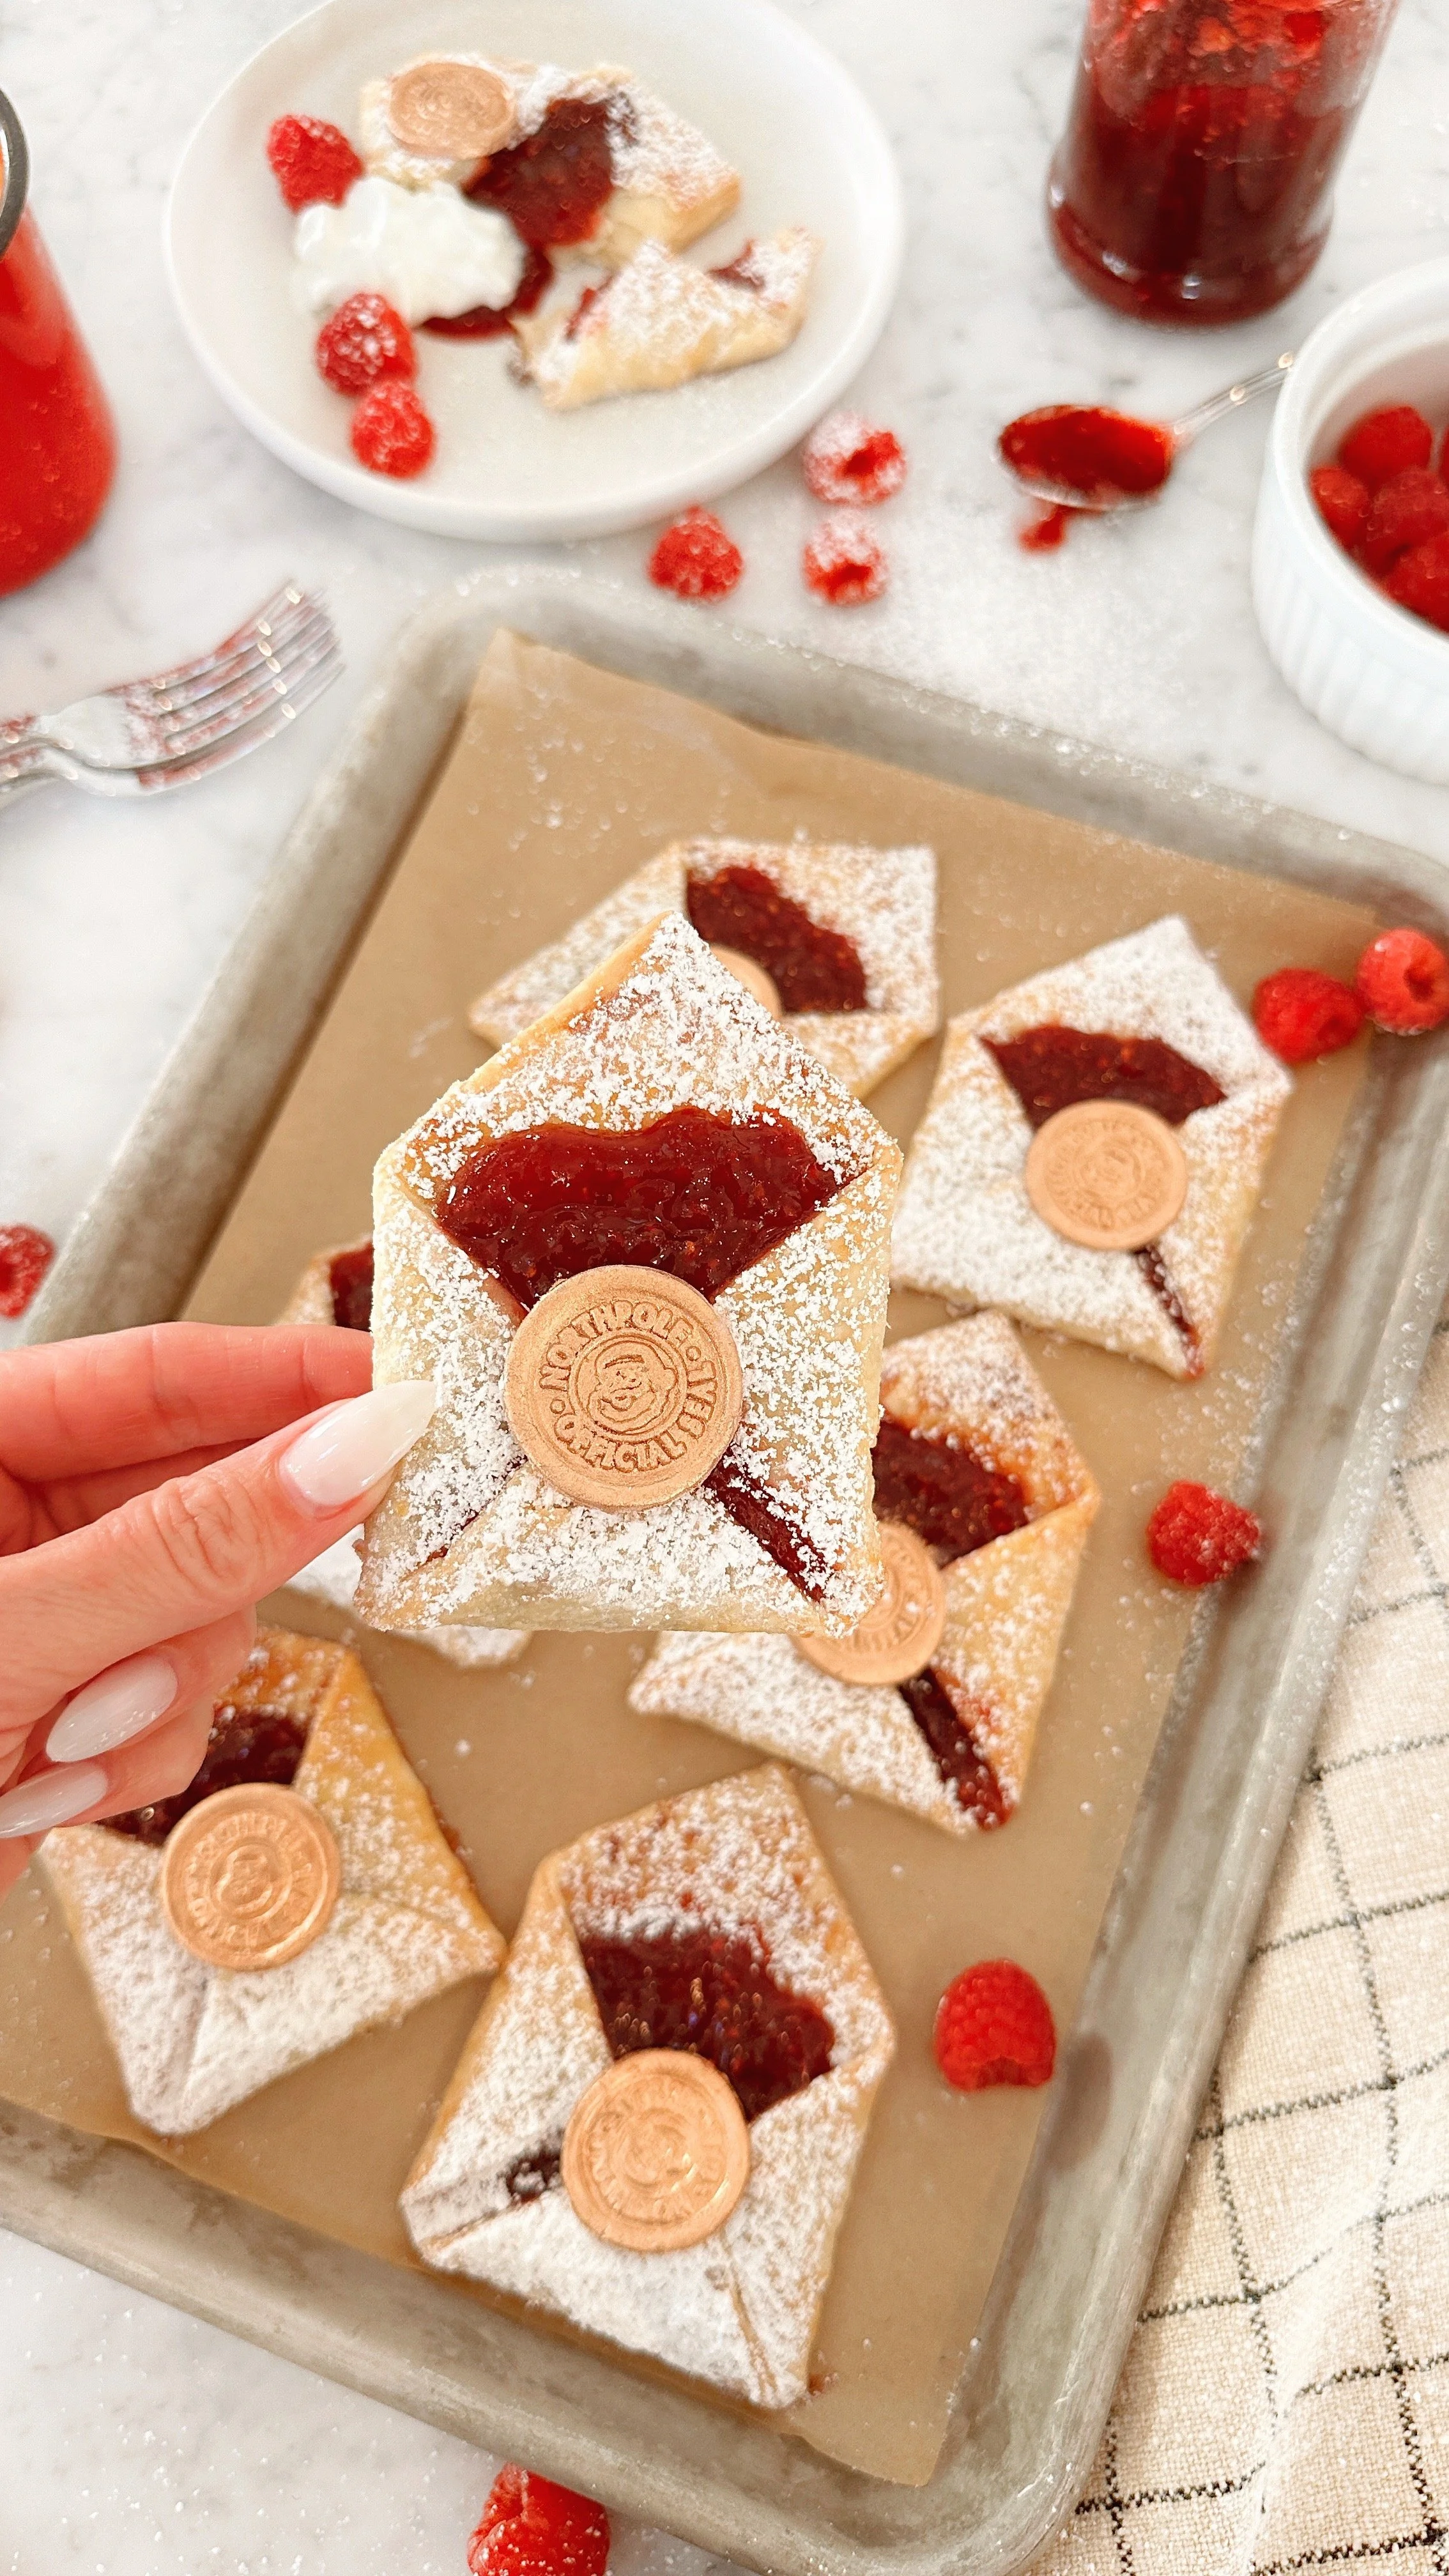
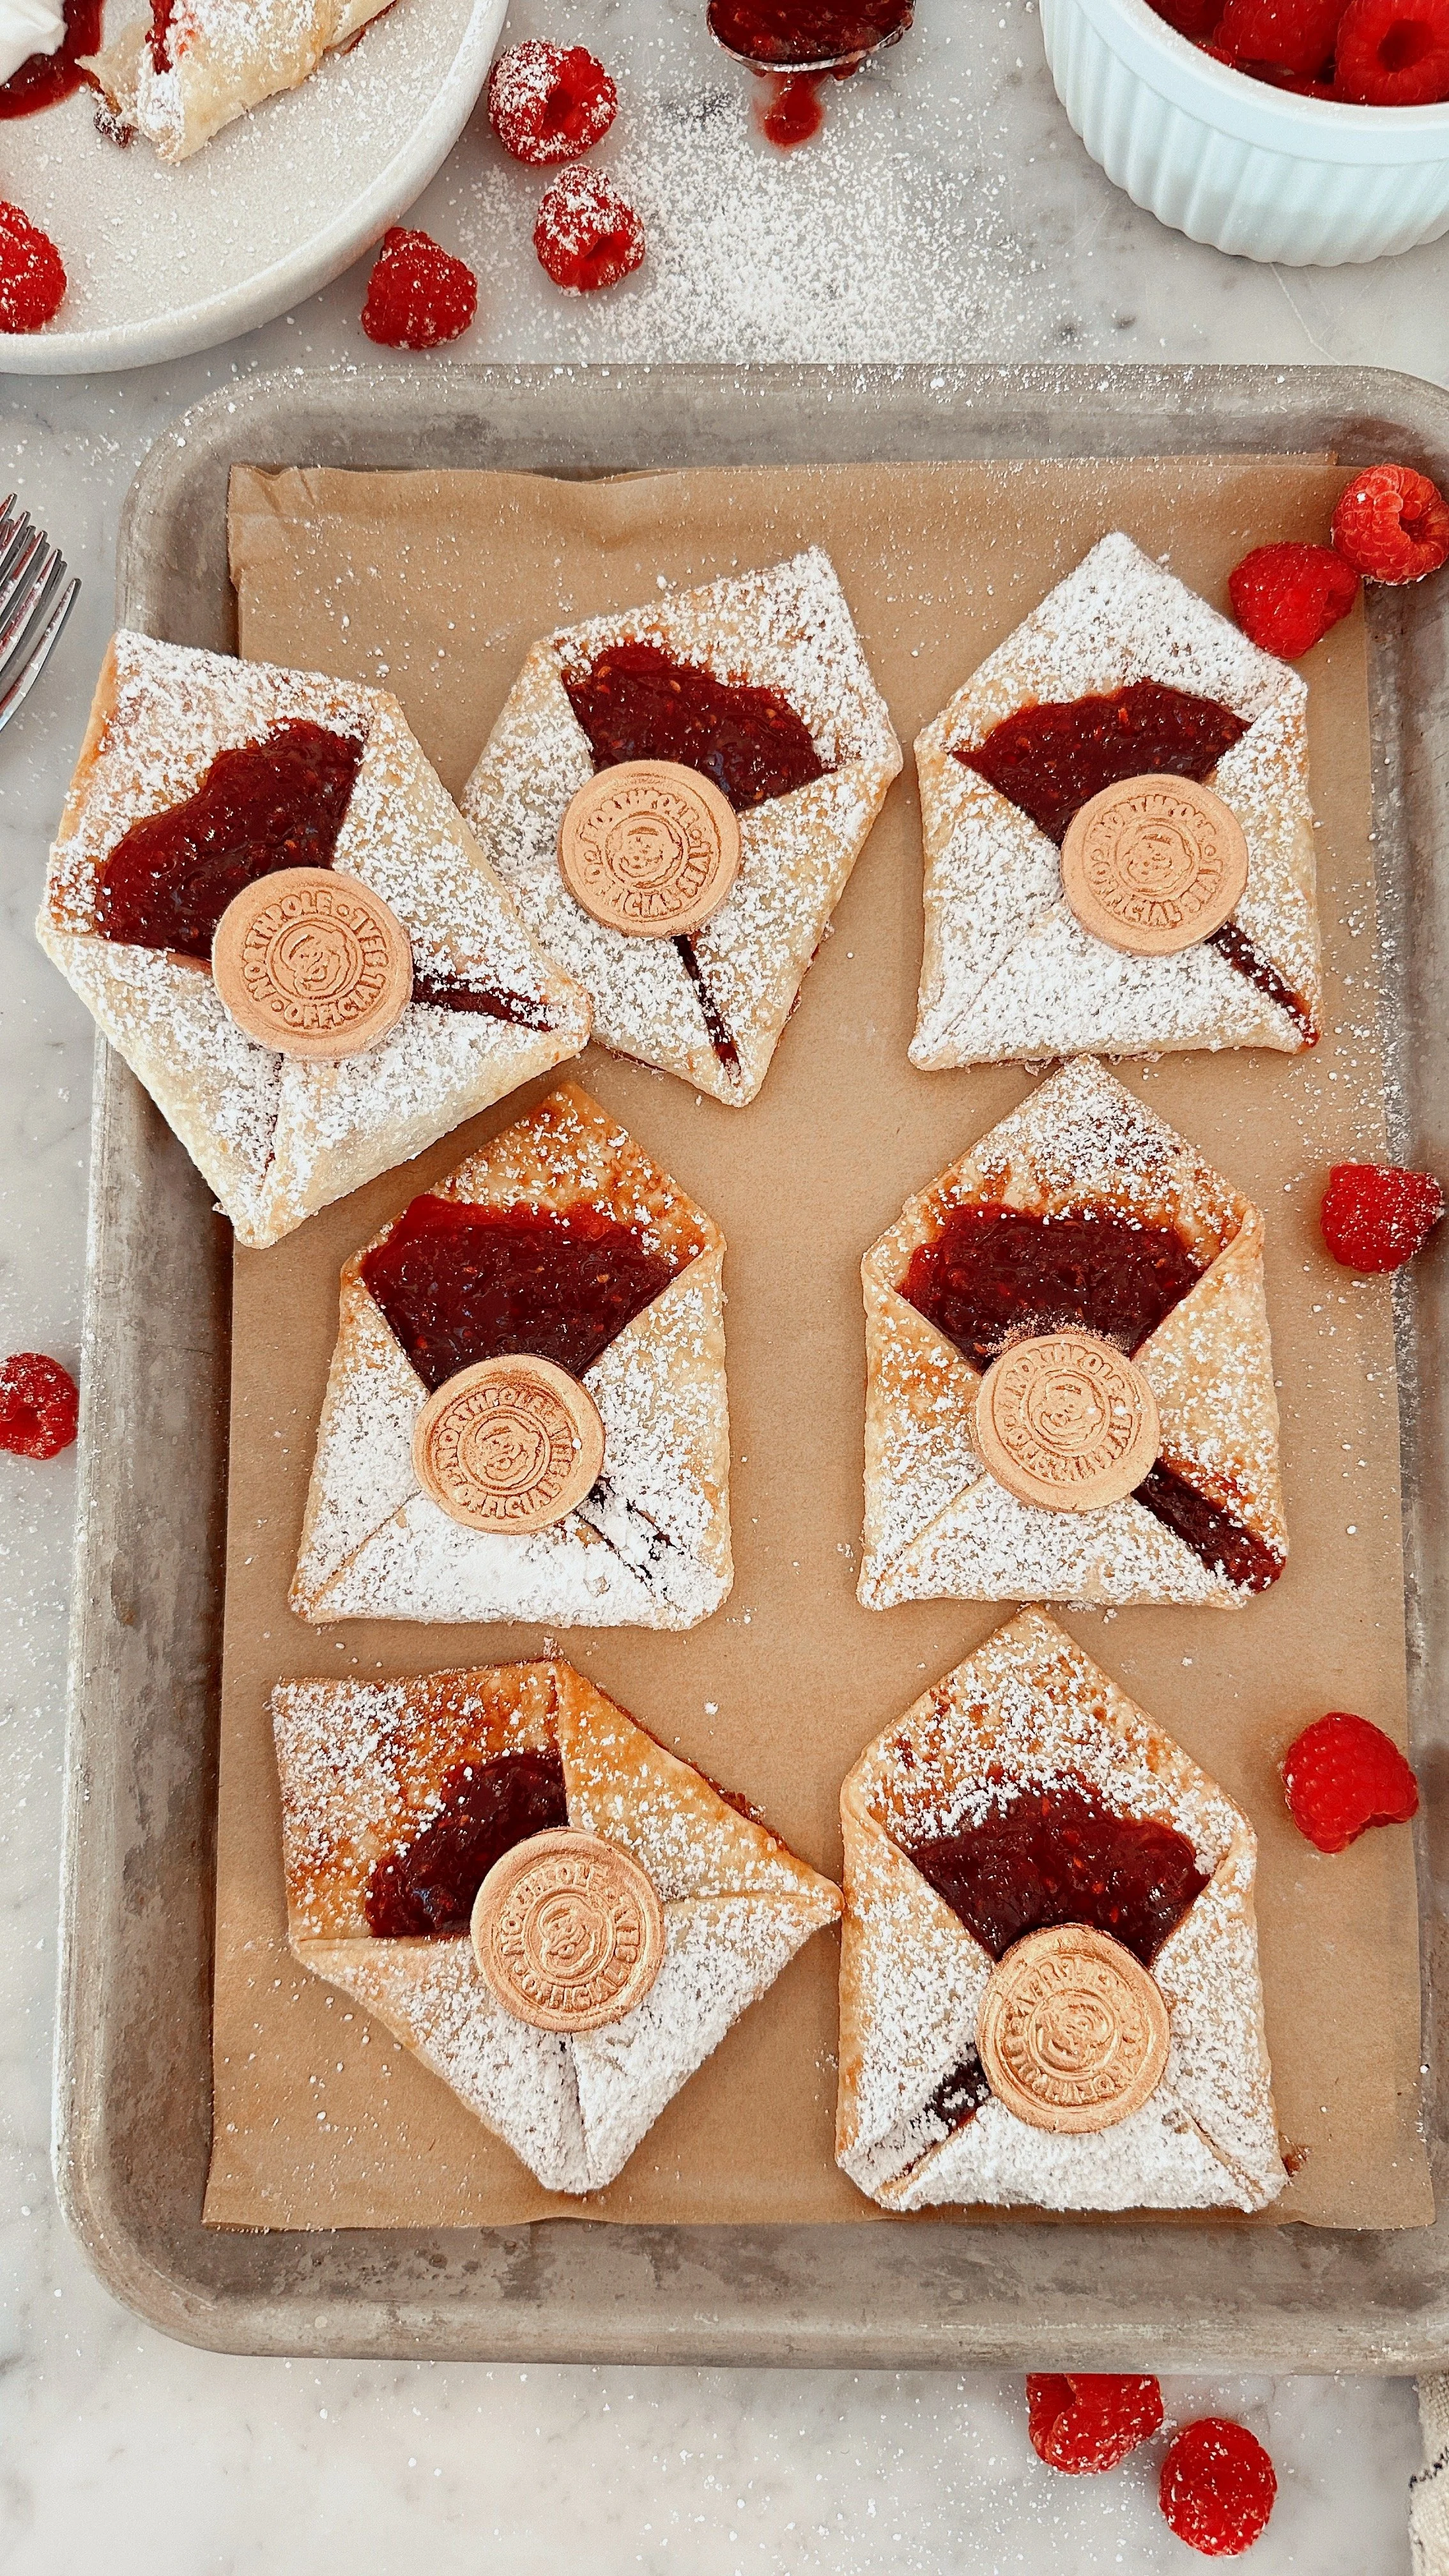
North Pole Christmas Hand Pies
These Christmas hand pies are a play on the wedding invite pies I made for a bridal shower. All I did was switch the stamp from their Initial to a North Pole stamp. You could honestly make these for so many holidays: Valentine’s Day, Christmas, an engagement party, bridal shower, baby shower invites. You get the picture. They are just so incredibly cute. I originally had one of these mini letter pies from a company called Tiny Pie. They were and still are based out of Austin (I believe) and a friend got one of their mini letters. It was sealed with a small little heart and packed with cherry filling. I thought the idea was adorable so I altered it and used fondant and made them for a bridal shower. I absolutely love the idea for Christmas now. Scroll down for the recipe.
North Pole Christmas Hand Pies
Ingredients
Raspberry Jam or Cherry pie filling
1/2 cup granulated sugar
1 egg (egg wash)
Powdered sugar
Fondant
Edible silver glitter (or gold glitter)
#commissions-earned on all affiliate links
Directions
Preheat oven to 425 degrees F.
Roll out both pie crust sheets and use a rolling pin to smooth out the dough if there are any crinkles.
Using a 4” square cookie cutter or knife, cut out four squares from each dough round. If you roll out all the scraps you can get 2 more squares for a total of 10 hand pies.
Turn your square at a diagonal and fill with about a tablespoon of raspberry jam.
Fold the two sides of your square into the center of the hand pie so the corners meet. Gently press down then fold the bottom triangle up to the middle of the pie so it slightly overlaps the two sides. Press down so the envelope sticks together. Continue with all the hand pies.
Whisk up one egg in a small bowl and brush the egg wash over all the pies, carefully avoiding the jam.
Bake for approximately 20-24 minutes until golden brown. Remove and let cool.
Dust with powdered sugar then gently spoon a small amount of additional jam mixture on the top fold of the pie envelope. The extra jam looks pretty peeking out the top of the powdered sugar envelop.
If you wish to make the fondant seal. Simply roll out the fondant so it’s about 1/8” thick and use the North Pole stamp to make the “wax seals”. Use a knife or cookie cutter to cut into small circles and dust with edible glitter.
TIP: To make the edible glitter stick more easily, dip your paintbrush in vodka or honey before adding the glitter.