Opens in a new tab

DIY Beauty and The Beast Chip Costume

by Jessie Daye

First published: December 22, 2014 | Updated: October 18, 2026
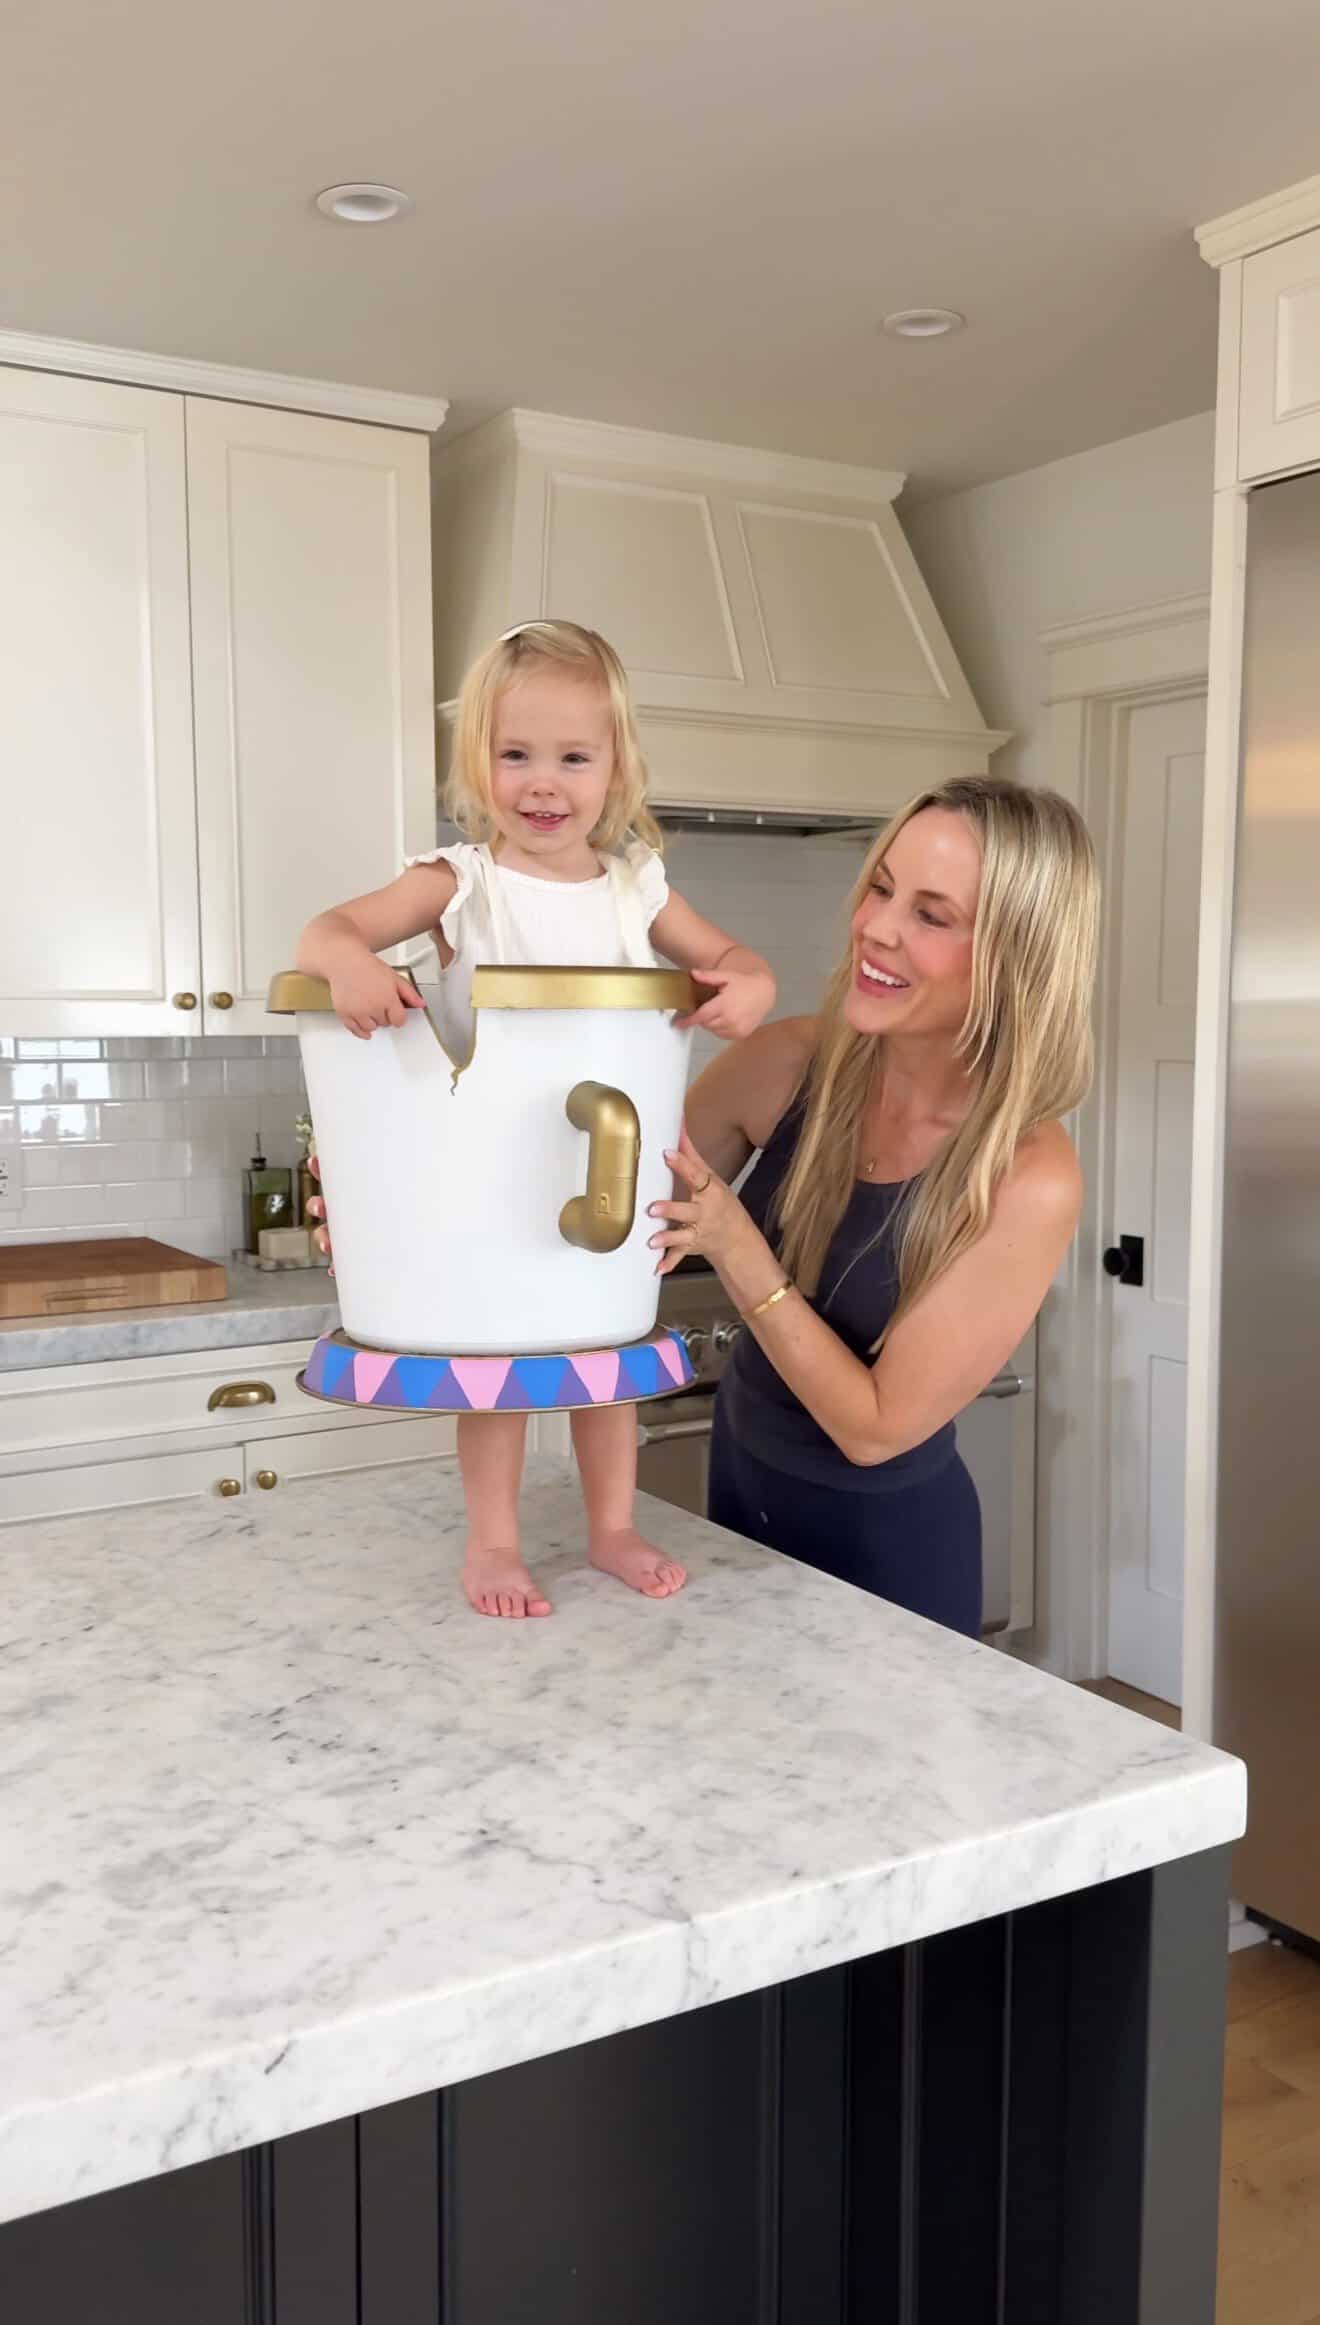
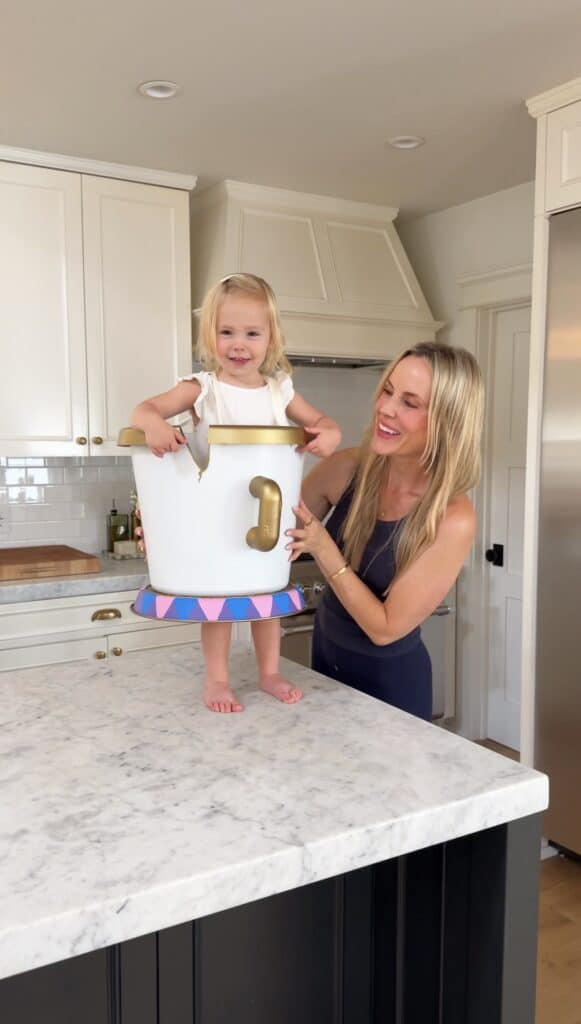
Young girl in a DIY Chip costume from Beauty and the Beast with her mother in a modern kitchen.

I originally made this costume in 2015 for my first daughter, Lily, who played the part of Chip in Beauty and the Beast and it was so popular that I am making it again for my third daughter 11 years later! Tutorial is below!
Child in DIY Chip costume from Beauty and The Beast at a costume event.
 
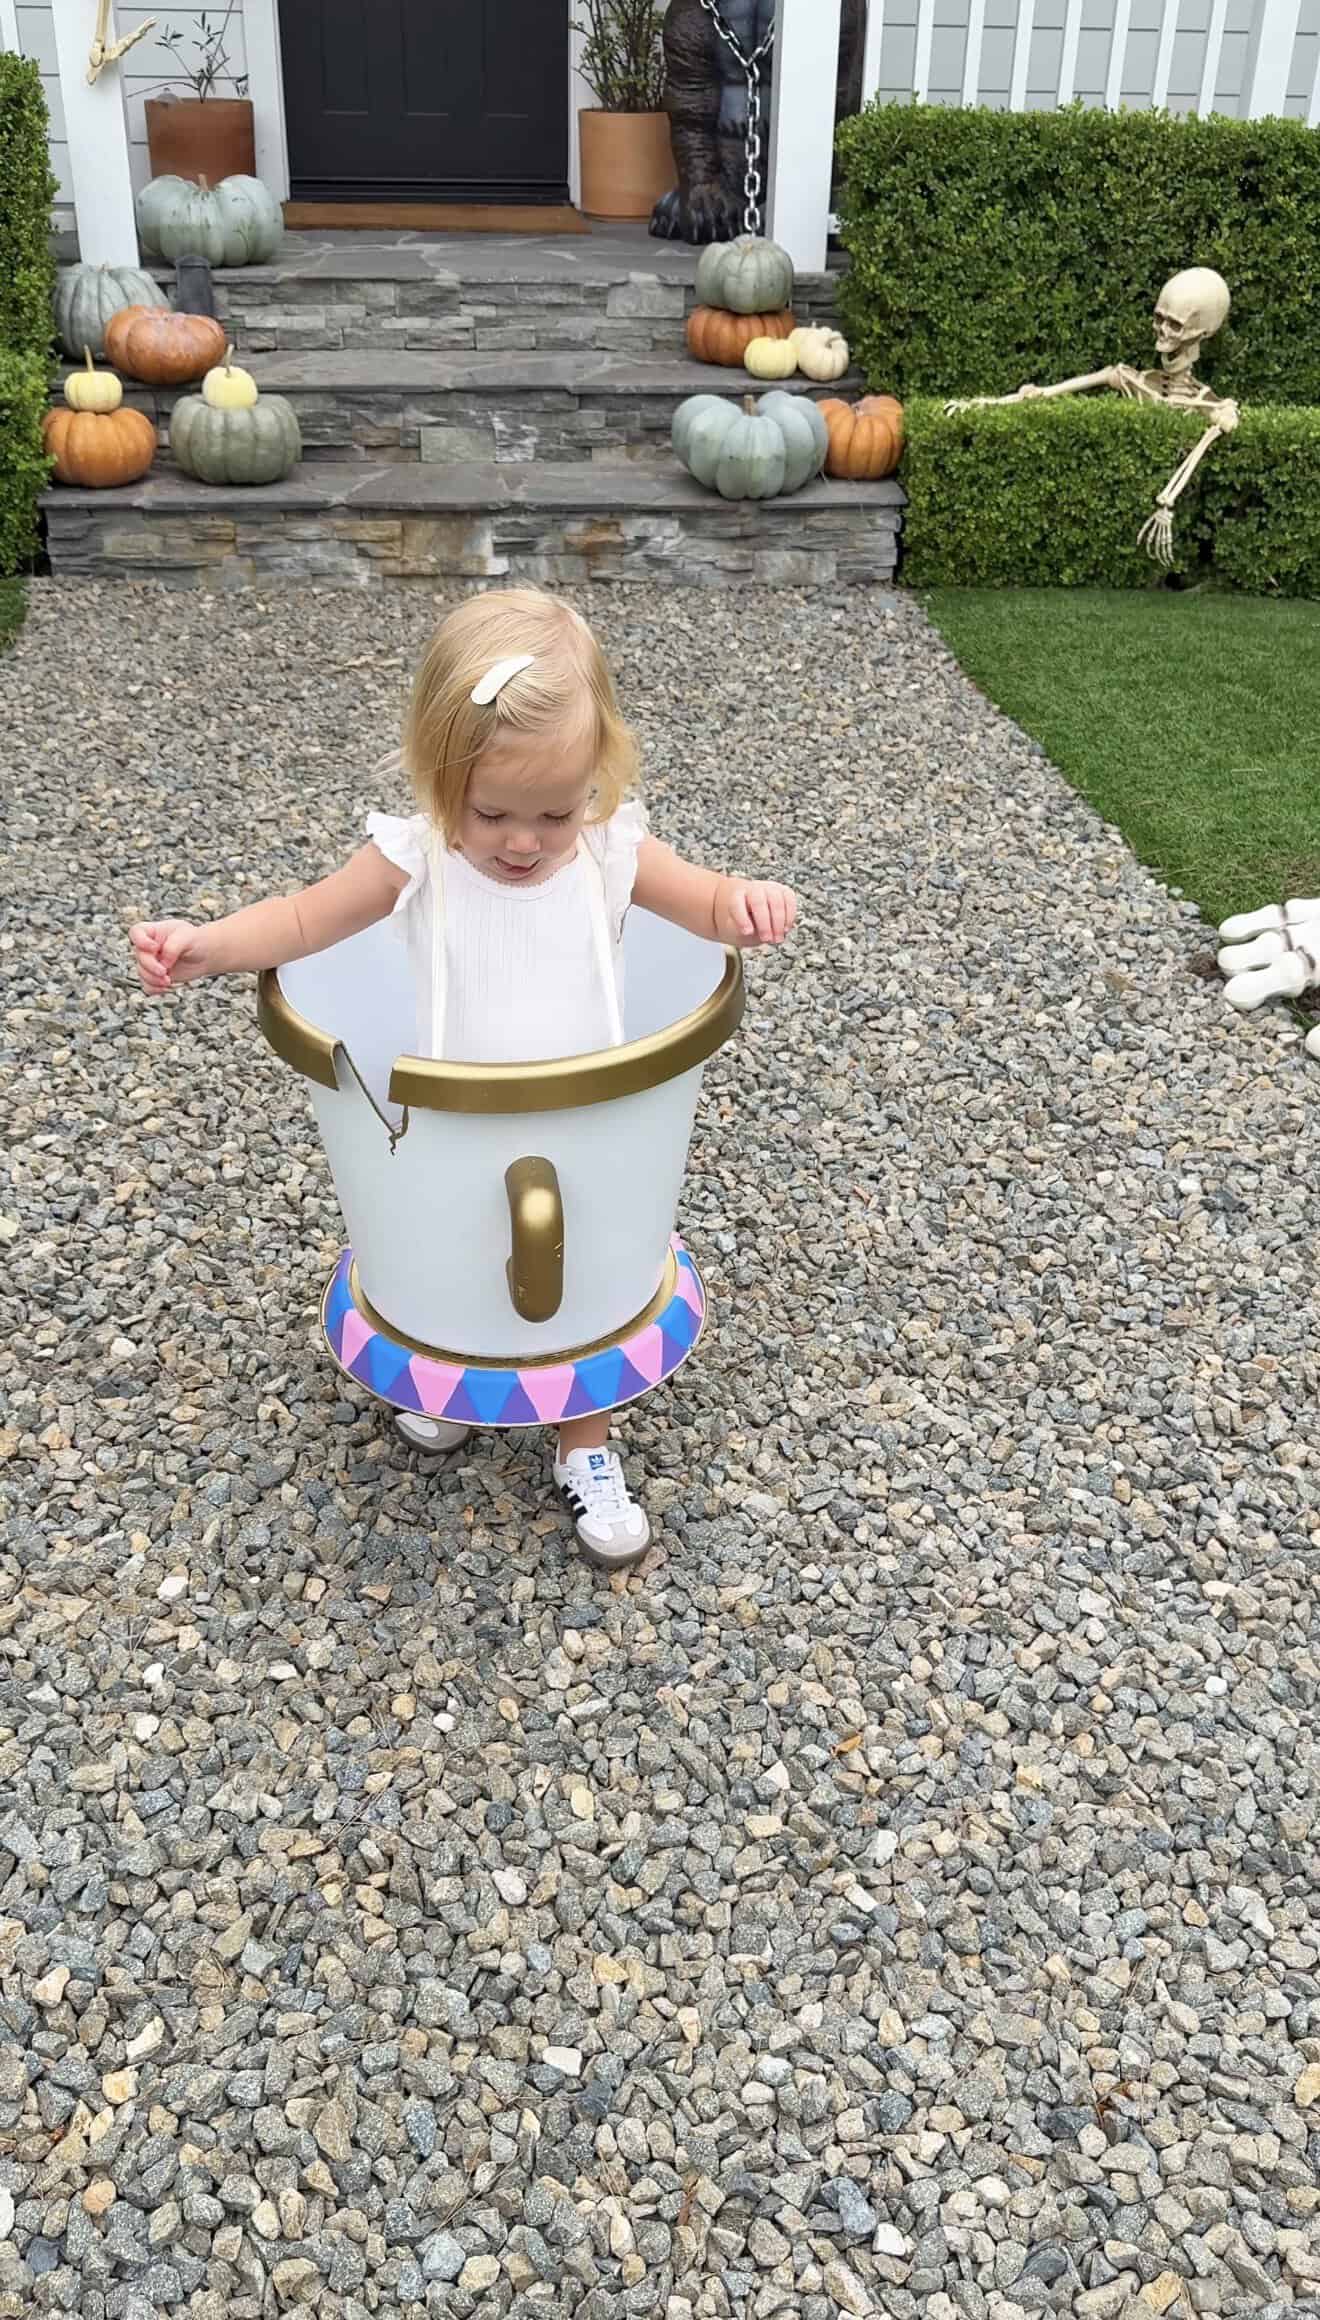
Young girl dressed as Chip from Beauty and The Beast with a pumpkin and skeleton decoration in yard.
 
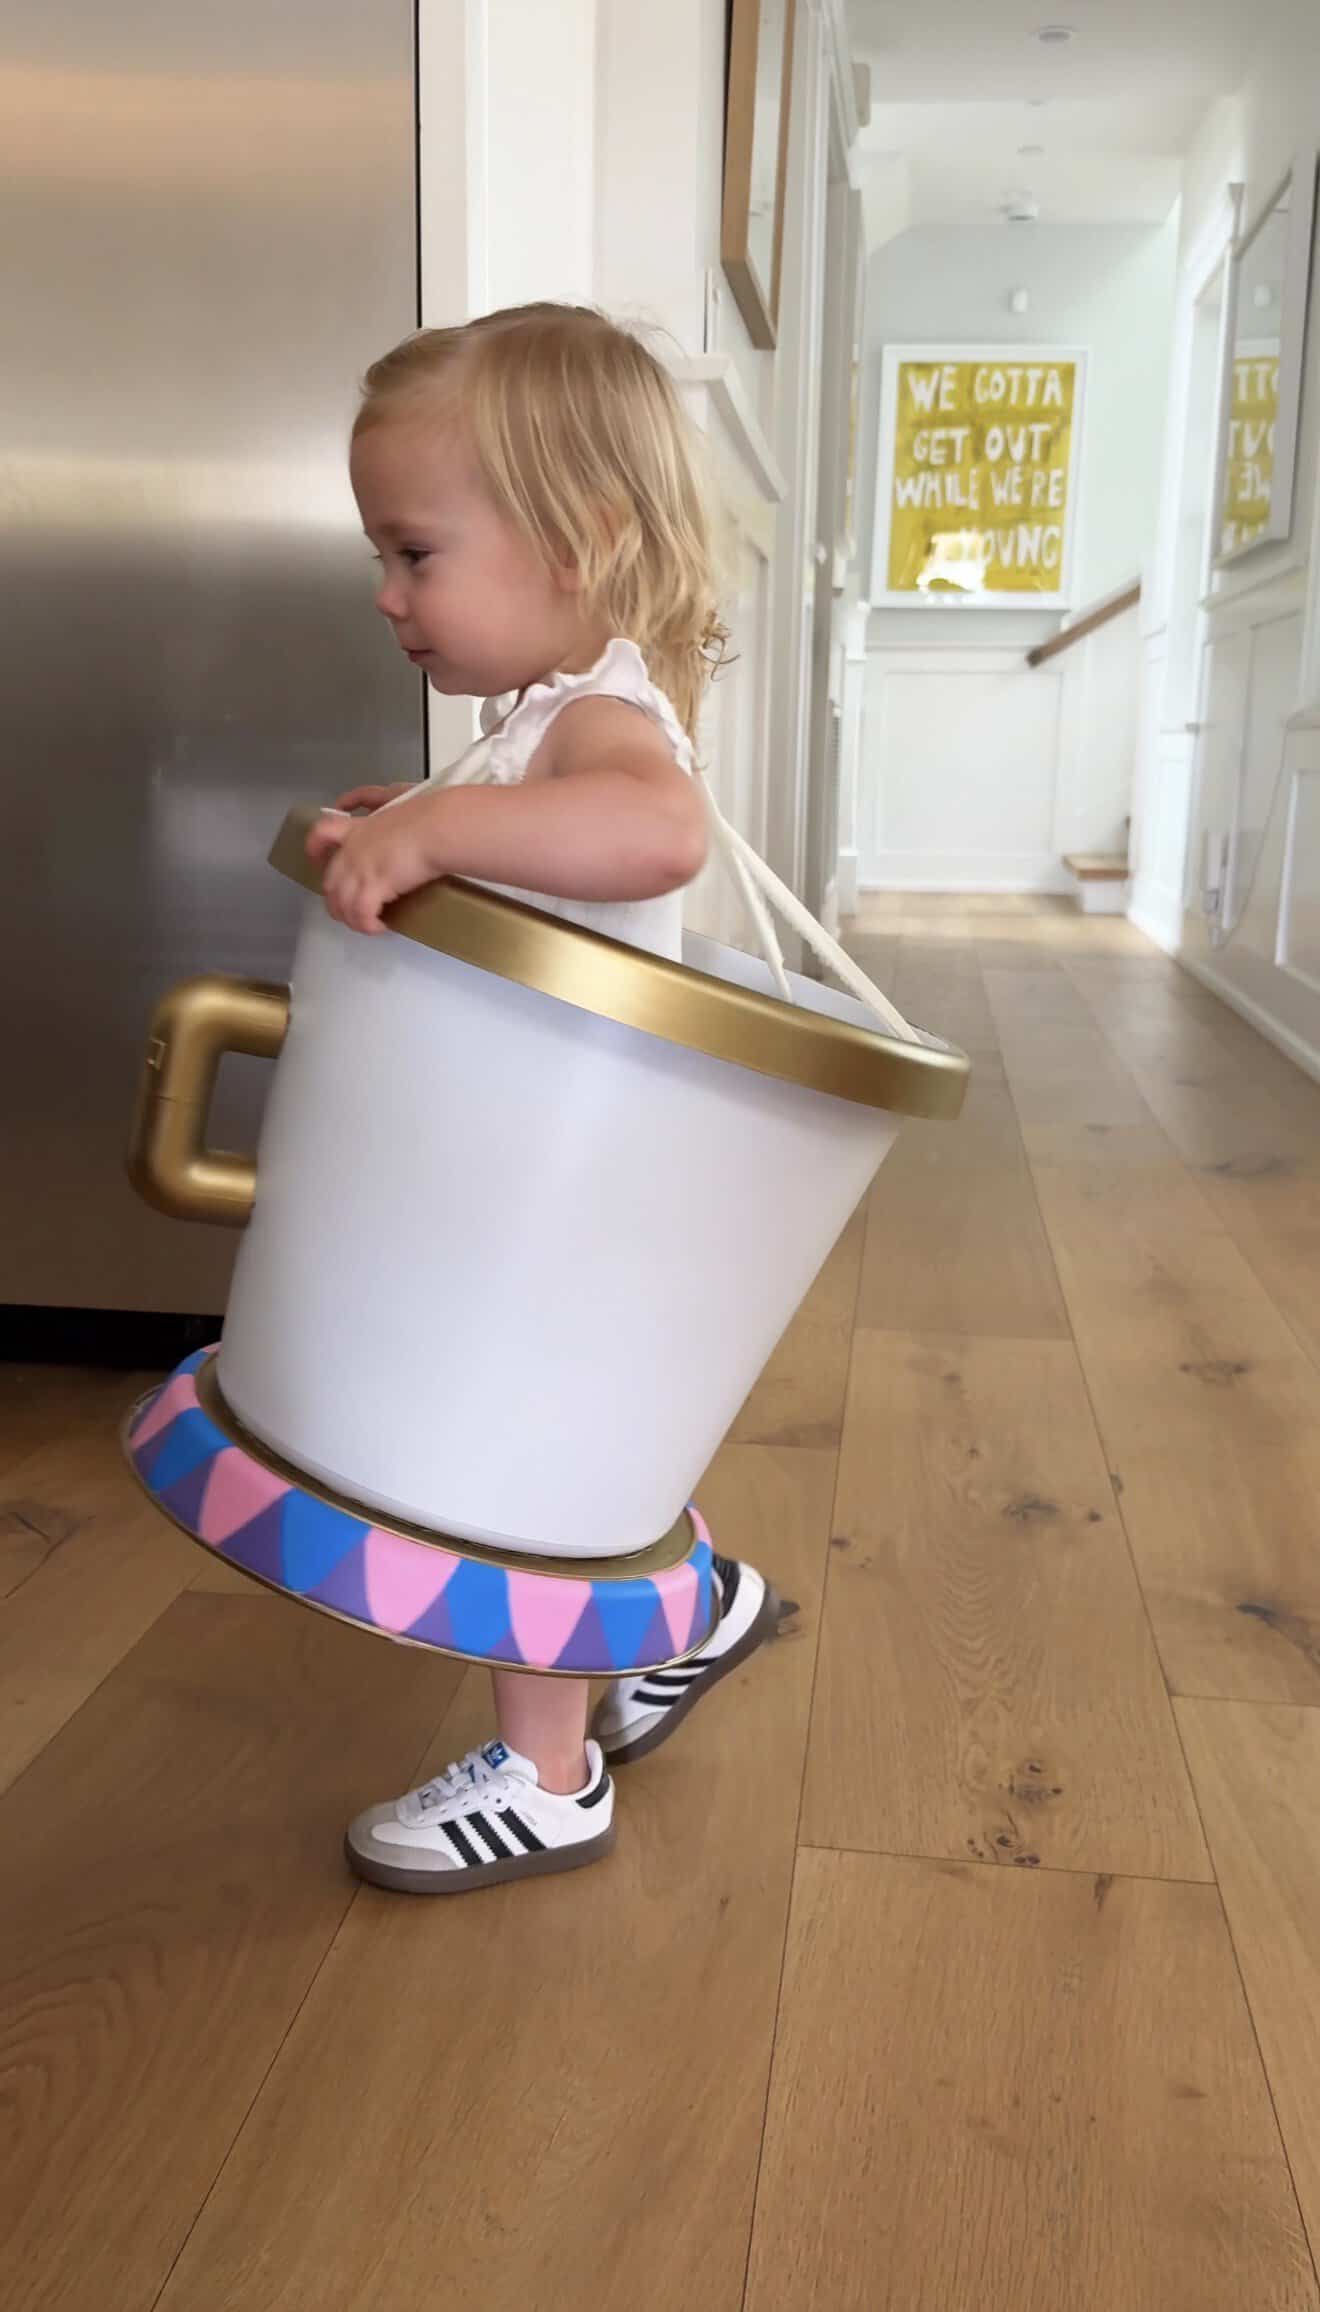
Young girl dressed as Chip from Beauty and the Beast with a large cup costume.
 
Young girl in a DIY Chip costume from Beauty and the Beast with her mother in a modern kitchen.
 
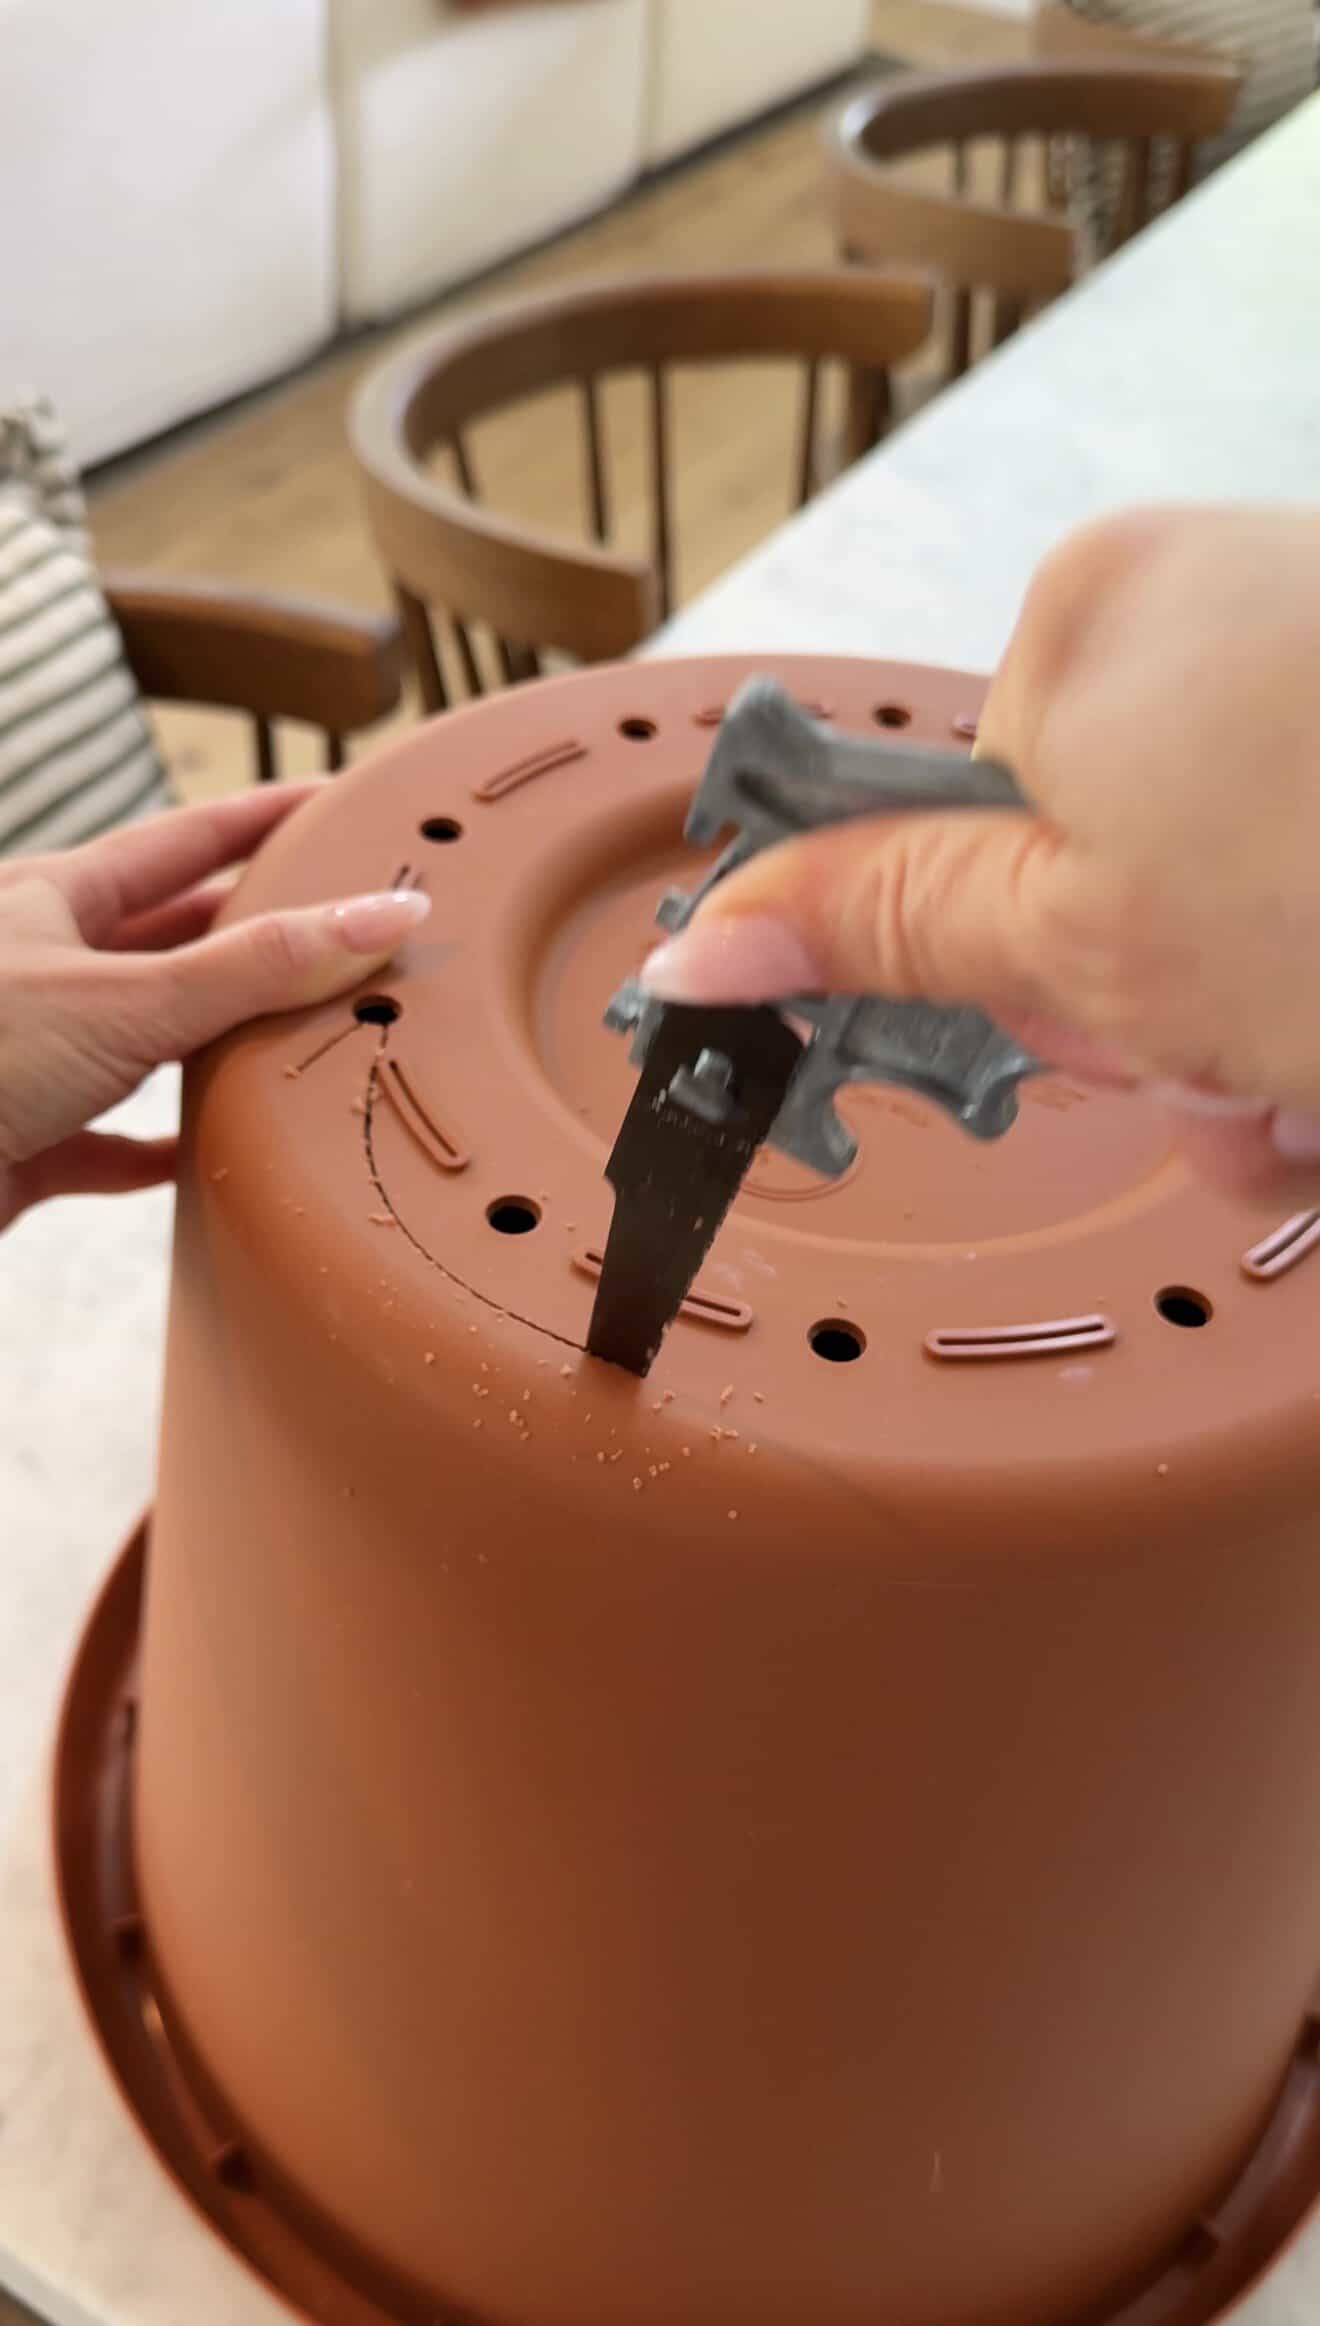
Person carving a ceramic chip mug for DIY costume project.
 
Broken terracotta flower pot for DIY Chip costume craft project.
 
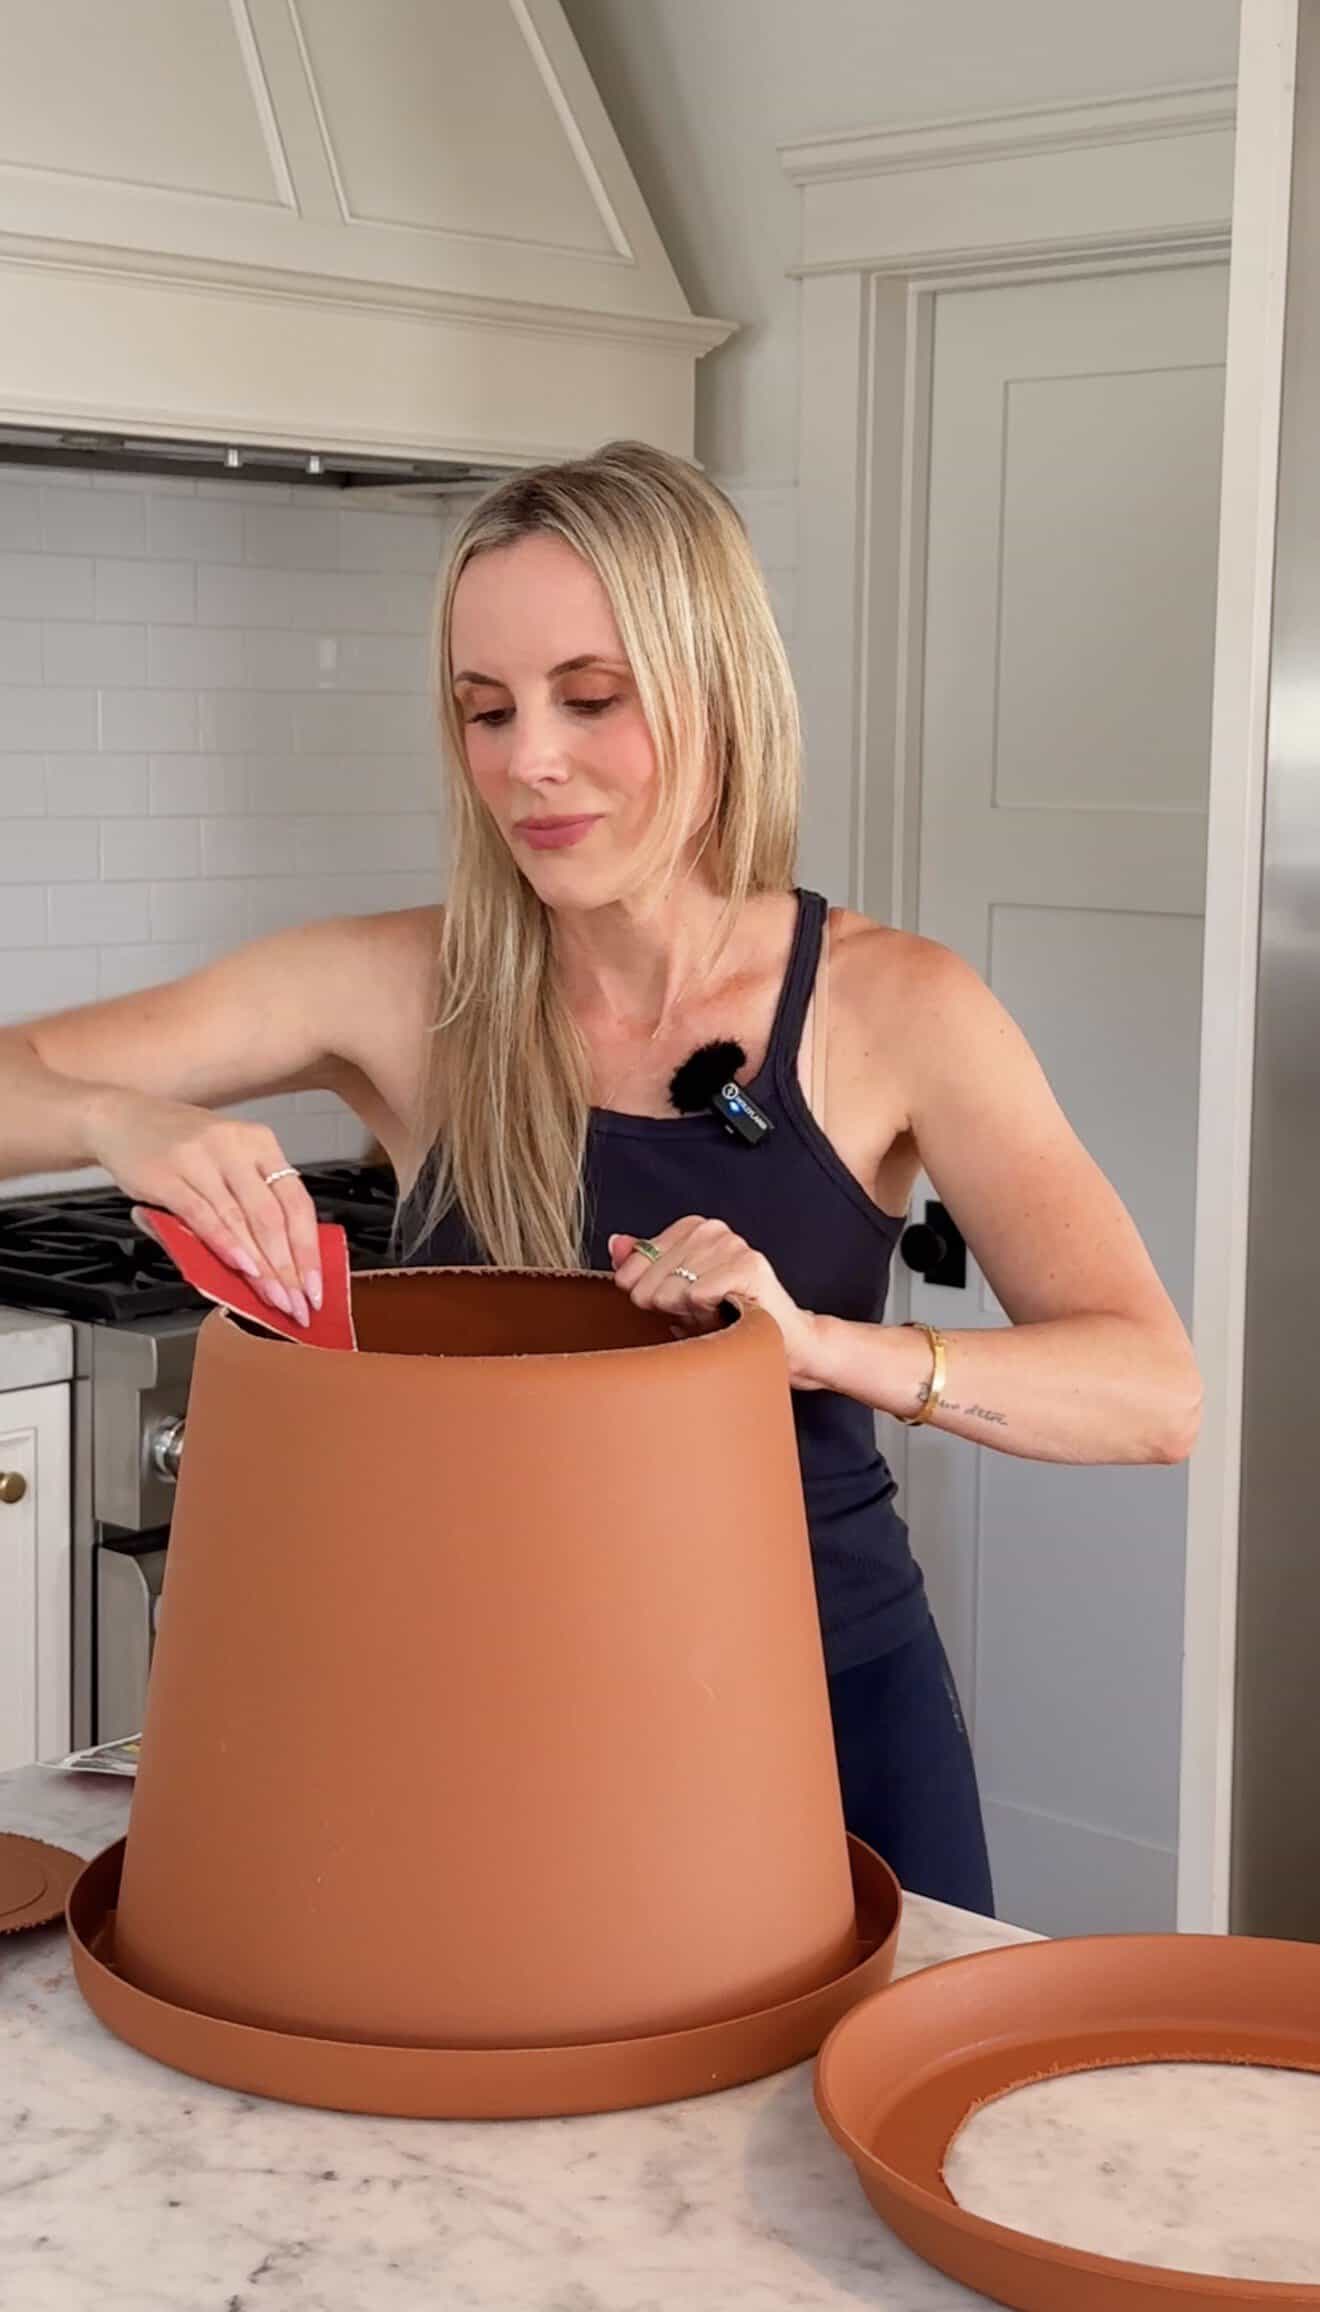
Jessie Daye making a DIY Beauty and The Beast Chip costume in her kitchen.
Close-up of a DIY Chip teacup craft with a hand holding a white paintbrush.


Close-up of a white and gold chip cup with colorful base on a kitchen counter.
 
Close-up of a DIY Chip cup with straw for costume.
 
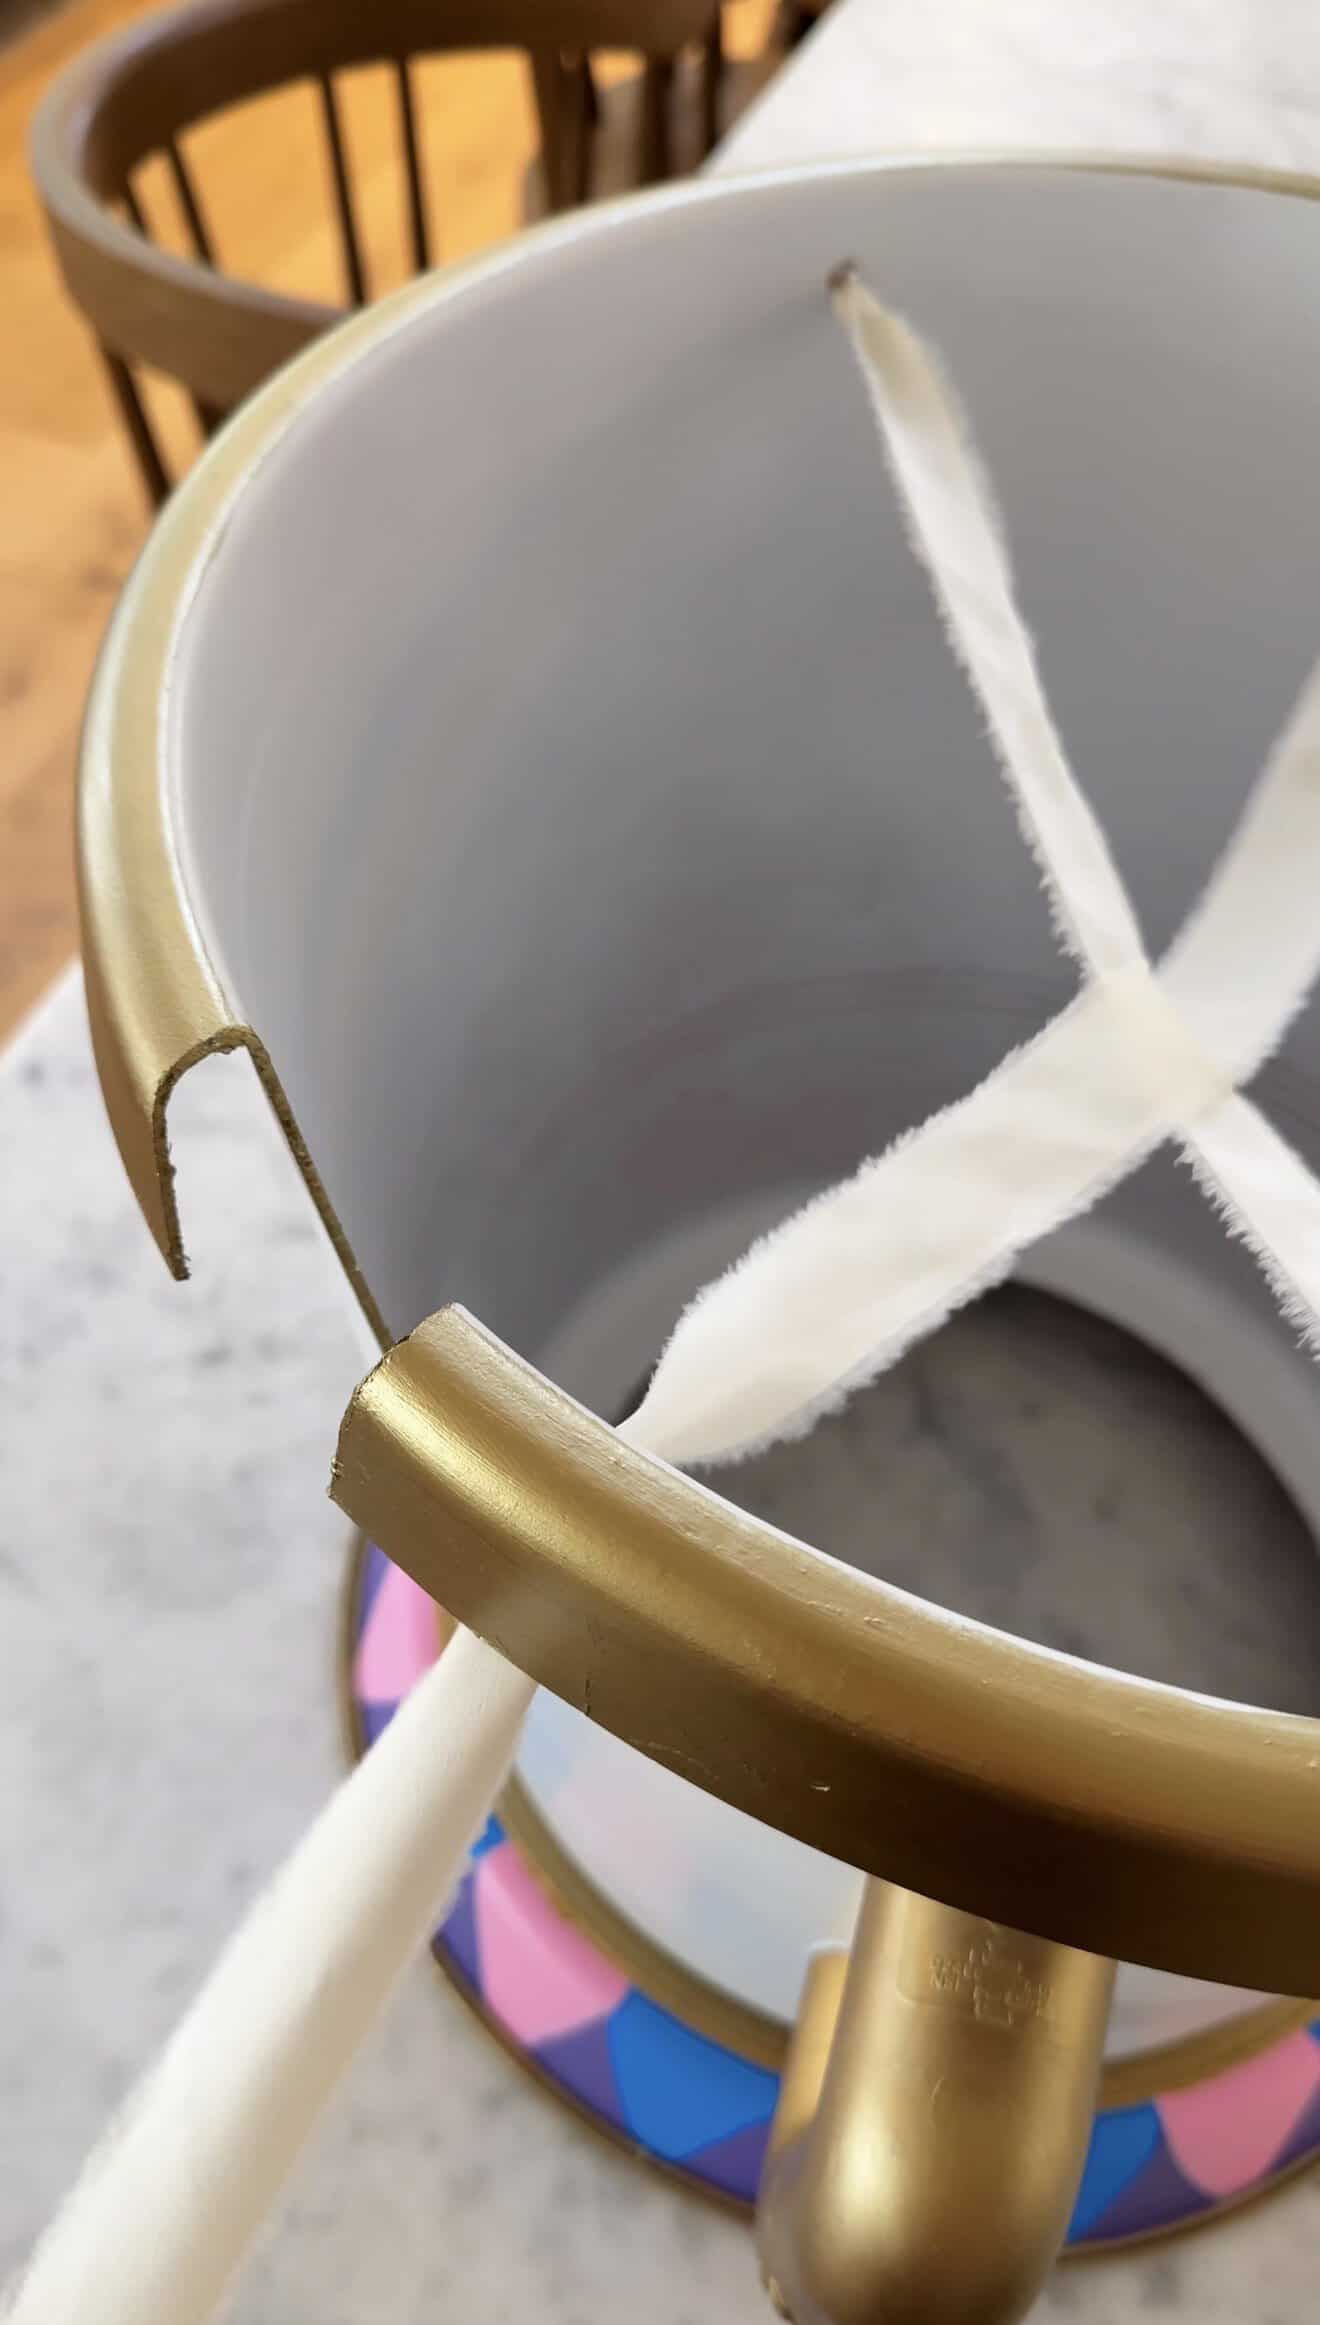
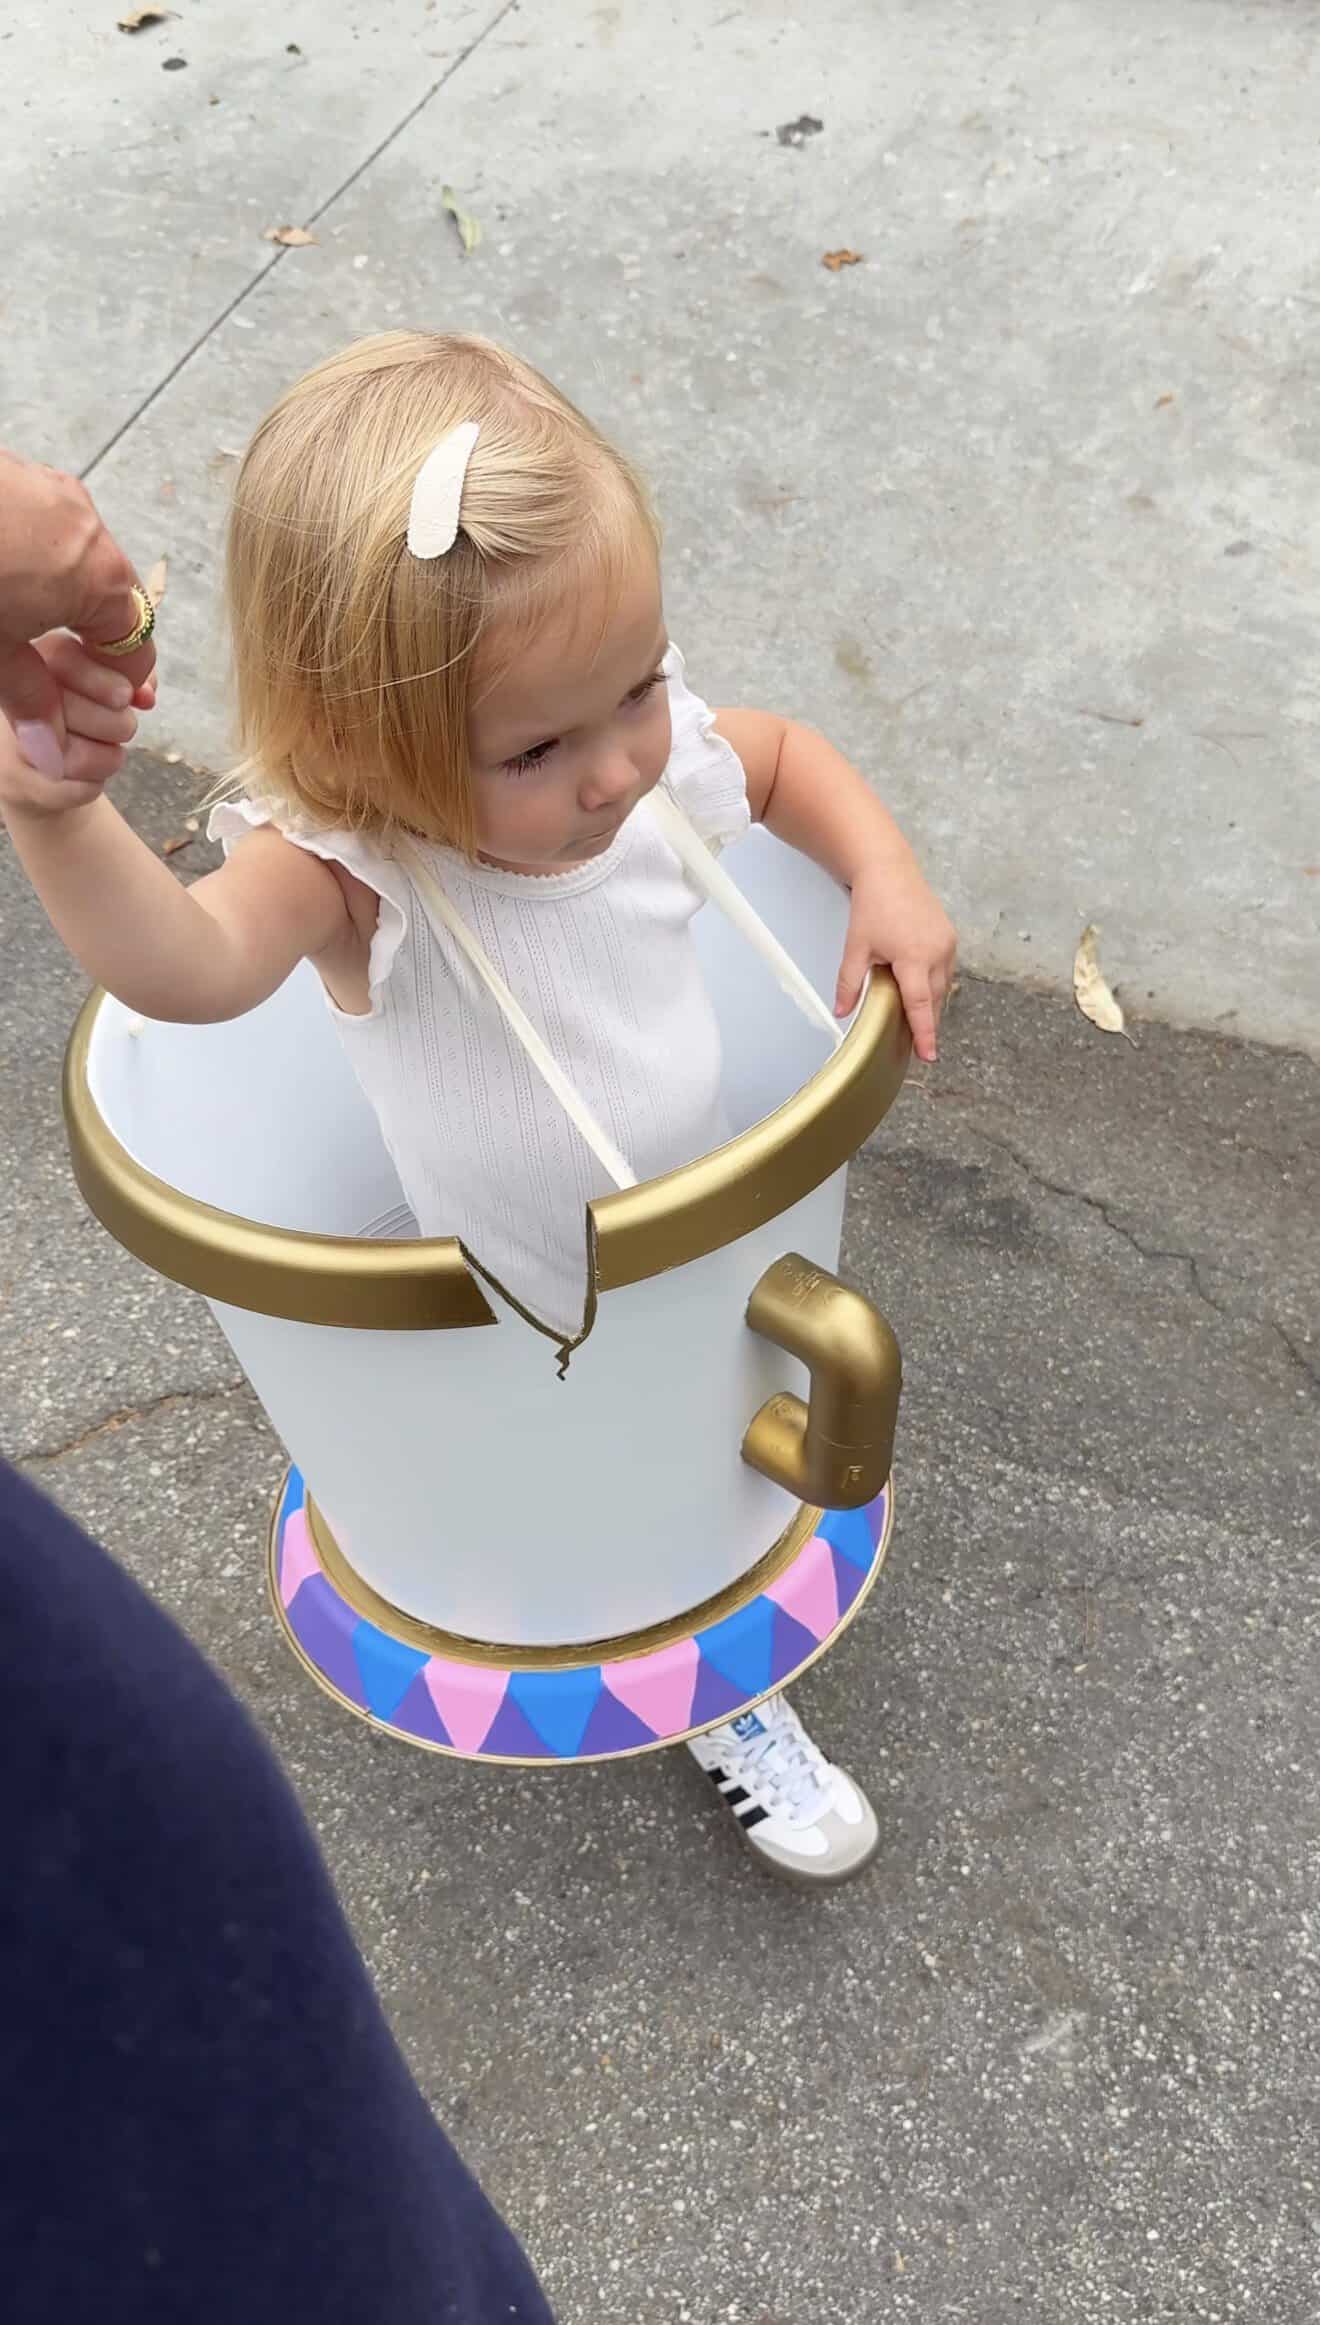
This is the back of the tea cup. You can’t hot glue the straps because they will peal off (take my word on this) so you must drill holes into the teacup. I just crossed the straps and made an X on her back like how you would wear suspenders.

Young girl in a DIY Chip costume from Beauty and the Beast with her mother in a modern kitchen.

DIY Beauty and The Beast Chip Costume

Author: Jessie Daye
Young girl in a DIY Chip costume from Beauty and the Beast with her mother in a modern kitchen.
No ratings yet
Share
Print
Prep 3 days
Total 3 days
Servings 1 Costume

What you need

  • 1 16 inch to 20 inch plastic flower pot and matching base 16" (2-4 years old) 20" (5 years + old)
  • Small hand saw Dremel, or X-Acto knife
  • Coarse-grit sandpaper
  • Hot glue gun
  • E6000 adhesive
  • Super glue
  • 2 1¼-inch plastic pipe corners for the handle
  • 1 can White spray paint
  • 1 tube Gold paint
  • Pink, Blue, and Purple paint
  • Paintbrushes
  • Drill
  • 2 16" pieces White ribbon

Equipment

Directions

  1. Choose your flower pot. I recommend a 16-inch plastic flower pot for children ages 2–4 and a 20-inch flower pot for children ages 5 and older. Make sure to purchase the matching base. The 20-inch pot weighs roughly 2 pounds, so it's very lightweight.
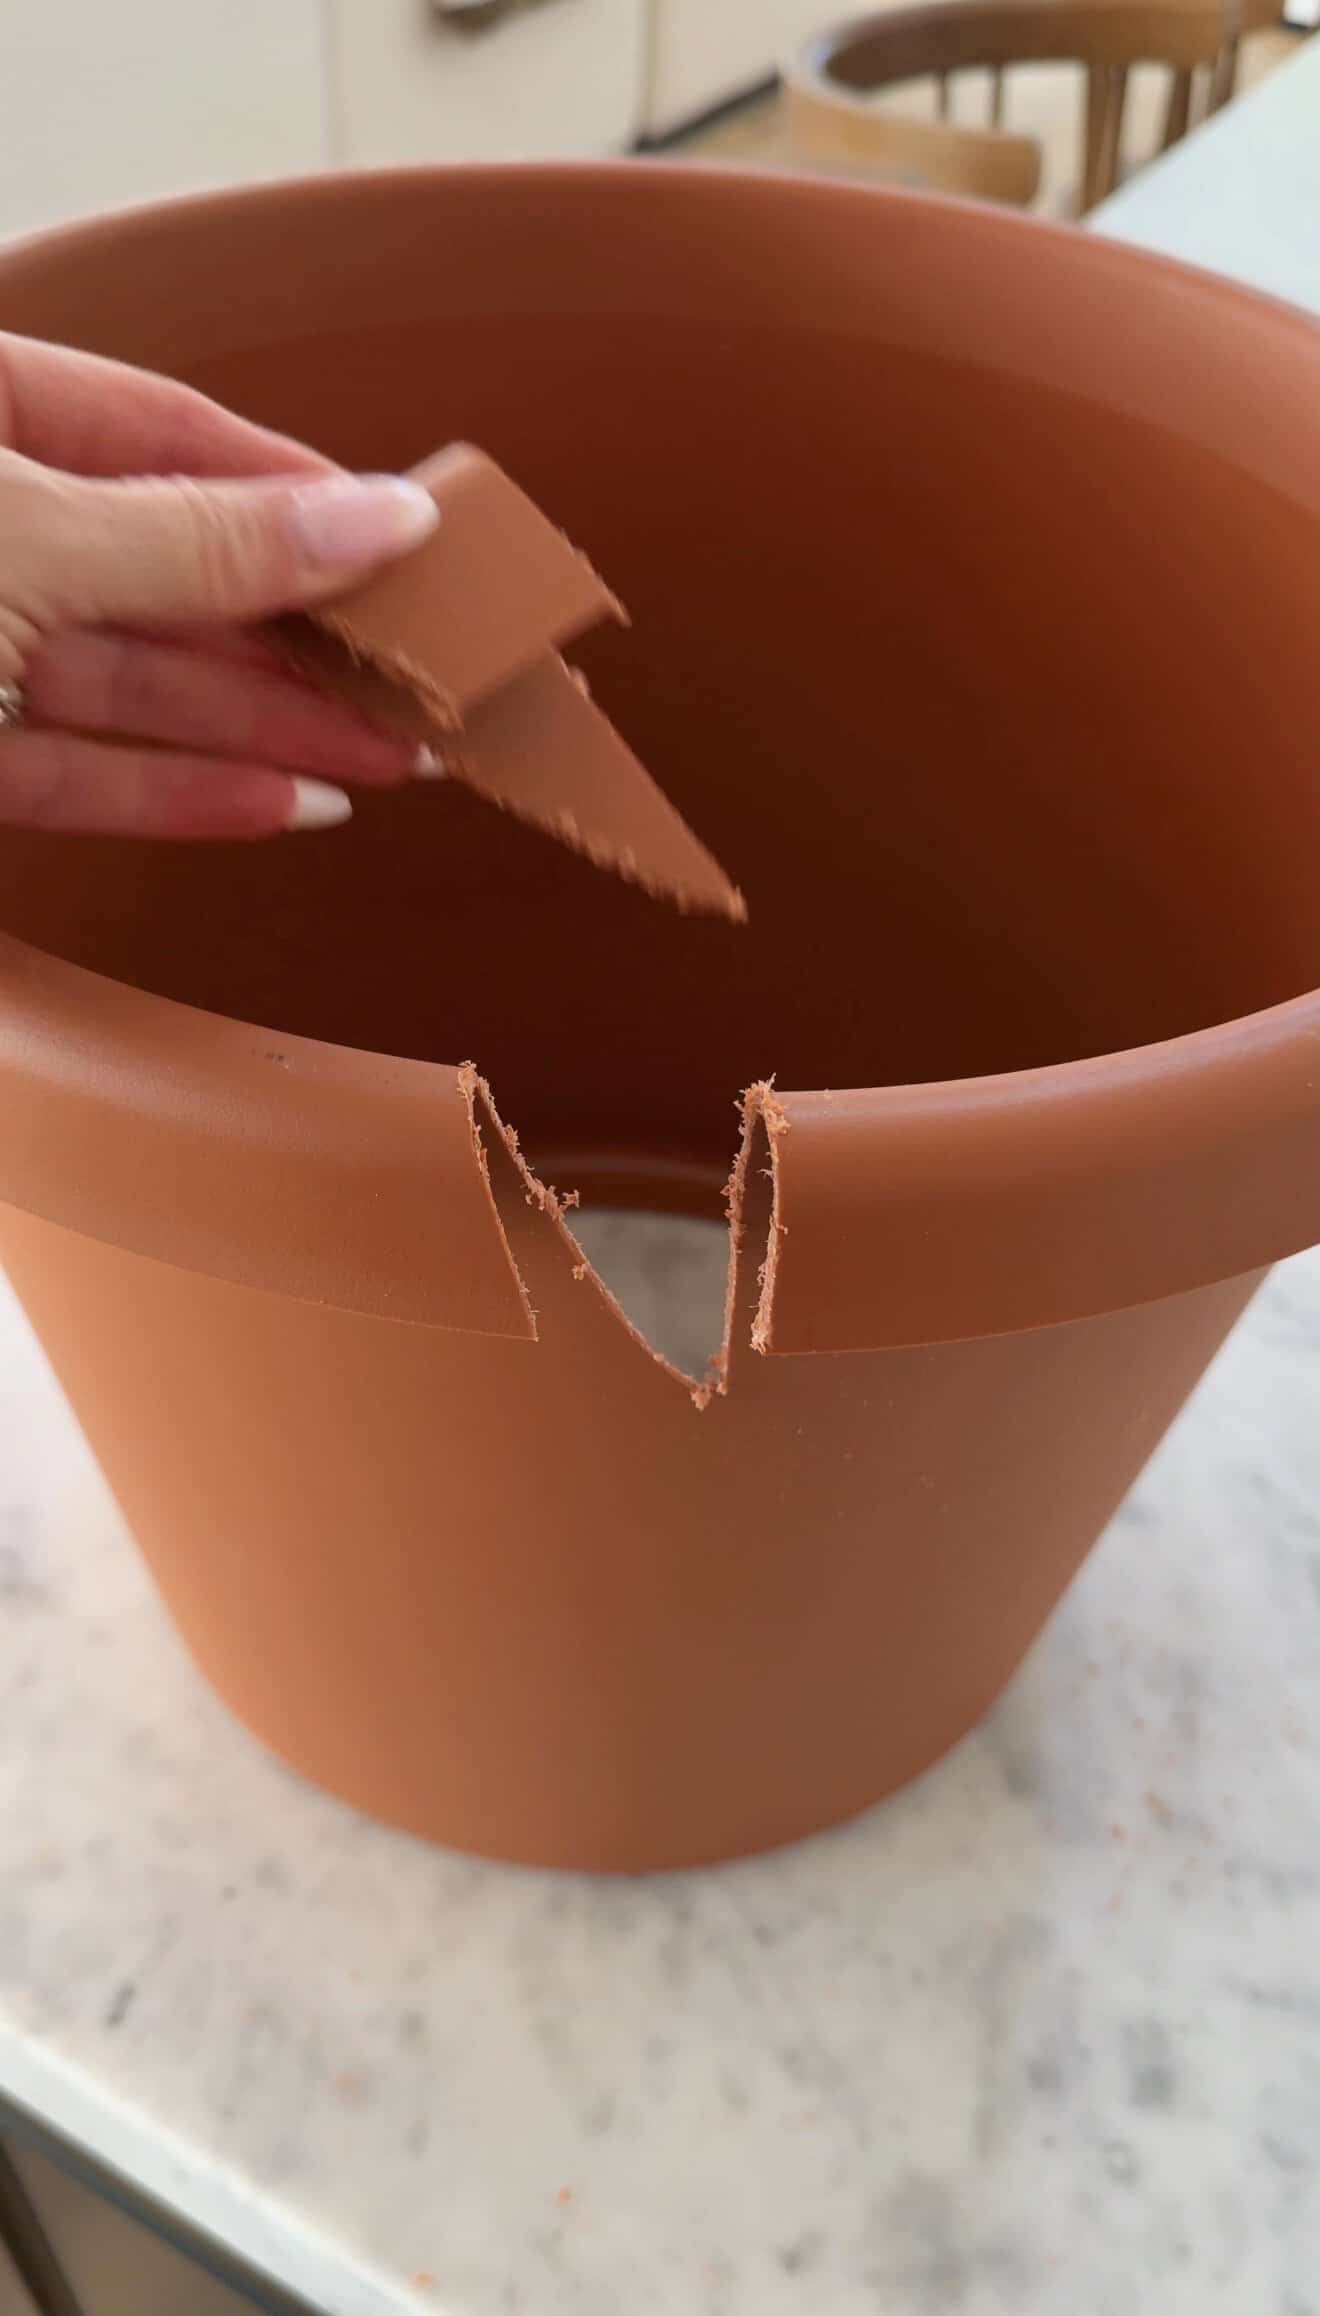
  2. Cut out the bottom. Turn the flower pot over and cut out the bottom so your child's legs can fit through. I used a small hand saw, but a Dremel or X-Acto knife would work too.
  3. Sand the edges. Use coarse-grit sandpaper to smooth the inside of the pot and remove any rough plastic that could scratch your child's legs. Make sure to sand from all angles. The little plastic pieces come off easily, and this took me less than 5 minutes.
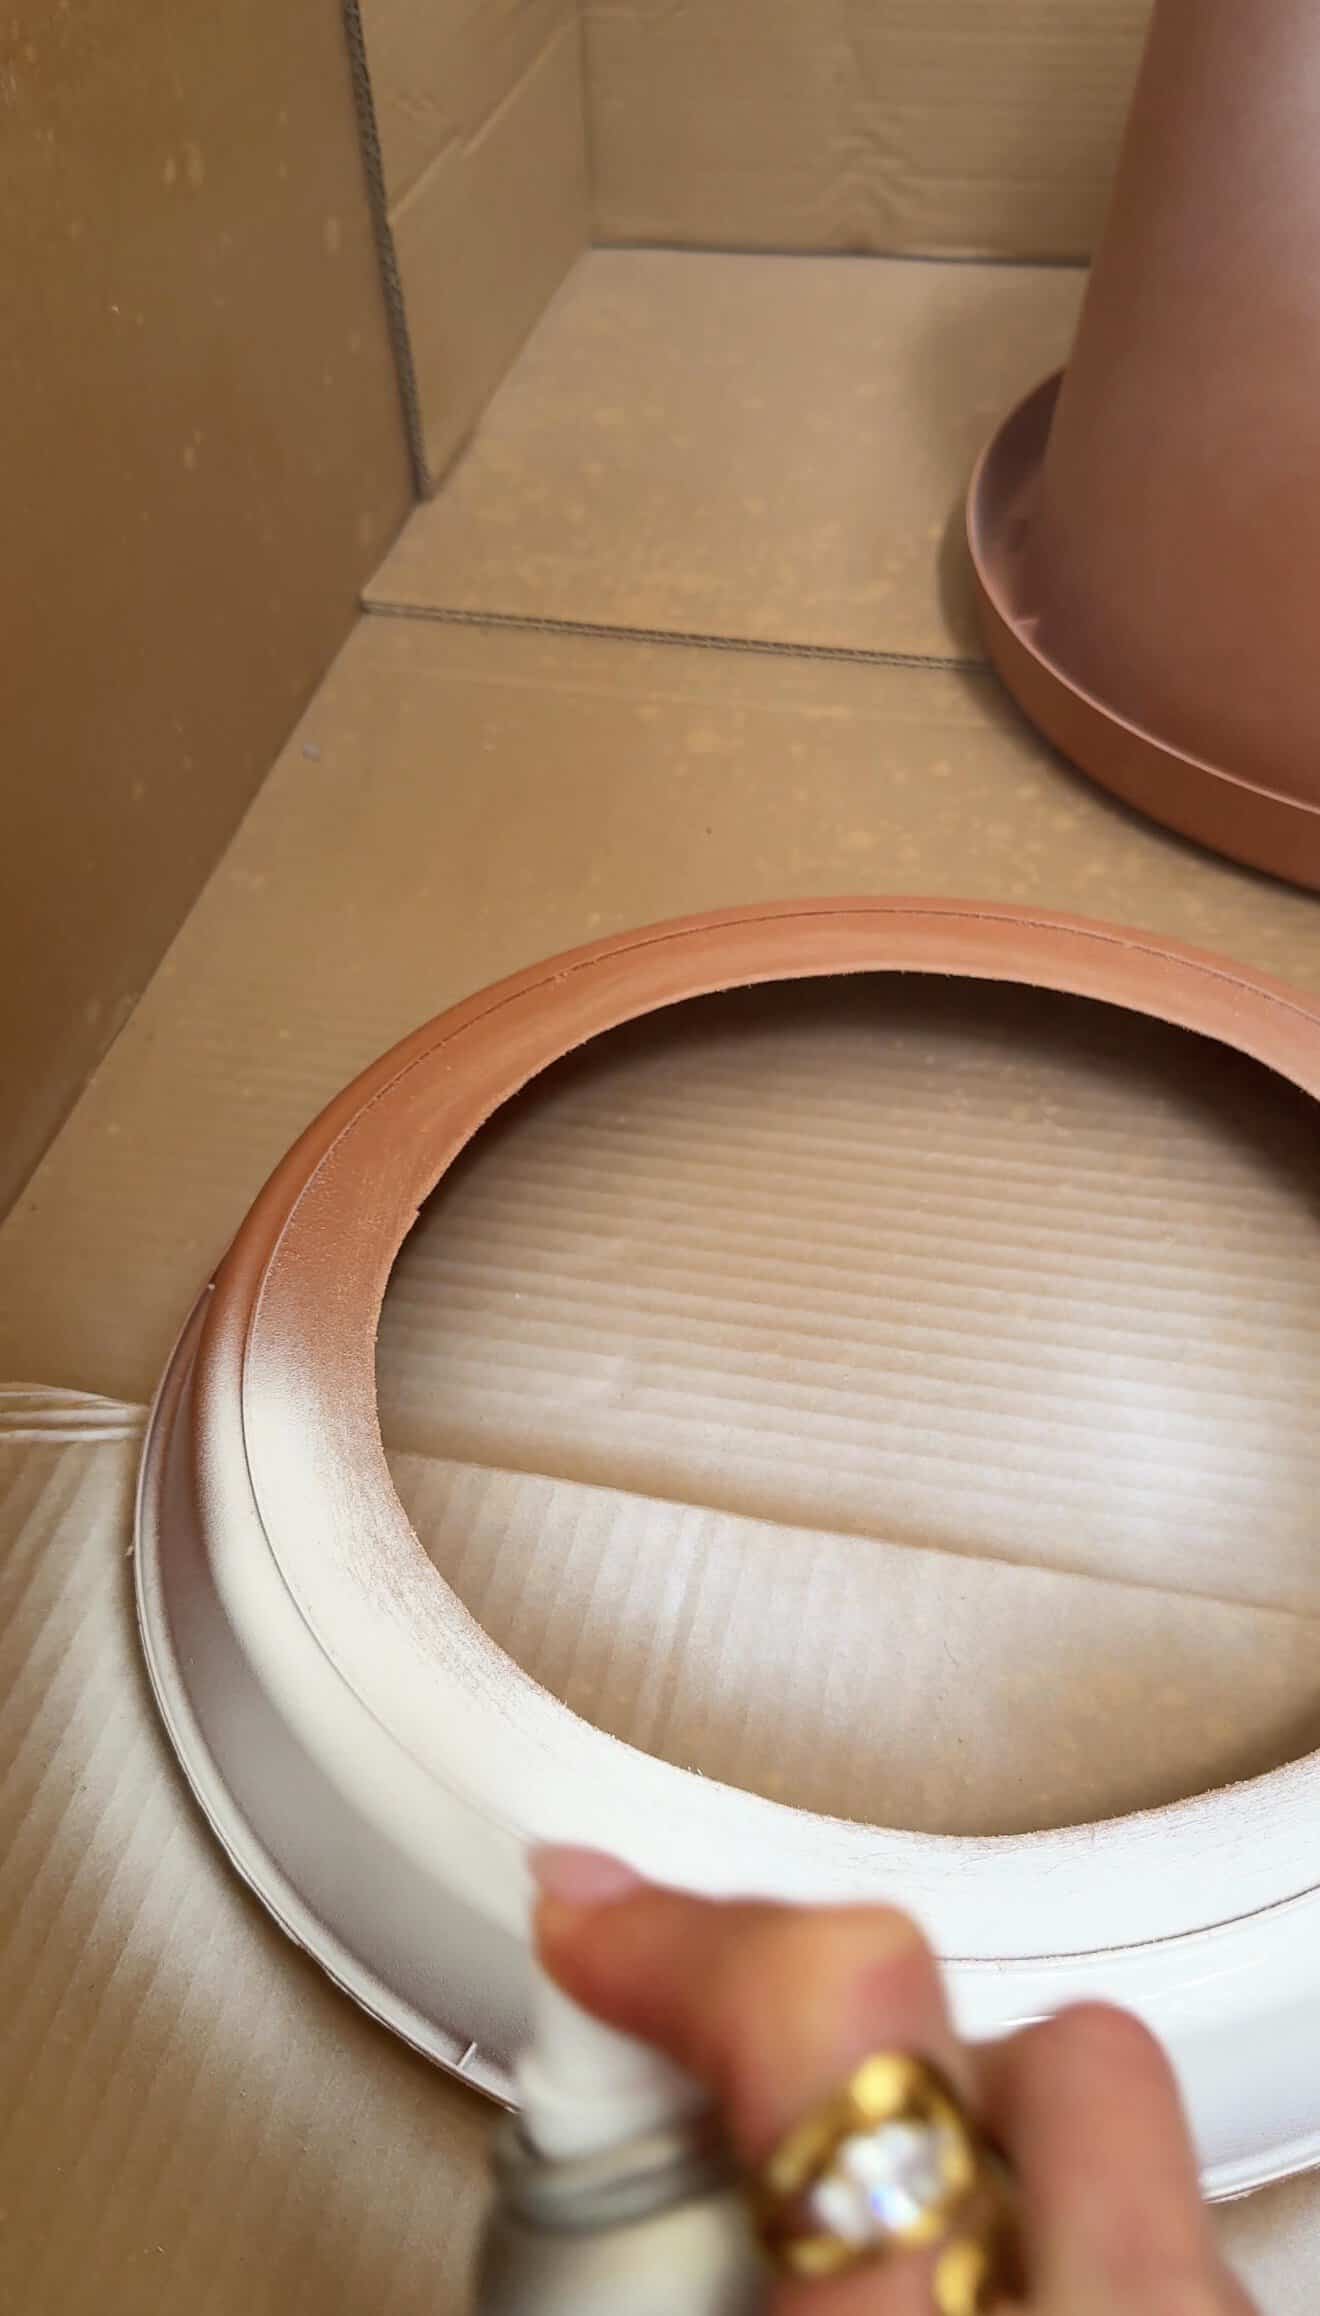
  4. Prepare the base. Cut the center out of the matching flower pot base and sand down any rough edges.
  5. Attach the base. Flip the flower pot upside down and hot glue the matching base to the pot, also upside down. This creates the bottom of the teacup. Let the hot glue dry.
  6. Reinforce with adhesive. Apply E6000 adhesive around the entire rim where the flower pot and base meet. Make sure to apply it to the inside of the pot as well. The E6000 is stronger than hot glue and helps keep everything secure. The hot glue is simply there to hold everything in place. Allow the adhesive to cure according to the package instructions.
  7. Make the handle. Take your two 1¼-inch plastic pipes and attach them together using super glue. Let dry completely. I know I'm using a lot of different glues, but we're working with different materials, and hot glue alone won't hold everything securely.
  8. Paint the handle. Spray paint the handle gold or use gold Rub 'n Buff. I used Rub 'n Buff because it won't chip off easily, and it's inexpensive.
  9. Paint the teacup. Spray paint the entire flower pot white. Paint the top rim and the base rim gold to match Chip from Beauty and the Beast.
  10. Create Chip's signature chip. I used an X-Acto knife to carefully cut a large chip out of the top edge of the teacup, just like the character in the movie. Be careful when cutting the plastic.
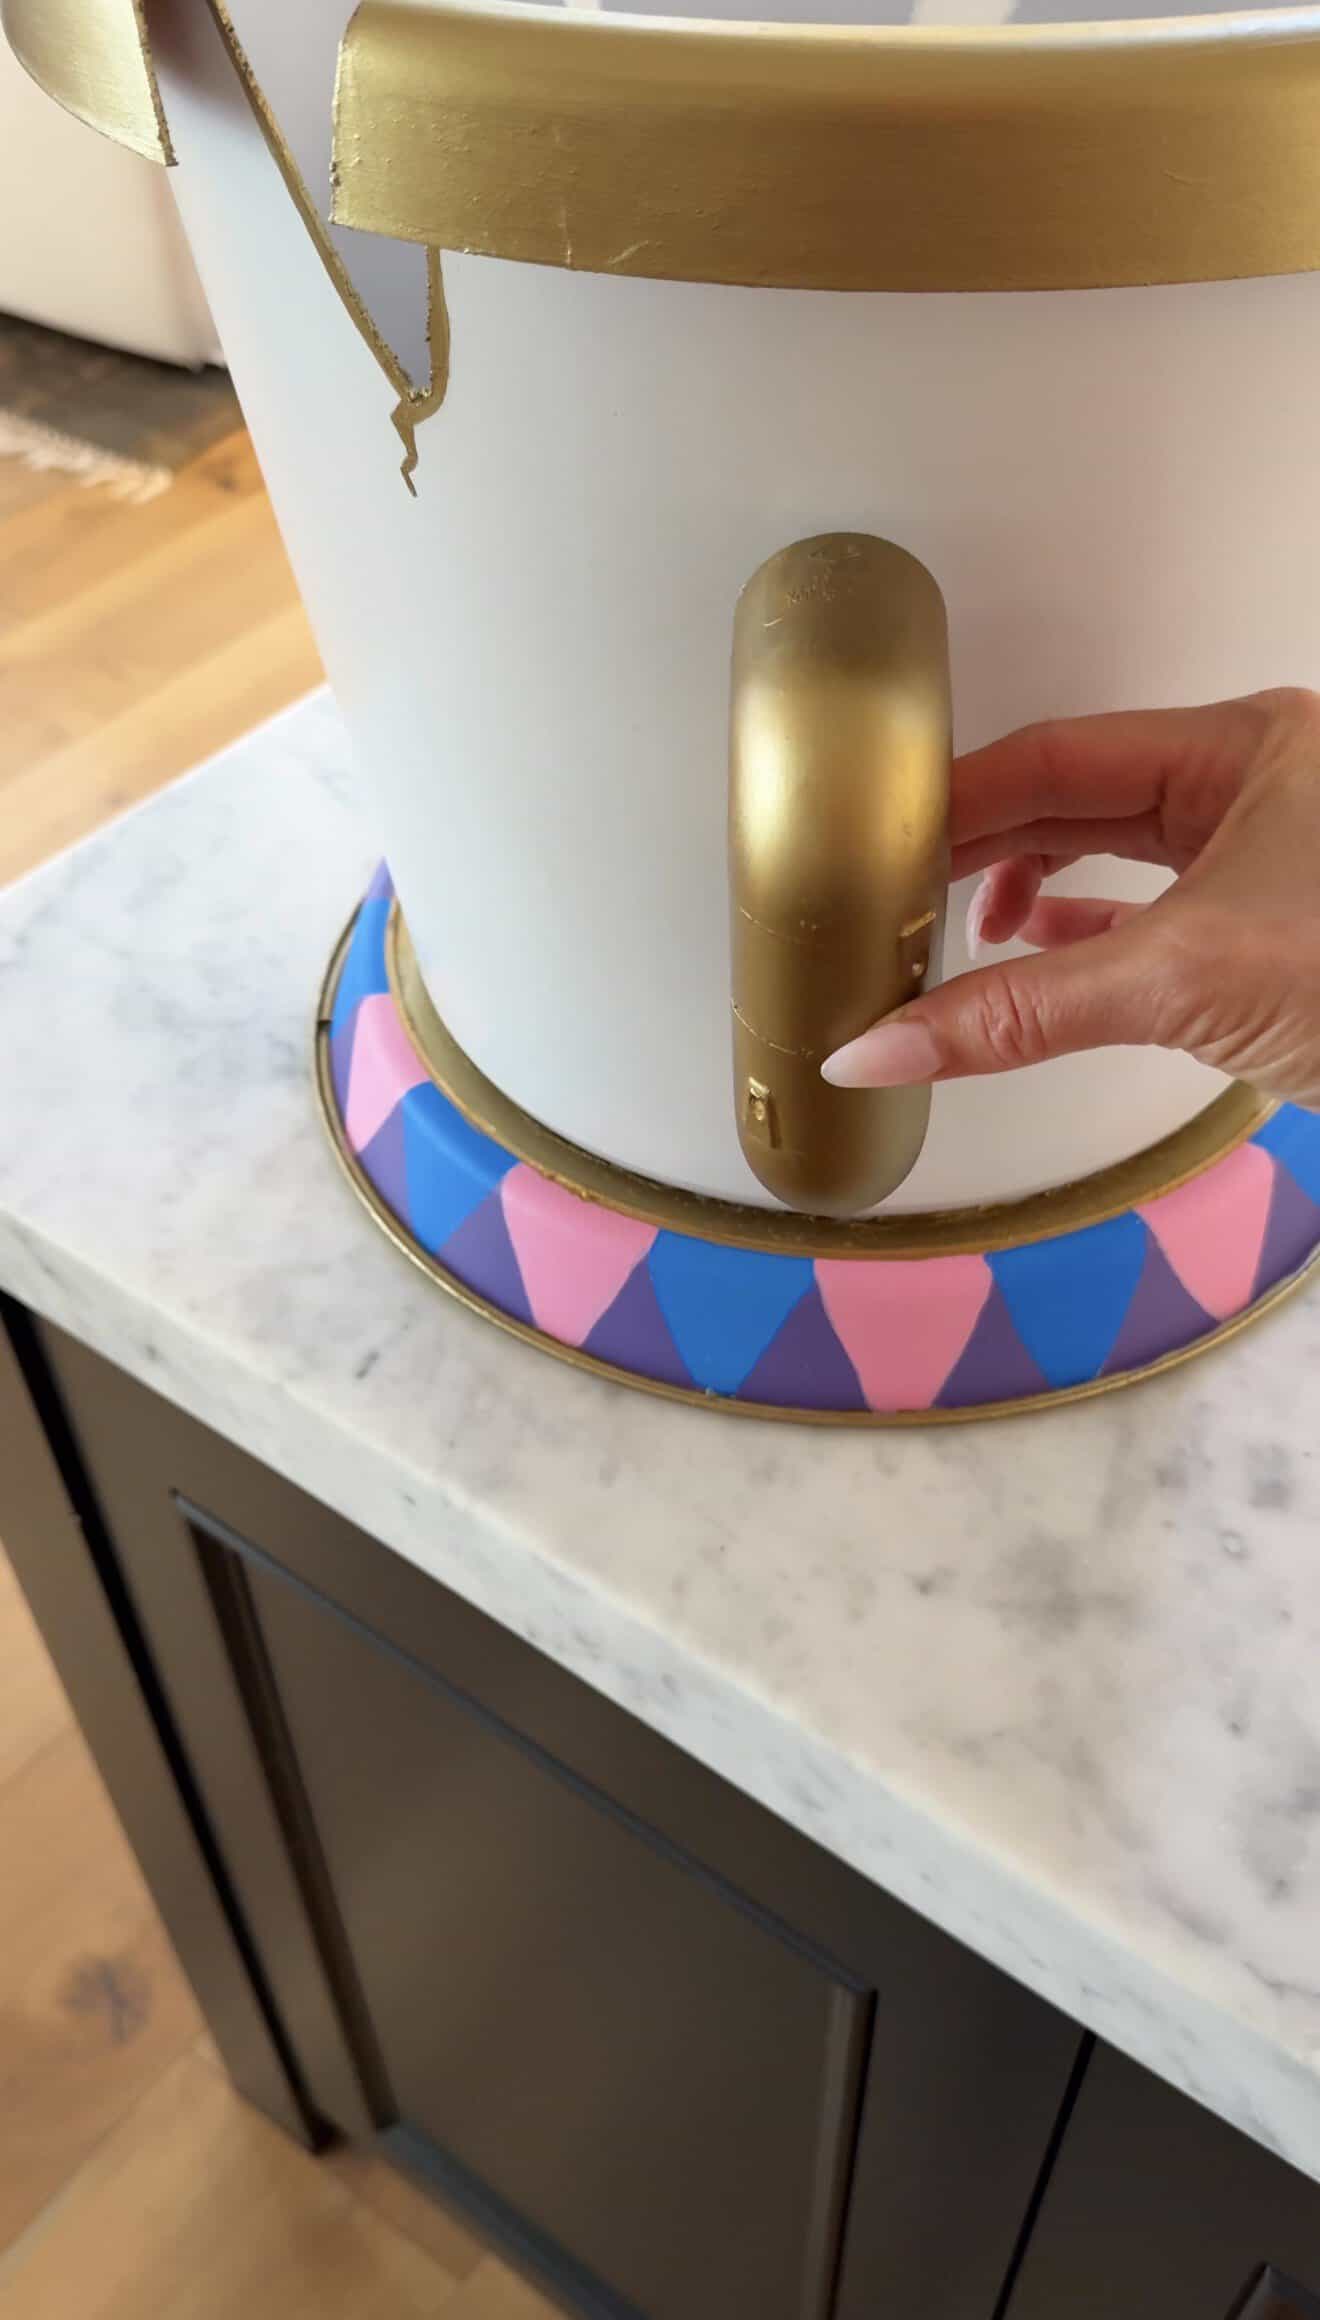
  11. Add the details. Use pink, purple, and blue acrylic paints to decorate the base of the teacup. I also enhanced the chipped section with gold paint, making the edges look a little jagged for effect.
  12. Attach the handle. Secure the gold handle to the side of the teacup using plenty of hot glue. I also added a little extra gold paint around the base to make it look a little fancier.
  13. Drill holes for the straps. Use a drill to make two holes near each corner of the back of the teacup and two holes on each side of the front. You'll have eight holes total.
  14. Attach the straps. Thread the white ribbon through the holes and tie it securely. Cross the ribbon straps in an X across your child's back, similar to suspenders. Don't use hot glue to attach the ribbon because it will peel off. Trust me on this one!
  15. Try it on. Adjust the straps so the teacup sits comfortably around your child's waist and they can walk easily. Check that all cut edges are smooth and the handle is securely attached before wearing.
STYLING NOTES
  1. Pair the costume with white or neutral clothing underneath to keep the focus on Chip's colorful teacup design.
GET CREATIVE
  1. You can customize the flower pot size depending on your child's age and height. Add extra gold detailing around the rim and handle, or adjust the painted colors to match your favorite version of Chip from Beauty and the Beast.
  2. Safety Note: Adults should handle all cutting, drilling, adhesives, and spray painting. Work in a well-ventilated area and allow all adhesives and paints to cure completely before your child wears the costume. Make sure the ribbon straps are secure, don't restrict movement, and can be removed quickly if needed.

Tried this project?

Let us know how it was!

5 comments

  • jess Marshall

    Hi! I need to make this Chip costume, as my daughter is in an upcoming Beauty and the Beast play. I found a 20” pot @ Lowe’s but I think the base is more narrow than yours pictured. She is 8.5 years old, and I want to be sure it fits around her legs. Can you tell me where you got you’re from please? Thank you so much!

    -Jessica

  • Bonnie

    This is amazing!

  • LaVonne

    Amazing, do you think this could be adapted for an adult?

  • 5 stars
    This is so adorable!!!!

This post may contain affiliate links, please see our privacy policy for details.

Hi, I'm Jessie. 

Mama to three girls and a lifelong creative who loves making everyday moments feel a little more special. Here, I share whimsical recipes, holiday inspiration, and creative projects designed to bring a little more joy to your day. I hope to inspire you to get creative, celebrate the little things, and make something beautiful. Welcome!

More about Jessie

Let’s be friends!

Be the first to receive exclusive content and hear about my upcoming BOOK!

* indicates required

Intuit Mailchimp