Opens in a new tab

How to make a DIY Santa Mailbox

by Jessie Daye

First published: November 13, 2020 | Updated: June 22, 2026

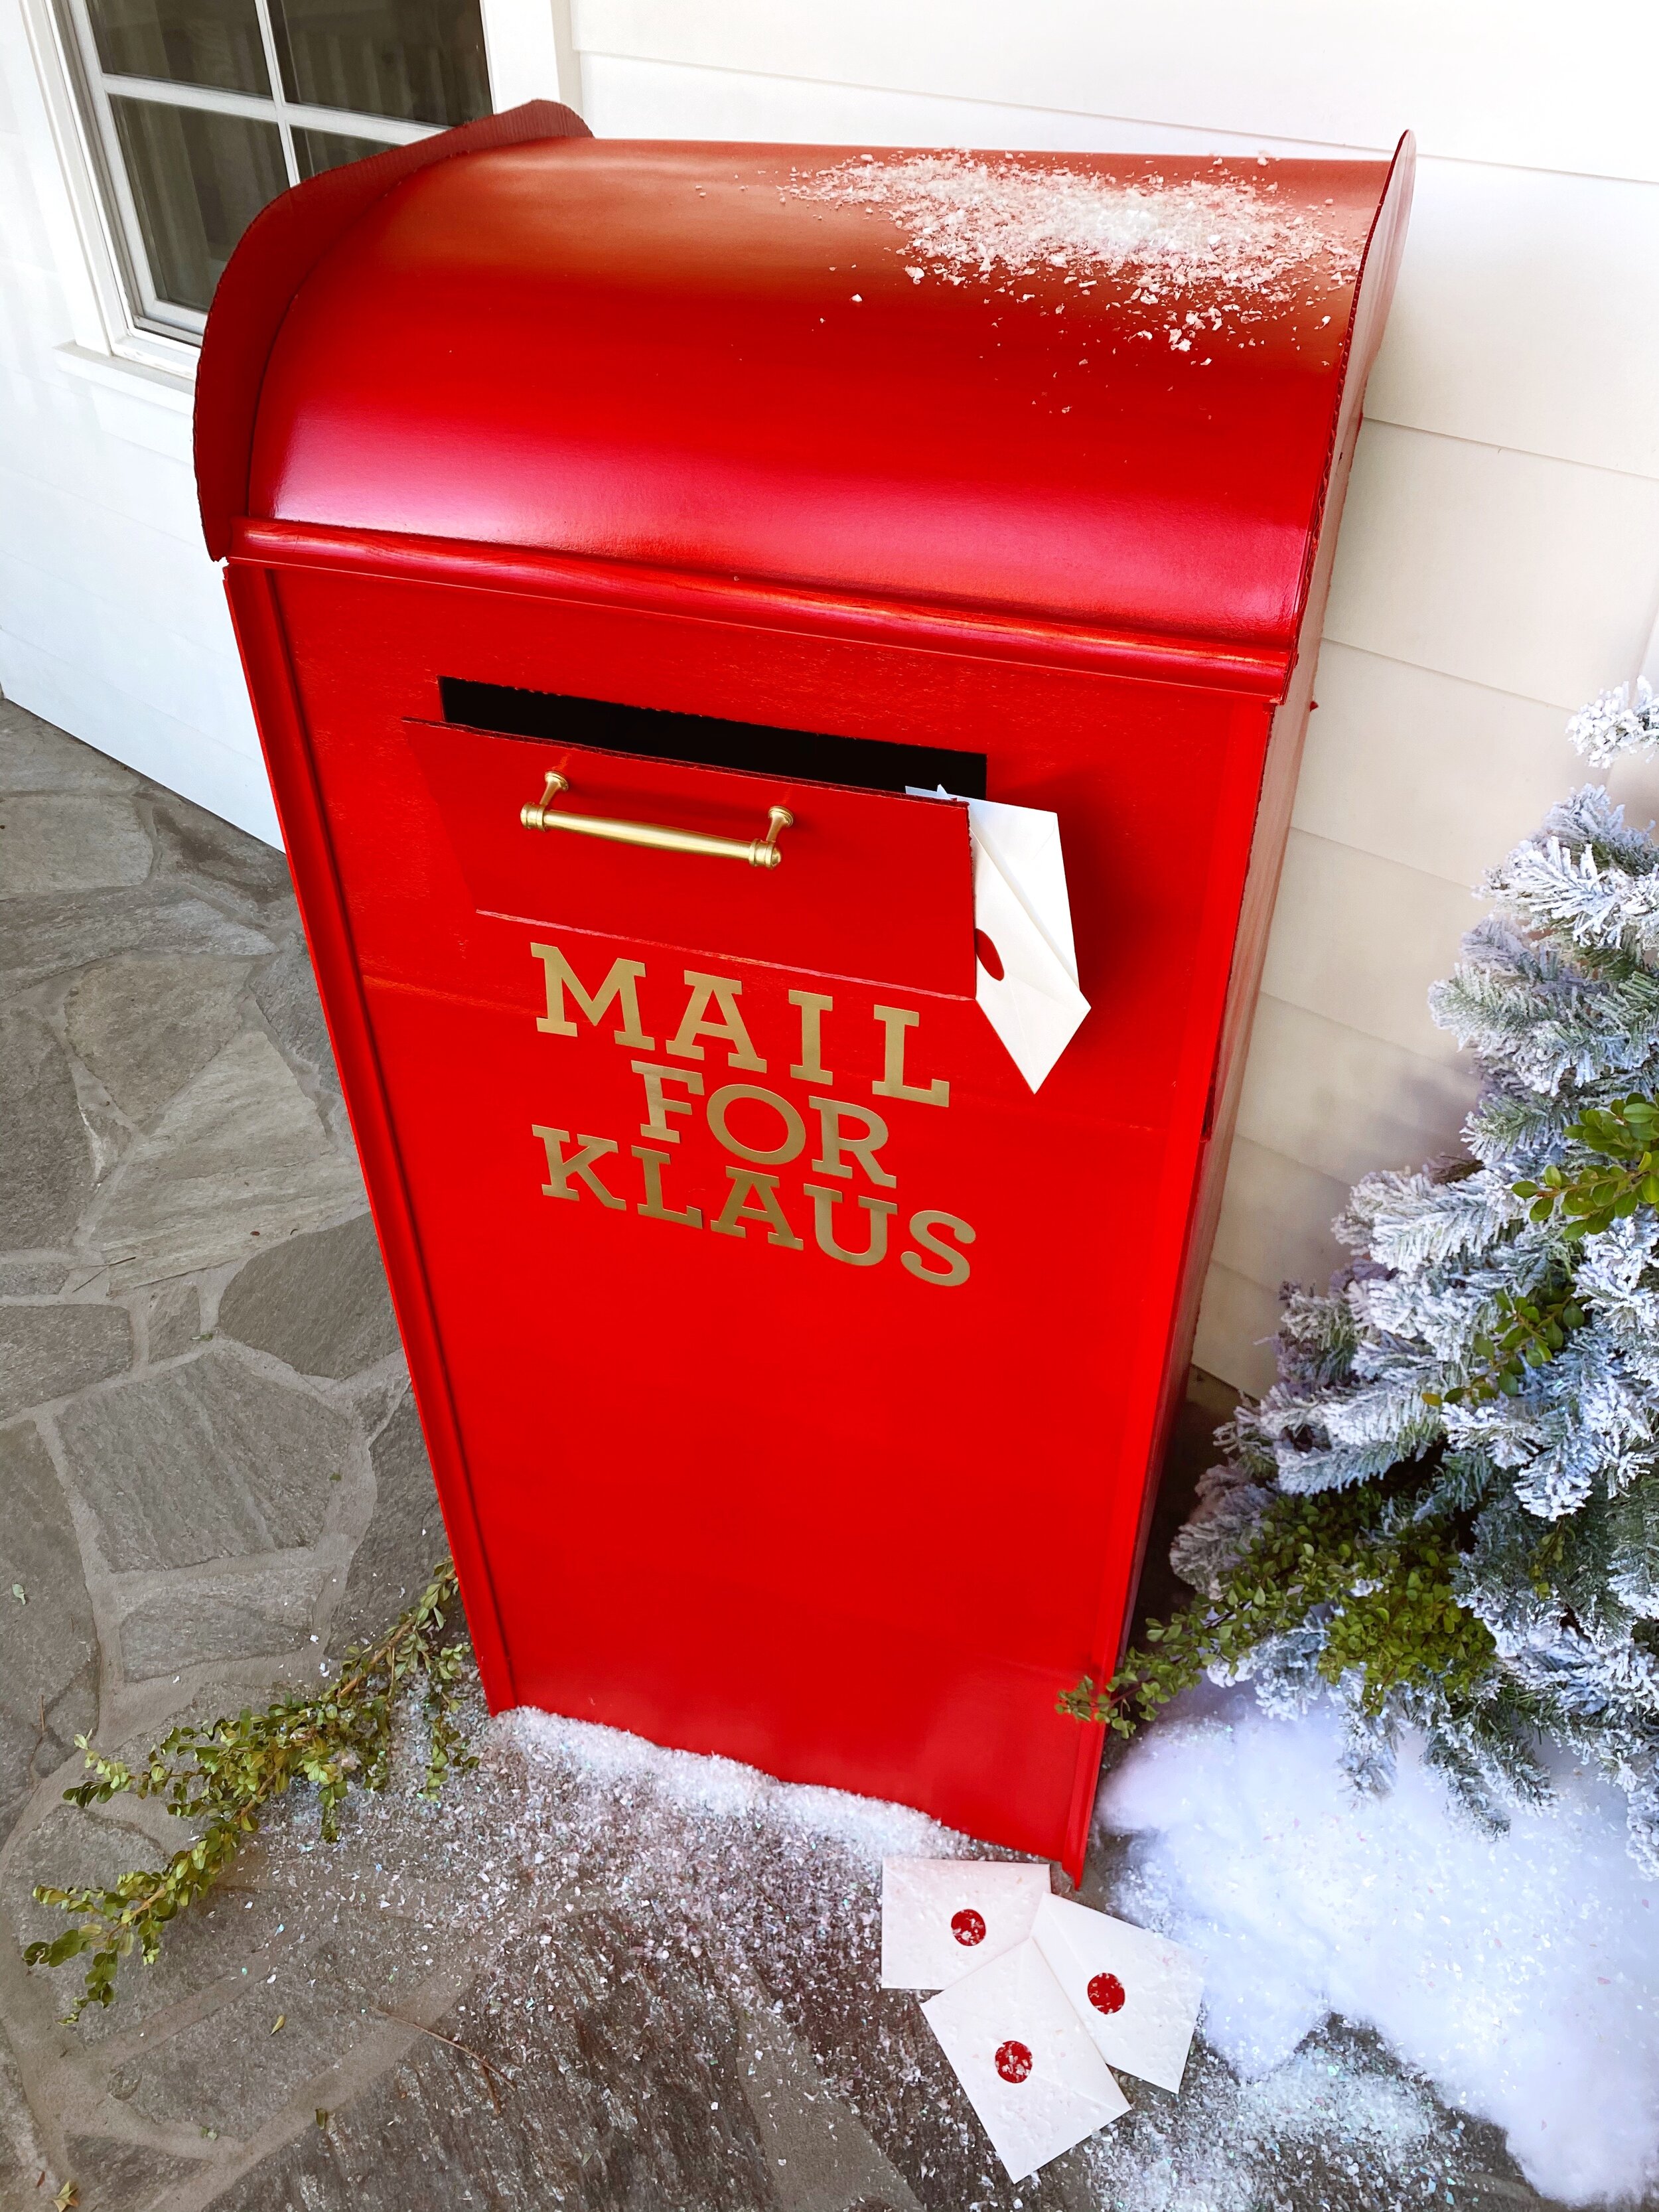
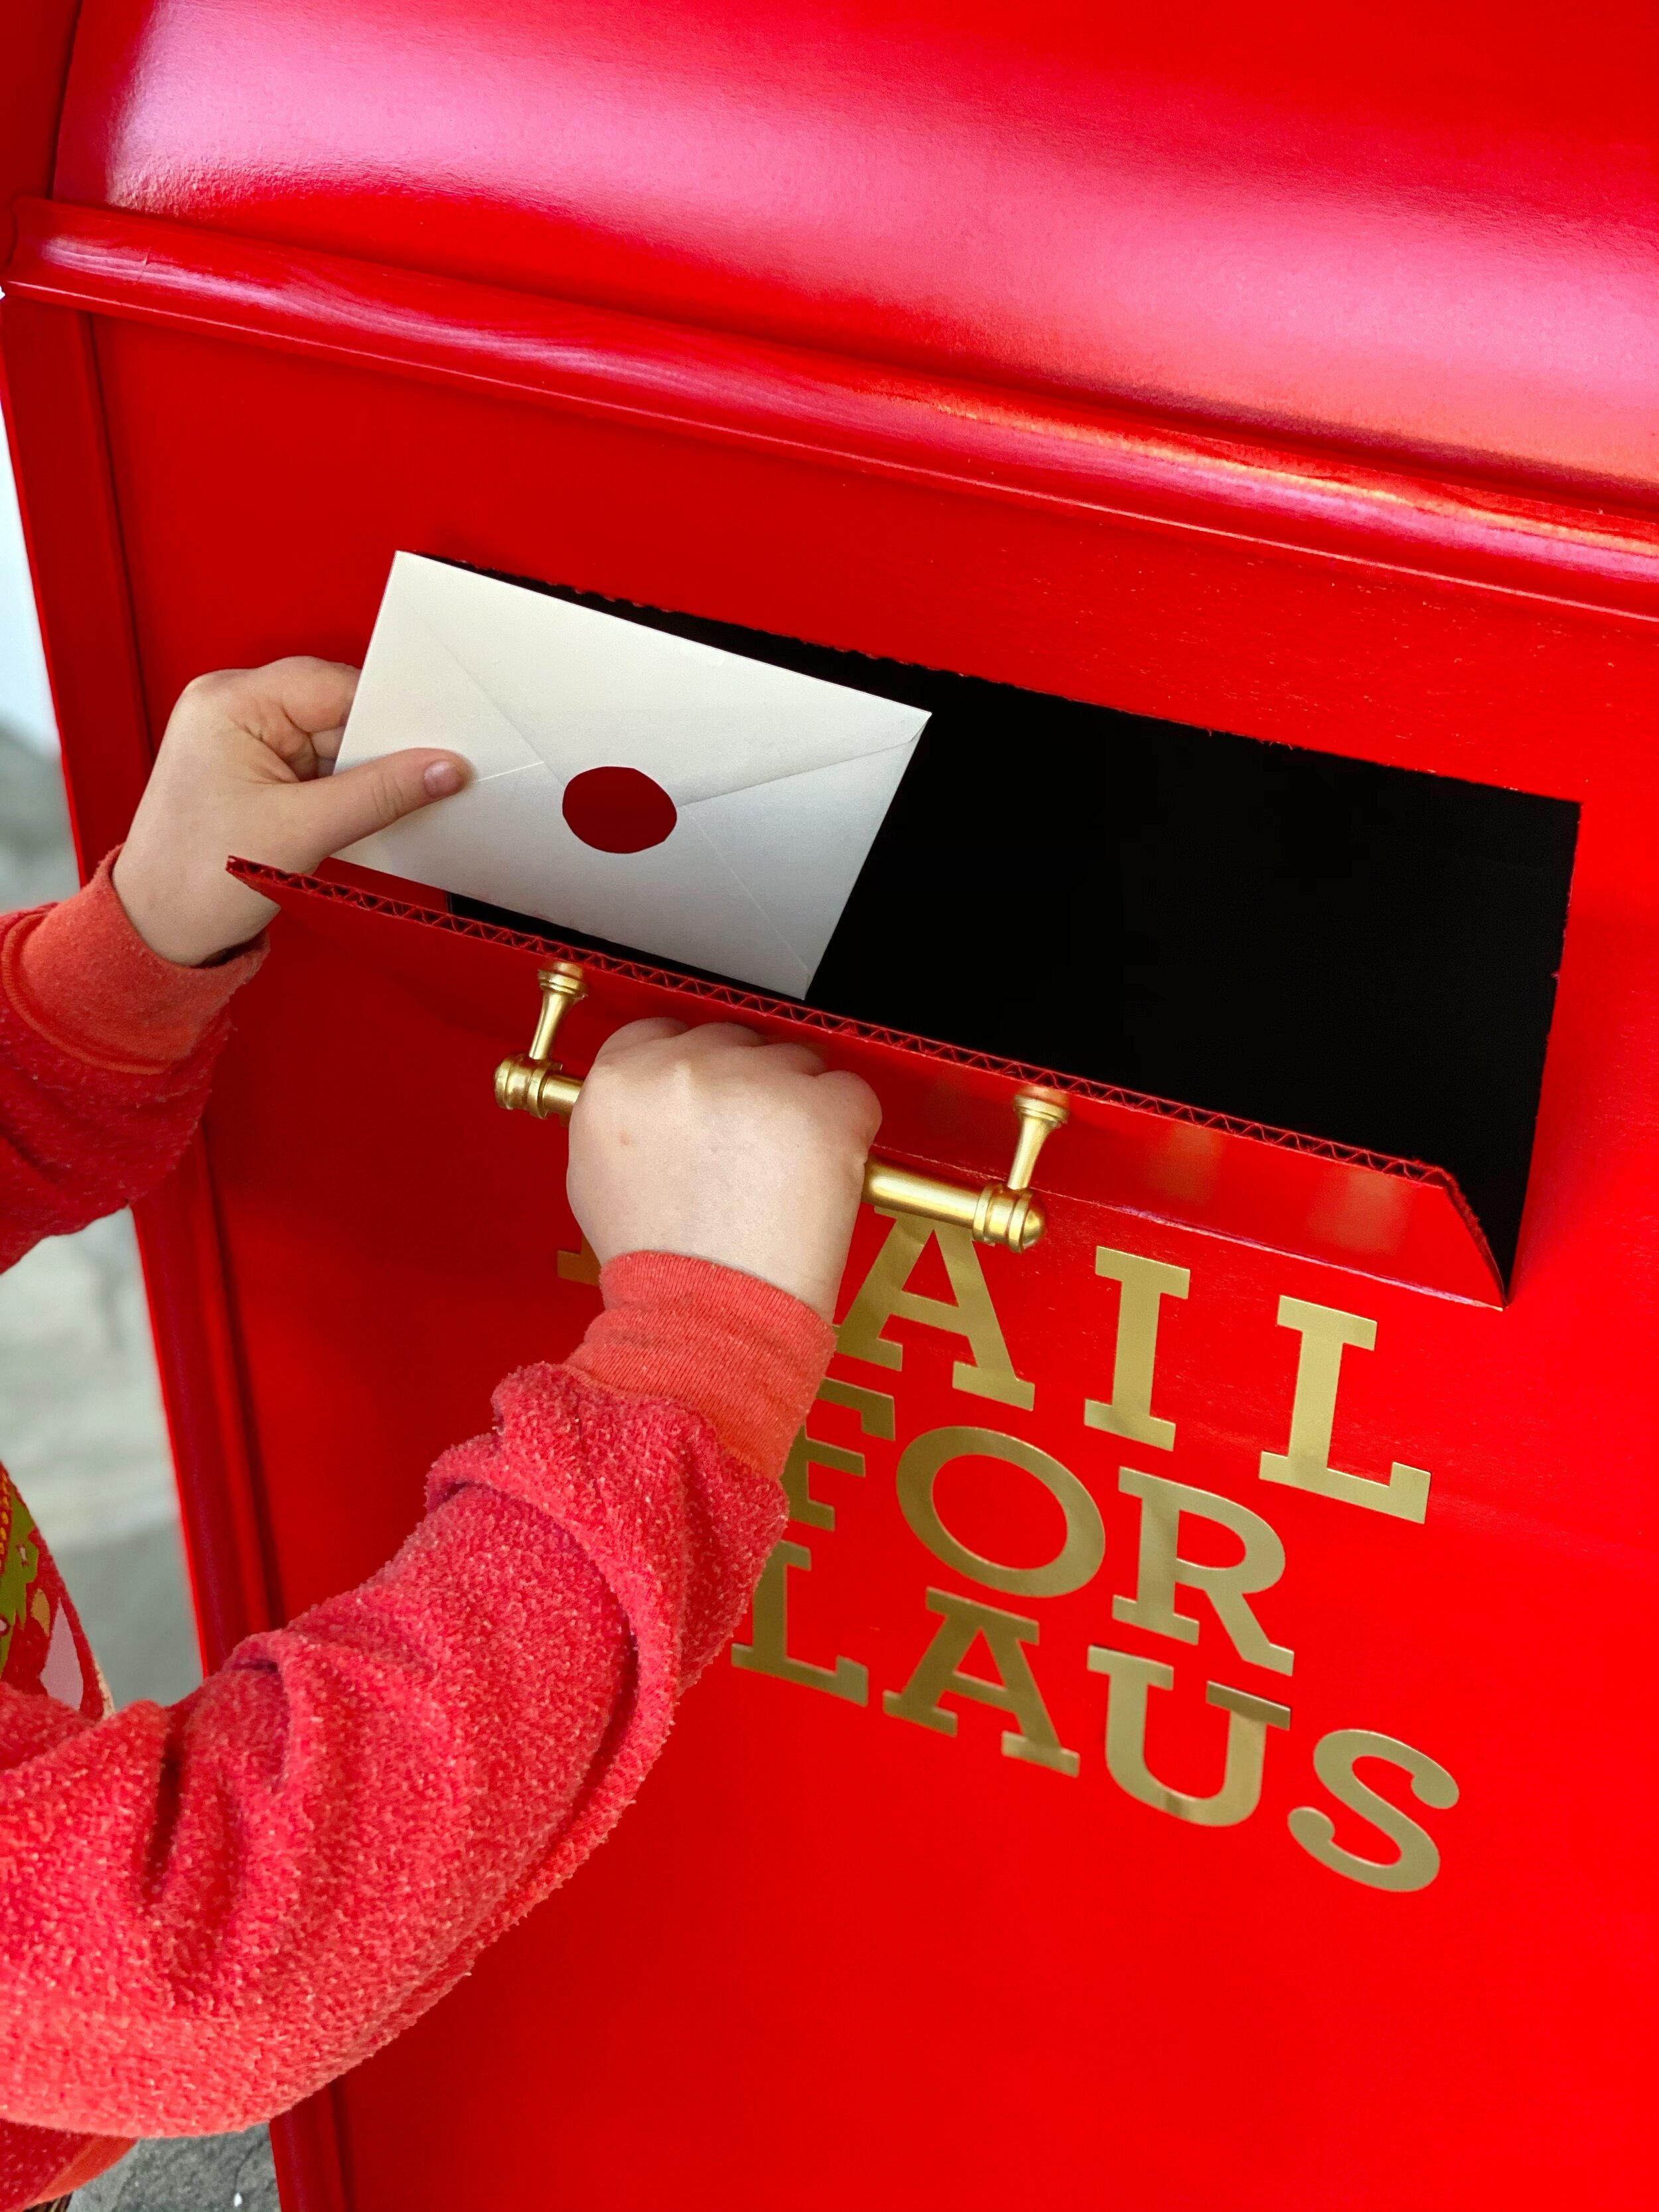
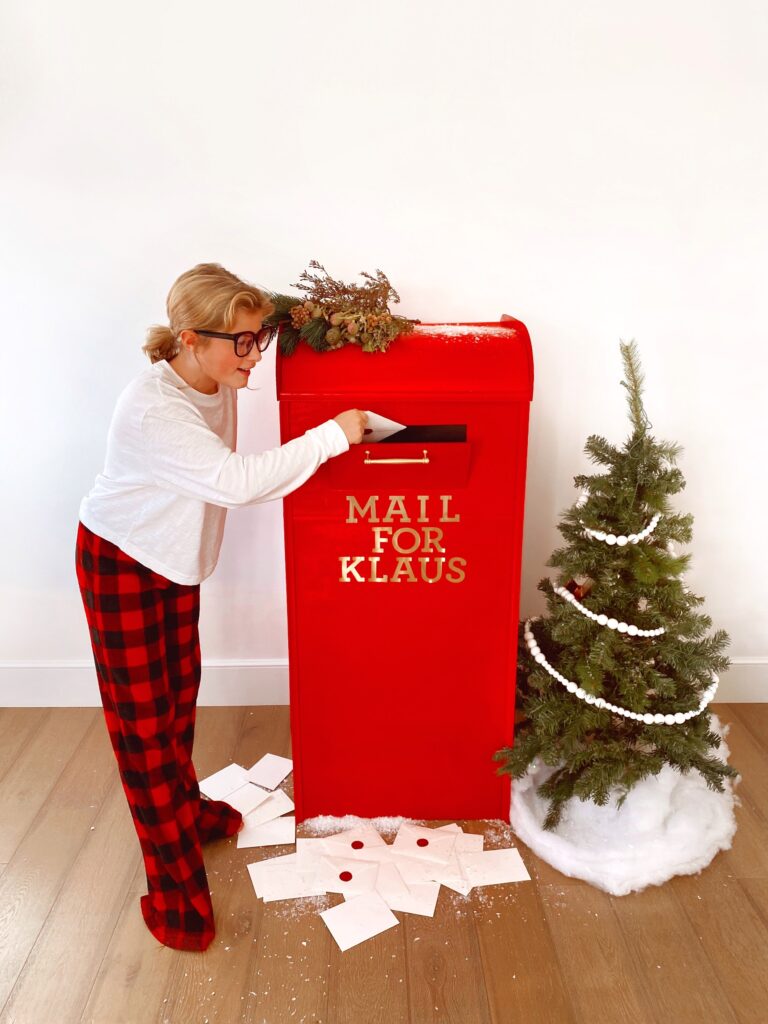
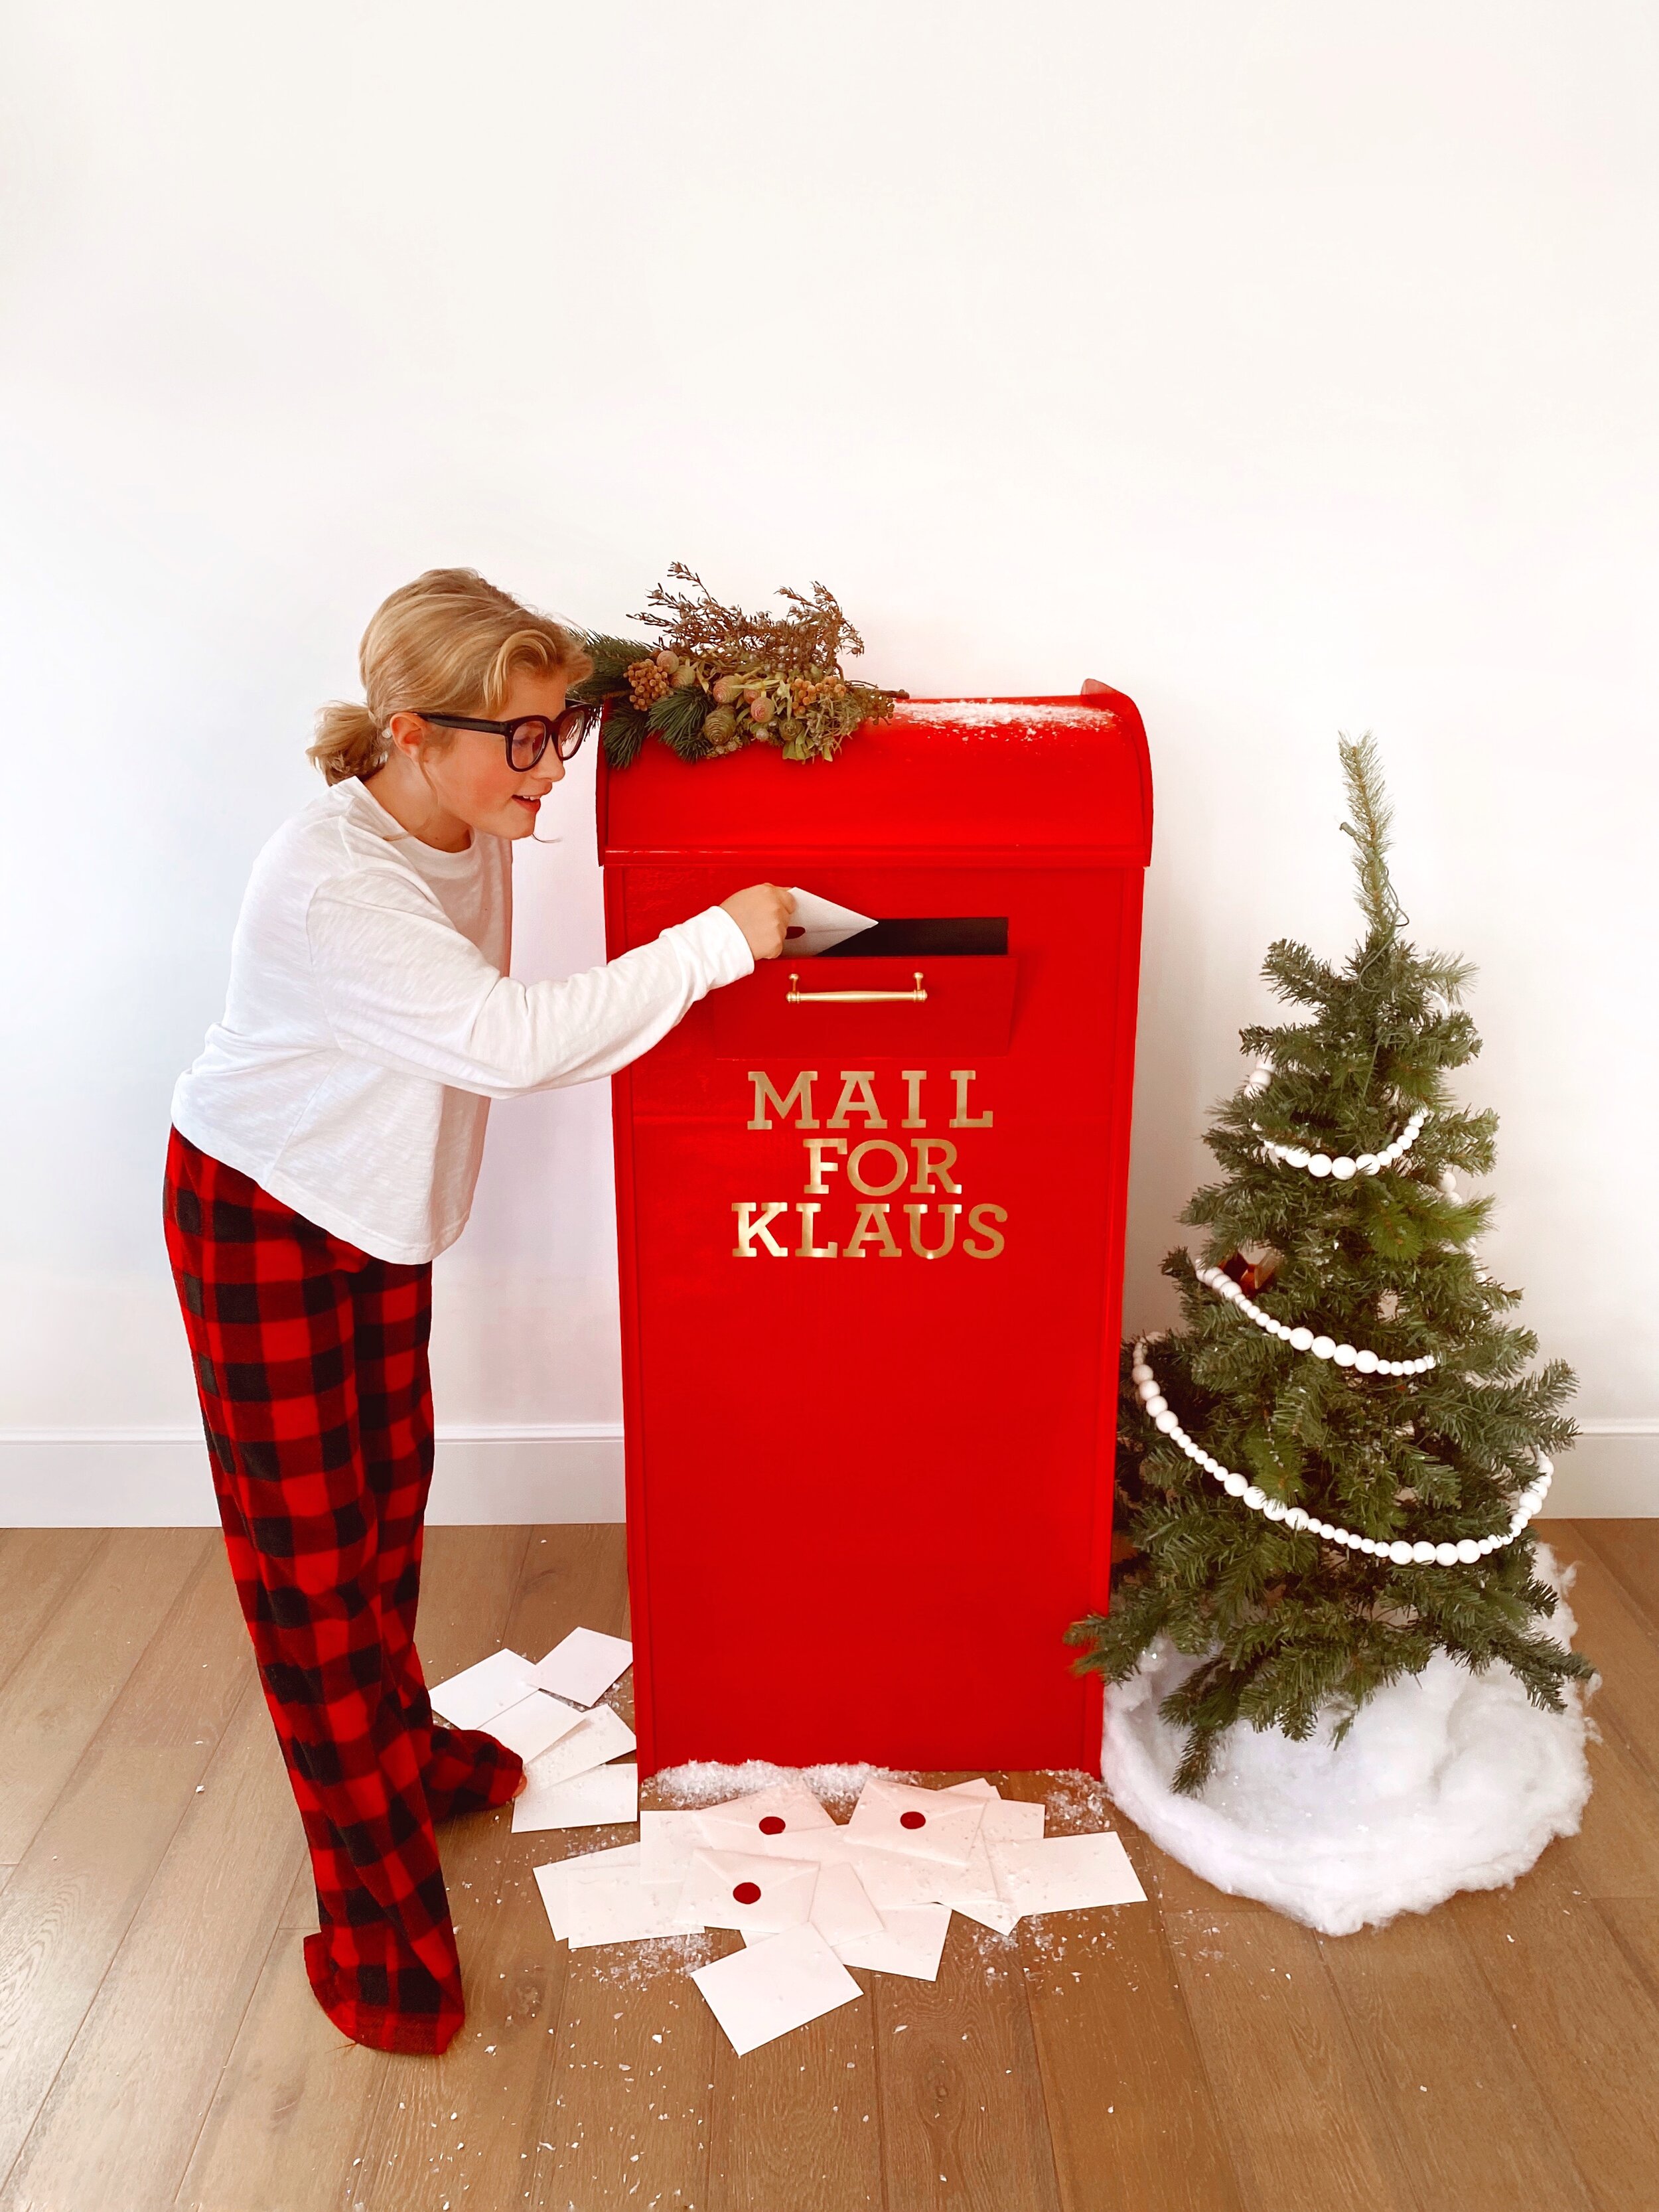
This week I created something super cheerful for Netflix Family. I turned an ordinary $3 cardboard box into a magical Christmas mailbox for Santa’s letters. This project is so simple, but the final piece is absolutely beautiful. Scroll down for the full tutorial!
How to make a DIY Santa Mailbox

Author: Jessie Daye
No ratings yet
Share
Print

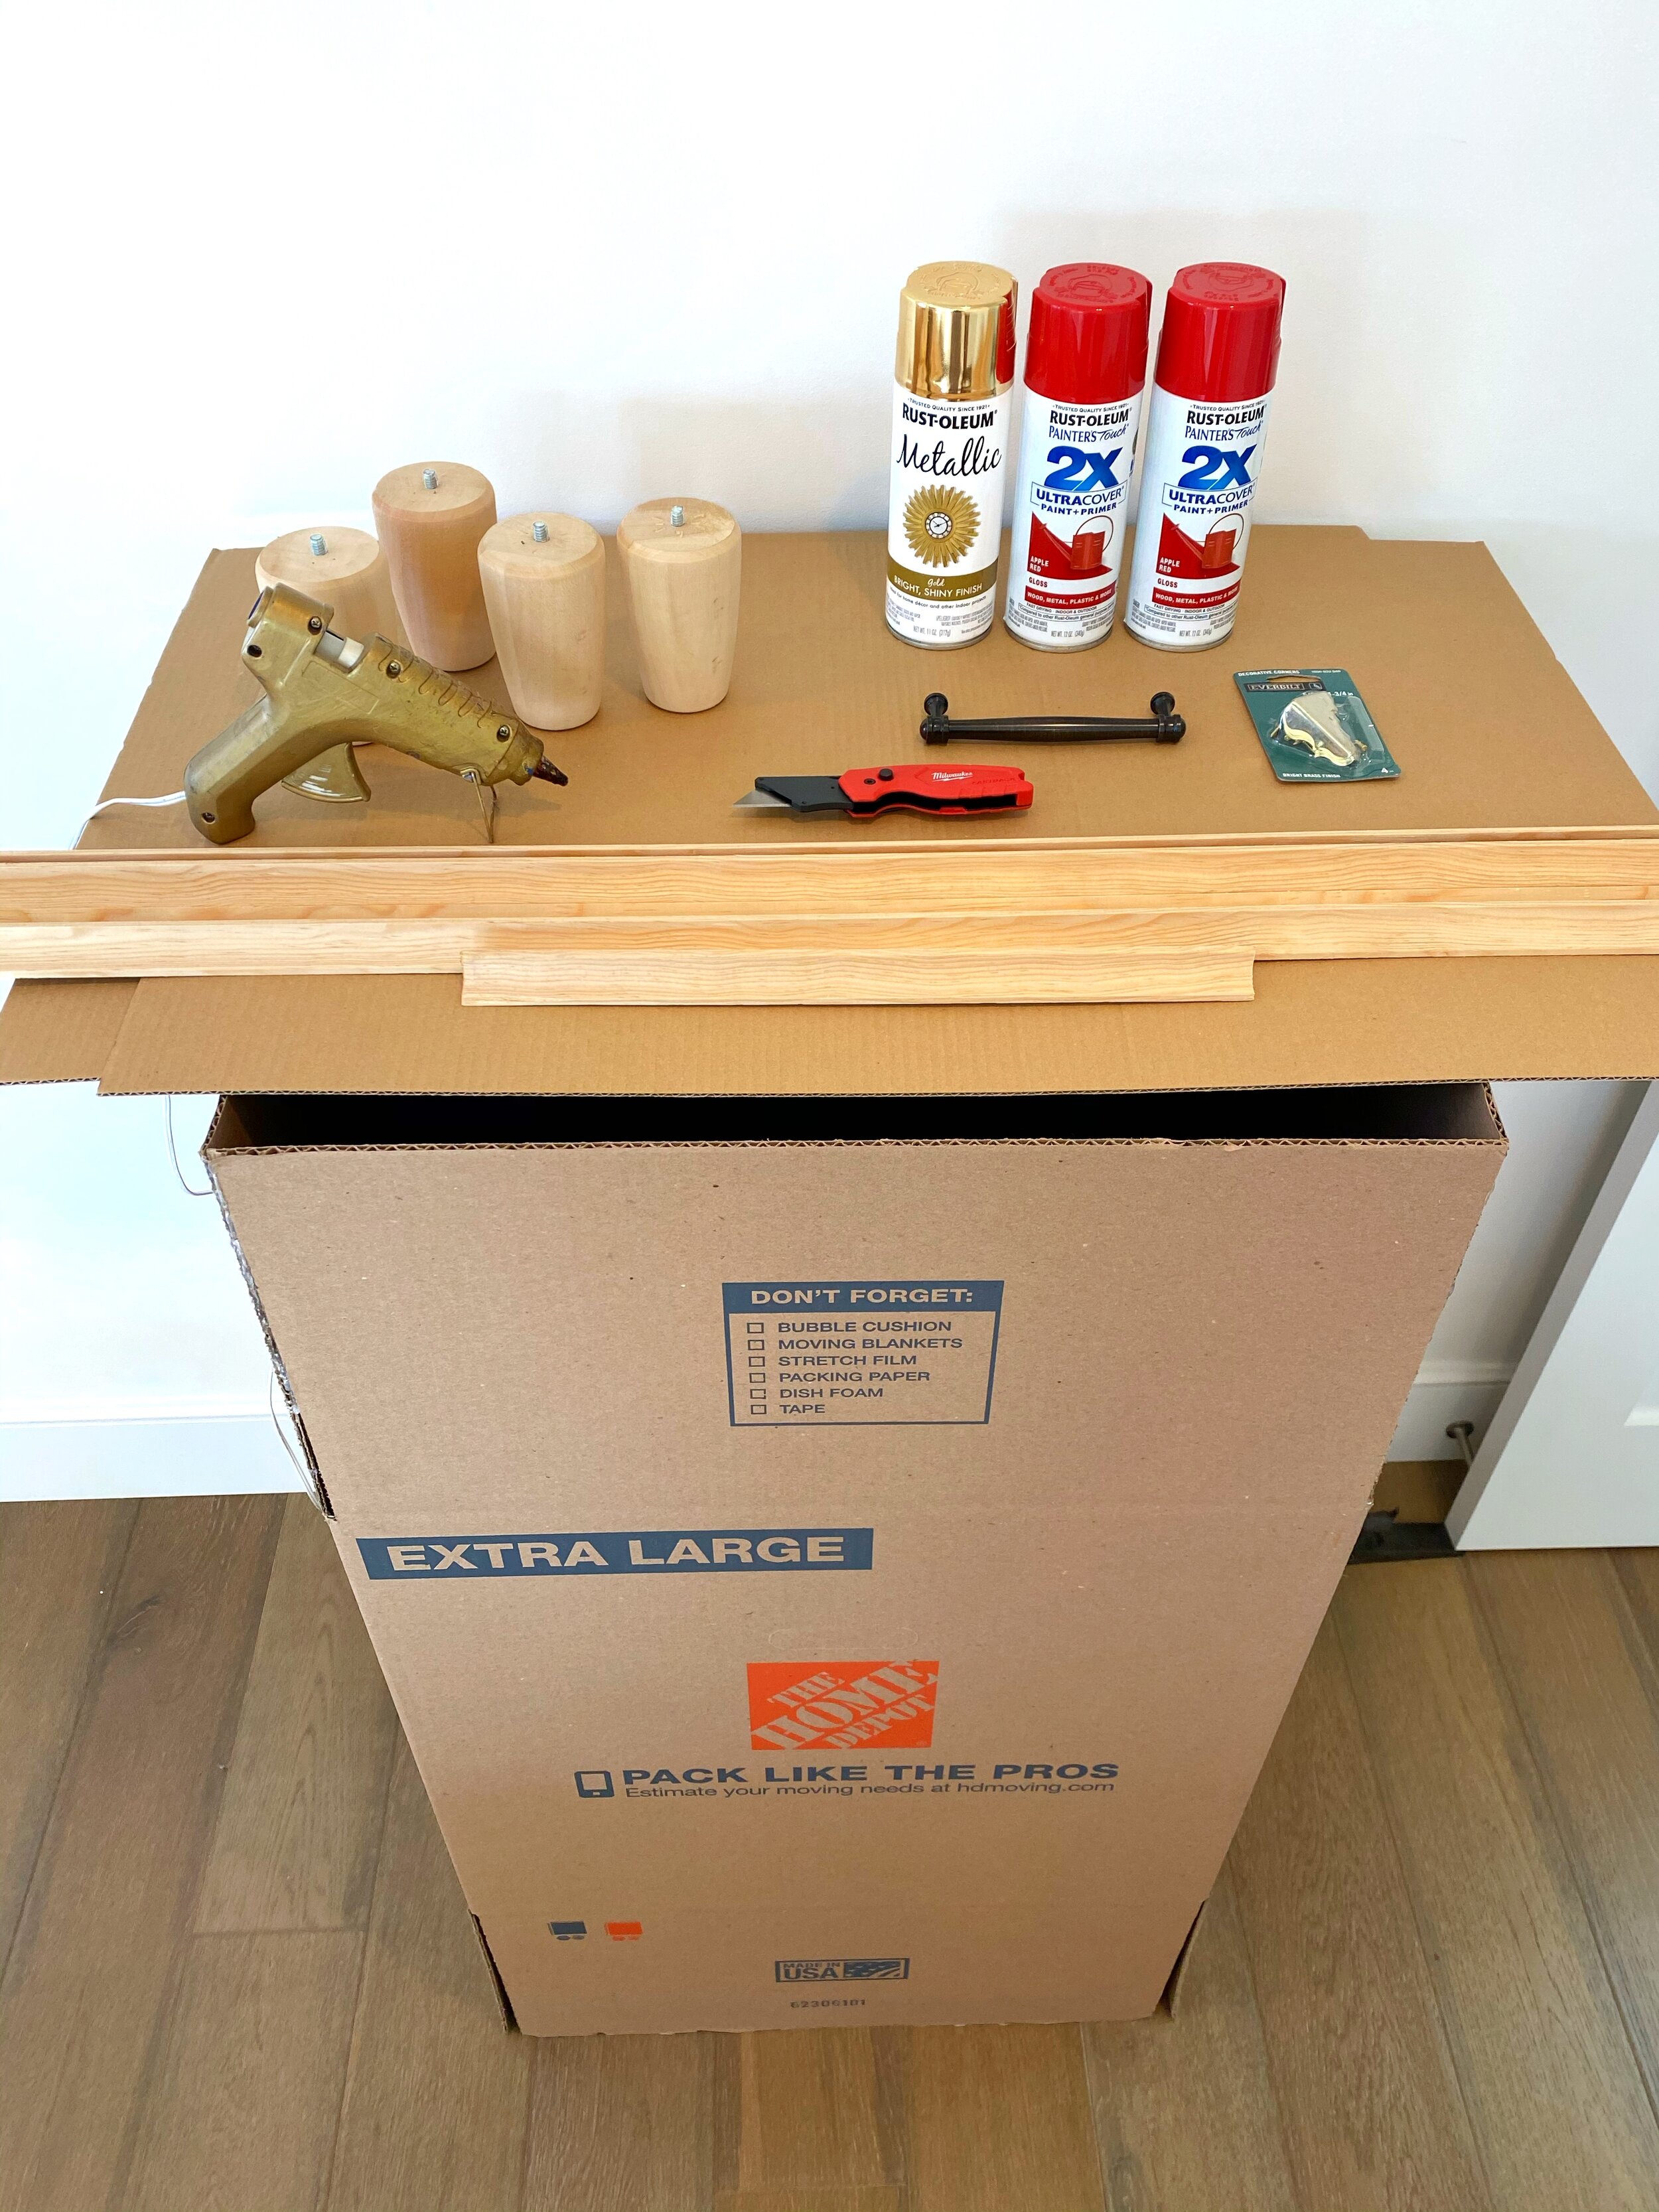
What you need

  • 22”x22”Extra Large Home Depot Box(DO NOT FOLD)
  • Light weight drawer pull, any color
  • (1) sheet of cardboard
  • (2) sheetsof 22” x 28” poster board
  • (2) pieces11/16” x 44” moulding
  • (1) piece11/16” x 22” moulding
  • Hot Glue
  • Spray Glue
  • Gold Letter Stickers
  • Gold Spray paint
  • Apple Red Krylon Spray paint
  • X-acto knife
  • Posterboard
  • Wood peg legs and gold trim pieces,optional

Directions

  1. Directions:
  2. Stand your unfolded box up right. Do not fold. You want the height of the unfolded box. Hot glue the edges together so it makes one large rectangular cube that’s open on top and bottom. Let dry.
  3. Using hot glue, attach two pieces of 44” moulding to the front of the box lengthwise so it forms the edges of the mailbox.TIP:I bought a 96” piece of moulding and cut it down. Home Depot will cut your moulding to size for you if you do not have a saw or they offer a station in the wood aisle where you can cut the wood yourself with their handsaw.
  4. Using hot glue, attach two pieces of 44” moulding to the front of the box lengthwise so it forms the edges of the mailbox.TIP:I bought a 96” piece of moulding and cut it down. Home Depot will cut your moulding to size for you if you do not have a saw or they offer a station in the wood aisle where you can cut the wood yourself with their handsaw.
  5. Attach the smaller piece of moulding width-wise at the top of the box, in between the other longer pieces of moulding.
  6. Spray glue your two poster boards together so it creates one thick piece of poster board. Hot glue the short edge of the poster board to the inside of the top of the front of the box and hold in place until it dries. It should be the exact width of your box. Fold the poster board over until it makes an arch and hot glue it to the inside of the other side of the box. Make sure to hold it in place until the glue hardens. You should have a large arch at the top of your box now.
  7. Cut two pieces of 22” x 8” cardboard. These pieces will go on the sides of your poster board arch to finish the mailbox. I cut my cardboard to form an arc, but you can also leave them rectangular. Carefully hot glue at the top of the cardboard box and along the edge of the poster board.
  8. Attach the smaller piece of moulding width-wise at the top of the box, in between the other longer pieces of moulding.
  9. Spray glue your two poster boards together so it creates one thick piece of poster board. Hot glue the short edge of the poster board to the inside of the top of the front of the box and hold in place until it dries. It should be the exact width of your box. Fold the poster board over until it makes an arch and hot glue it to the inside of the other side of the box. Make sure to hold it in place until the glue hardens. You should have a large arch at the top of your box now.
  10. Cut two pieces of 22” x 8” cardboard. These pieces will go on the sides of your poster board arch to finish the mailbox. I cut my cardboard to form an arc, but you can also leave them rectangular. Carefully hot glue at the top of the cardboard box and along the edge of the poster board.
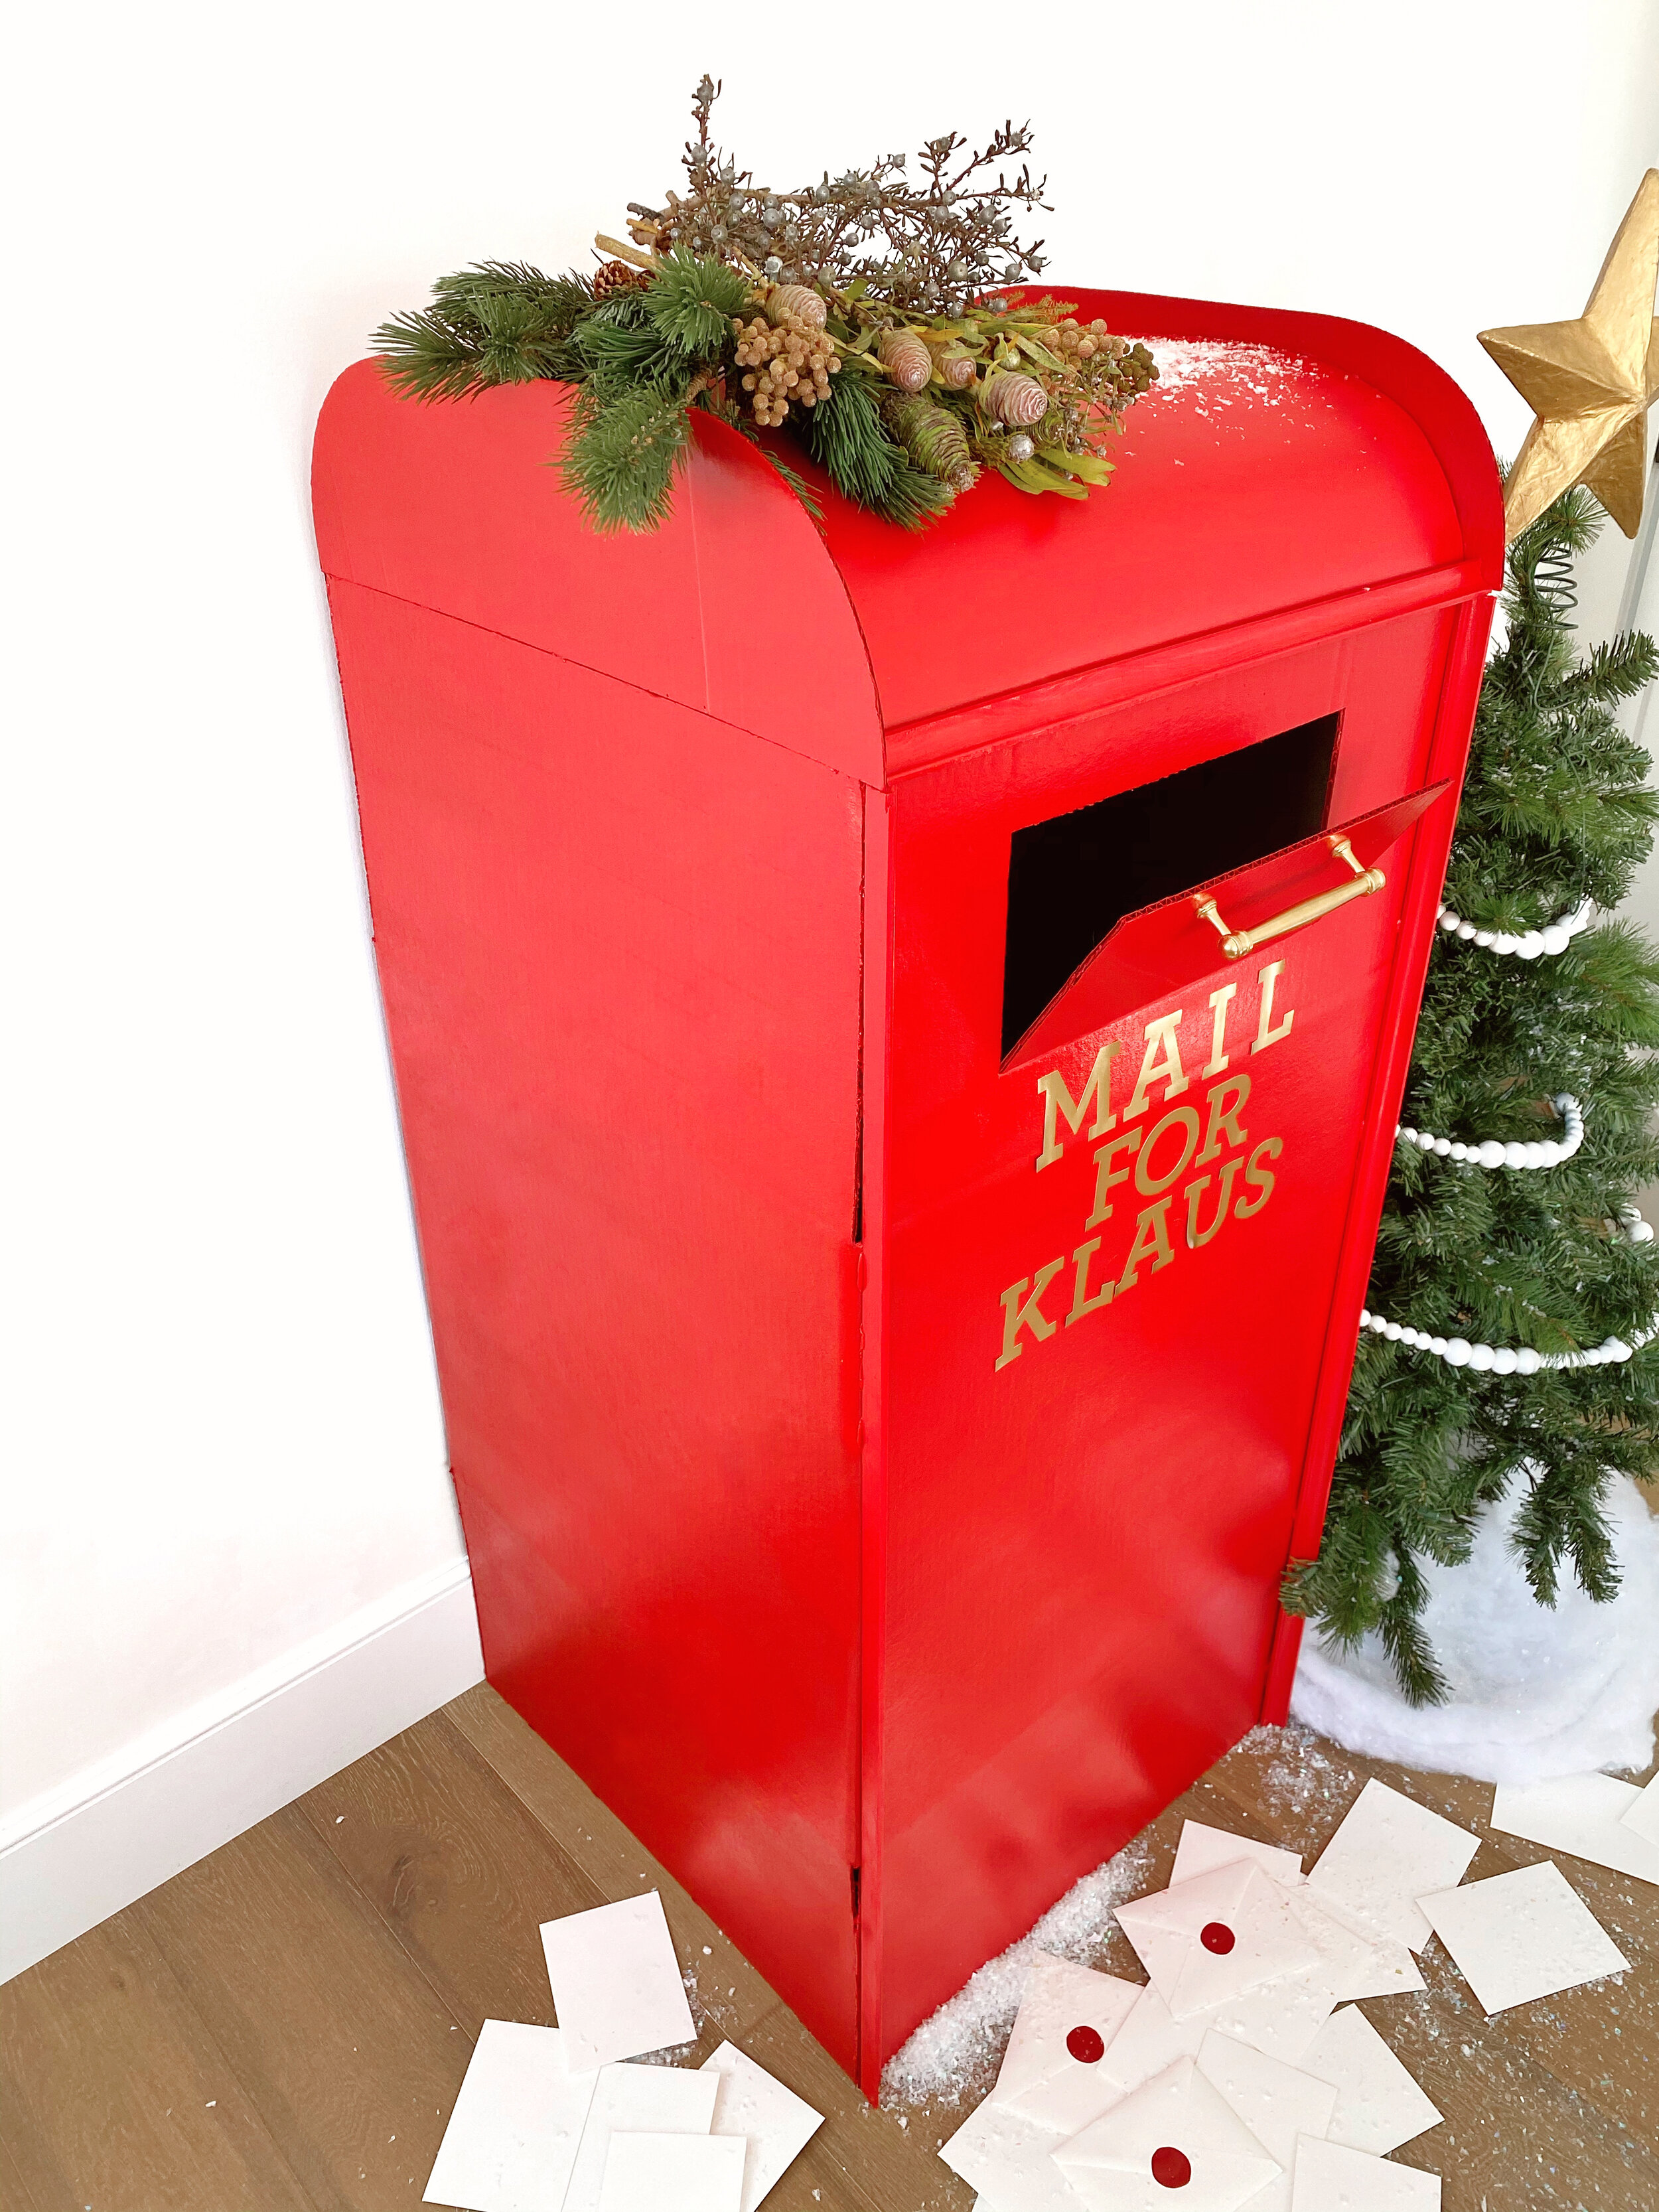
  11. Using an X-acto knife, cut an approximate 8” wide x 5” long mailbox opening. Only cut three sides. Do not cut the bottom portion. I used a ruler and scored the bottom ever so slightly so it would fold open nicely.
  12. Spray paint your mailbox red. I used 2 1/2 cans of the Apple Red spray paint. Spray your hardware and optional peg legs gold as well. Let dry.
  13. Using an X-acto knife, cut an approximate 8” wide x 5” long mailbox opening. Only cut three sides. Do not cut the bottom portion. I used a ruler and scored the bottom ever so slightly so it would fold open nicely.
  14. Spray paint your mailbox red. I used 2 1/2 cans of the Apple Red spray paint. Spray your hardware and optional peg legs gold as well. Let dry.
  15. Attach your handle with hot glue or Gorilla glue. Hold in place until dry. Attach gold stickers. Use spray glue if they aren’t tacky enough. I put a small basket under our mailbox to collect the letters!
  16. Attach your handle with hot glue or Gorilla glue. Hold in place until dry. Attach gold stickers. Use spray glue if they aren’t tacky enough. I put a small basket under our mailbox to collect the letters!
    Merry Christmas and Happy Holidays from my family to yours!
    Merry Christmas and Happy Holidays from my family to yours!

Tried this project?

Let us know how it was!

This post may contain affiliate links, please see our privacy policy for details.

Hi, I'm Jessie. 

I’m a Los Angeles mama, home renovator, and lifelong creative, sharing the things that make everyday life a little more beautiful. I believe food is one of the best ways to bring people together, which is why I love cooking: it turns an ordinary Tuesday into something worth remembering. From recipes I make on repeat to DIY projects, home design, and a little bit of real life in between — welcome to my corner of the internet. I’m so glad you’re here.

More about Jessie

Let’s be friends!

Be the first to receive exclusive content, hear about upcoming collaborations, and special events!

* indicates required

Intuit Mailchimp