Opens in a new tab

How to make a Lazy Susan

by Jessie Daye

First published: July 28, 2014 | Updated: June 22, 2026

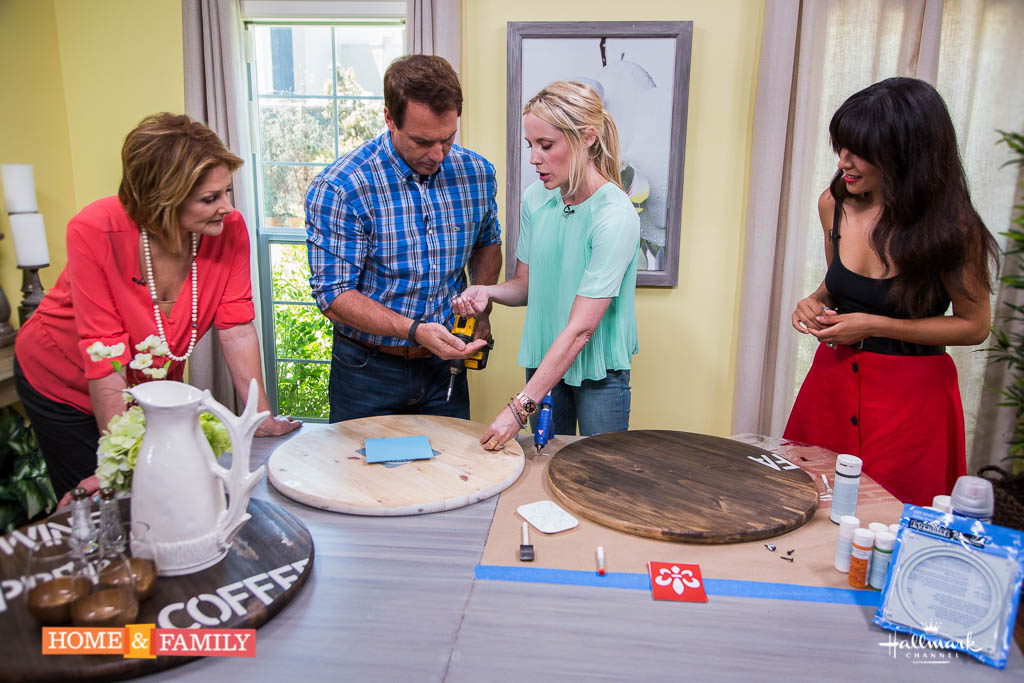
Helllllllloooooo Lazy Susan. I made you on Home and Family on the Hallmark Channel and I LOVE you! If you missed me, please see the tutorial below and make me ASAP.
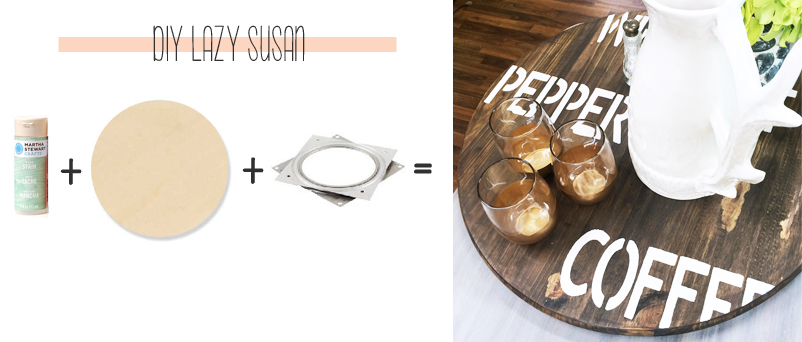
How to make a Lazy Susan

Author: Jessie Daye
No ratings yet
Share
Print

What you need

Directions

  1. Directions:
    What you need24" Wood RoundLazy Susan Hardware (at any Home improvement store)(4) 1/4" - 1/2" ScrewsScrew DriverHot GlueMartha Stewart Wood StainWood PaintUV Clear Spray paintStencilsFelt
    Instructions
  2. Stain your wood round and let dry. I used the new Martha Stewart wood stains and they were awesome! They come in a squeeze bottle now so there is no mess. (These little things make me sooooo happy!)
  3. Usine your stencils, carefully stencil each letter. If you are stenciling words like I did, you will want to have some of your words hang off the edge. Once dry, coat with a UV clear spray.
  4. Hot glue a square piece of felt to the bottom of your lazy susan hardware so it doesn't scratch your table.
  5. Using a screw driver screw the lazy susan hardware to the center of your wood lazy susan.
    Tips:I found that Home Depot only offered two sizes of wood rounds, but my Ace Hardware store had multiple sizes and very nice wood in addition to cheap plywood.

Tried this project?

Let us know how it was!

This post may contain affiliate links, please see our privacy policy for details.

Hi, I'm Jessie. 

Mama to three girls and a lifelong creative who loves making everyday moments feel a little more special. Here, I share whimsical recipes, holiday inspiration, and creative projects designed to bring a little more joy to your day. I hope to inspire you to get creative, celebrate the little things, and make something beautiful. Welcome!

More about Jessie

Let’s be friends!

Be the first to receive exclusive content and hear about my upcoming BOOK!

* indicates required

Intuit Mailchimp