Create rustic rolling storage crates to organize and store children’s toys.
DIY Toy Storage Bins

by Jessie Daye
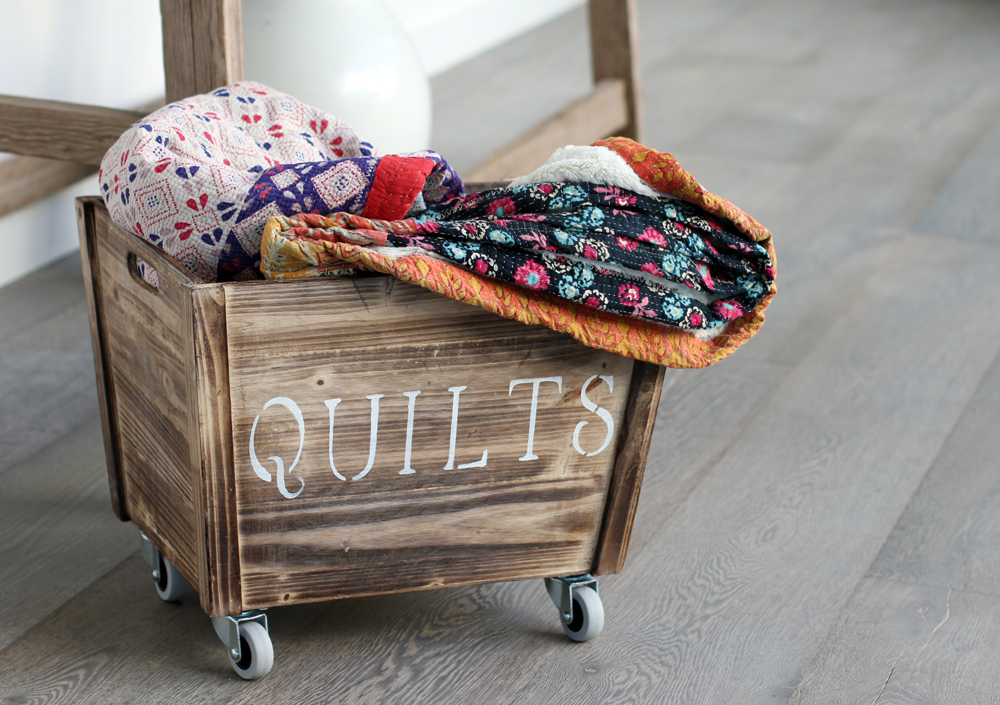
DIY Rolling Toy Storage Crates
What you need
- 1 crate (from Home Goods or Michaels)
- 4 - 2" swivel casters
- 16 - 1/2" screws
- Wood glue or hot glue
- 4 square bits of wood
- Screw driver
- Stencils
- Wood paint
- Paint brushes
Directions
- Flip your crate over and place your casters in place. Screw down all four casters. If you have a thin base on your crate the screws will poke through the bottom so you can glue a square scrap piece of wood on the inside to catch the screw. If this is the case, glue down the piece of wood with hot glue and let it dry on the inside corners of the crate before you screw the casters on.
- Flip your crate over and stencil your letters on one side and let dry.
Tips: If you are making shelves, flip all the crates on their sides and screw them to one another using screws and bolts.
Tried this project?
Let us know how it was!This post may contain affiliate links, please see our privacy policy for details.

Hi, I'm Jessie.
I’m a Los Angeles mama, home renovator, and lifelong creative, sharing the things that make everyday life a little more beautiful. I believe food is one of the best ways to bring people together, which is why I love cooking: it turns an ordinary Tuesday into something worth remembering. From recipes I make on repeat to DIY projects, home design, and a little bit of real life in between — welcome to my corner of the internet. I’m so glad you’re here.
Let’s be friends!
Be the first to receive exclusive content, hear about upcoming collaborations, and special events!