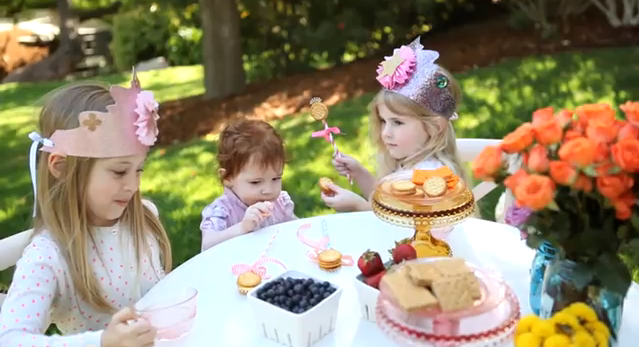
A budget-friendly tutorial for making decorative princess crowns using glitter paper and crepe paper for under $2 each.
DIY Princess Crowns

by Jessie Daye
DIY Princess Glitter Crown
What you need
- 12" x 12" sheet of Glitter Paper
- Crepe Paper
- Ribbon
- Glue Gun
- Scissors
- Pencil
- Hole Punch
- Optional: Fancy craft store hole punch, glitter numbers or letters, pre-made glitter stars
Directions
- Download and print the free Princess Glitter Crown template on 8.5" x 11" paper. Trace the template onto the white back side of glitter paper, extending the sides as shown. You will get 2 crowns per sheet.
- Create the pinwheel: Take crepe paper and fold it into 1" wide folds back and forth like a fan until you have about 2" thick accordion. Cut off the excess paper.
- Bring the pinwheel ends together and glue them together.
- Hot glue the pinwheel to the middle of the crown. The middle should still be loose - this is normal.
- Optional: Add decorative elements like fancy hole punch designs, glitter stars, or glitter numbers/letters to the center of the crown.
- Hole punch both ends of the crown, making sure holes are not too close to the edges.
- String ribbon through the holes and hot glue the ribbon ends together instead of tying a knot for a more secure and polished look.
Tried this project?
Let us know how it was!This post may contain affiliate links, please see our privacy policy for details.

Hi, I'm Jessie.
Mama to three girls and a lifelong creative who loves making everyday moments feel a little more special. Here, I share whimsical recipes, holiday inspiration, and creative projects designed to bring a little more joy to your day. I hope to inspire you to get creative, celebrate the little things, and make something beautiful. Welcome!
Let’s be friends!
Be the first to receive exclusive content and hear about my upcoming BOOK!