A decorative serving tray decorated with colorful tissue paper circles using decoupage technique.
DIY Decoupage Circle Tray

by Jessie Daye
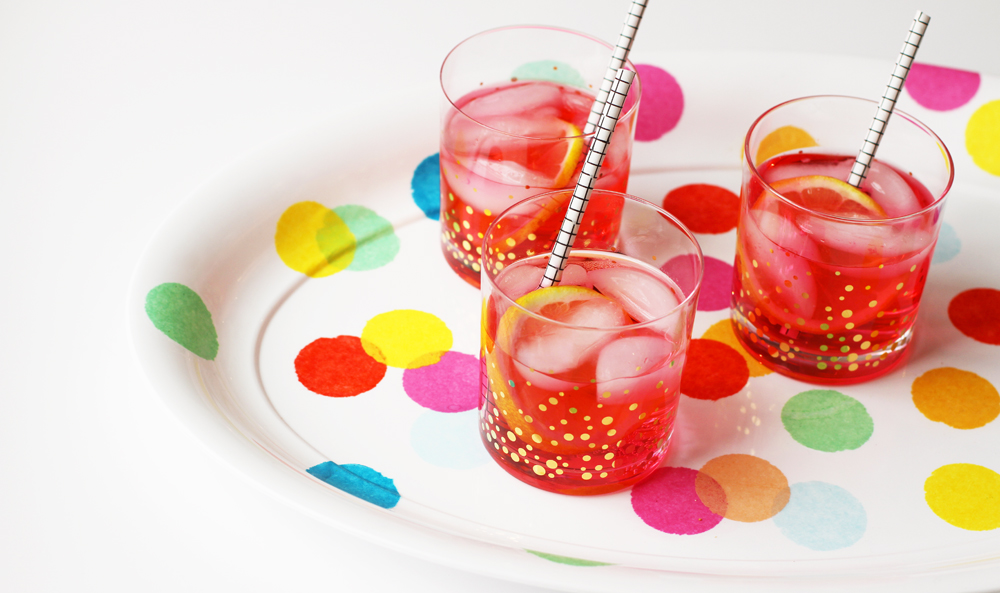
DIY Decoupage Circle Tray
What you need
- Plastic or Wood Serving Tray
- Martha Stewart Decoupage glue
- Tissue Paper (Different Colors)
- Martha Stewart Circle punch or Scissors
- Paint Brush
Directions
- Use your circle punch or scissors to cut circles out of different colored tissue paper.
- Brush a thin layer of decoupage glue onto top of tray in area you want to place a circle.
- Place first circle down and very gently take your brush and paint decoupage over the circle. Brush in one motion so it doesn't pull off. If your circle rips, just take it off and place a new one down. The tissue paper is very thin, so work quickly and carefully. You only need a couple brush strokes to cover the circle. You could also use paper or fabric.
- Continue with the rest of the circles and let dry. Once everything is dry you can apply a thin coat of decoupage over the entire tray so it looks consistent.
Tried this project?
Let us know how it was!This post may contain affiliate links, please see our privacy policy for details.

Hi, I'm Jessie.
Mama to three girls and a lifelong creative who loves making everyday moments feel a little more special. Here, I share whimsical recipes, holiday inspiration, and creative projects designed to bring a little more joy to your day. I hope to inspire you to get creative, celebrate the little things, and make something beautiful. Welcome!
Let’s be friends!
Be the first to receive exclusive content and hear about my upcoming BOOK!