Create beautiful decorative paper rosettes by folding, cutting, and gluing paper into a dimensional flower shape.
DIY Paper Rosettes

by Jessie Daye
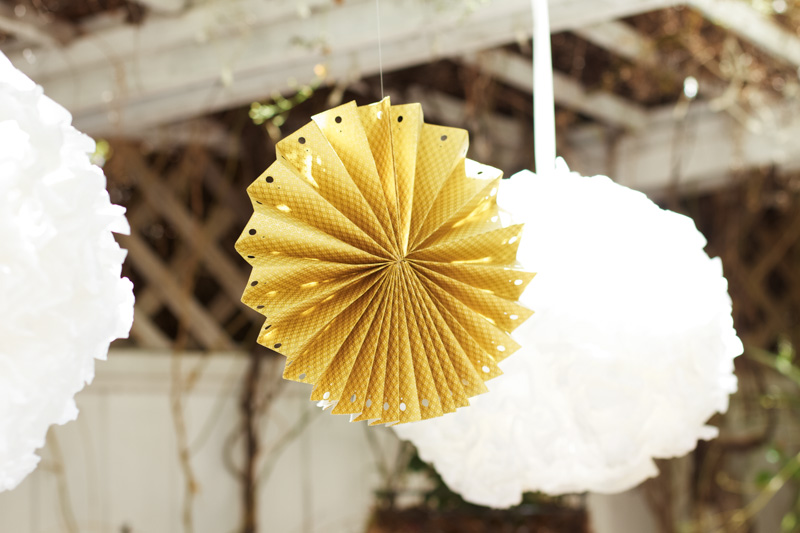
DIY Paper Rosettes
What you need
- Any sheet of paper, any size
- Hot Glue
- Hole Punch
- Scissors
- String
- Clear filament string or ribbon (for hanging)
Directions
- Start with one sheet of paper and fold it in half to create a crease.
- Unfold the paper and cut down the middle along the crease.
- Take each half and fan the paper back and forth with each fold being 1" wide.
- Cut each fanned half in half again, creating 4 fanned pieces total.
- Using a hole punch, punch holes at the end of each fold (can use decorative punch or multiple holes).
- Place hot glue down the side of one folded fan and stick to another fan.
- Continue gluing all four pieces together in a circle, ensuring hole punches are on the outer edge.
- Push the rosette toward the middle so all pieces lift up.
- Add a dab of glue to center pieces and carefully squeeze the center together.
- 1
- Hang using clear filament string or ribbon.
Tip: These are perfect for weddings, baby showers, bridal showers, birthday parties, and Christmas decorations.
Tried this project?
Let us know how it was!This post may contain affiliate links, please see our privacy policy for details.

Hi, I'm Jessie.
I’m a Los Angeles mama, home renovator, and lifelong creative, sharing the things that make everyday life a little more beautiful. I believe food is one of the best ways to bring people together, which is why I love cooking: it turns an ordinary Tuesday into something worth remembering. From recipes I make on repeat to DIY projects, home design, and a little bit of real life in between — welcome to my corner of the internet. I’m so glad you’re here.
Let’s be friends!
Be the first to receive exclusive content, hear about upcoming collaborations, and special events!