Directions:
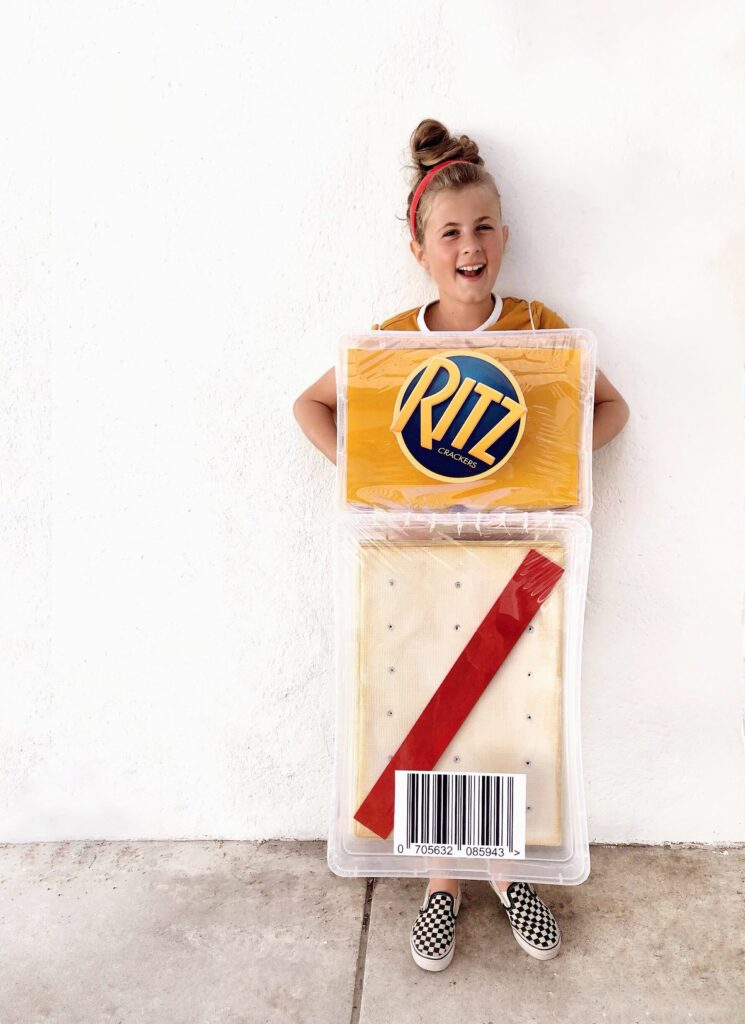
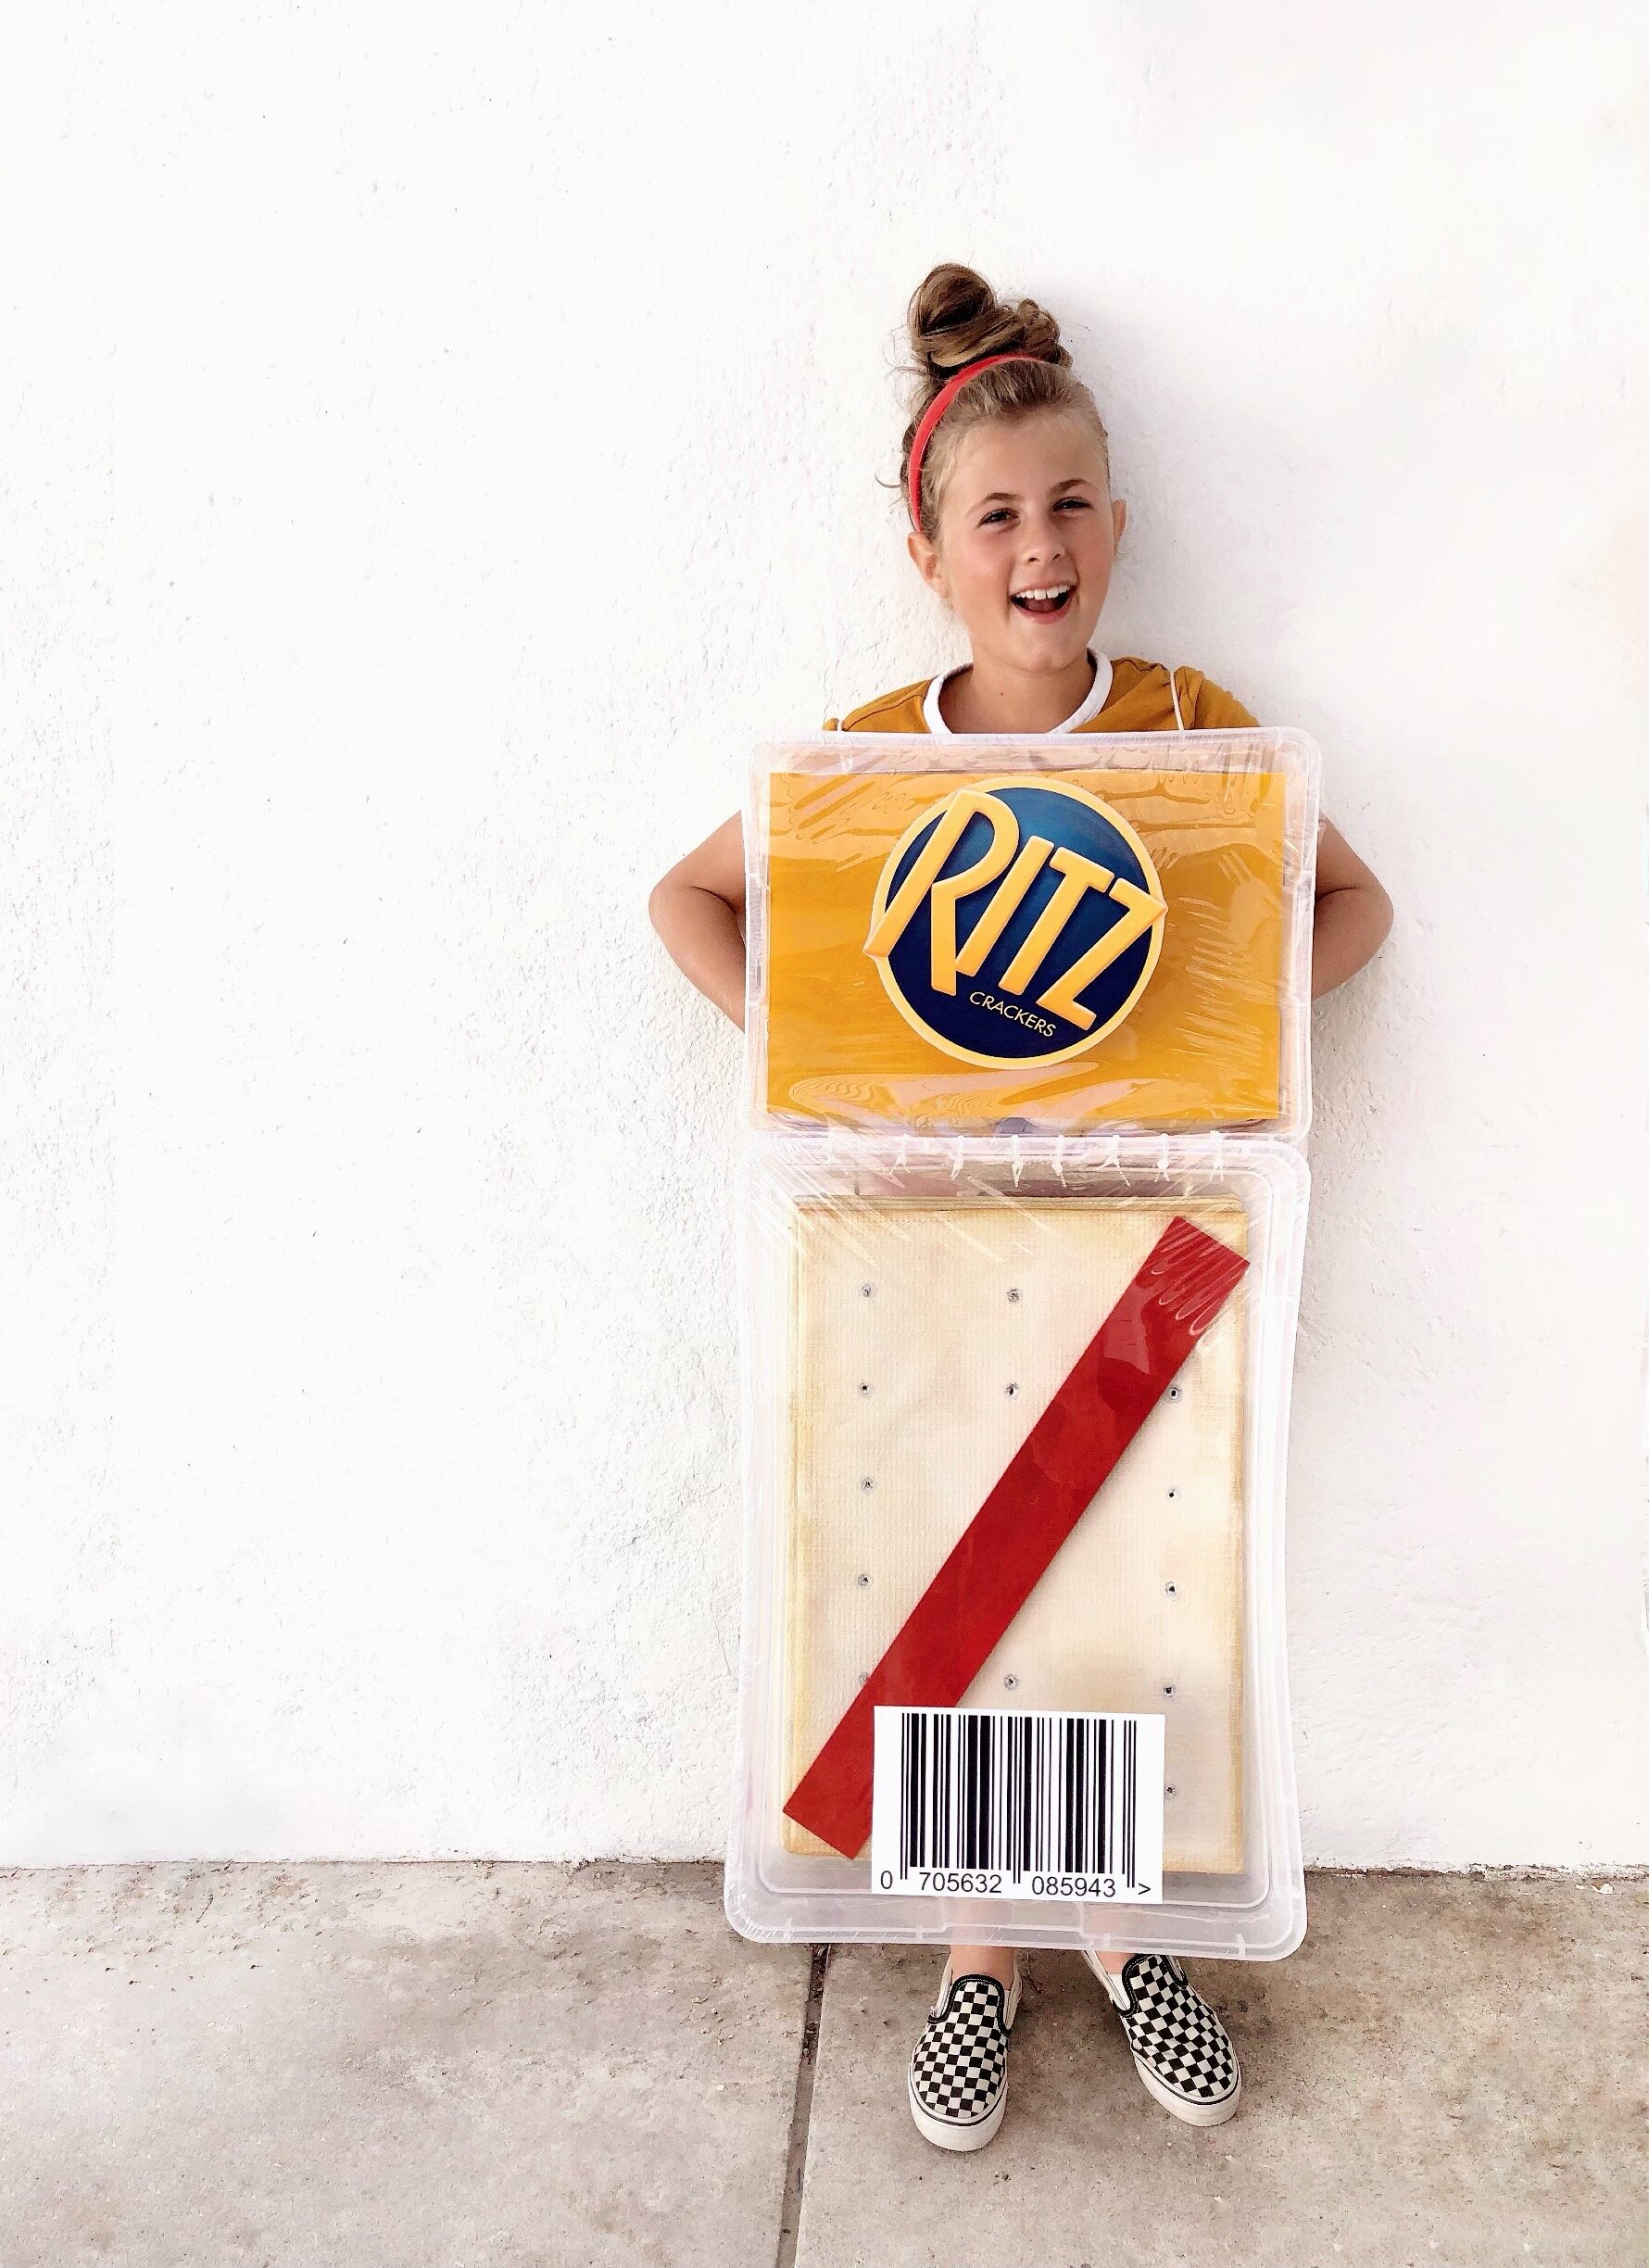
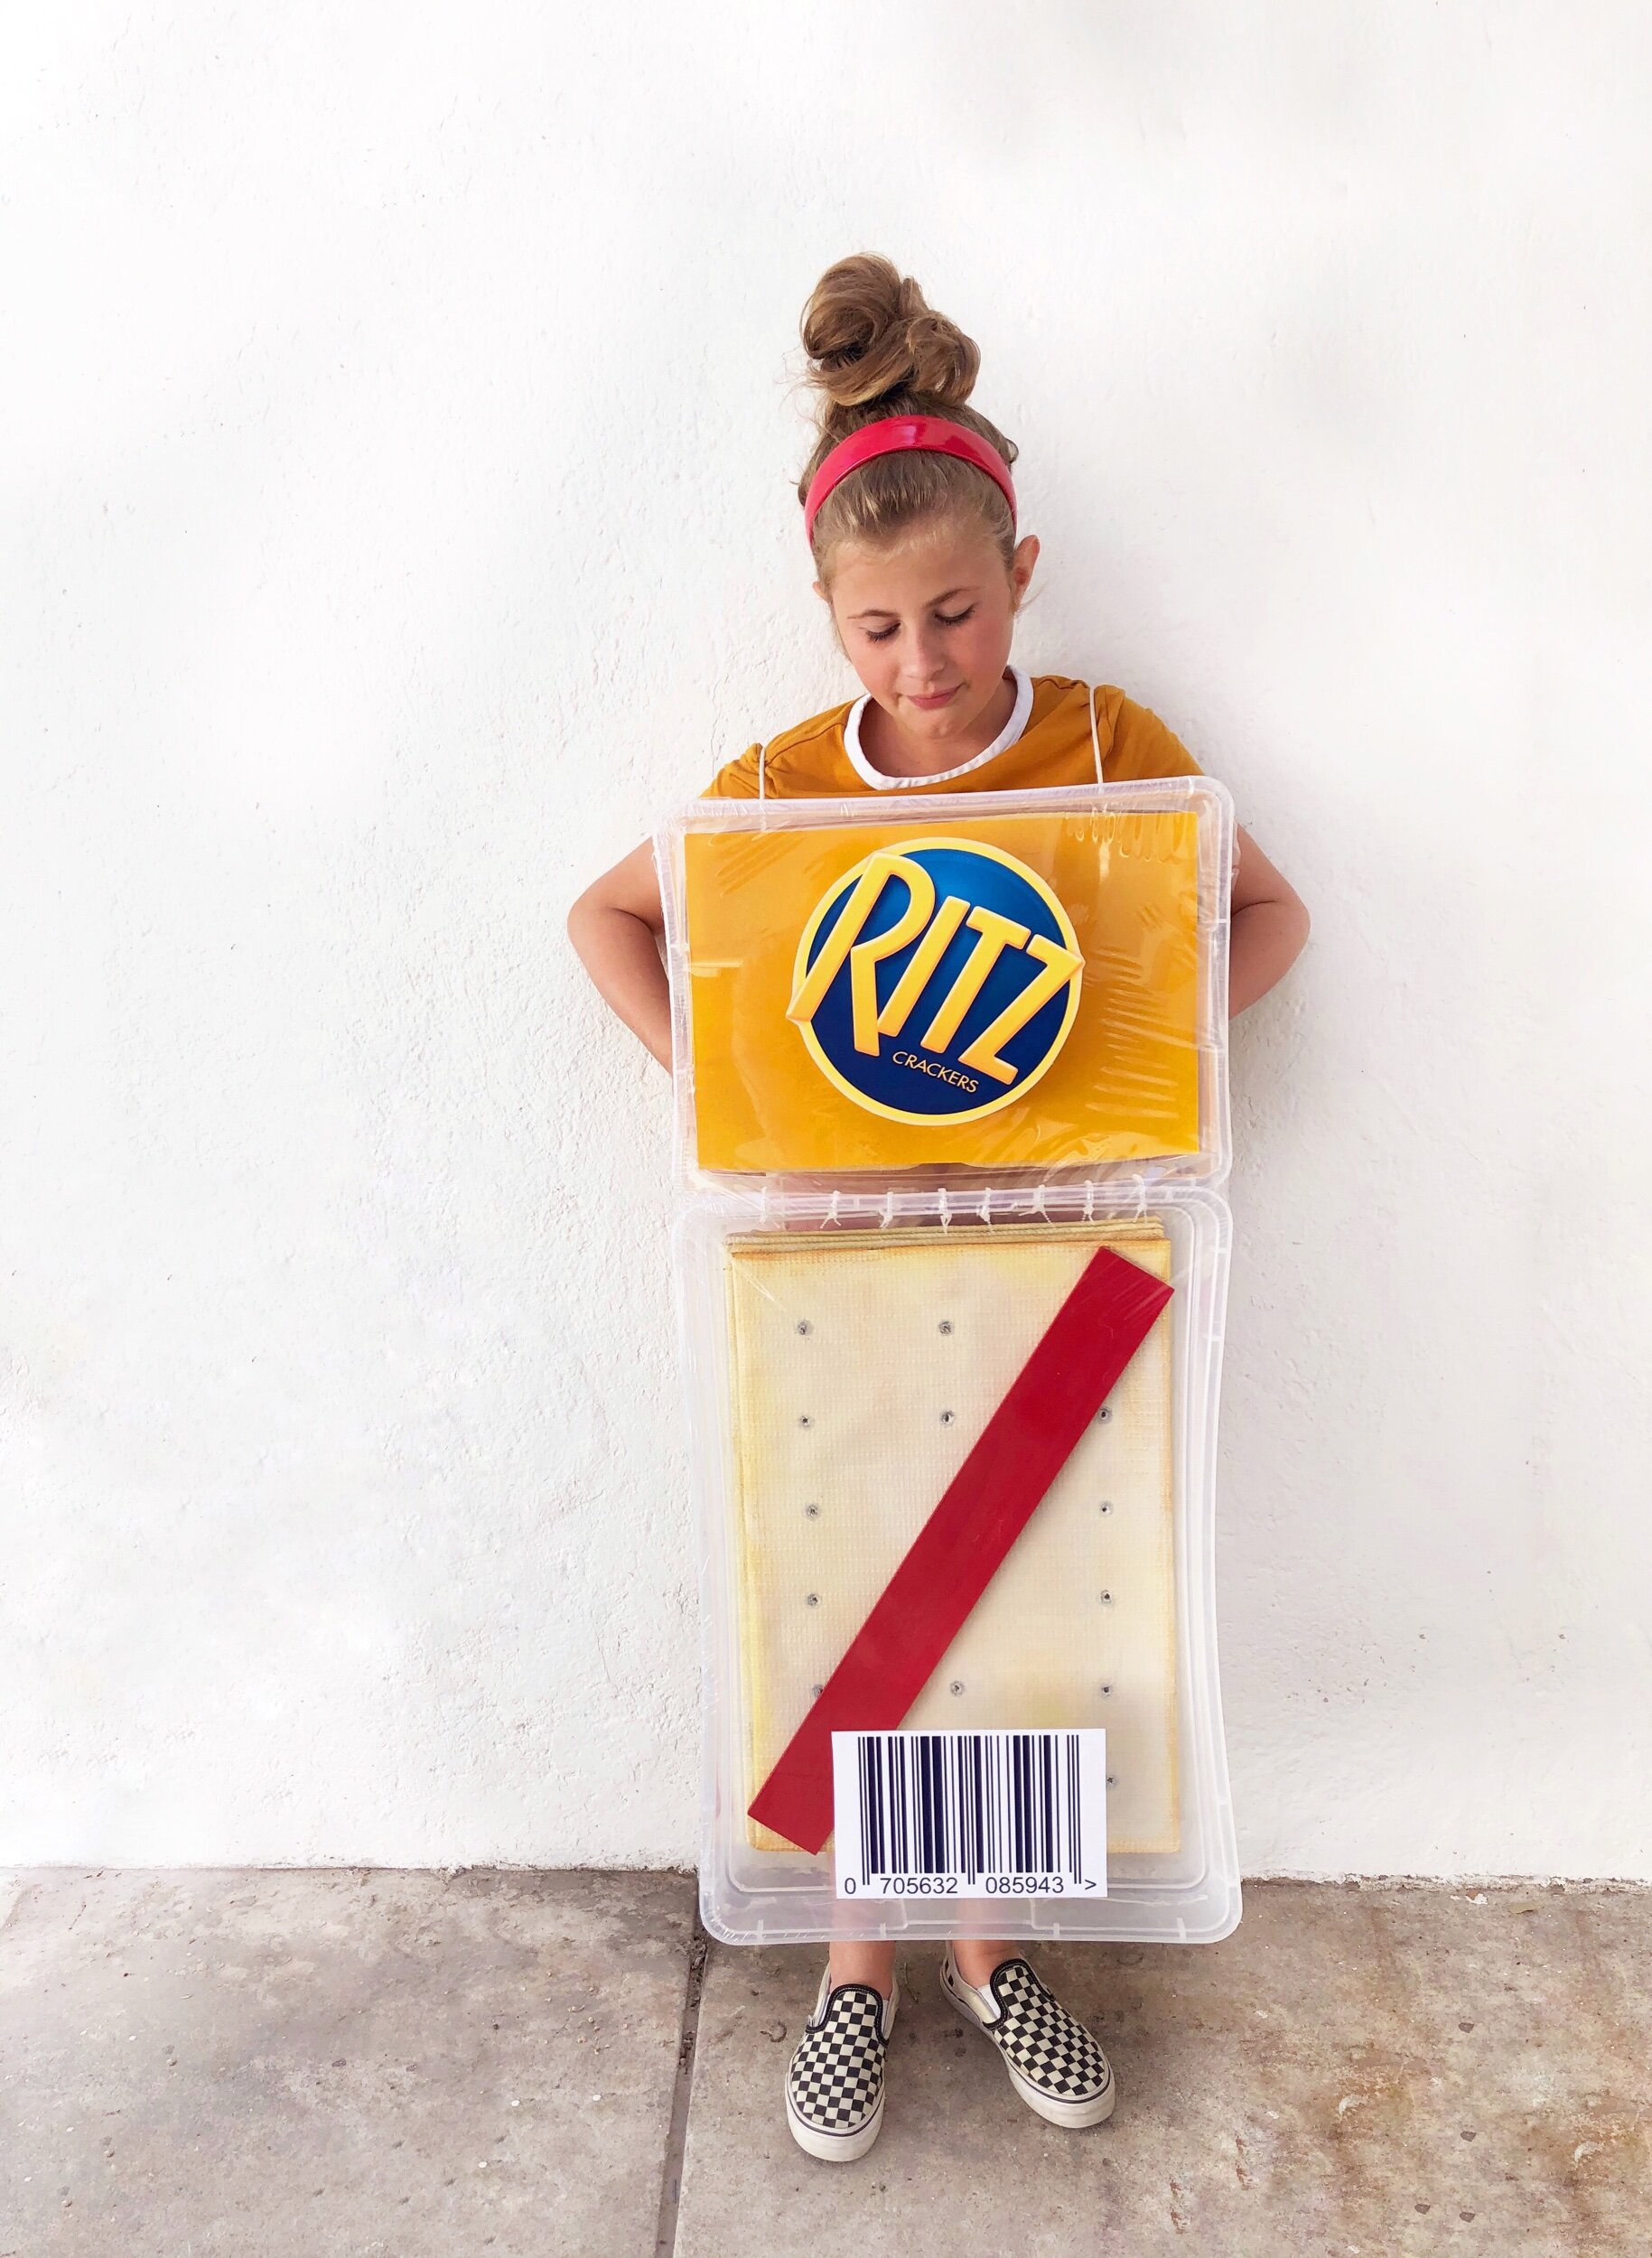
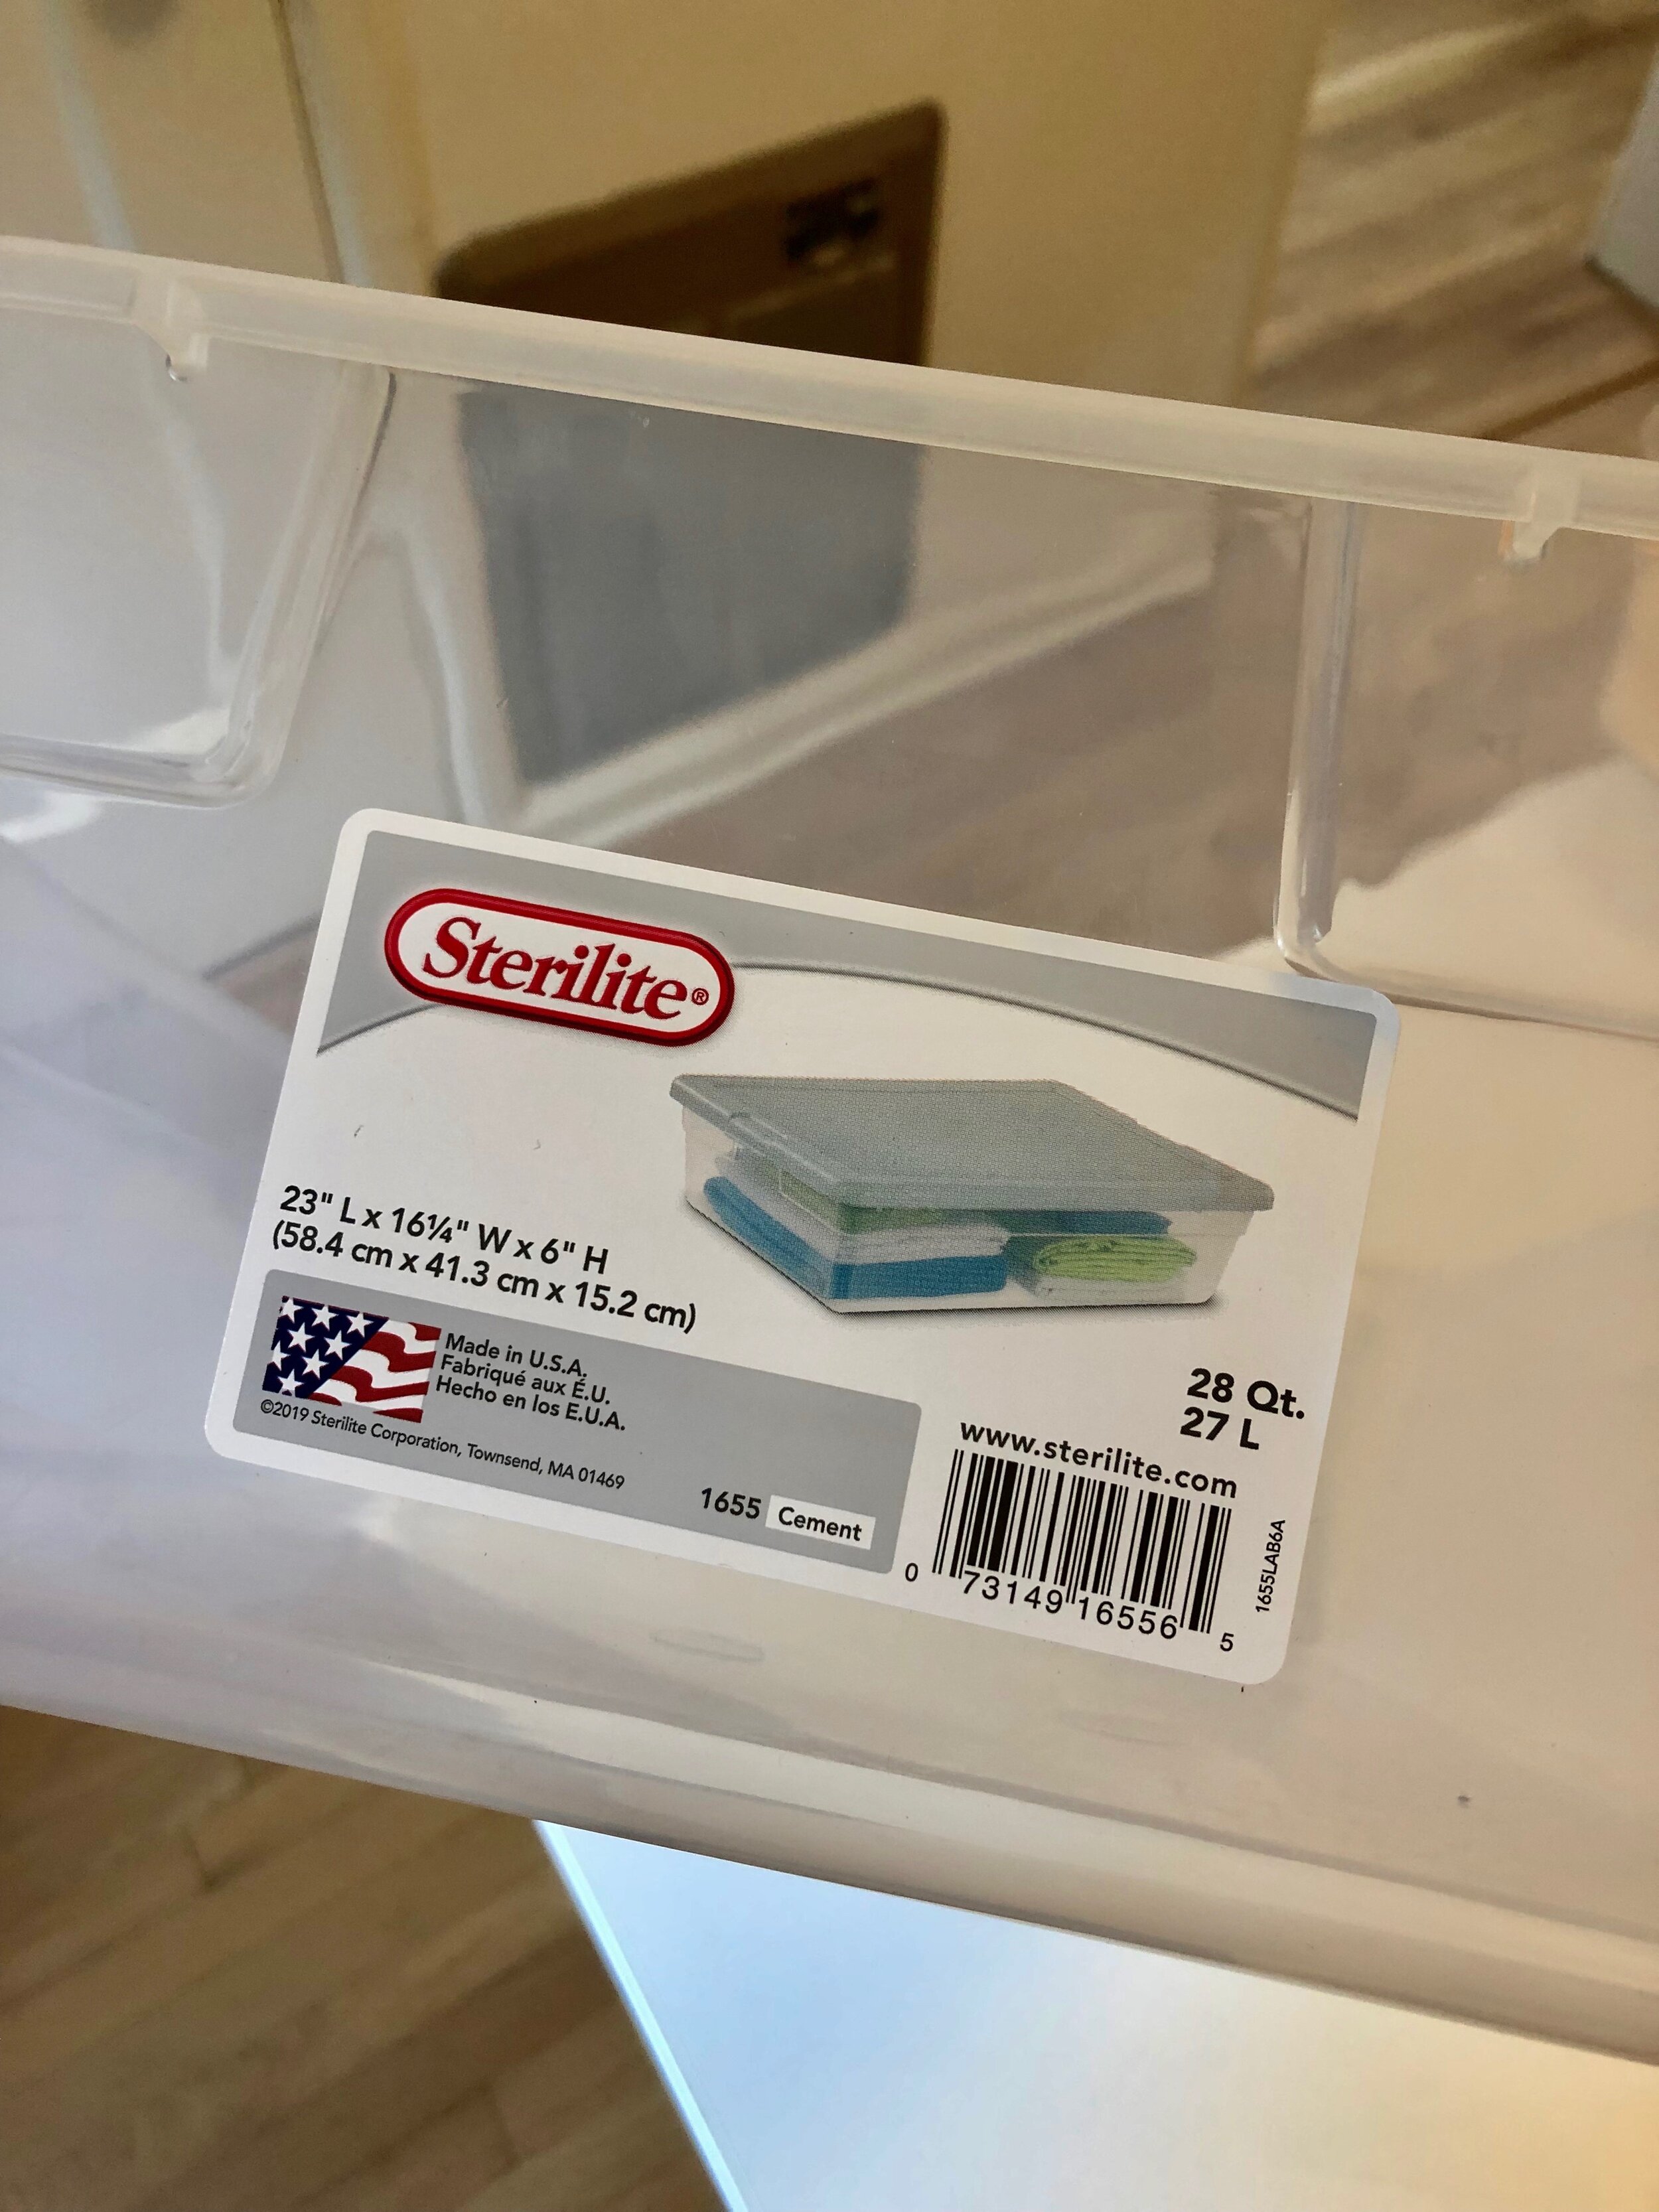
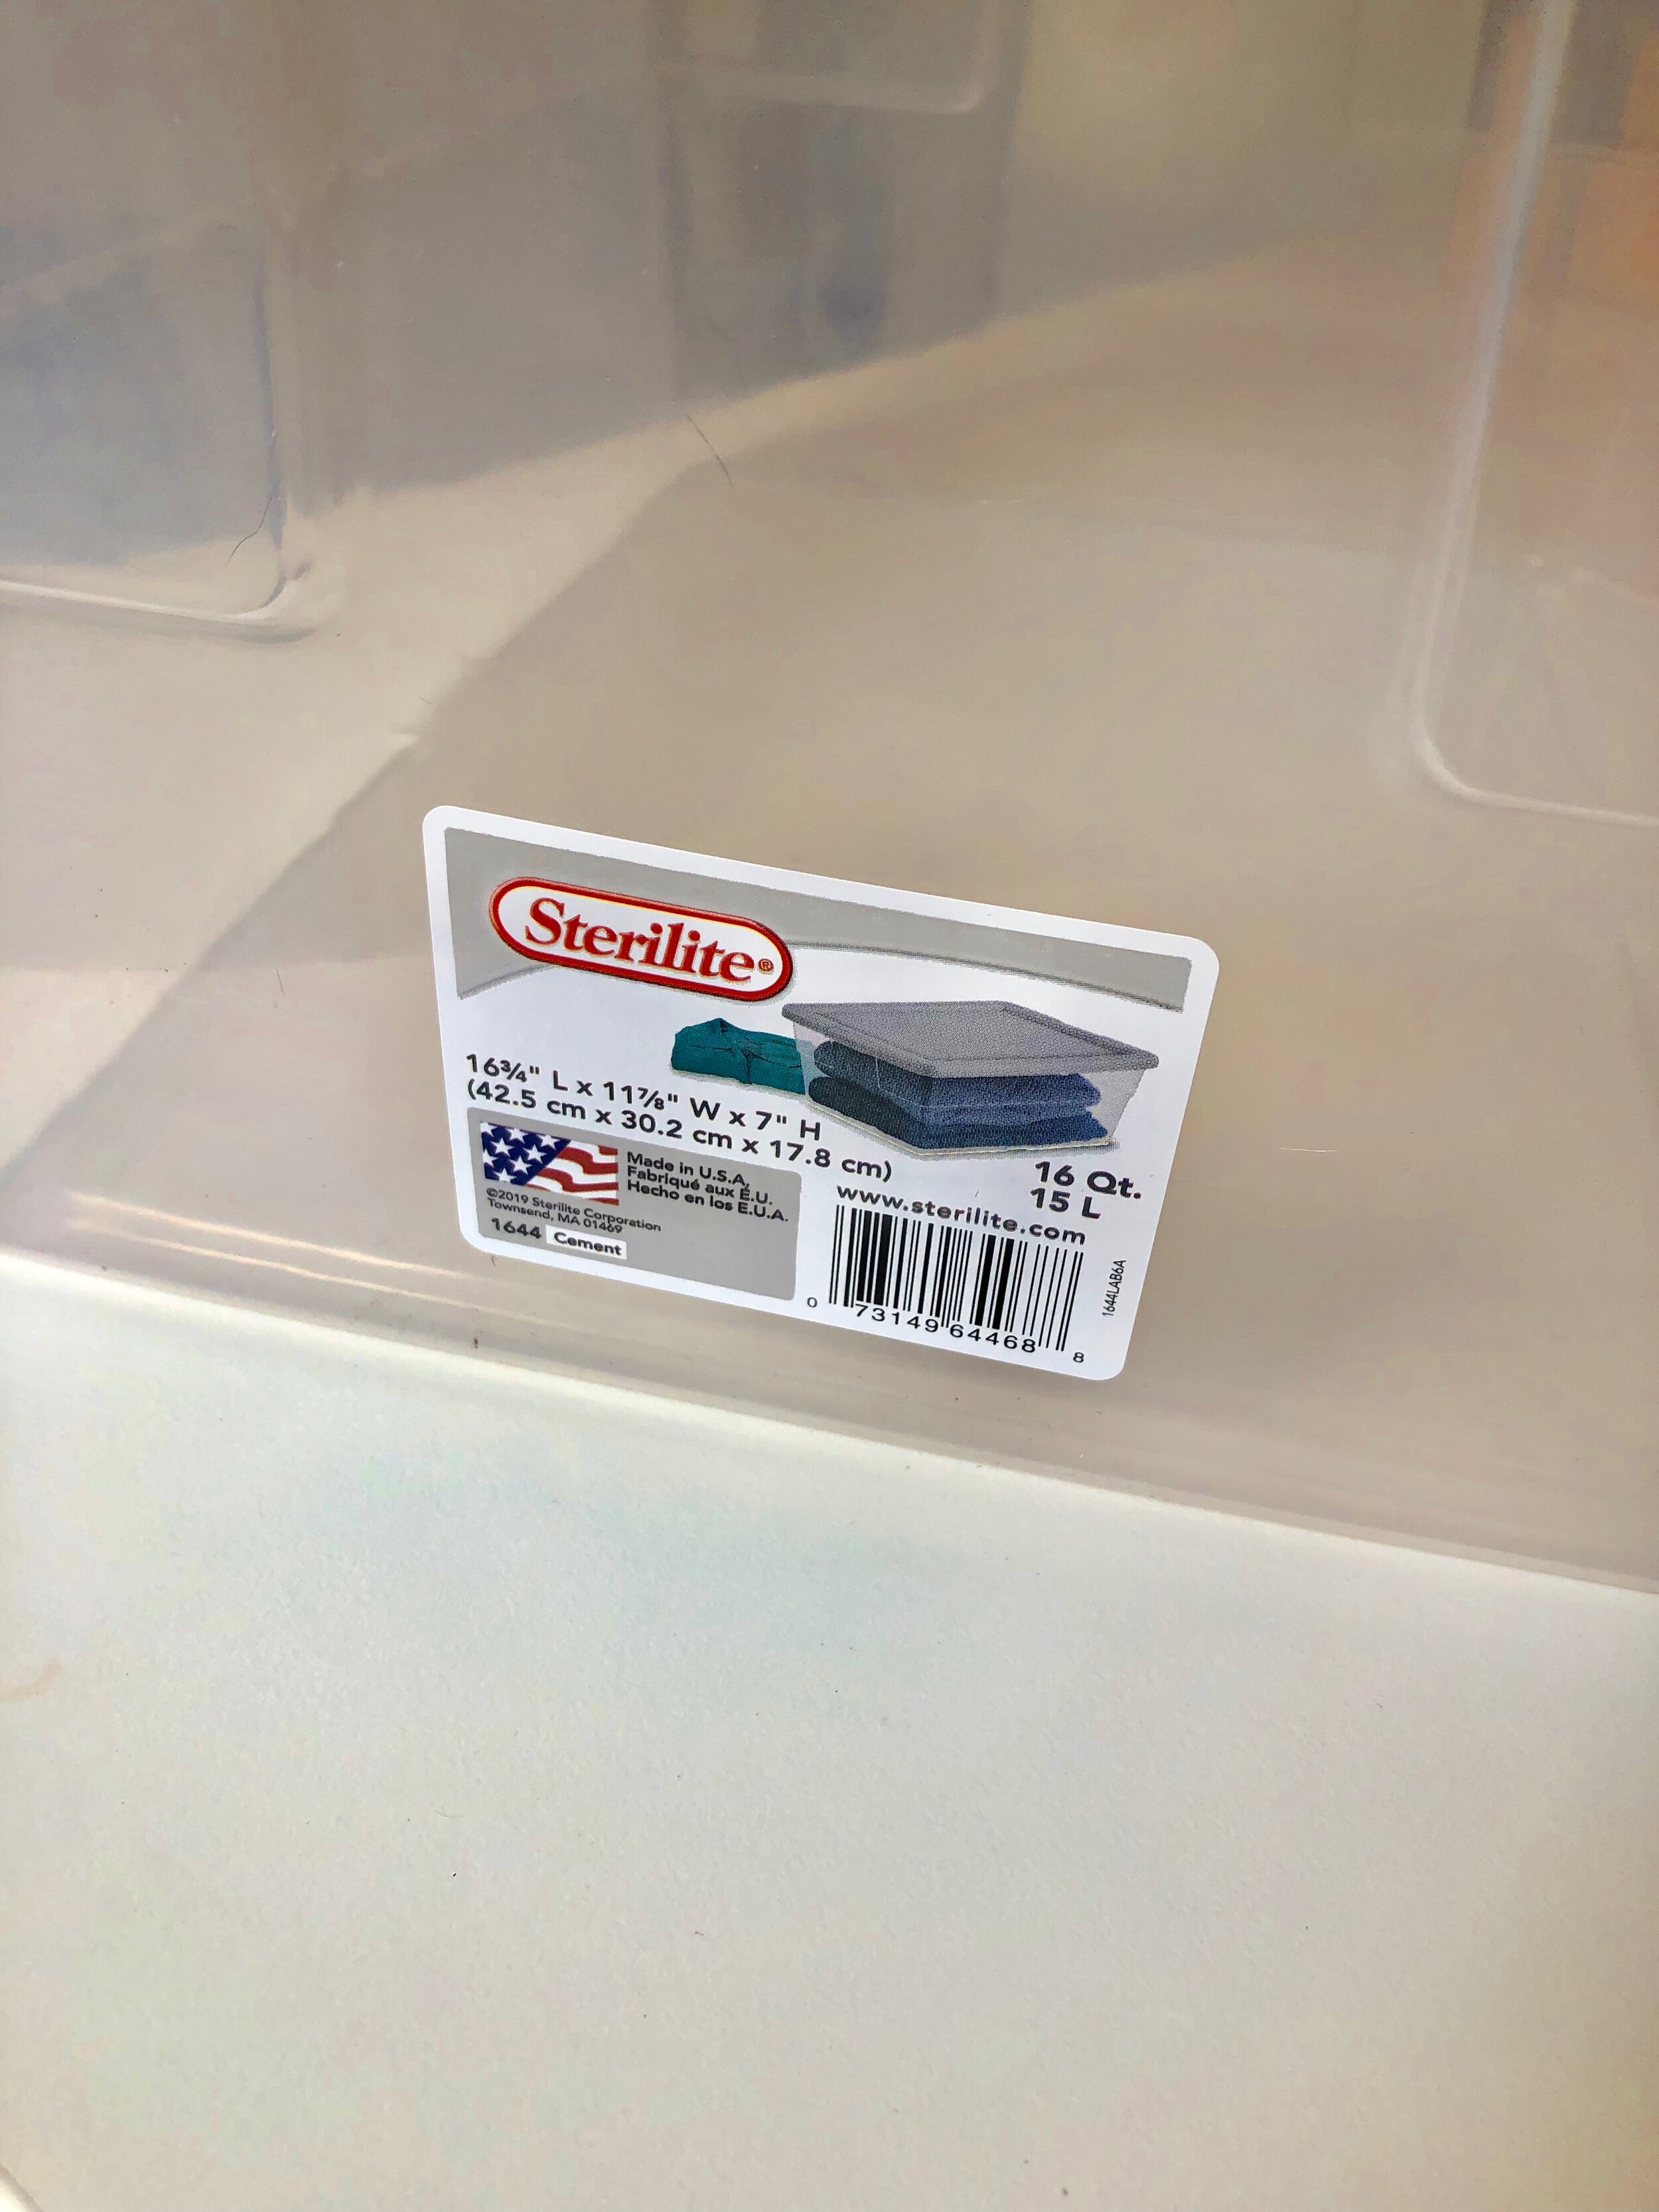
- Firstly, you need (1) 23”Lx16 1/4” W x 6” H clear storage bin. I purchased mine at Home Depot. You could use a more shallow bin if you find one, but the smaller bin on top needs to be the same depth. This is the best I could find when I went looking. For the smaller bin I used a clear 16 3/4”L x 11 7/8"W x 7” H bin. This is going to hold your “cheese”.
Firstly, you need (1) 23”Lx16 1/4” W x 6” H clear storage bin. I purchased mine at Home Depot. You could use a more shallow bin if you find one, but the smaller bin on top needs to be the same depth. This is the best I could find when I went looking. For the smaller bin I used a clear 16 3/4”L x 11 7/8"W x 7” H bin. This is going to hold your “cheese”.
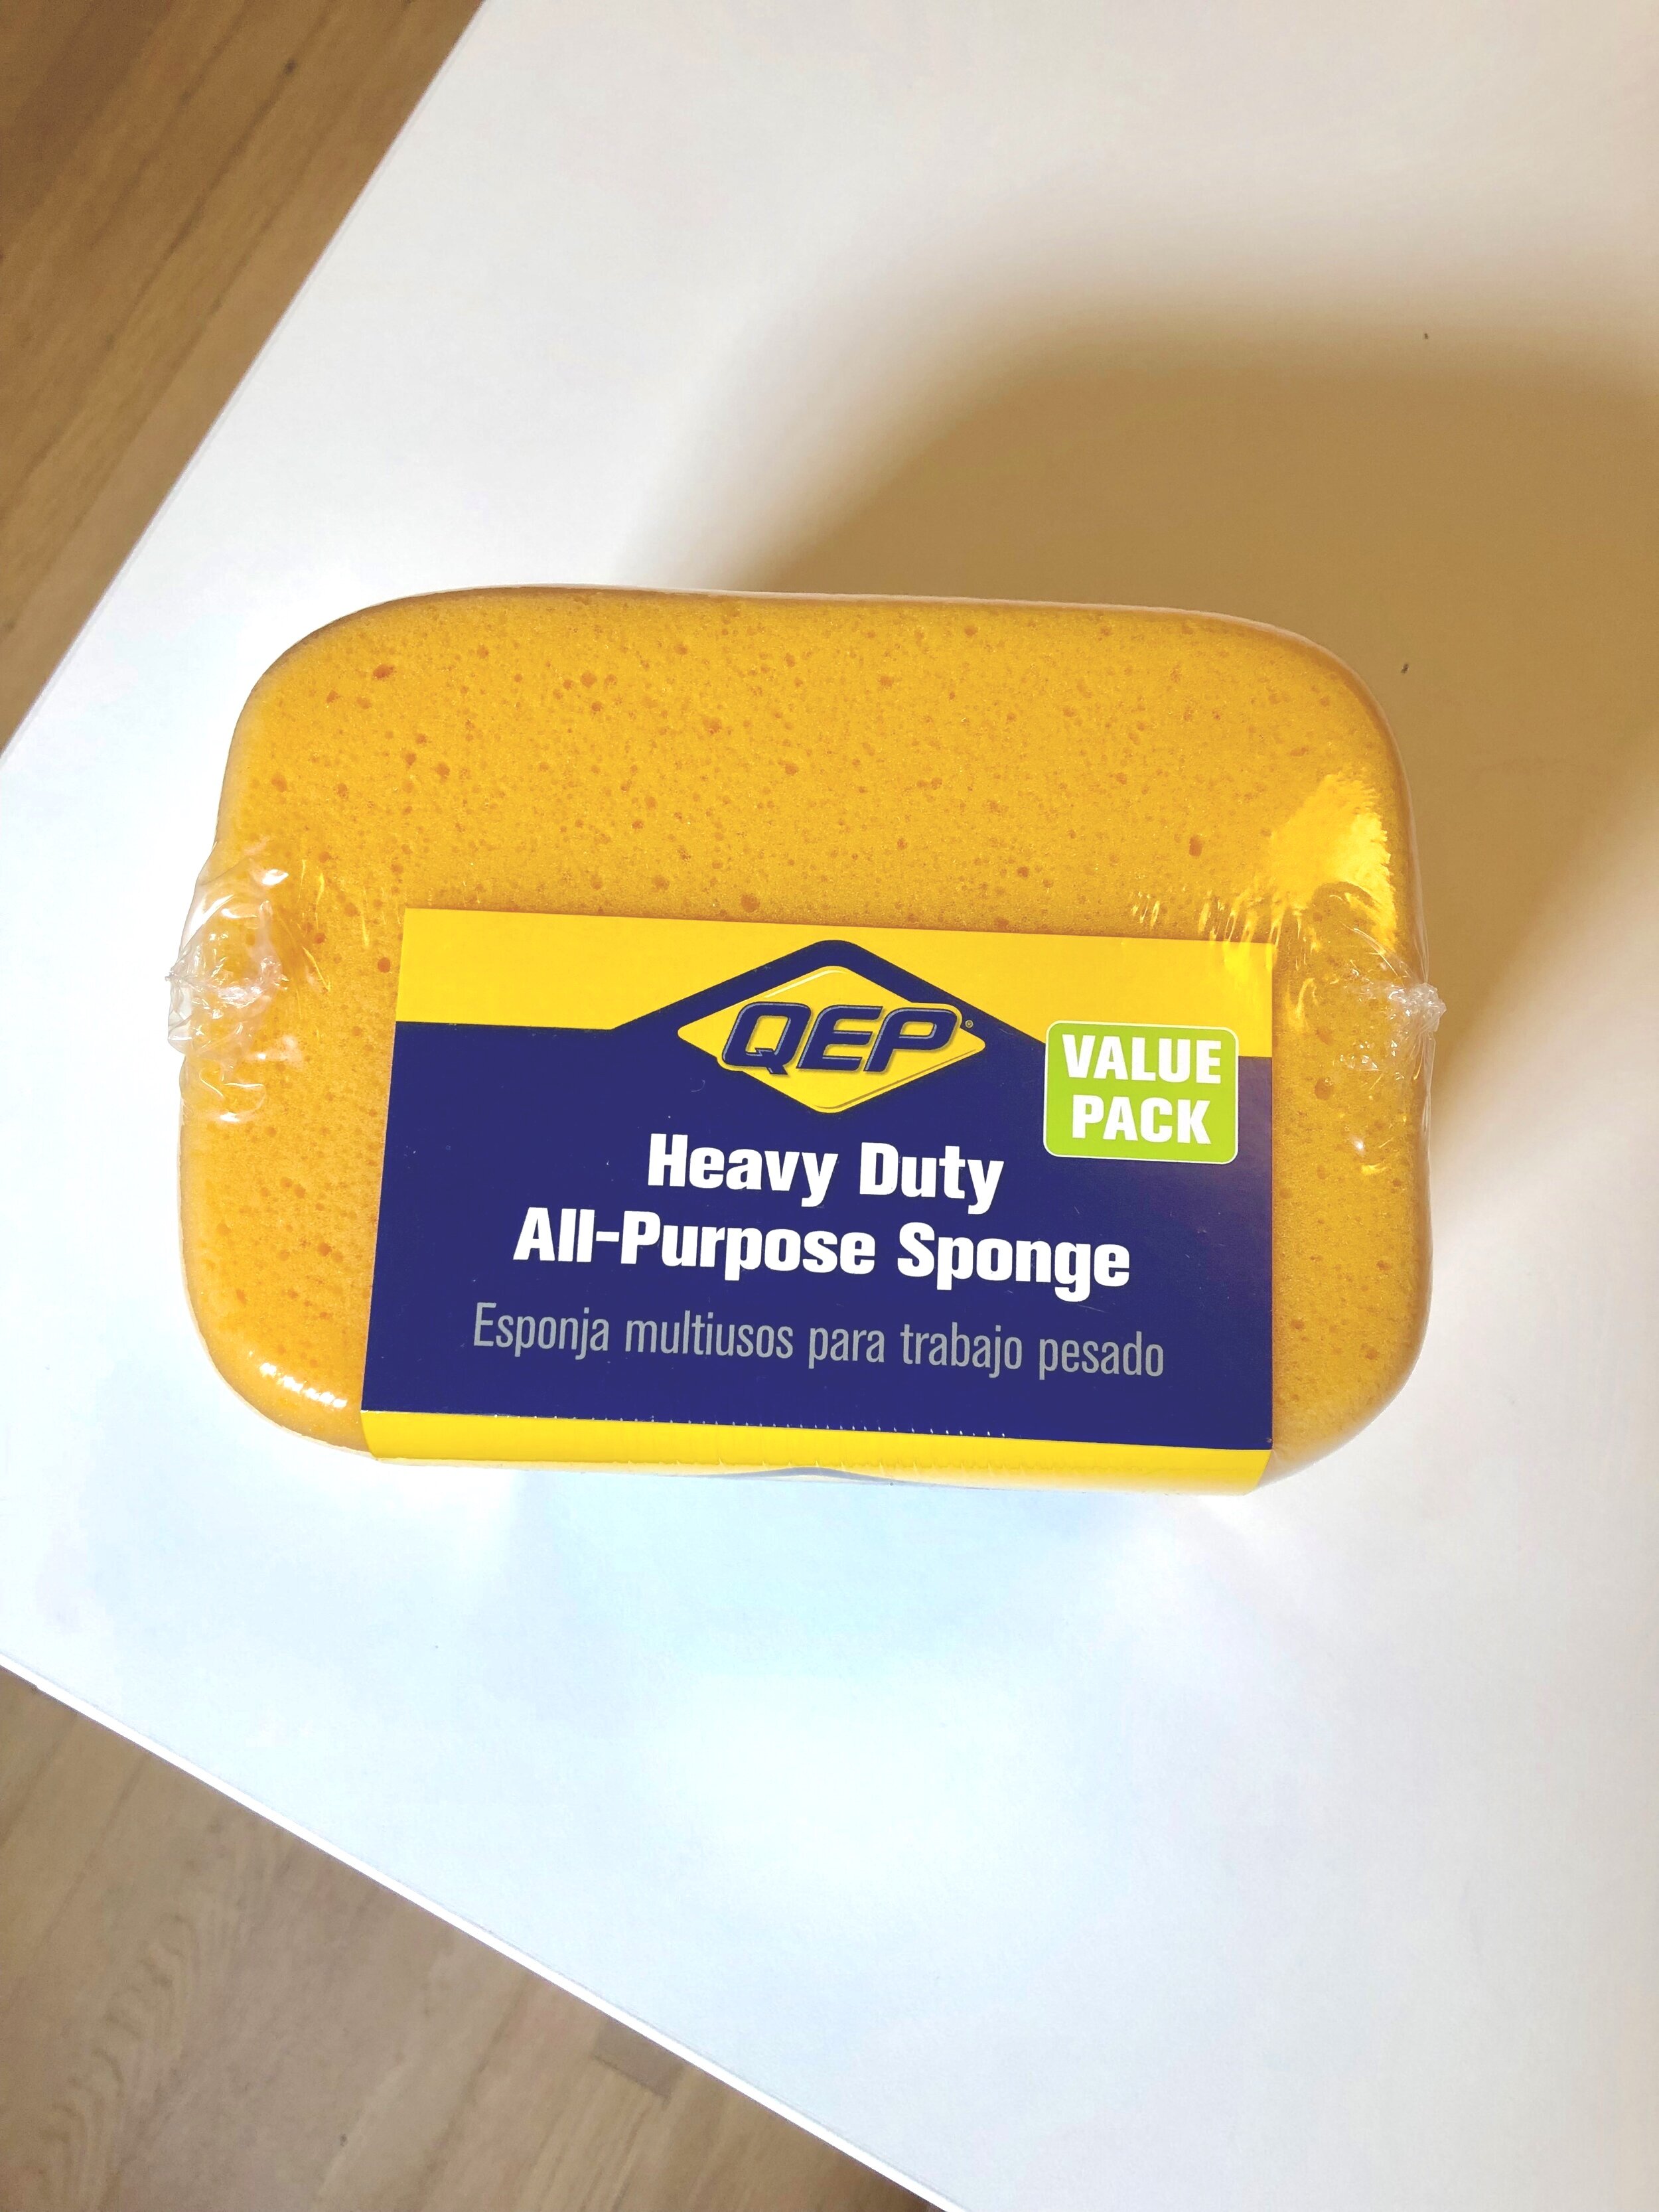
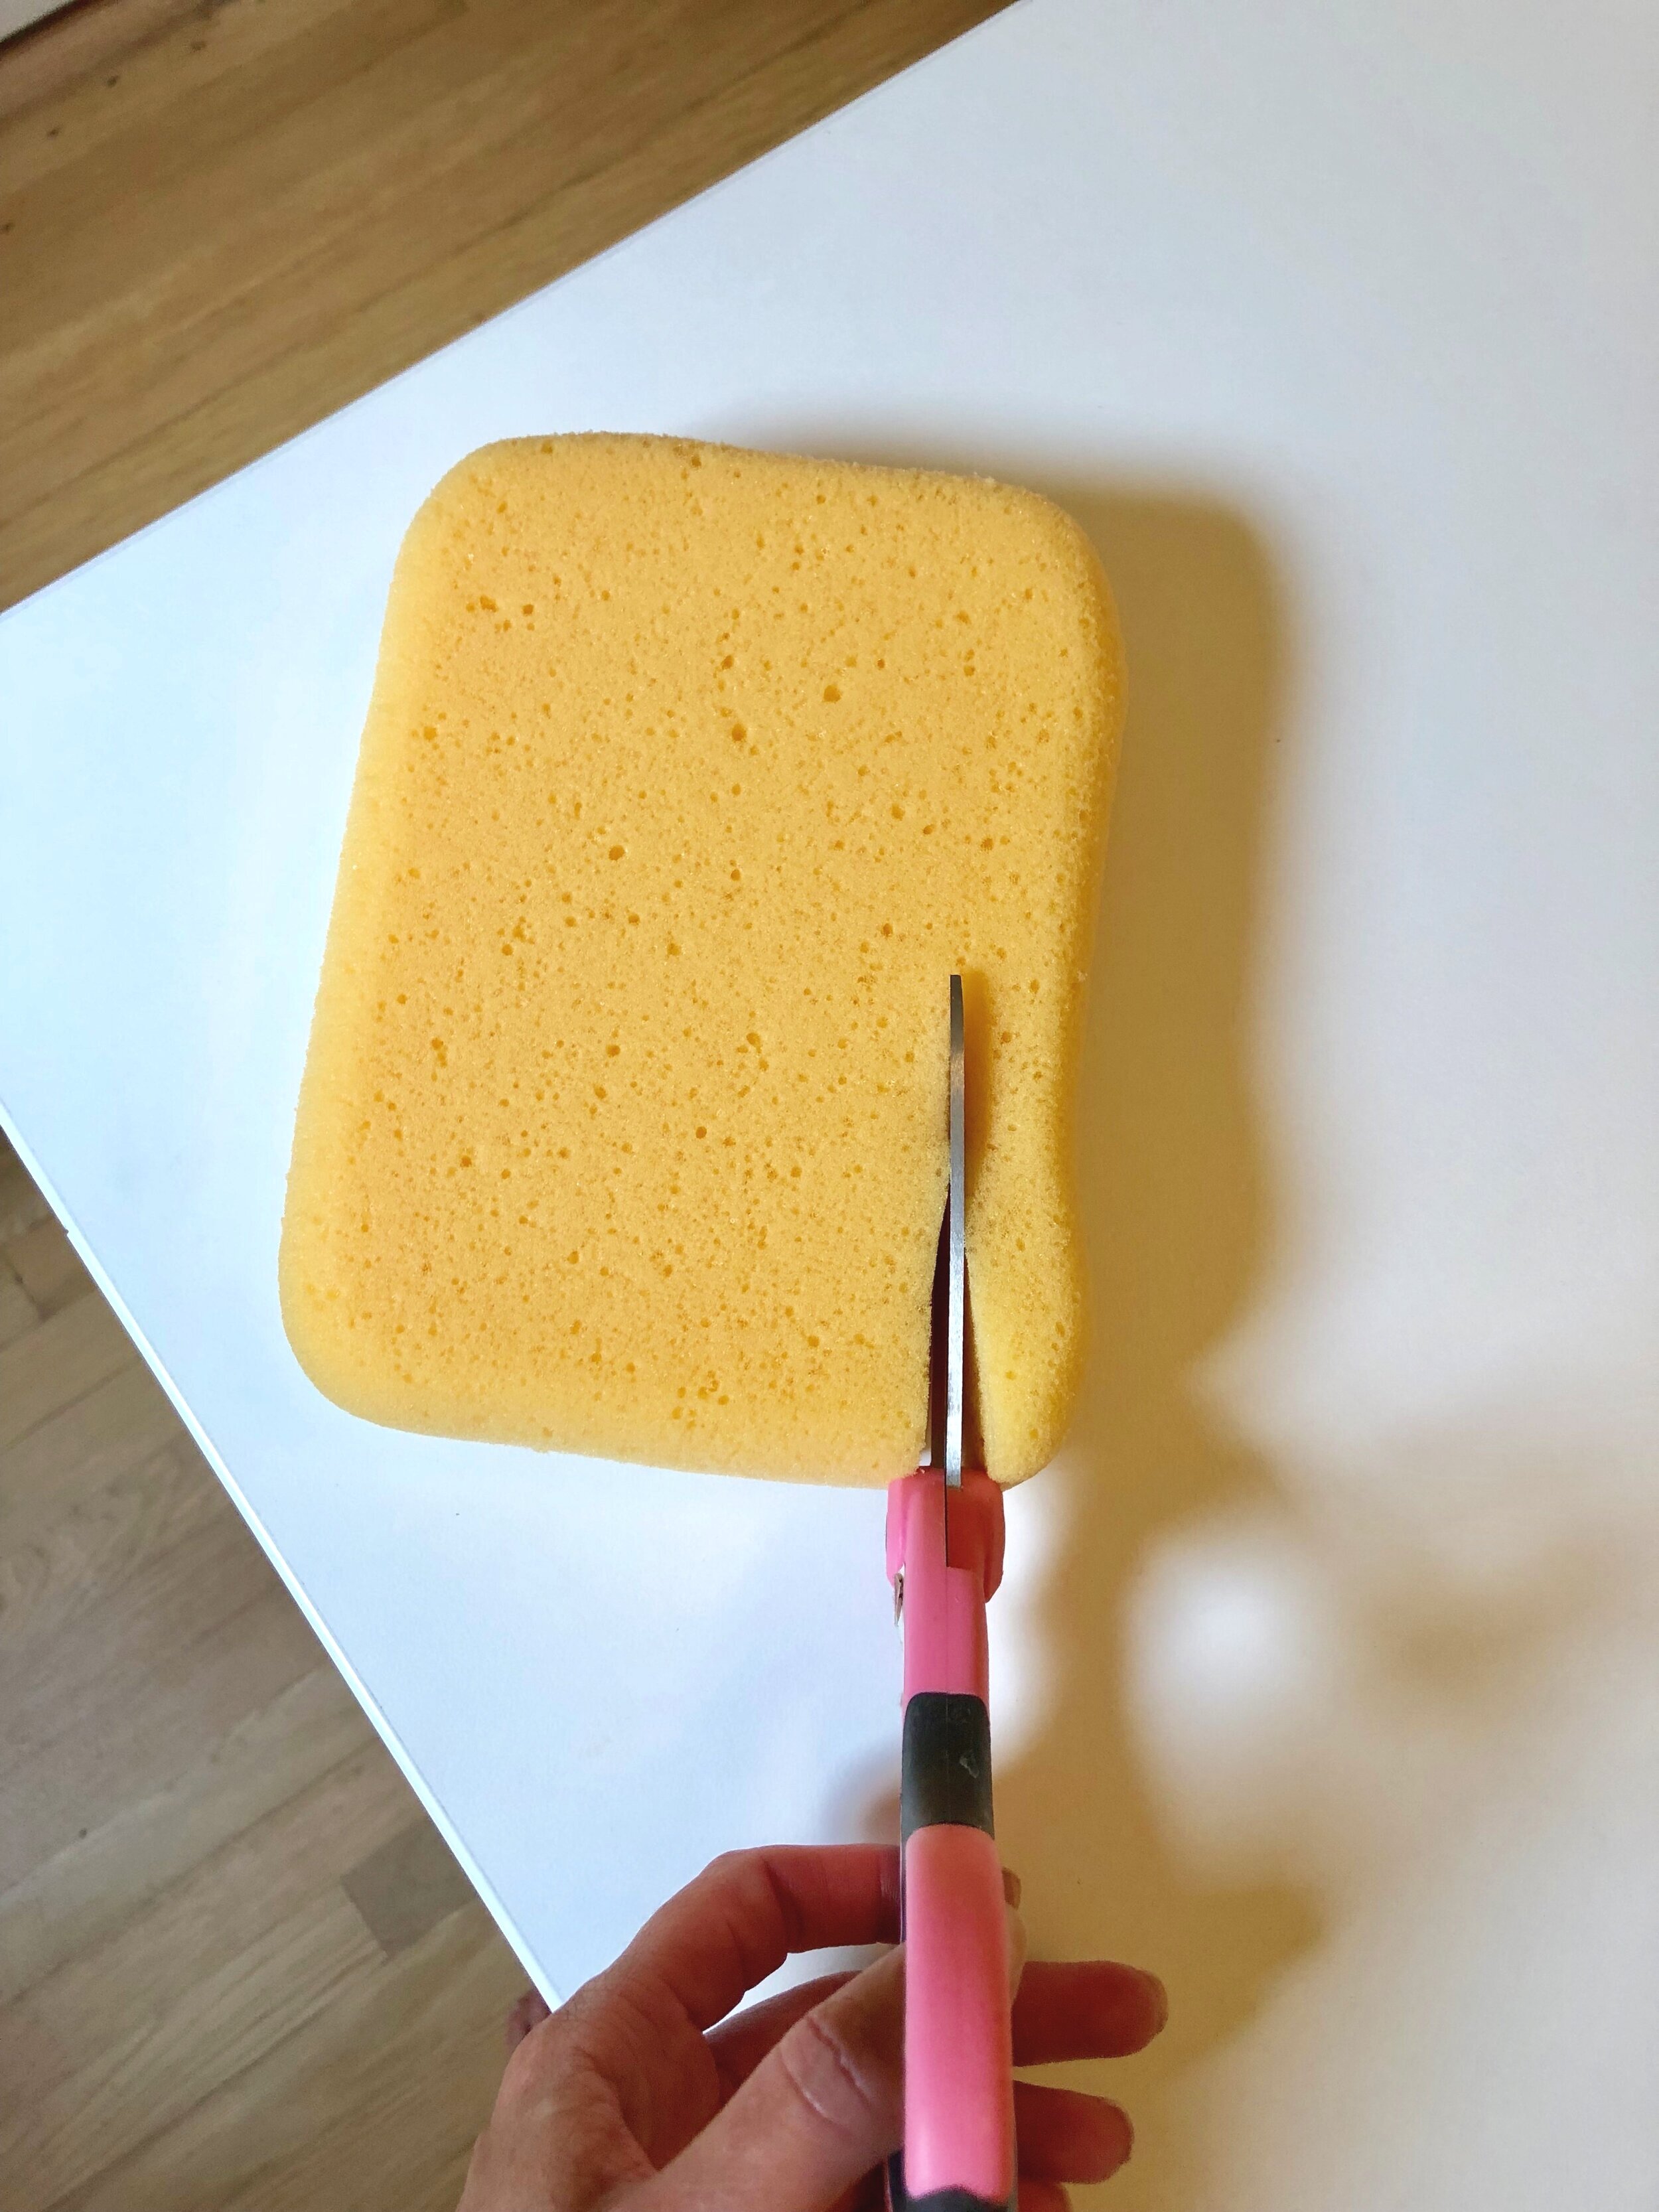
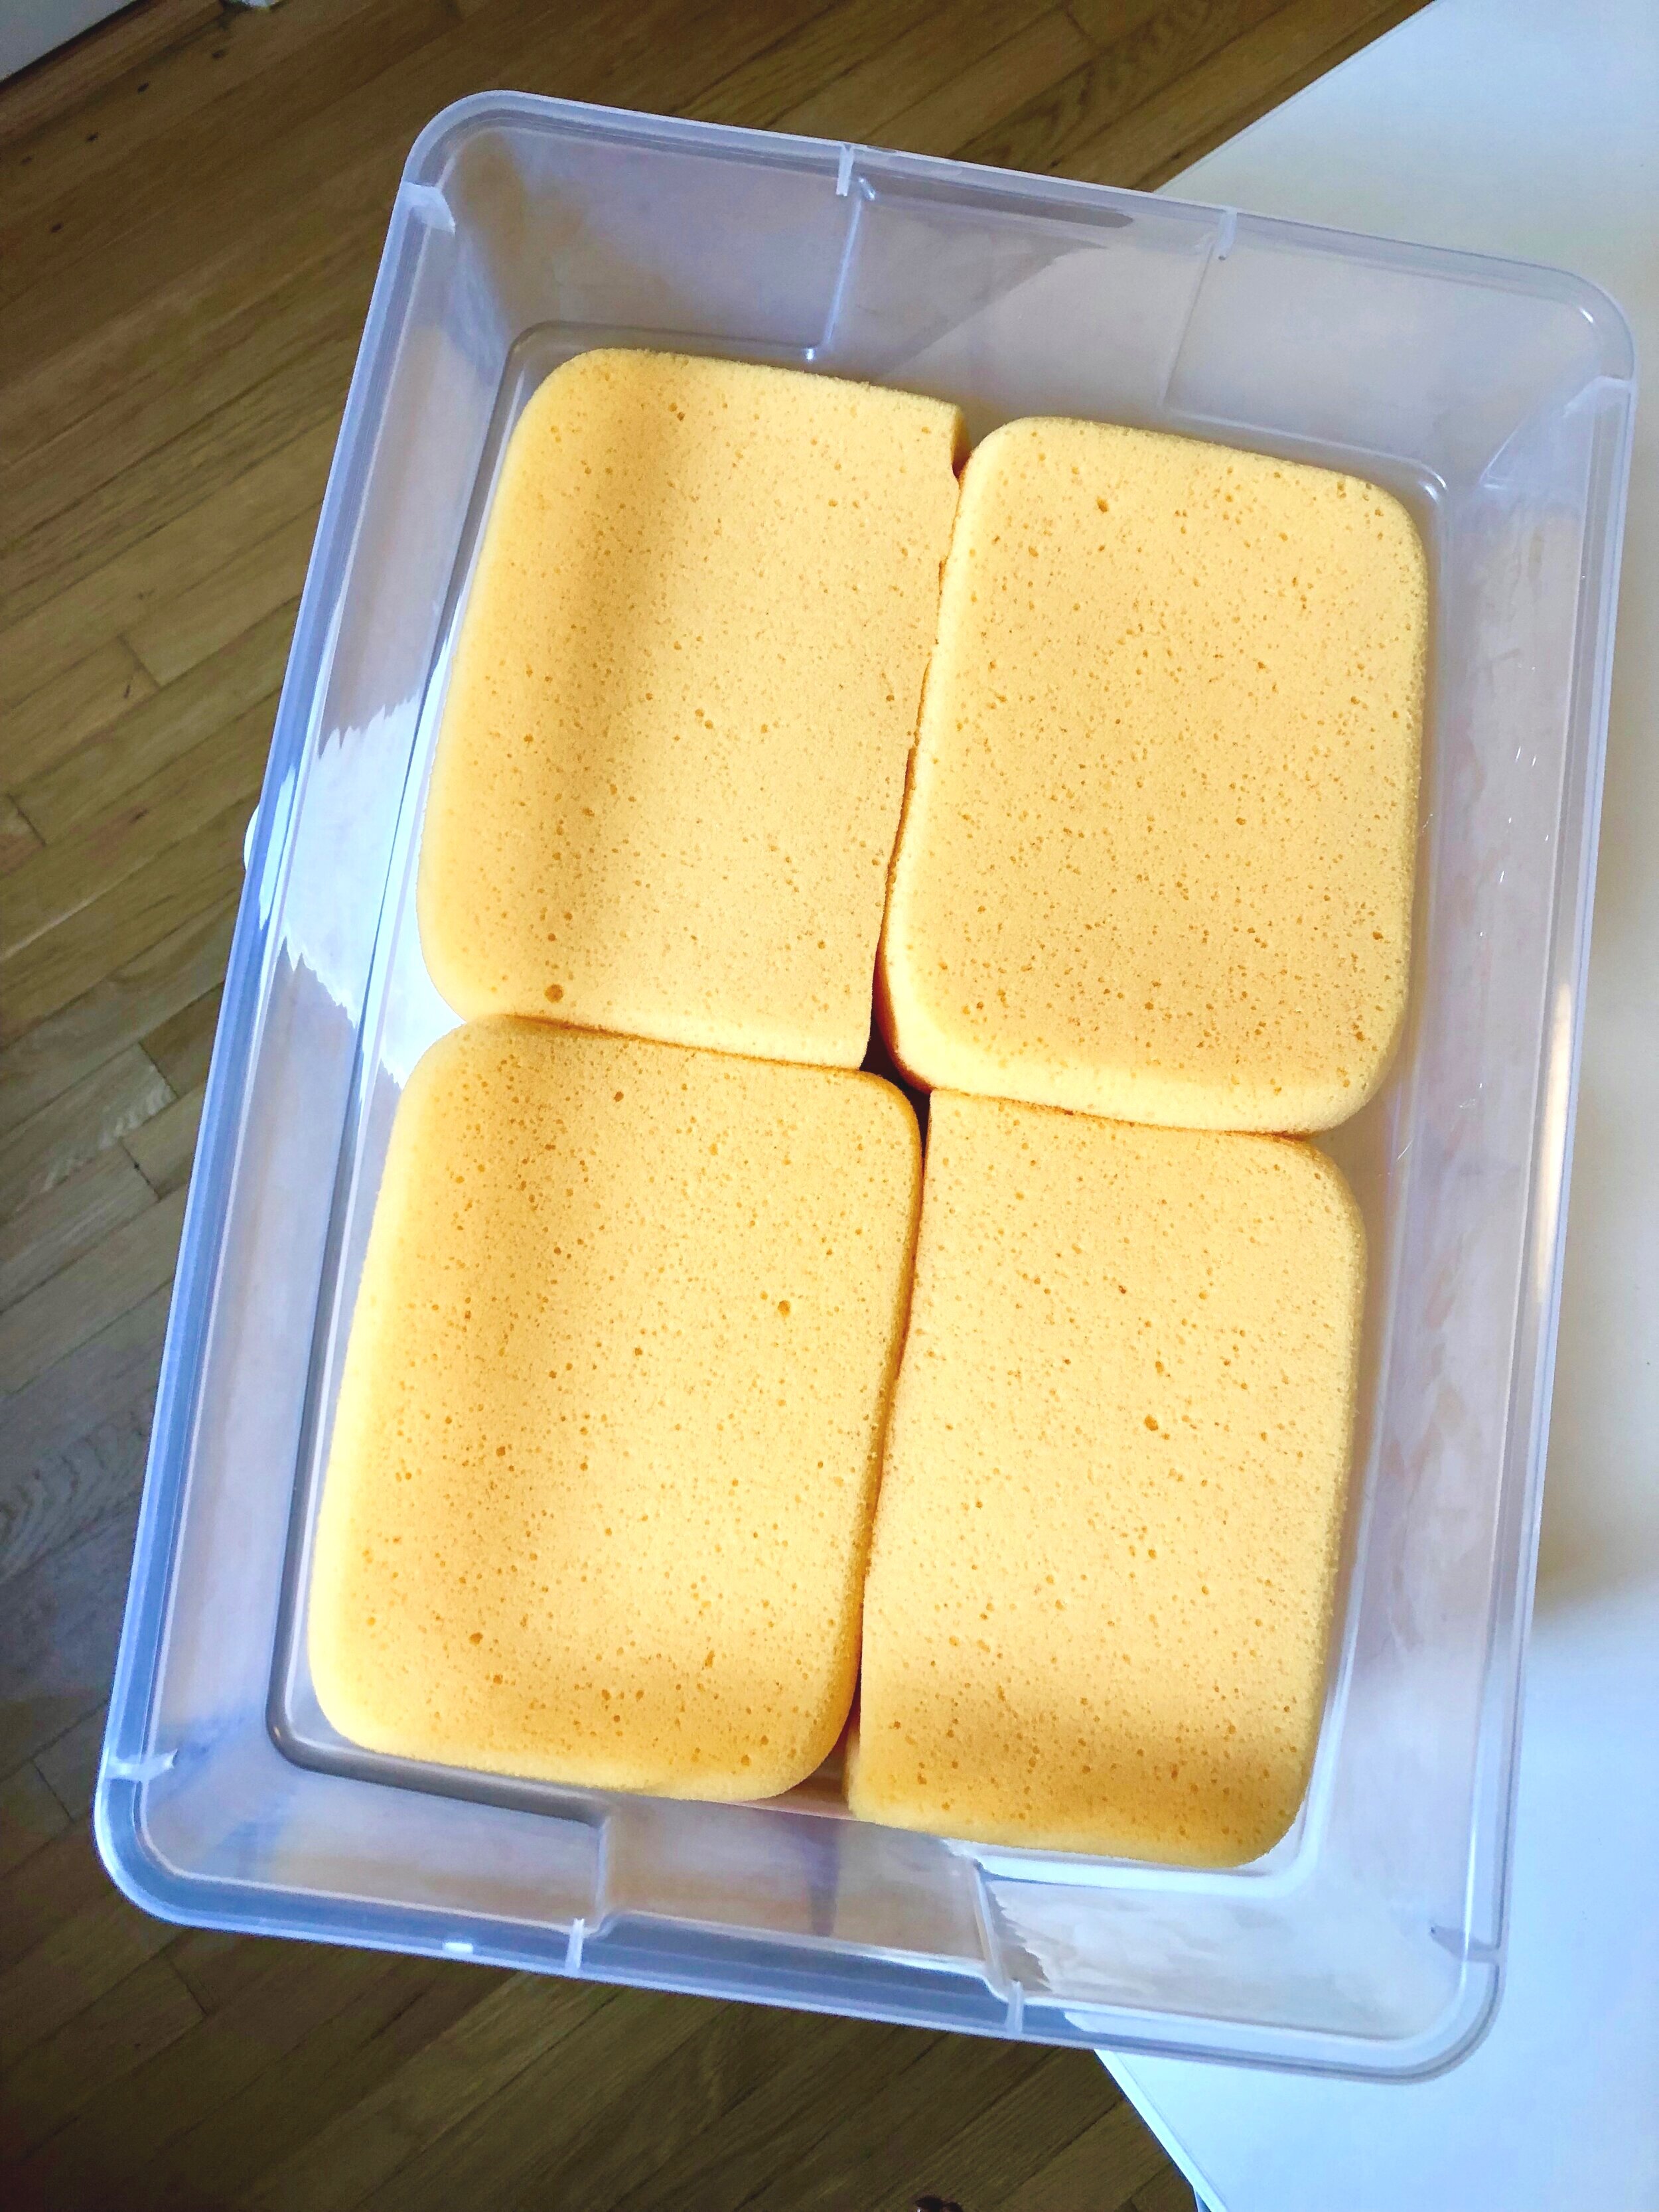
- Take your sponges and trim (4) of the sponges length-wise about 3/4”. See picture above. In order to fit them in the small cheese bin I mentioned above (4) will need to be trimmed just ever so slightly. You will have two layers of 4 sponges. Place them iside the bin and make sure they all fit. You arenotgluing them down yet.
Take your sponges and trim (4) of the sponges length-wise about 3/4”. See picture above. In order to fit them in the small cheese bin I mentioned above (4) will need to be trimmed just ever so slightly. You will have two layers of 4 sponges. Place them iside the bin and make sure they all fit. You arenotgluing them down yet.
- Next, trim your piece of felt to fit your small bin. It will go right on top of the sponges.
Next, trim your piece of felt to fit your small bin. It will go right on top of the sponges.
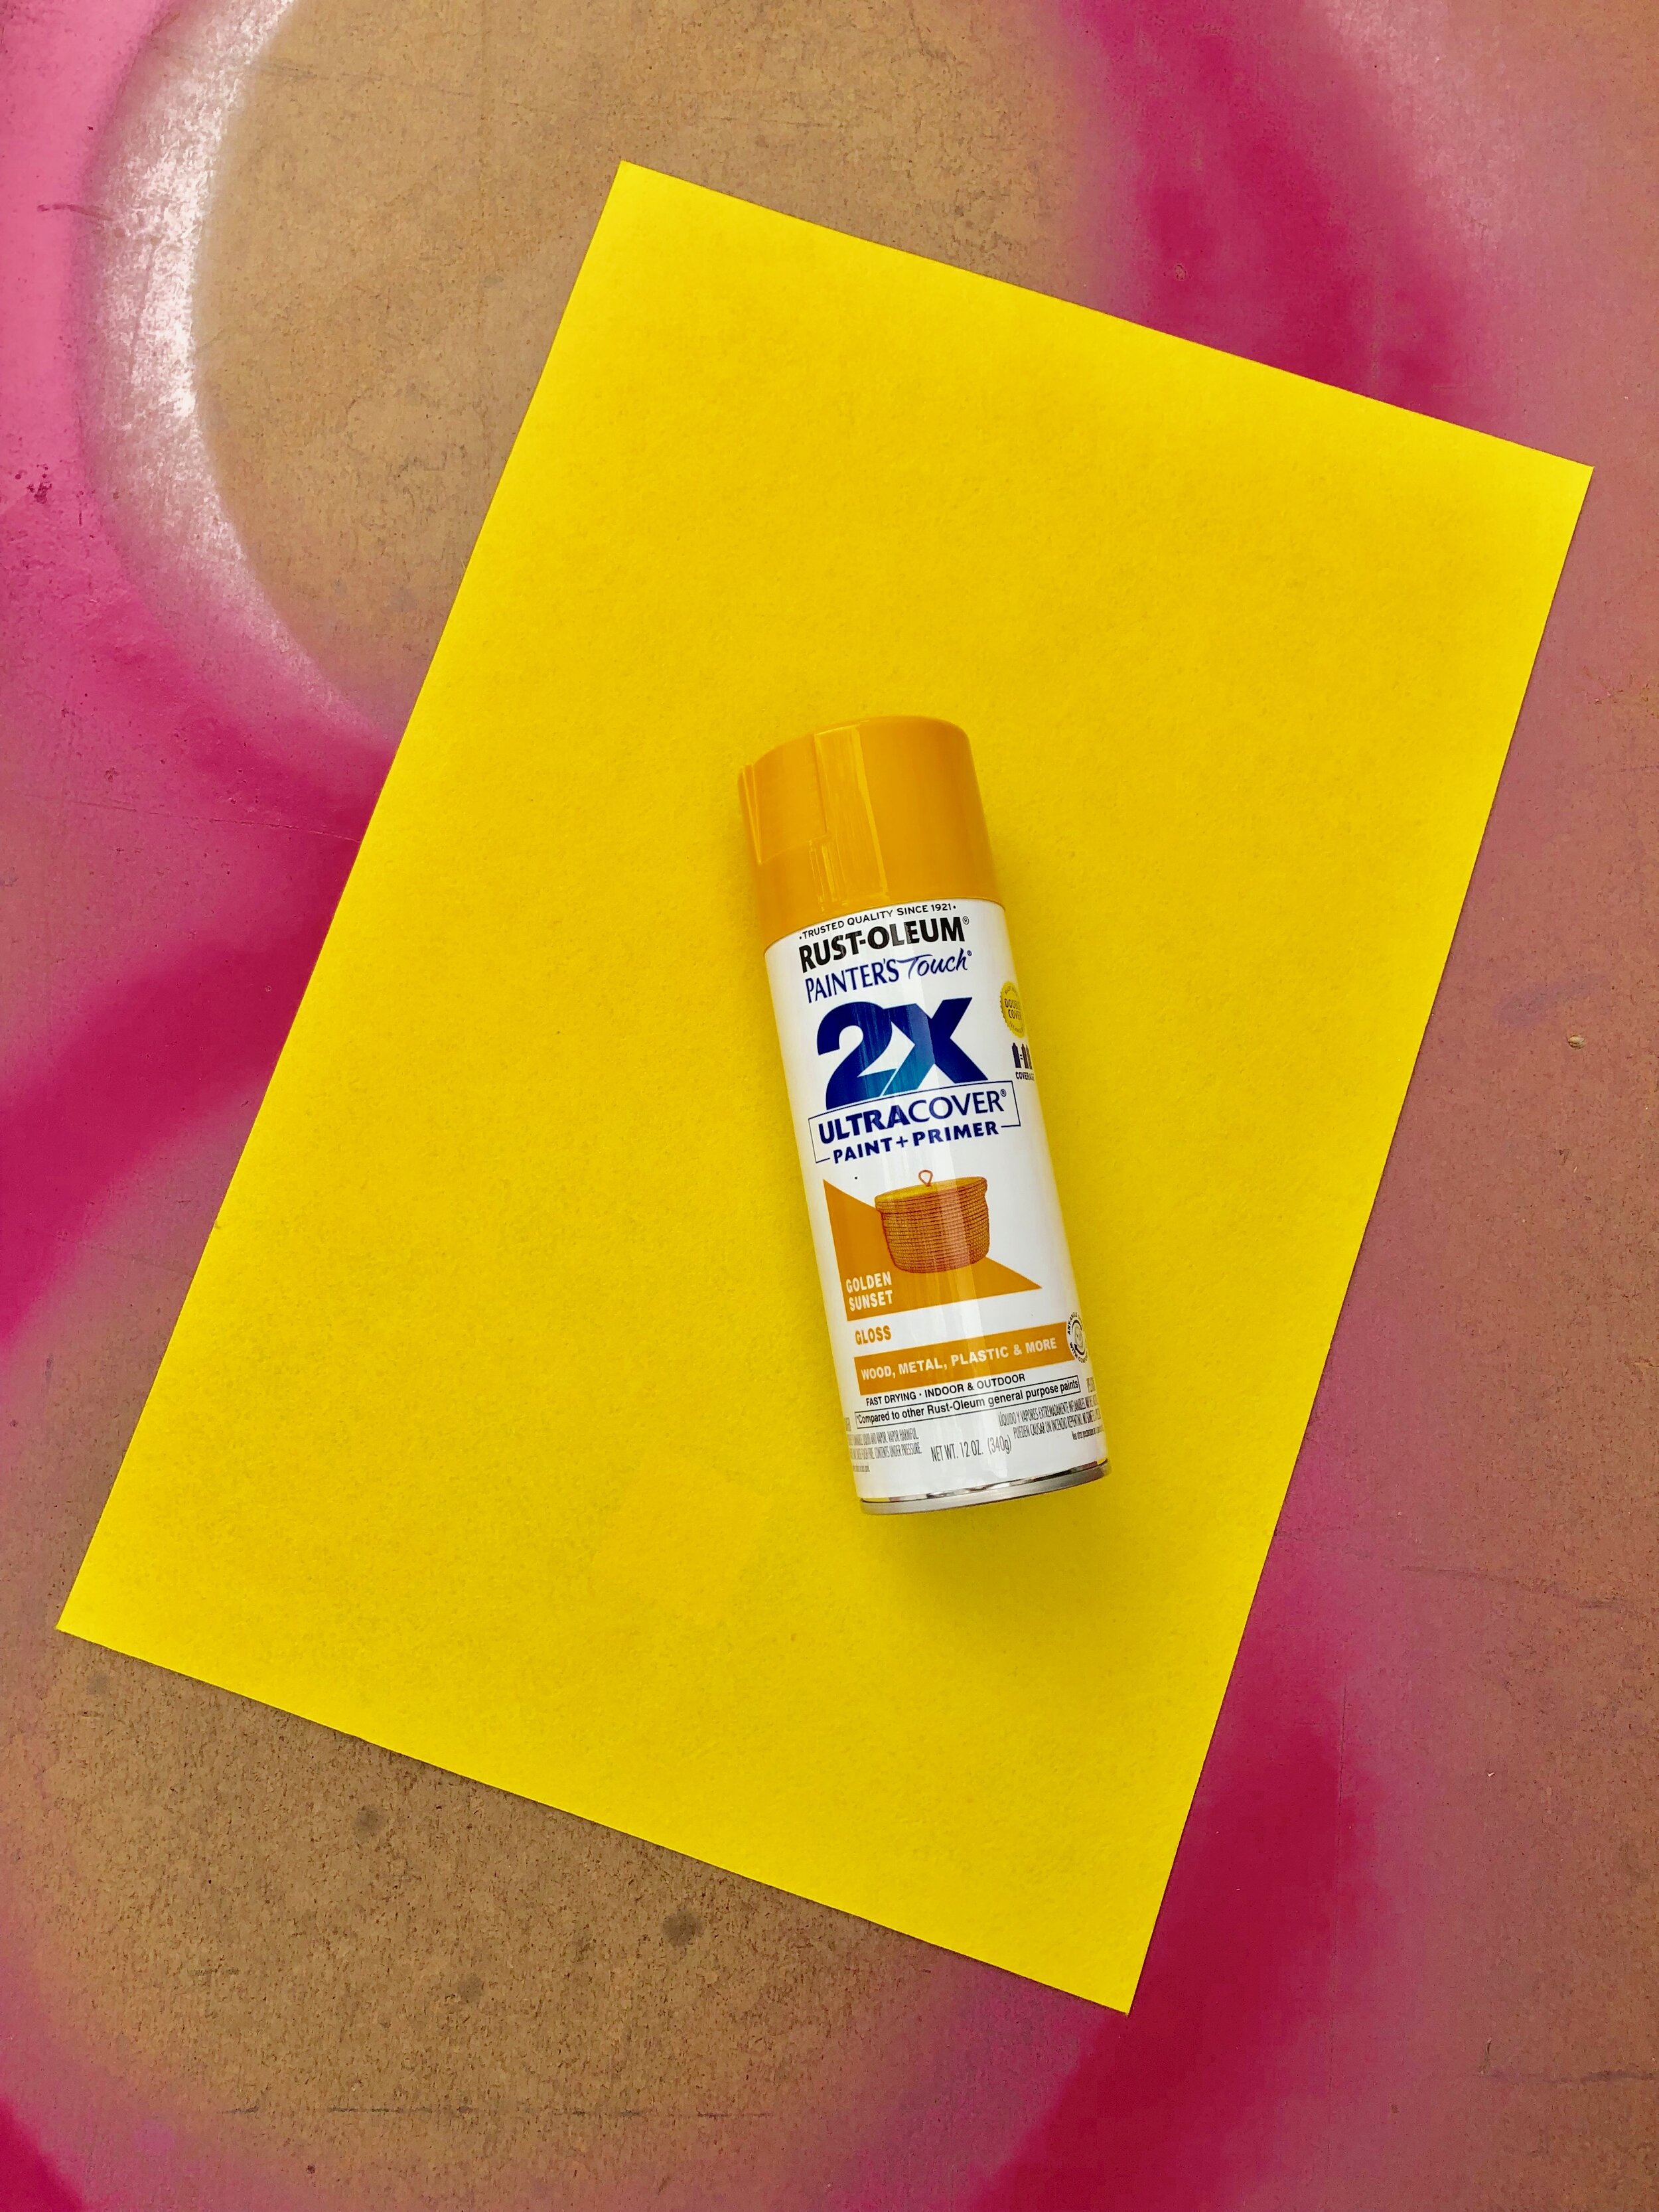
- Spray the felt with yellow spray paint and let dry. Make sure it fits perfectly in your small bin on top of the sponges. Do not hot glue yet. Set aside.
Spray the felt with yellow spray paint and let dry. Make sure it fits perfectly in your small bin on top of the sponges. Do not hot glue yet. Set aside.
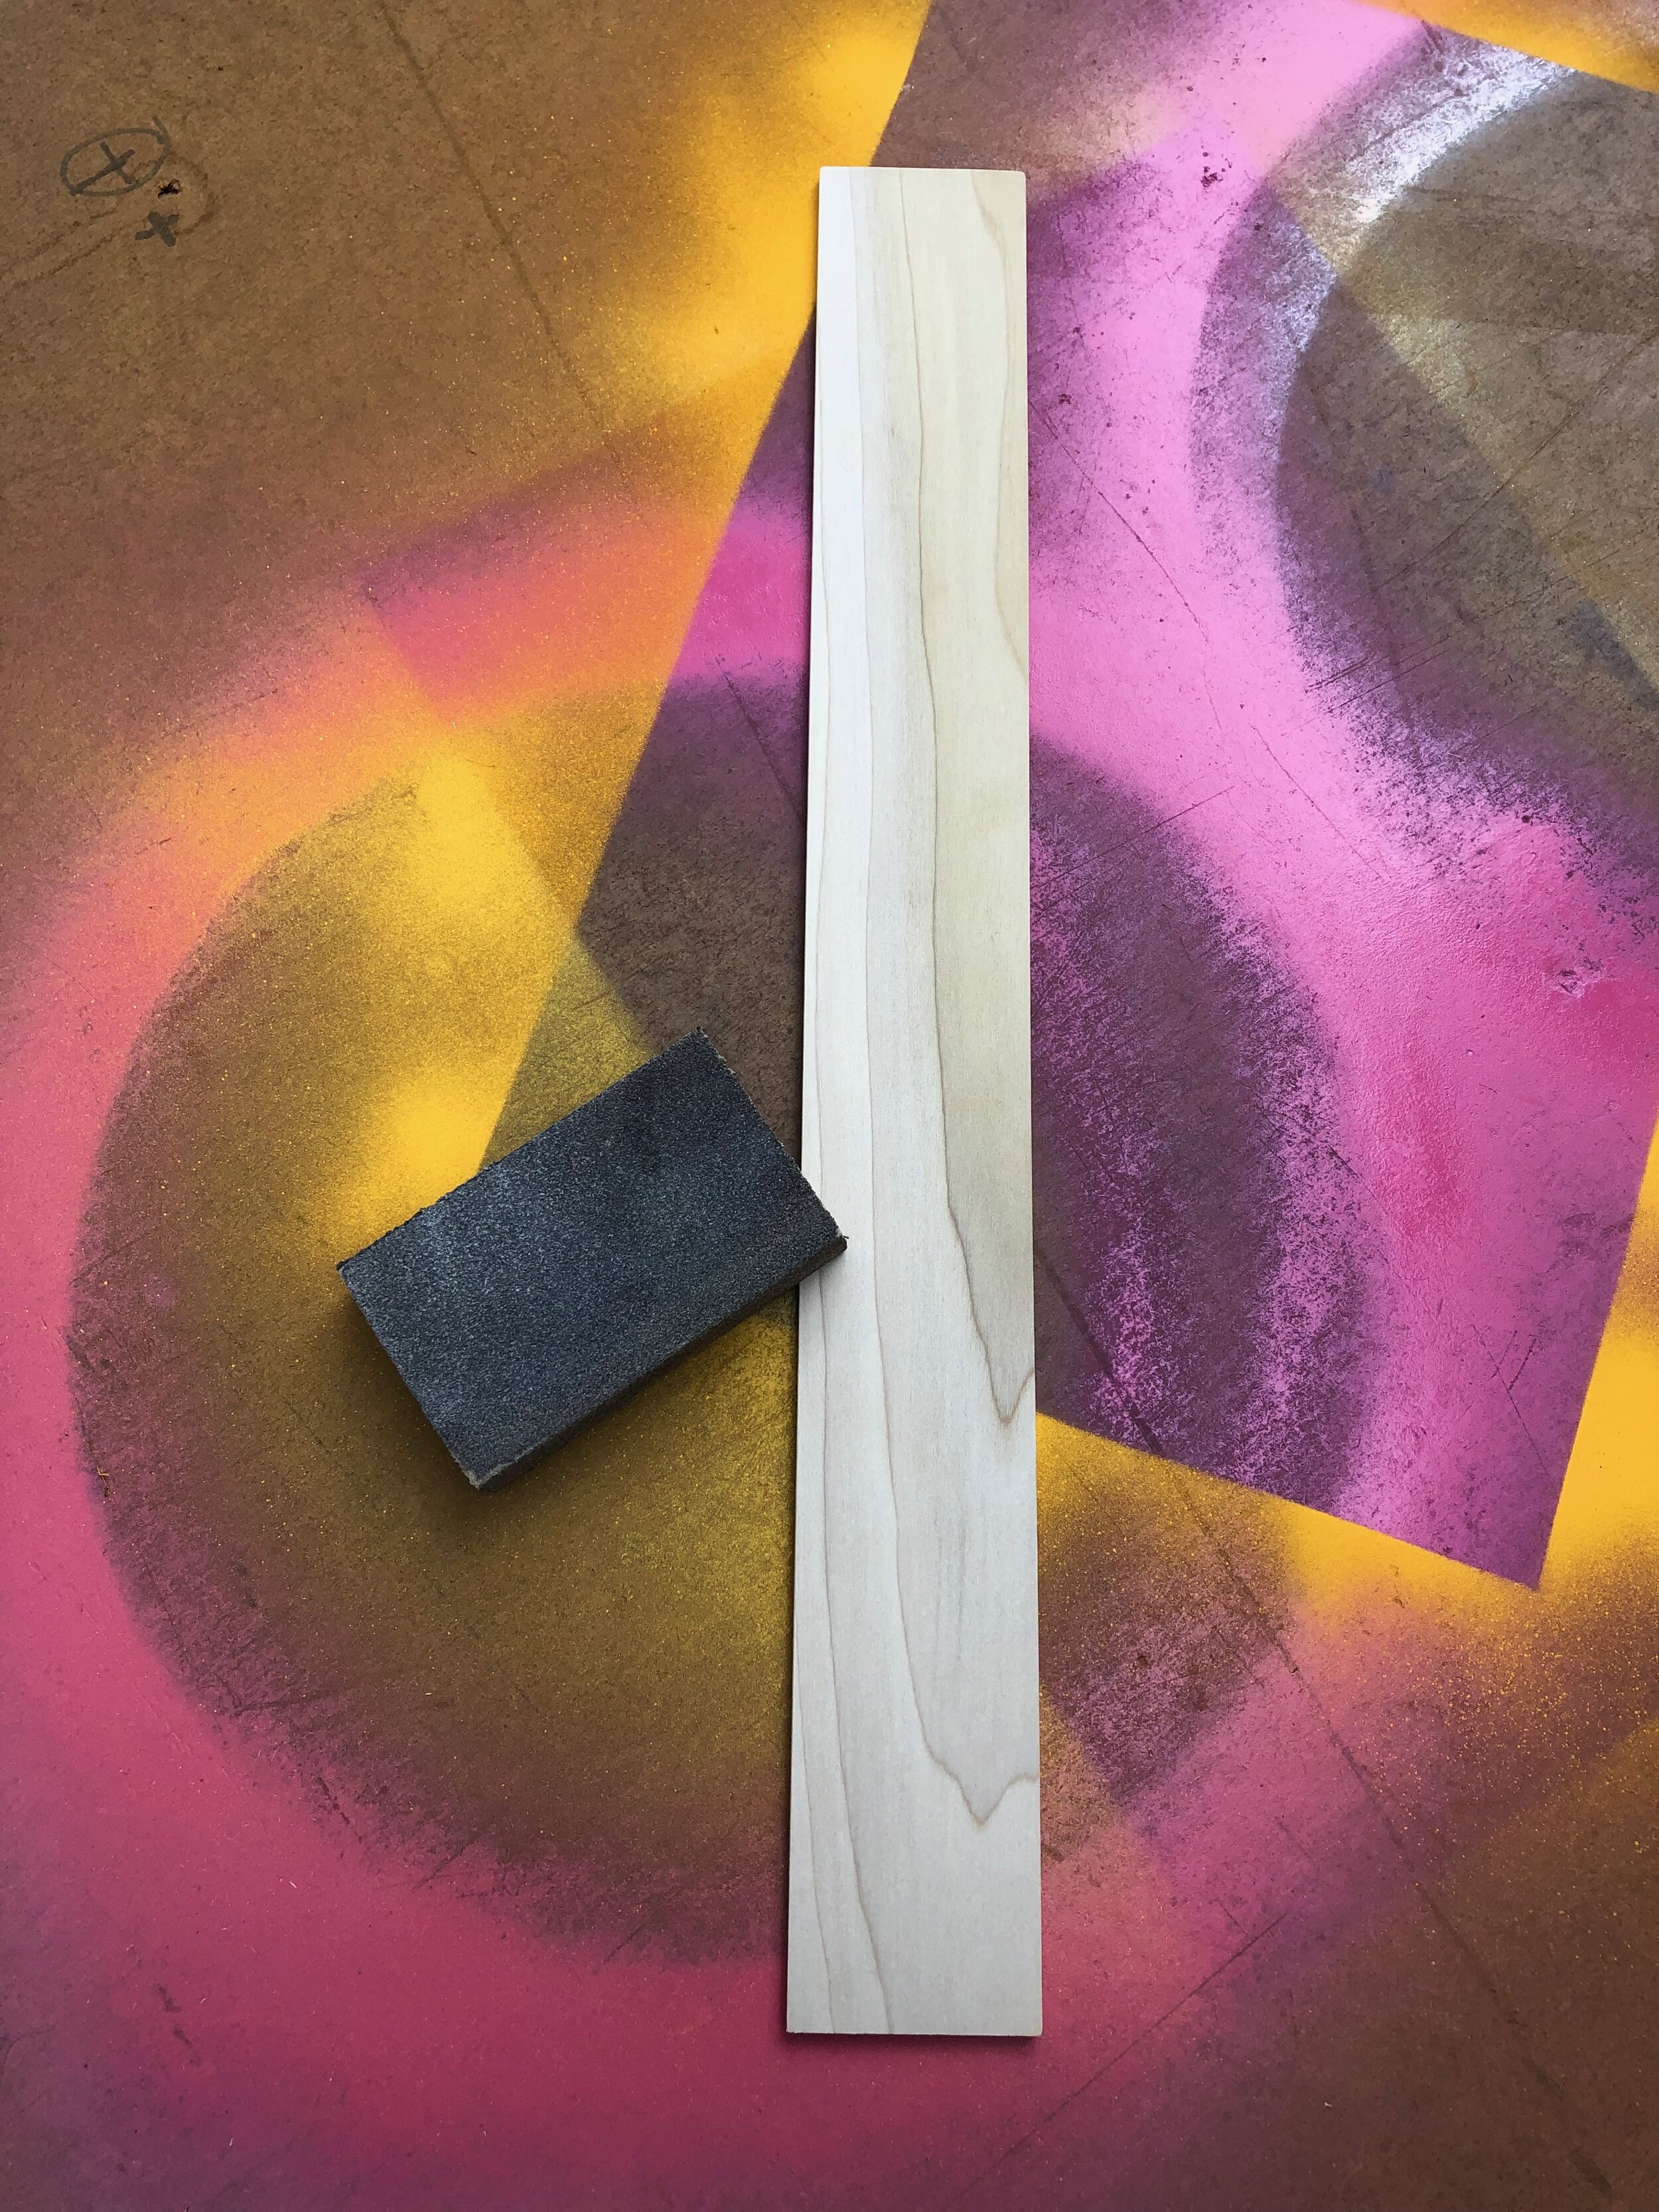
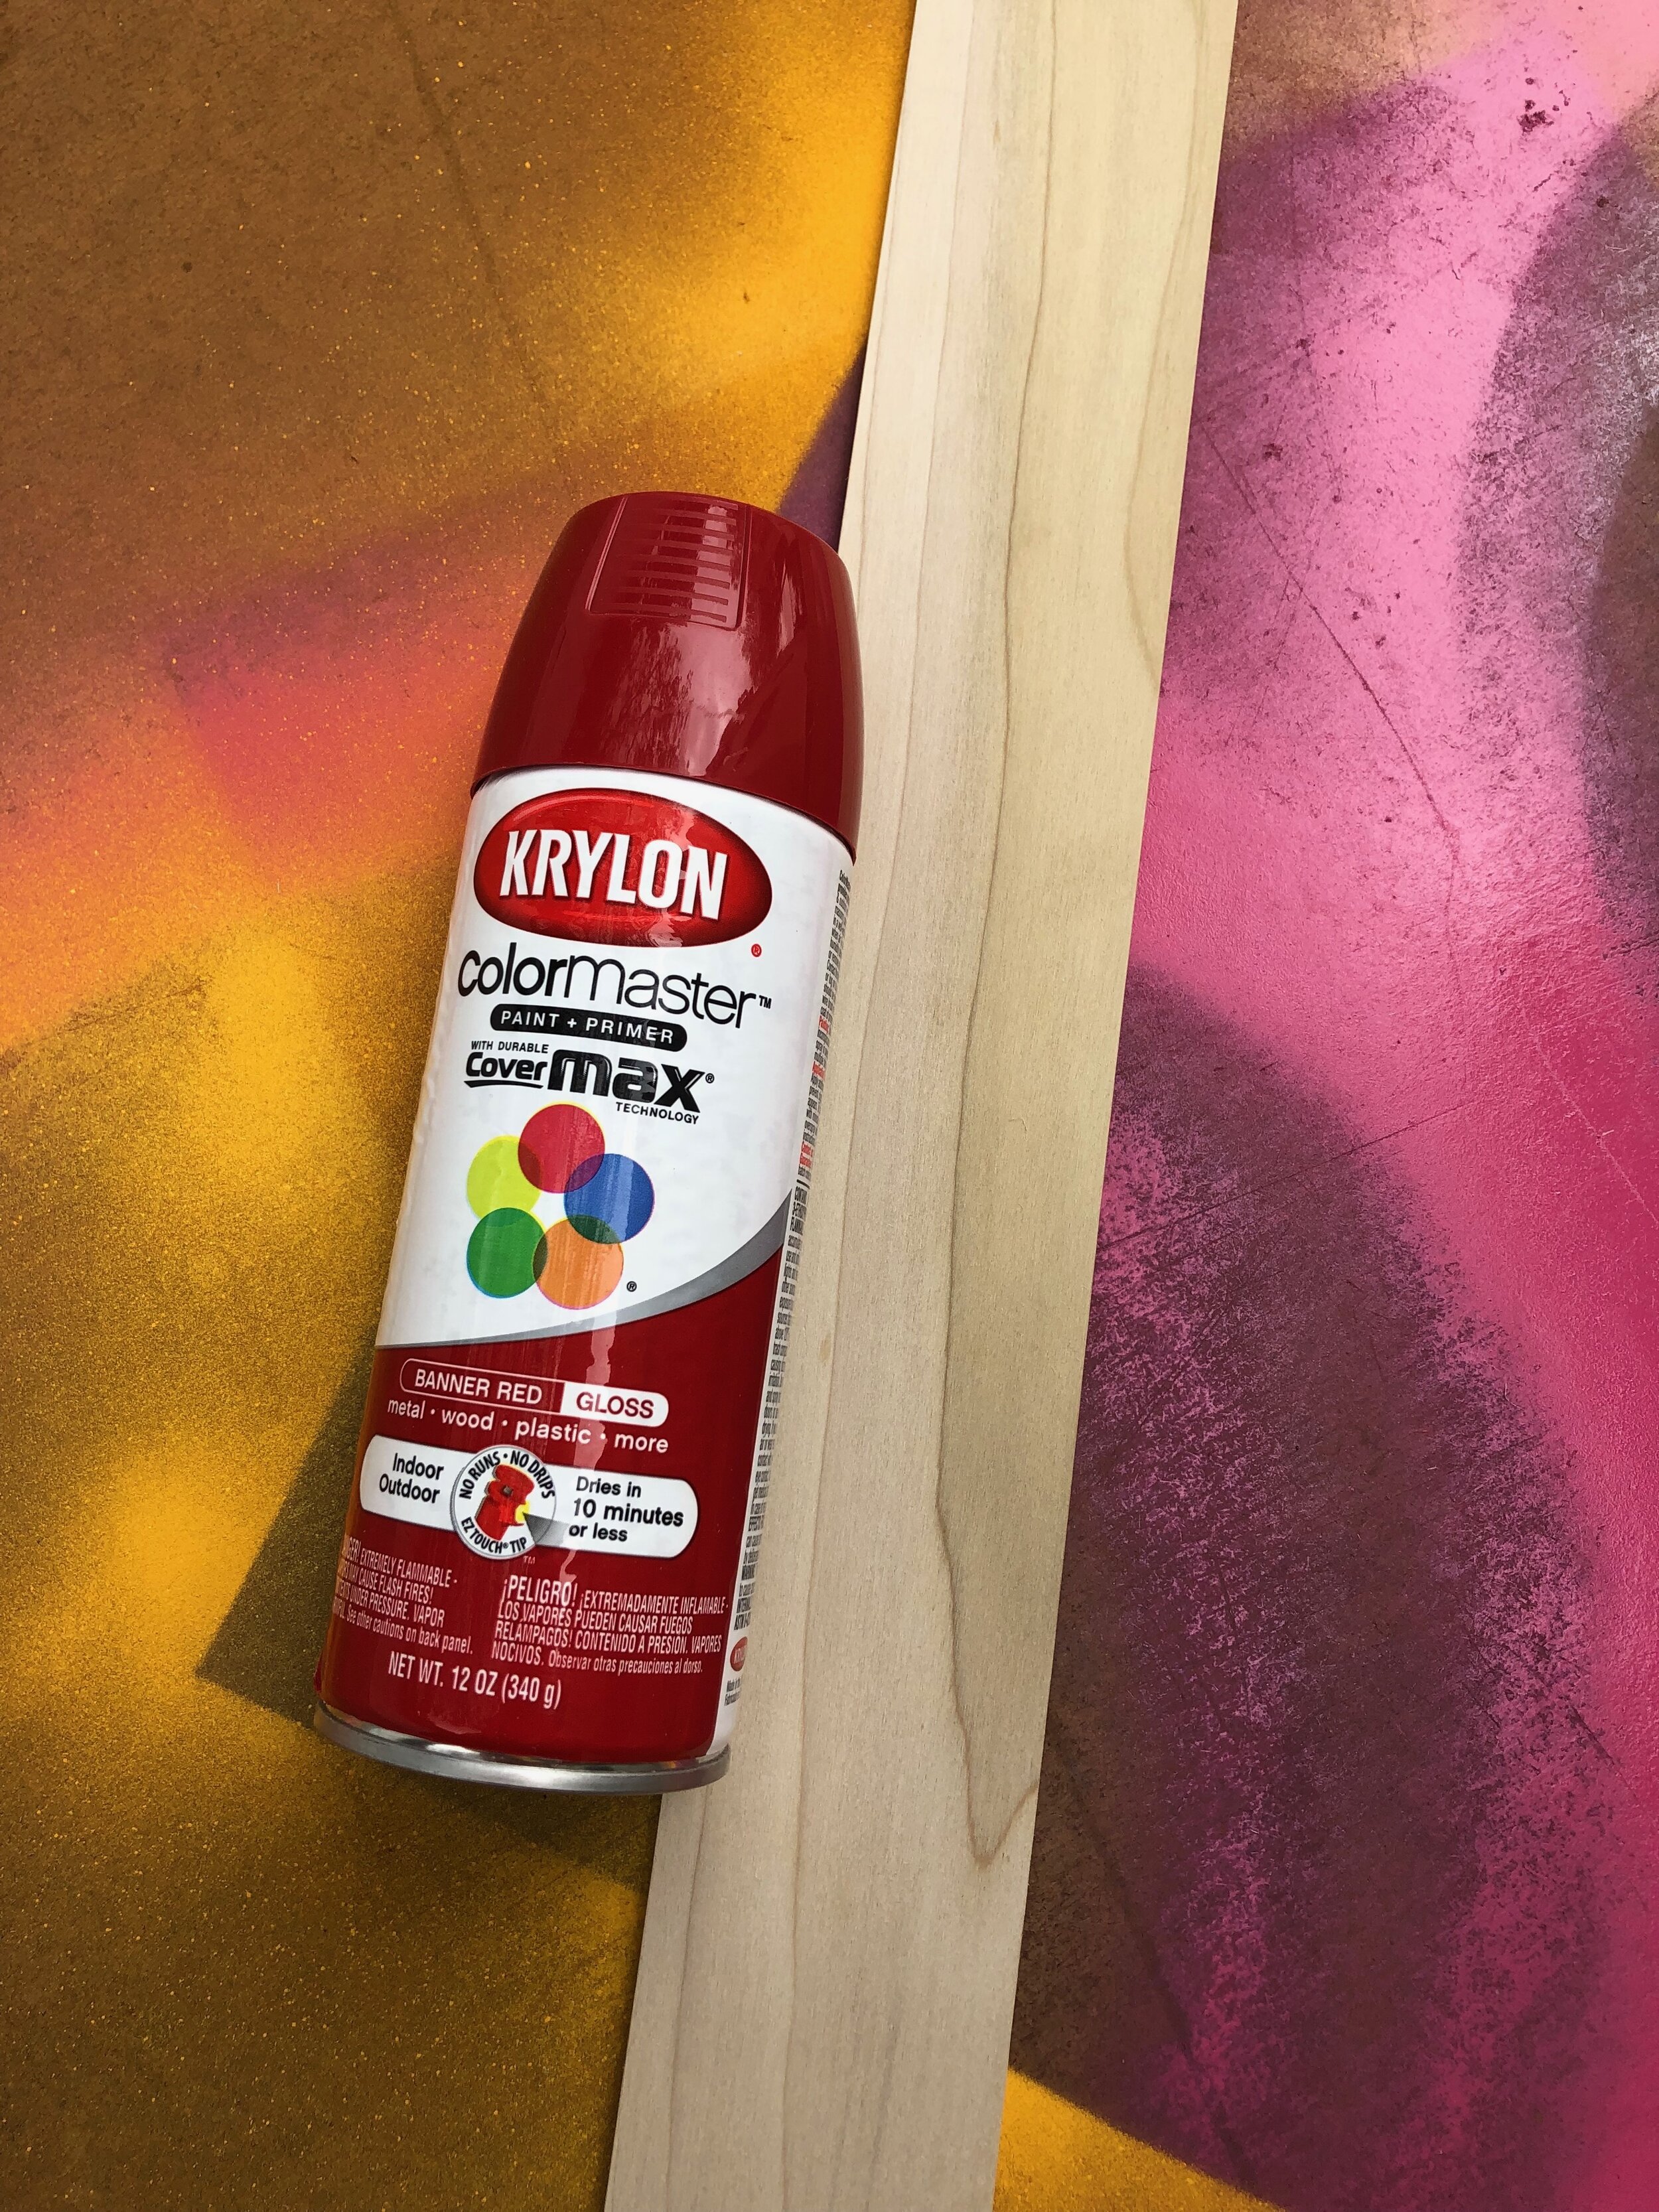
- Take your piece of wood and using sand paper, remove any rough edges. Blow off any dust and spray paint red on both sides. (TIP:There is a hand saw in the wood aisle at Home Depot and you can cut the piece of wood to size yourself, for free, before even leaving the store.)
Take your piece of wood and using sand paper, remove any rough edges. Blow off any dust and spray paint red on both sides. (TIP:There is a hand saw in the wood aisle at Home Depot and you can cut the piece of wood to size yourself, for free, before even leaving the store.)
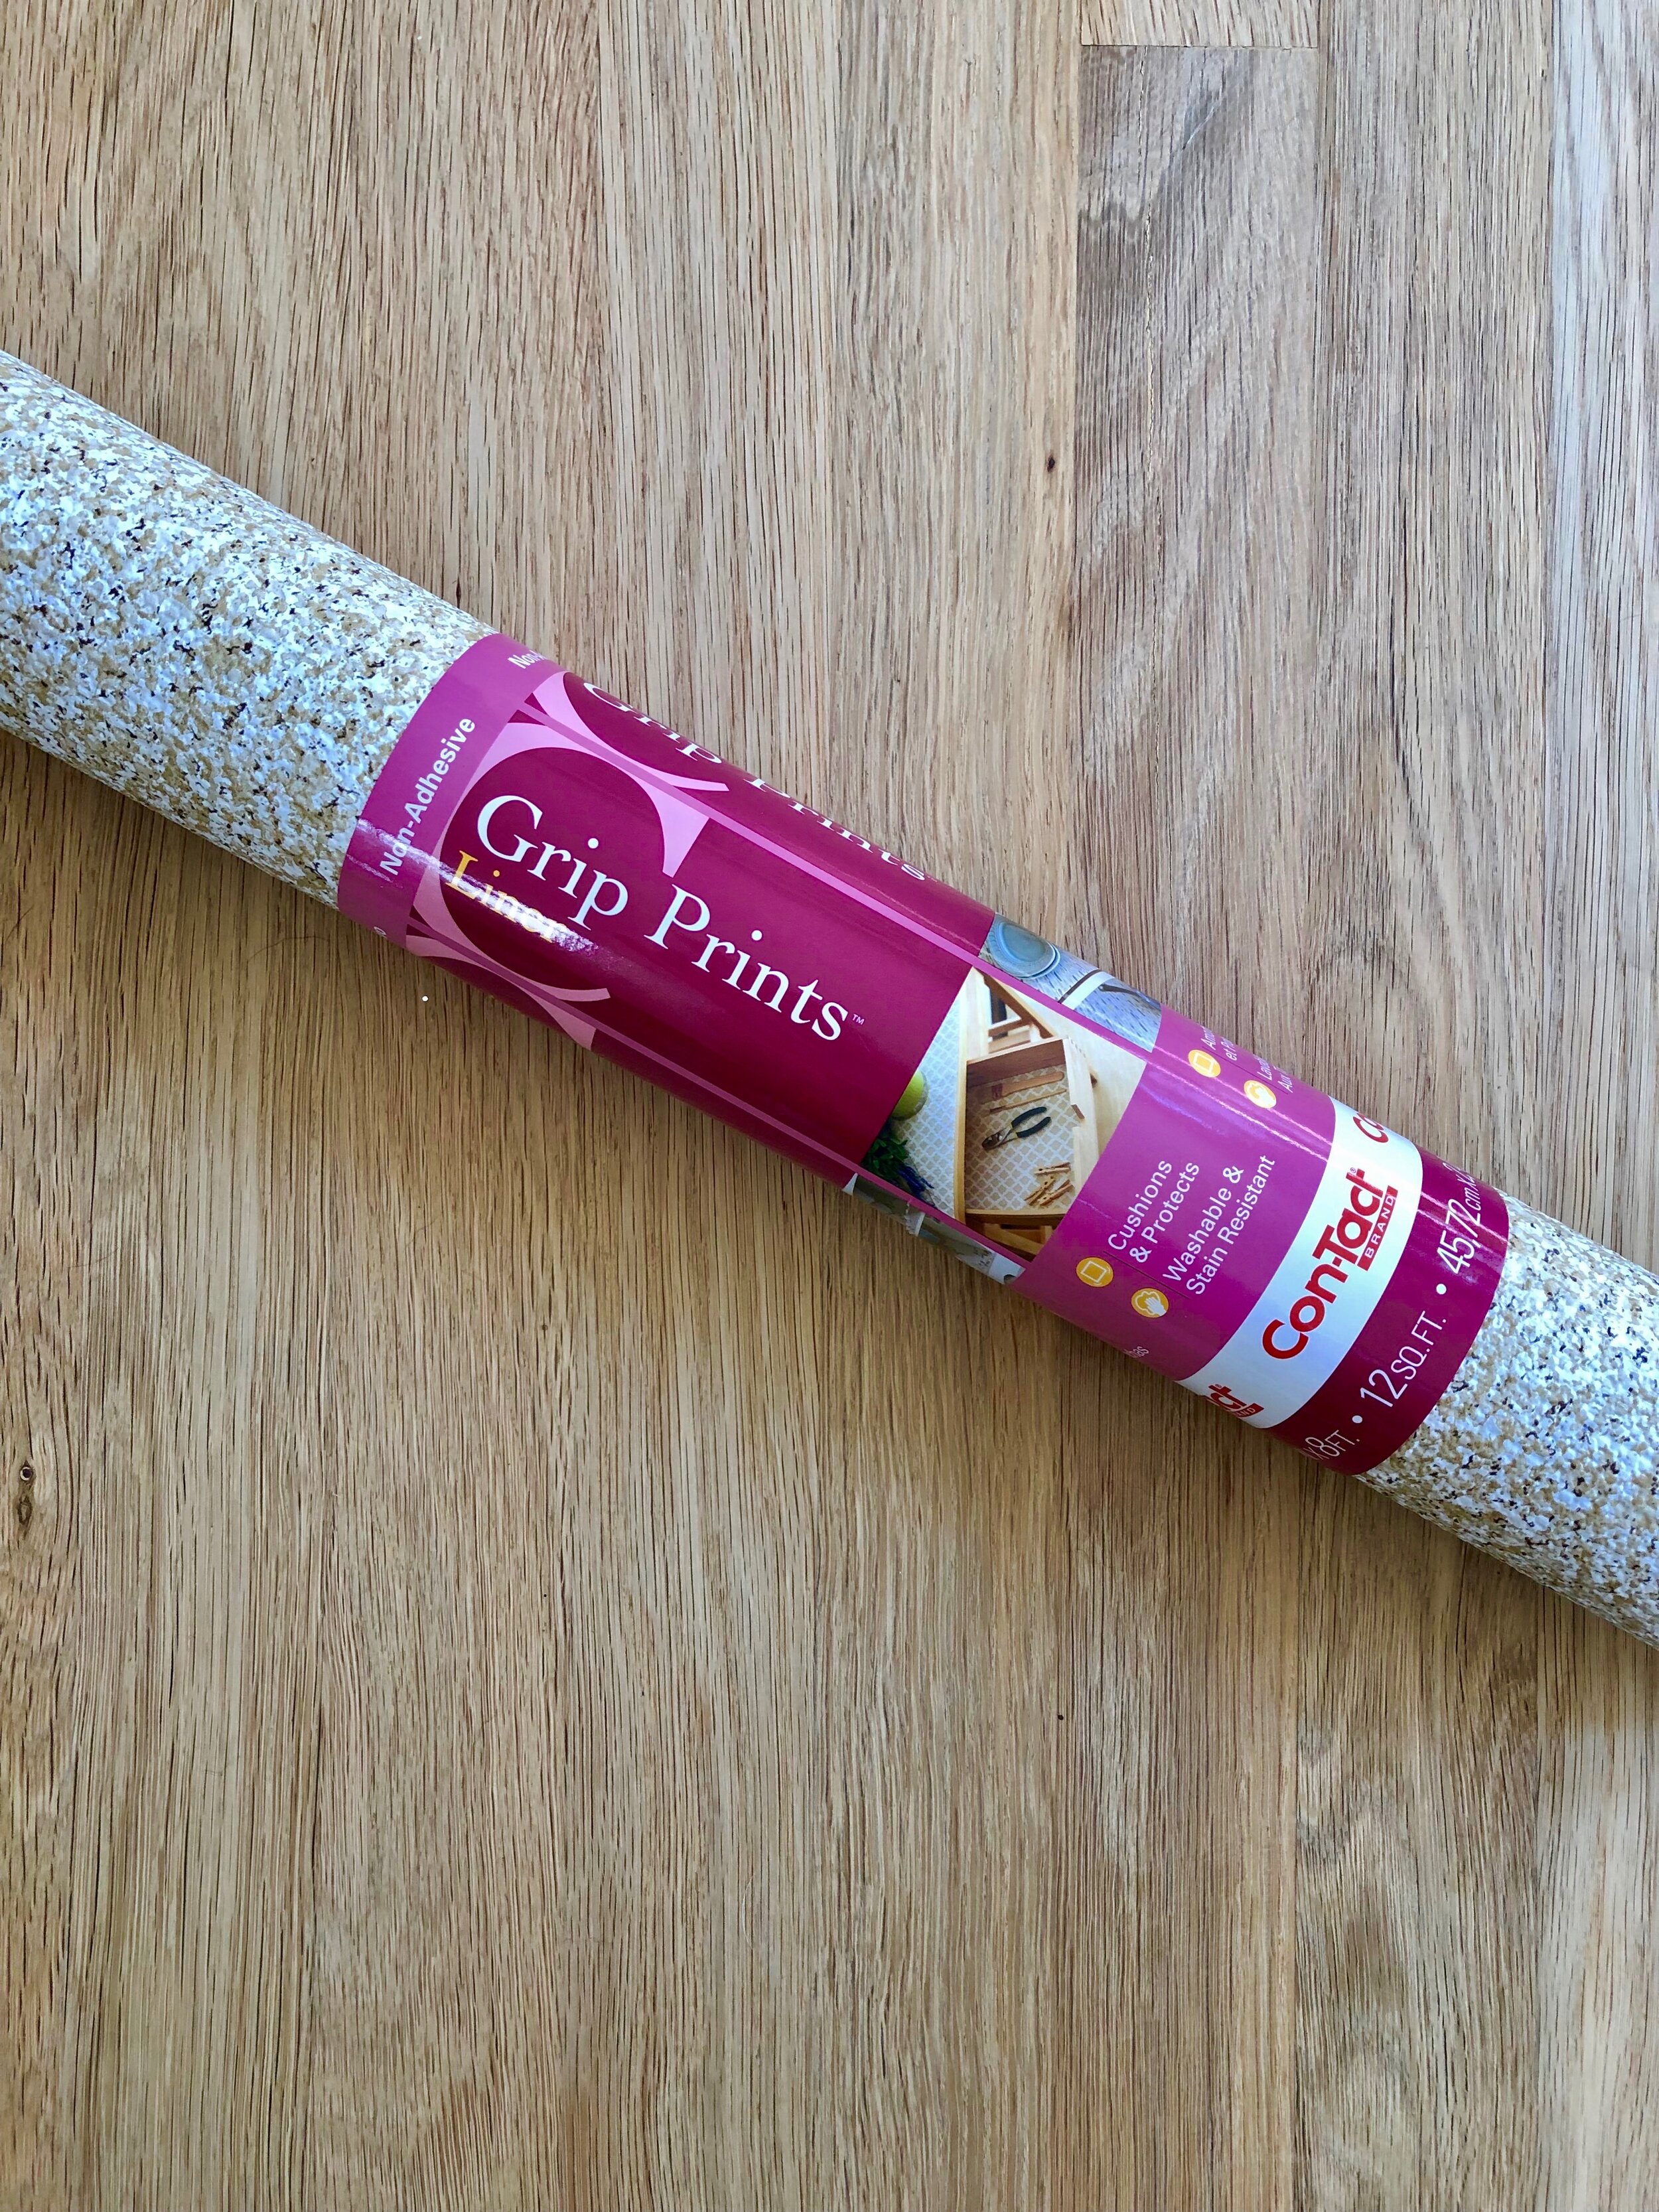
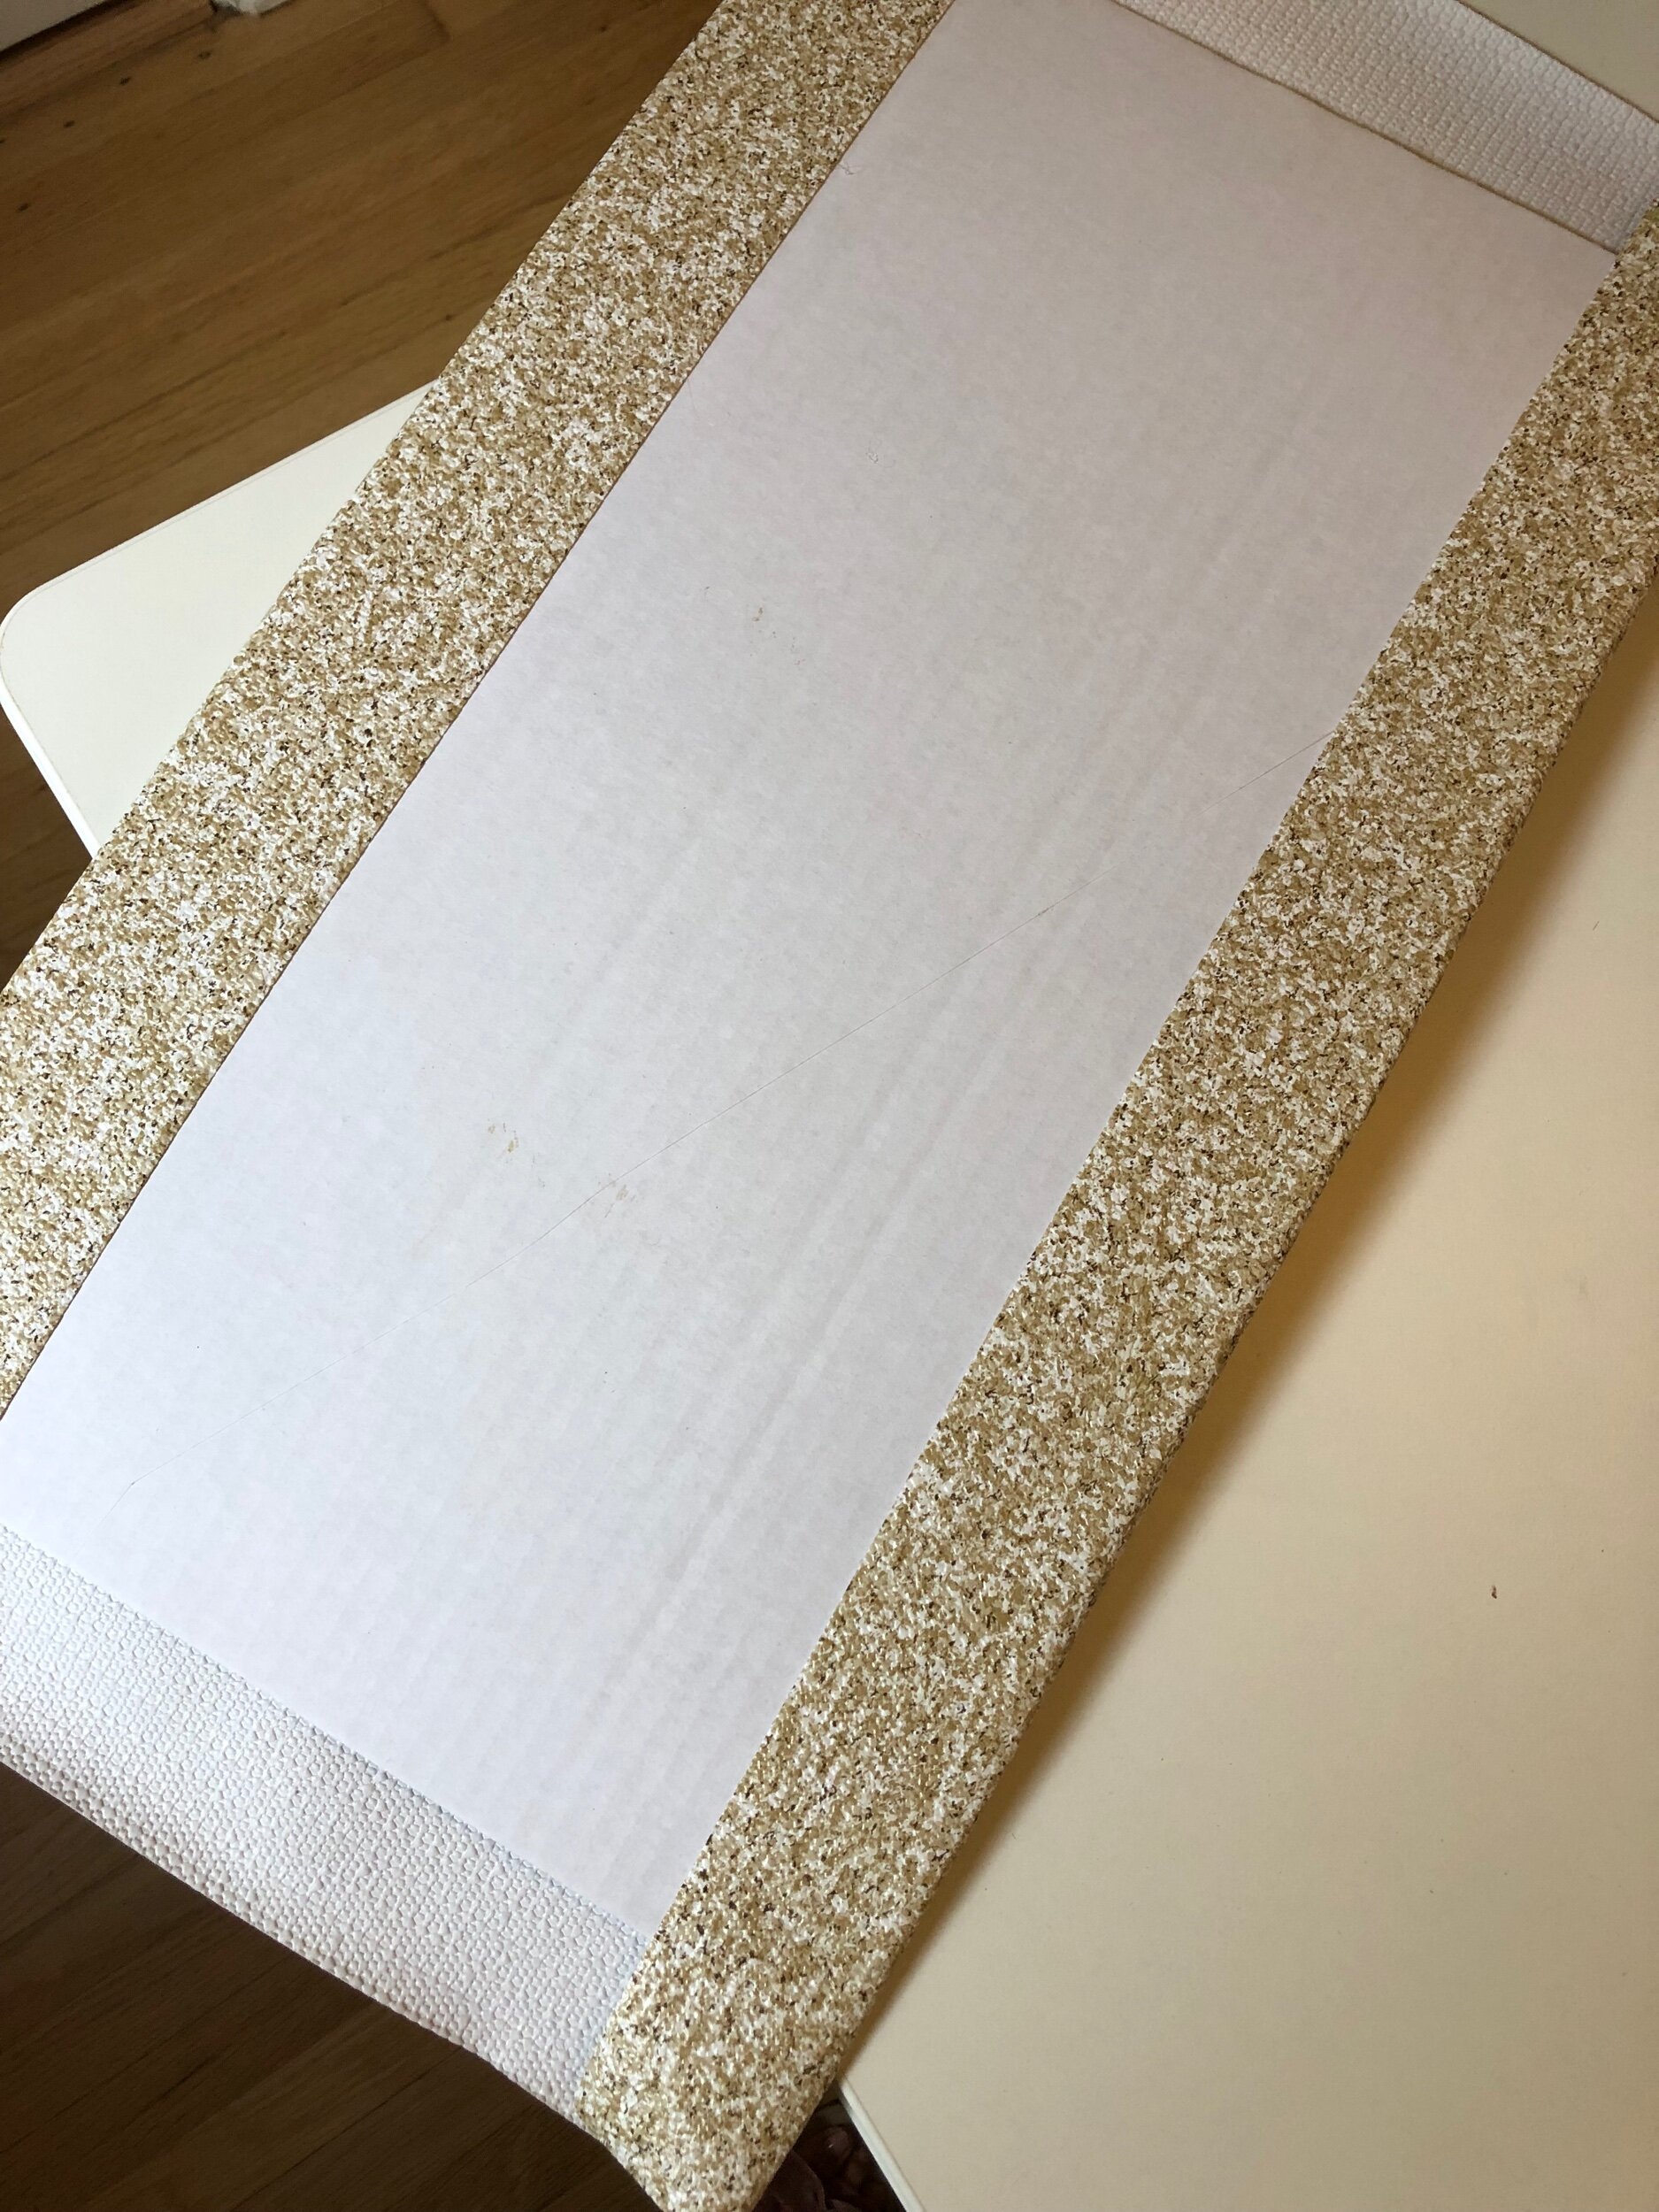
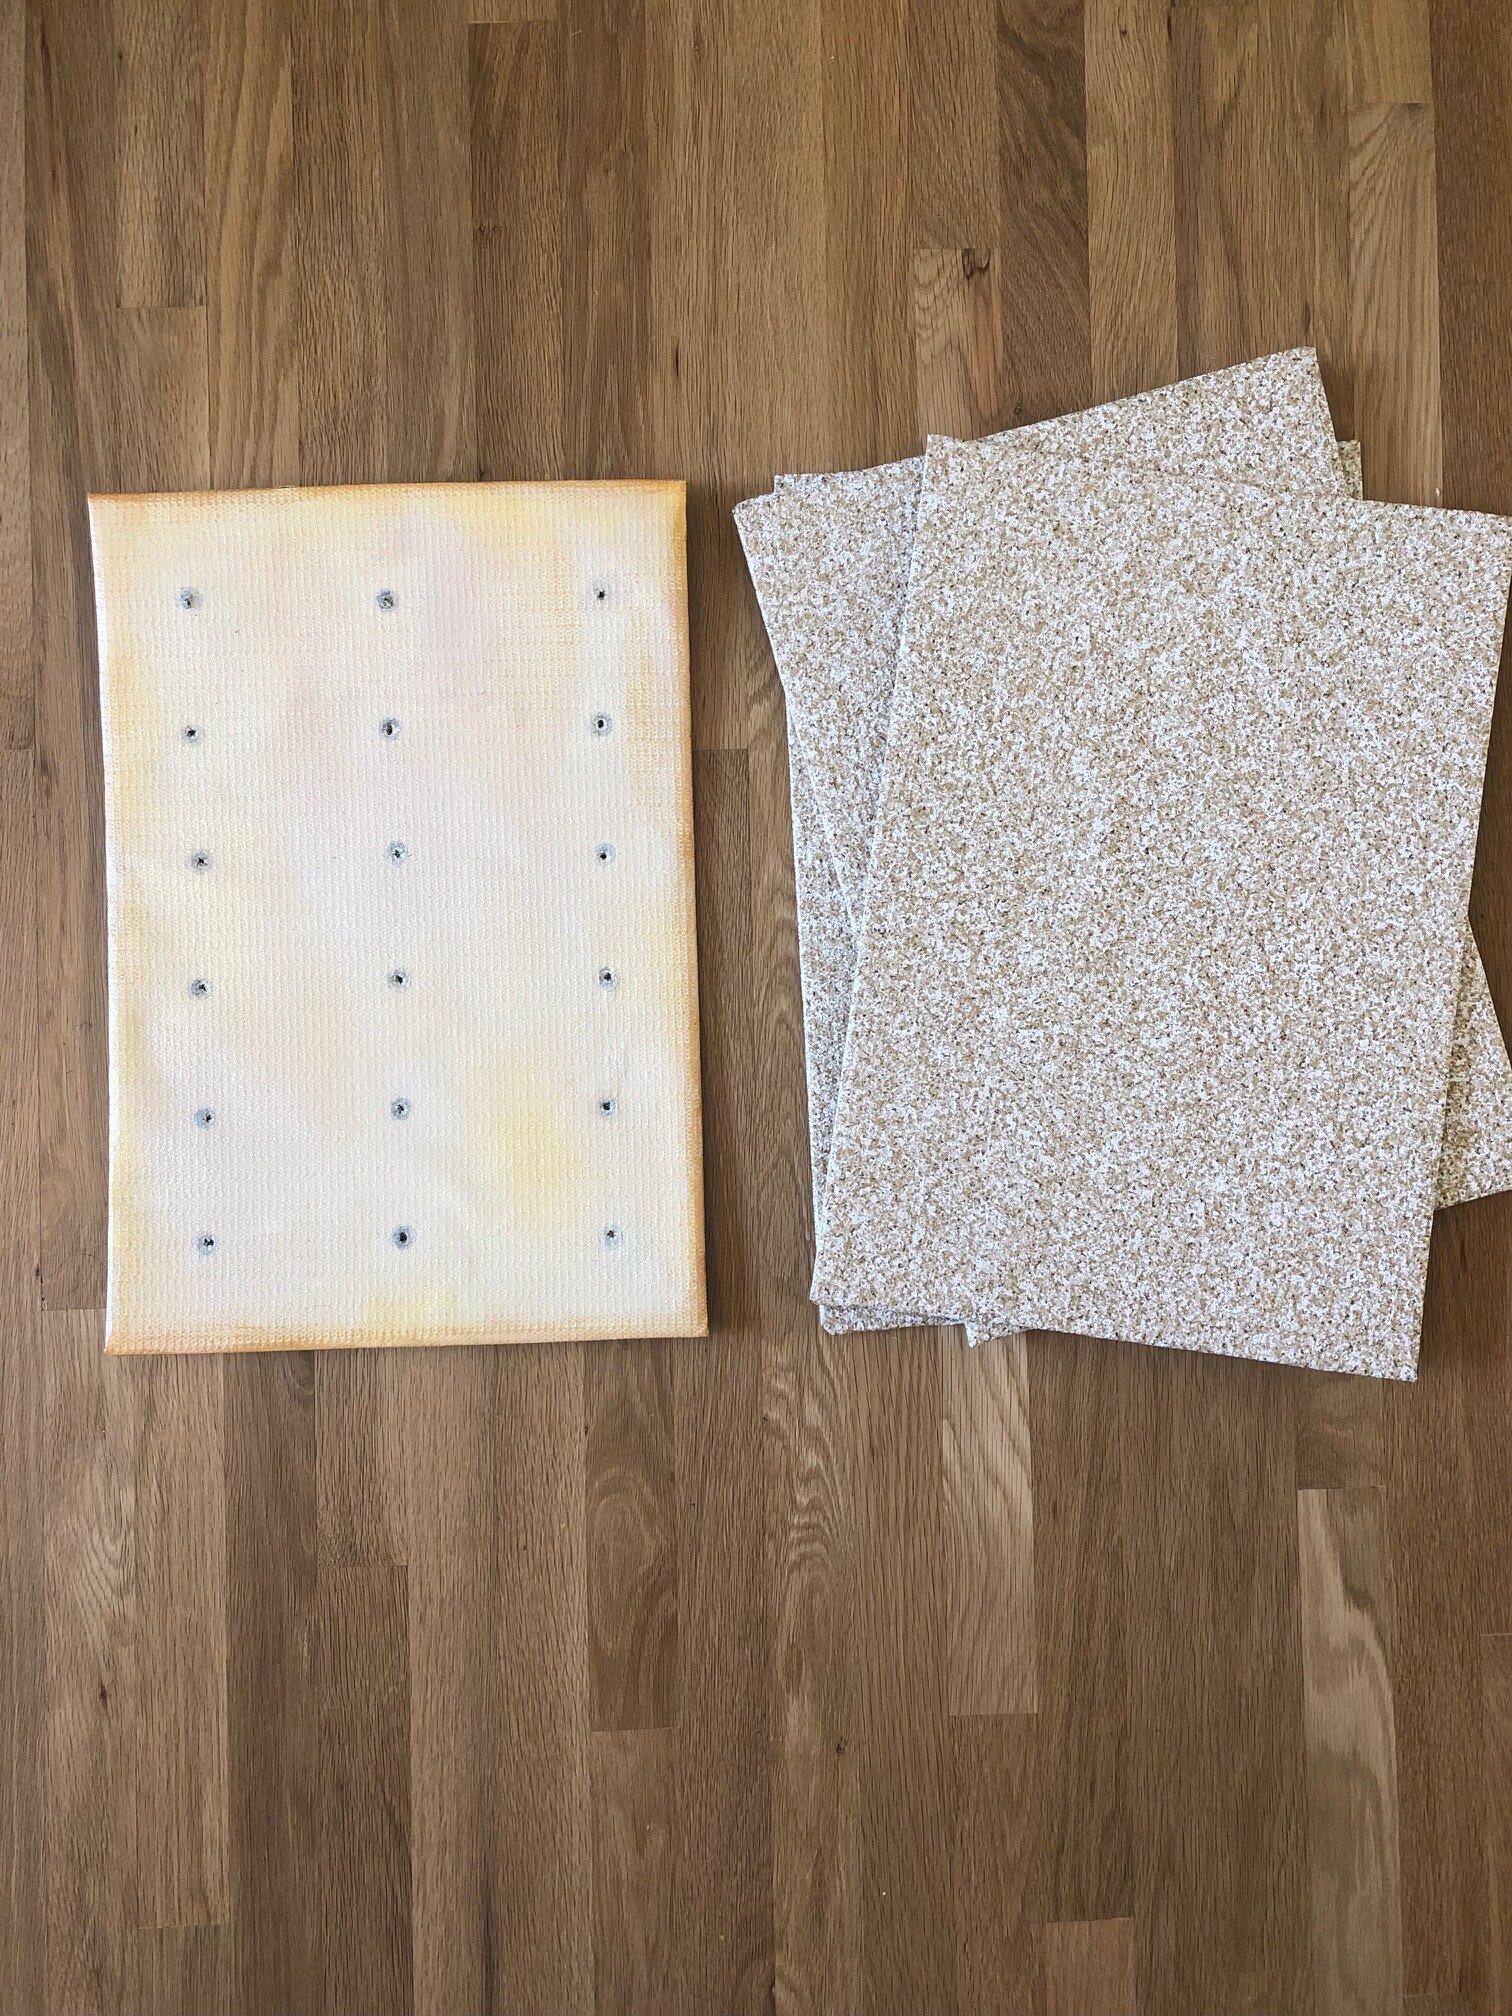
- Next, you will need to make the “crackers”. I made all my crackers roughly 22”L x 15” W, but you will need to cut the cardboard to the size of your bin. Once all the cardboard is cut, wrap each cracker in textured contact paper on one side only. I used the speckled contact paper from Home Depot because I think it gives the crackers a more realistic look. Use a small amount of hot glue to adhere the contact paper and secure the corners.
Next, you will need to make the “crackers”. I made all my crackers roughly 22”L x 15” W, but you will need to cut the cardboard to the size of your bin. Once all the cardboard is cut, wrap each cracker in textured contact paper on one side only. I used the speckled contact paper from Home Depot because I think it gives the crackers a more realistic look. Use a small amount of hot glue to adhere the contact paper and secure the corners.
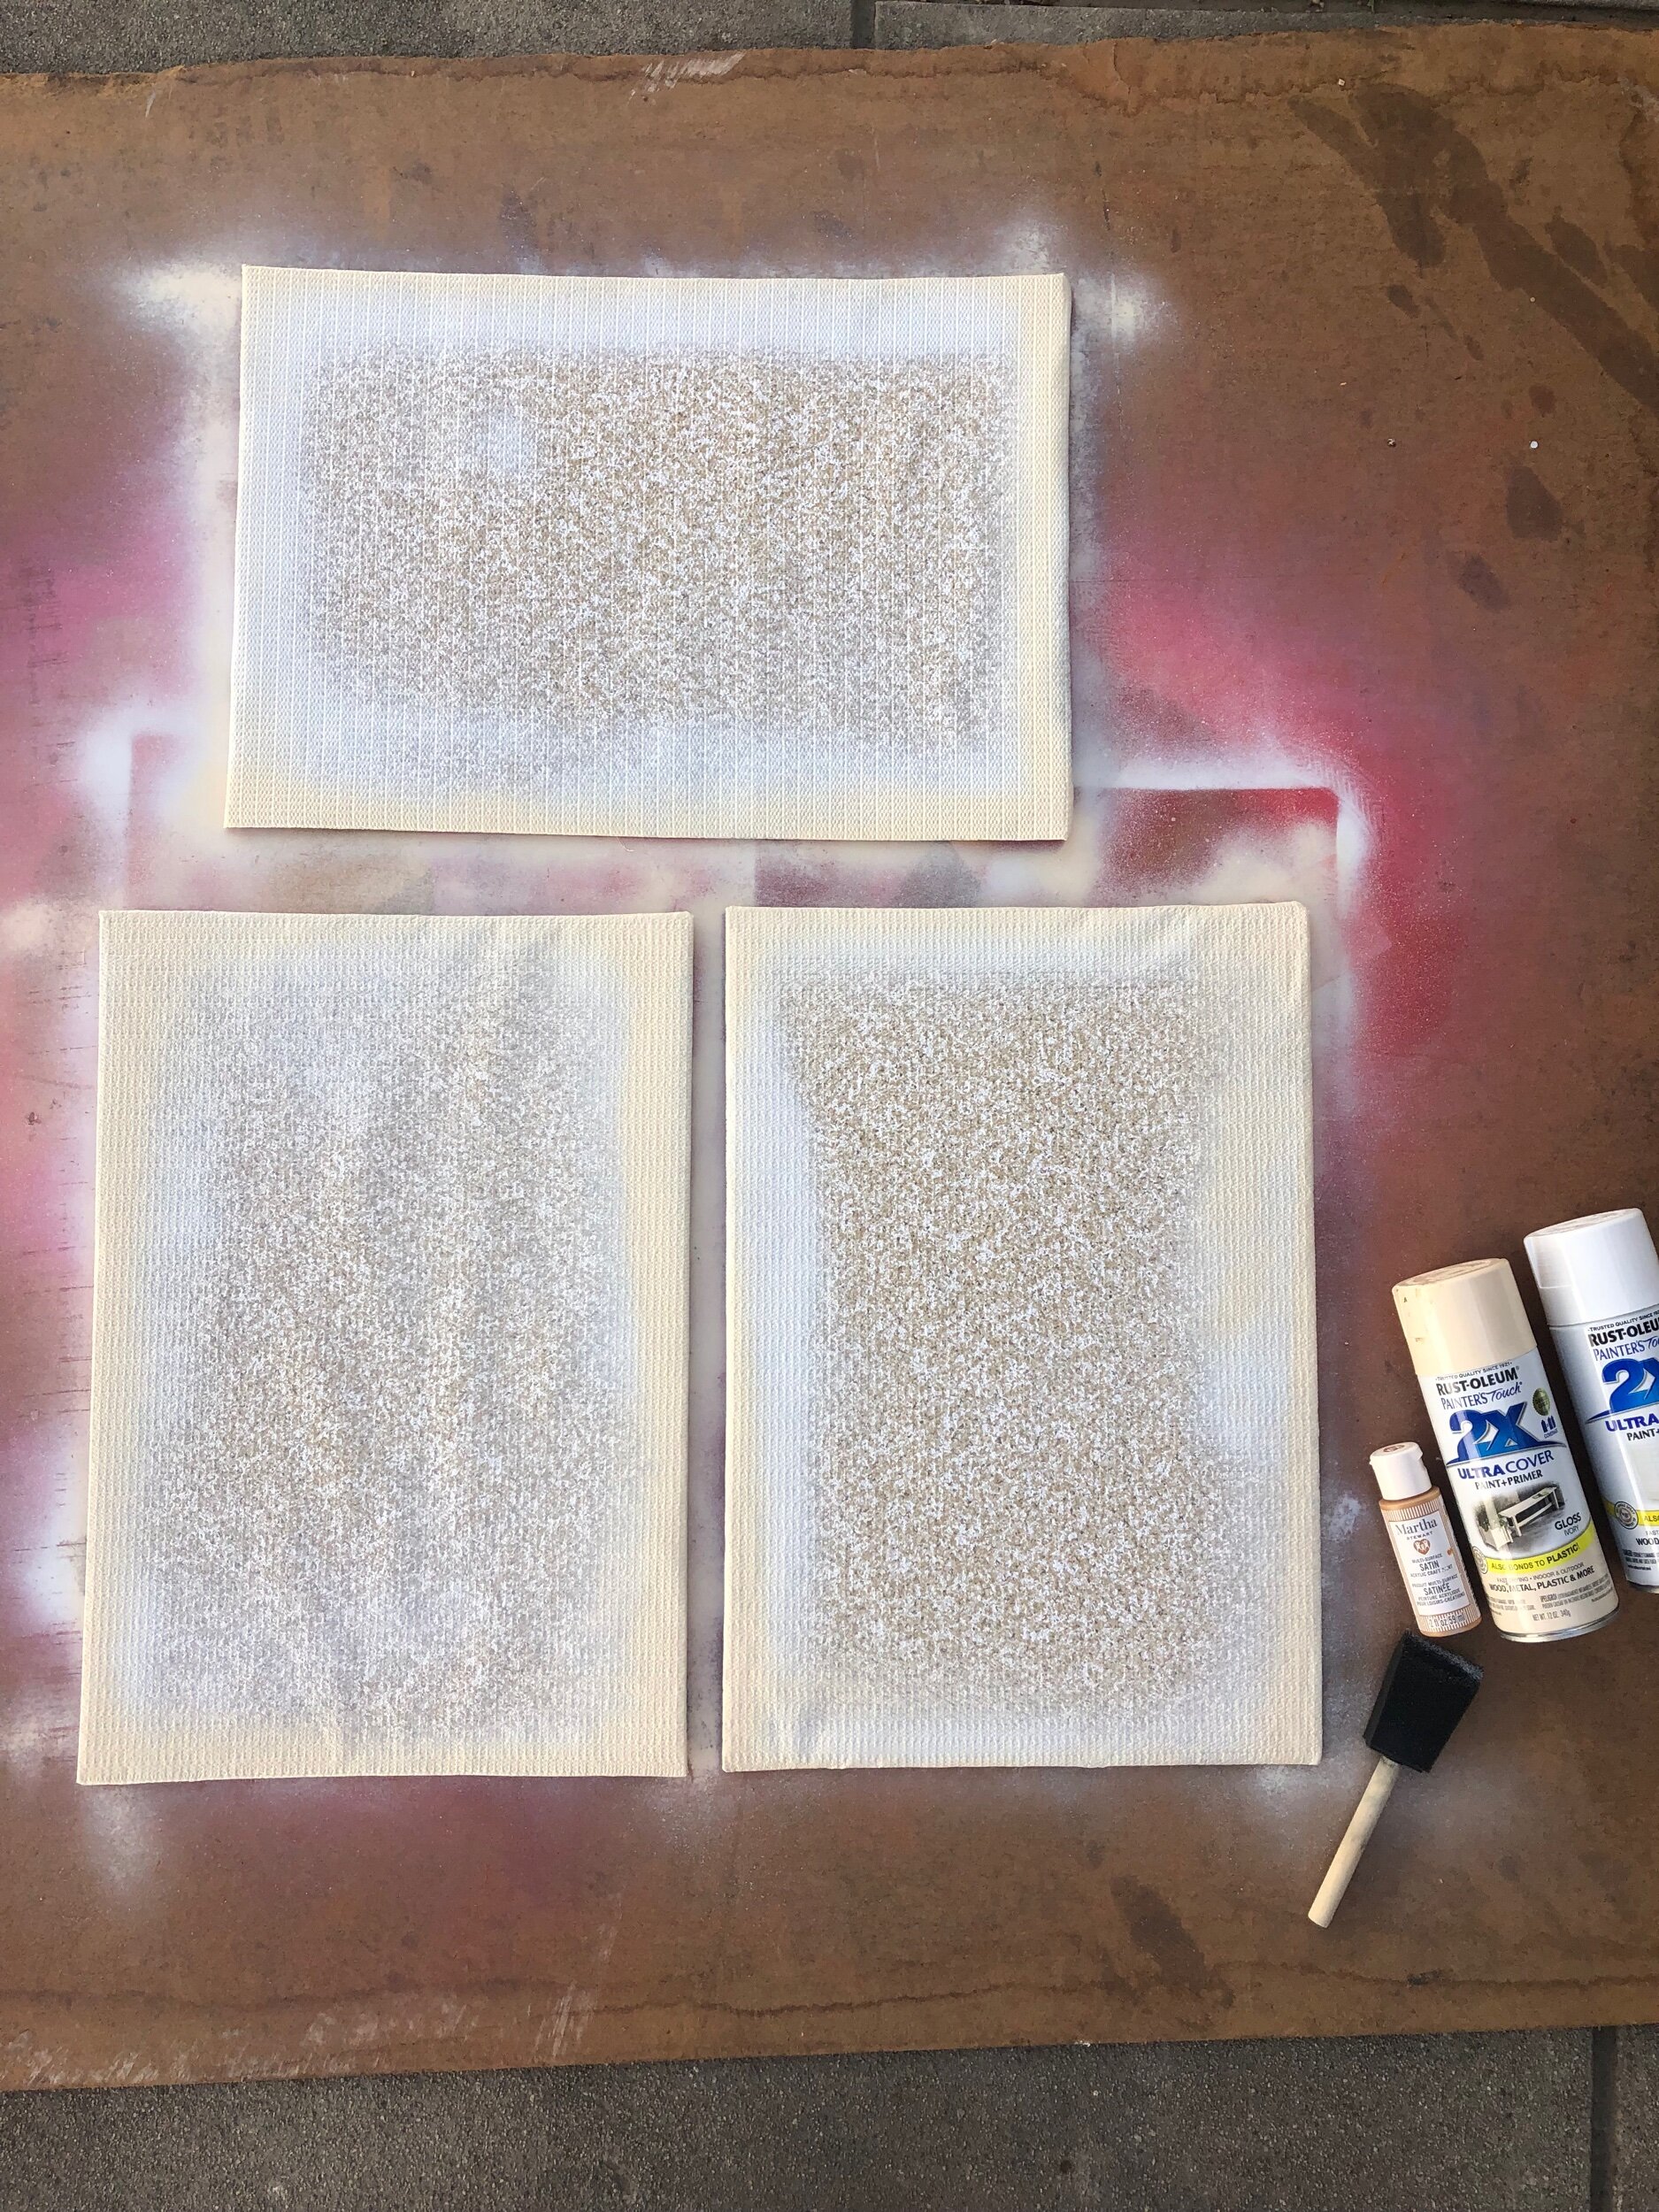
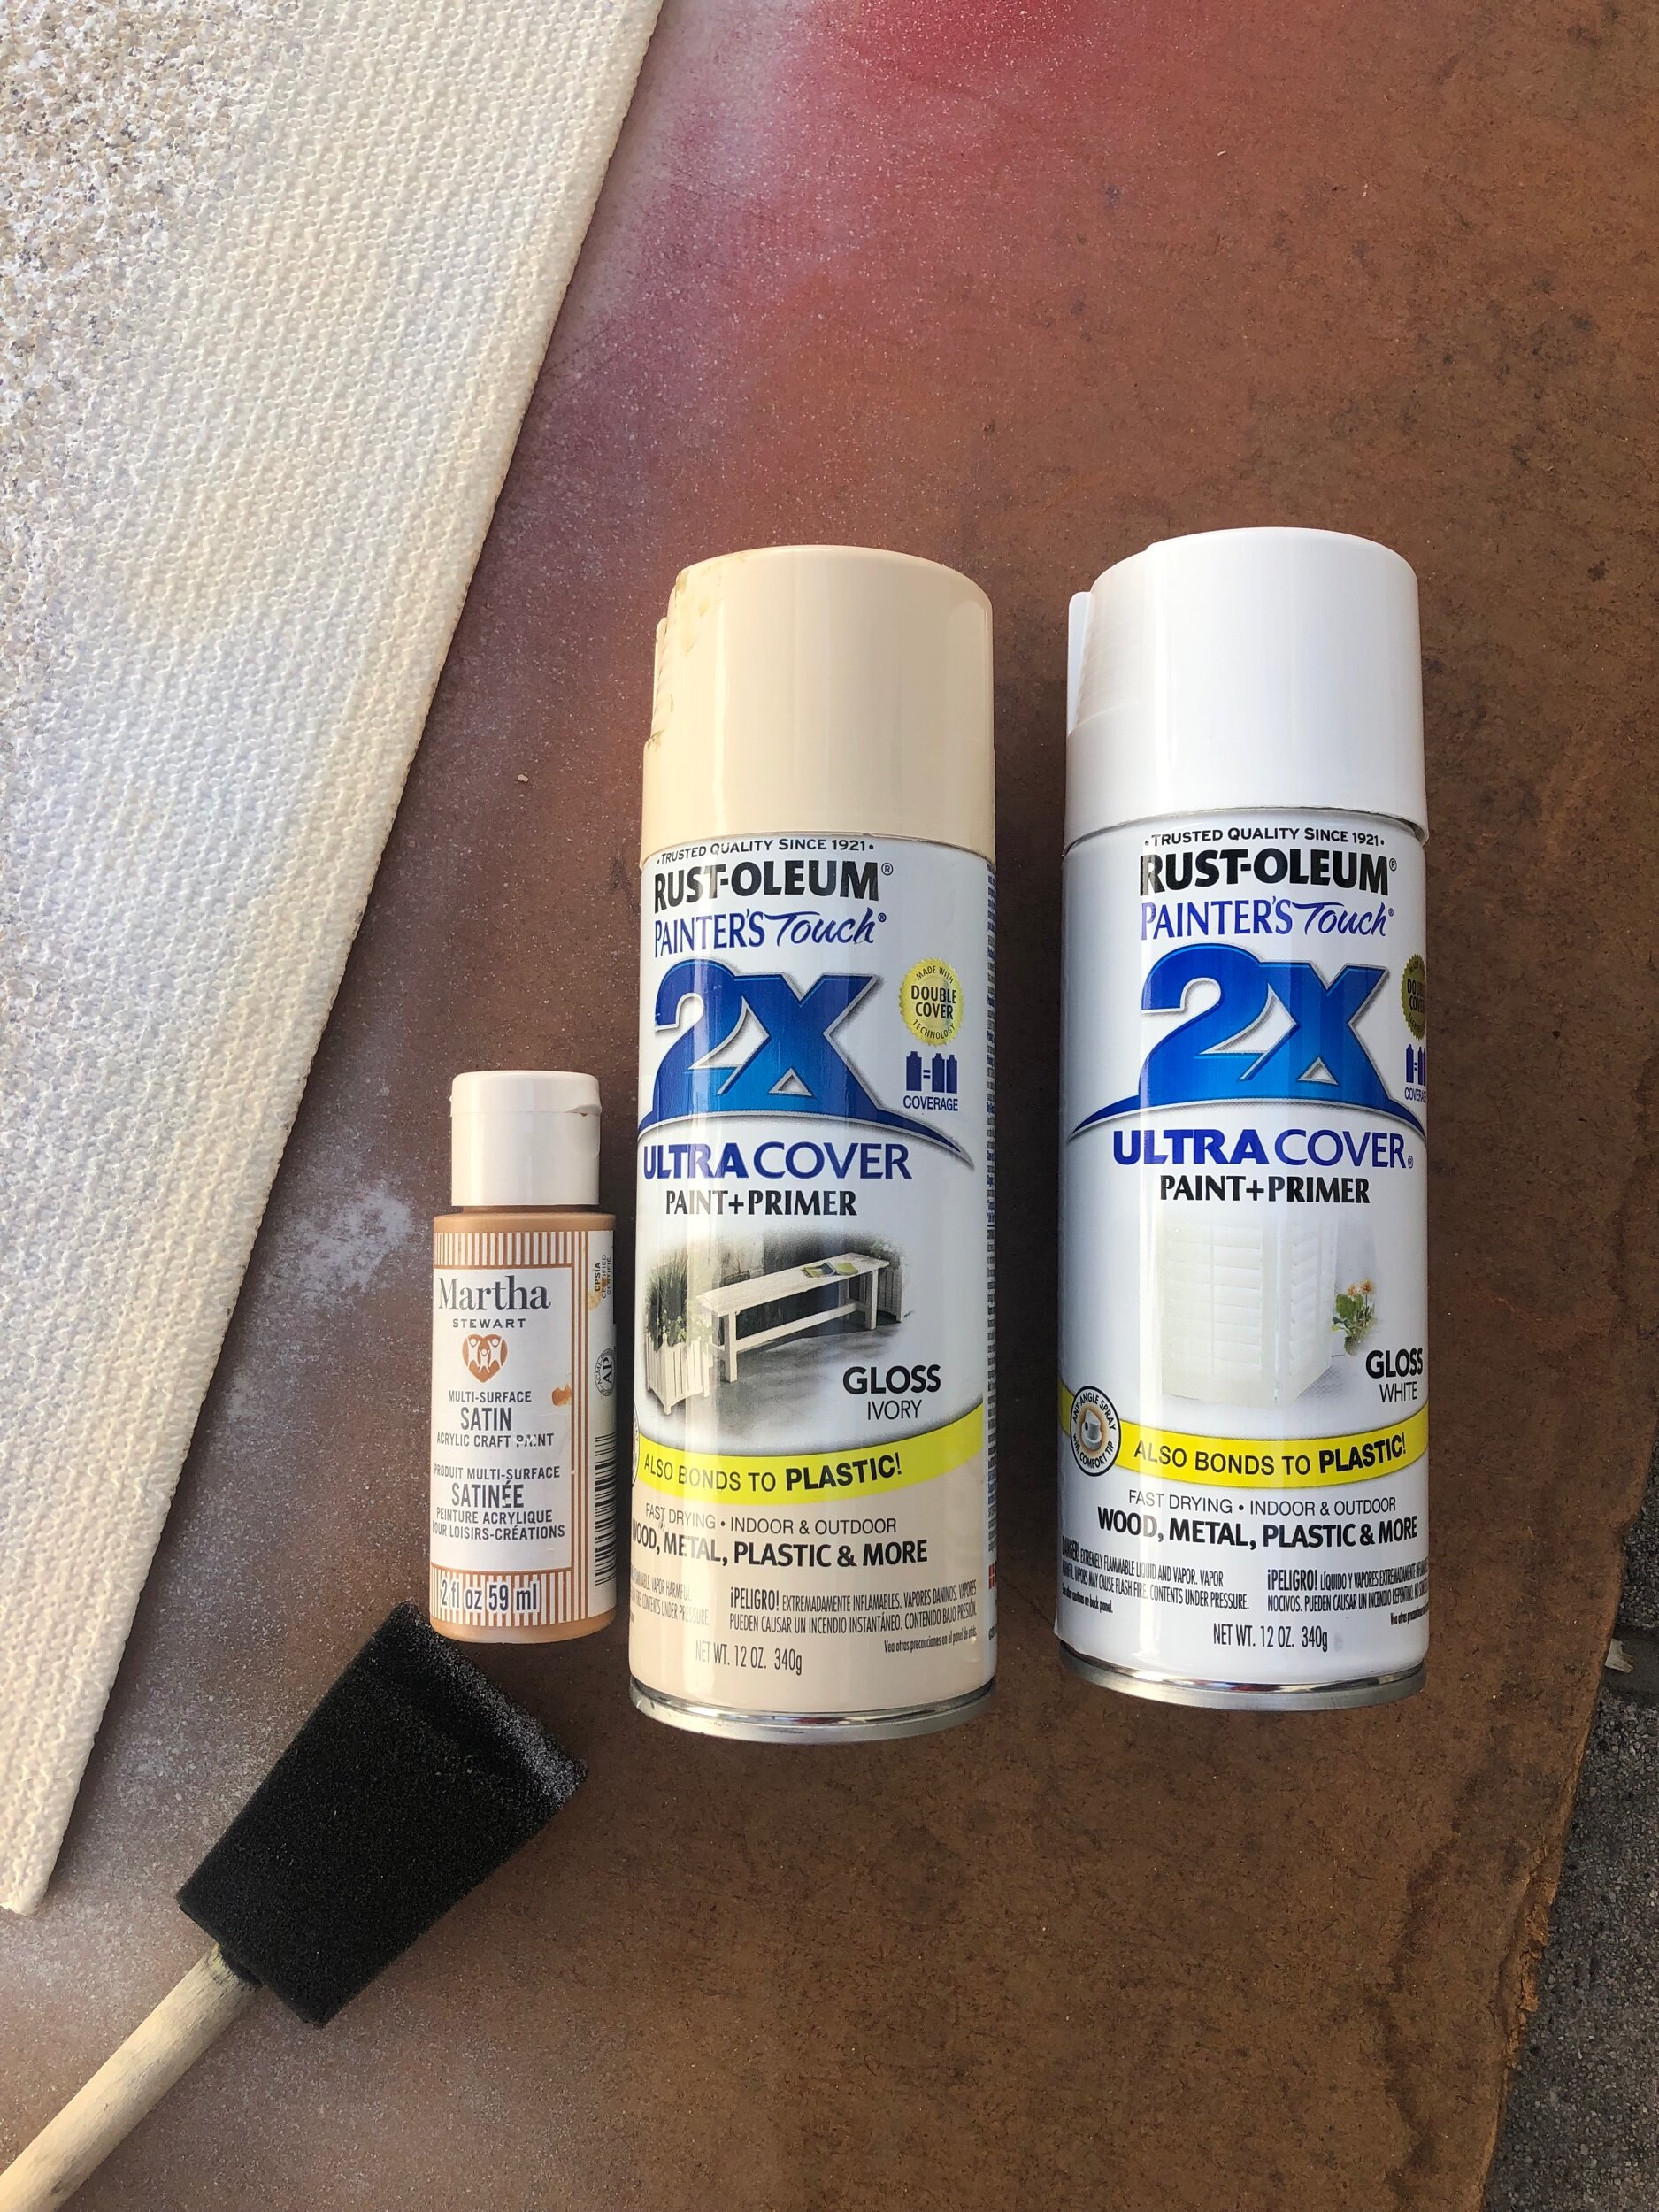
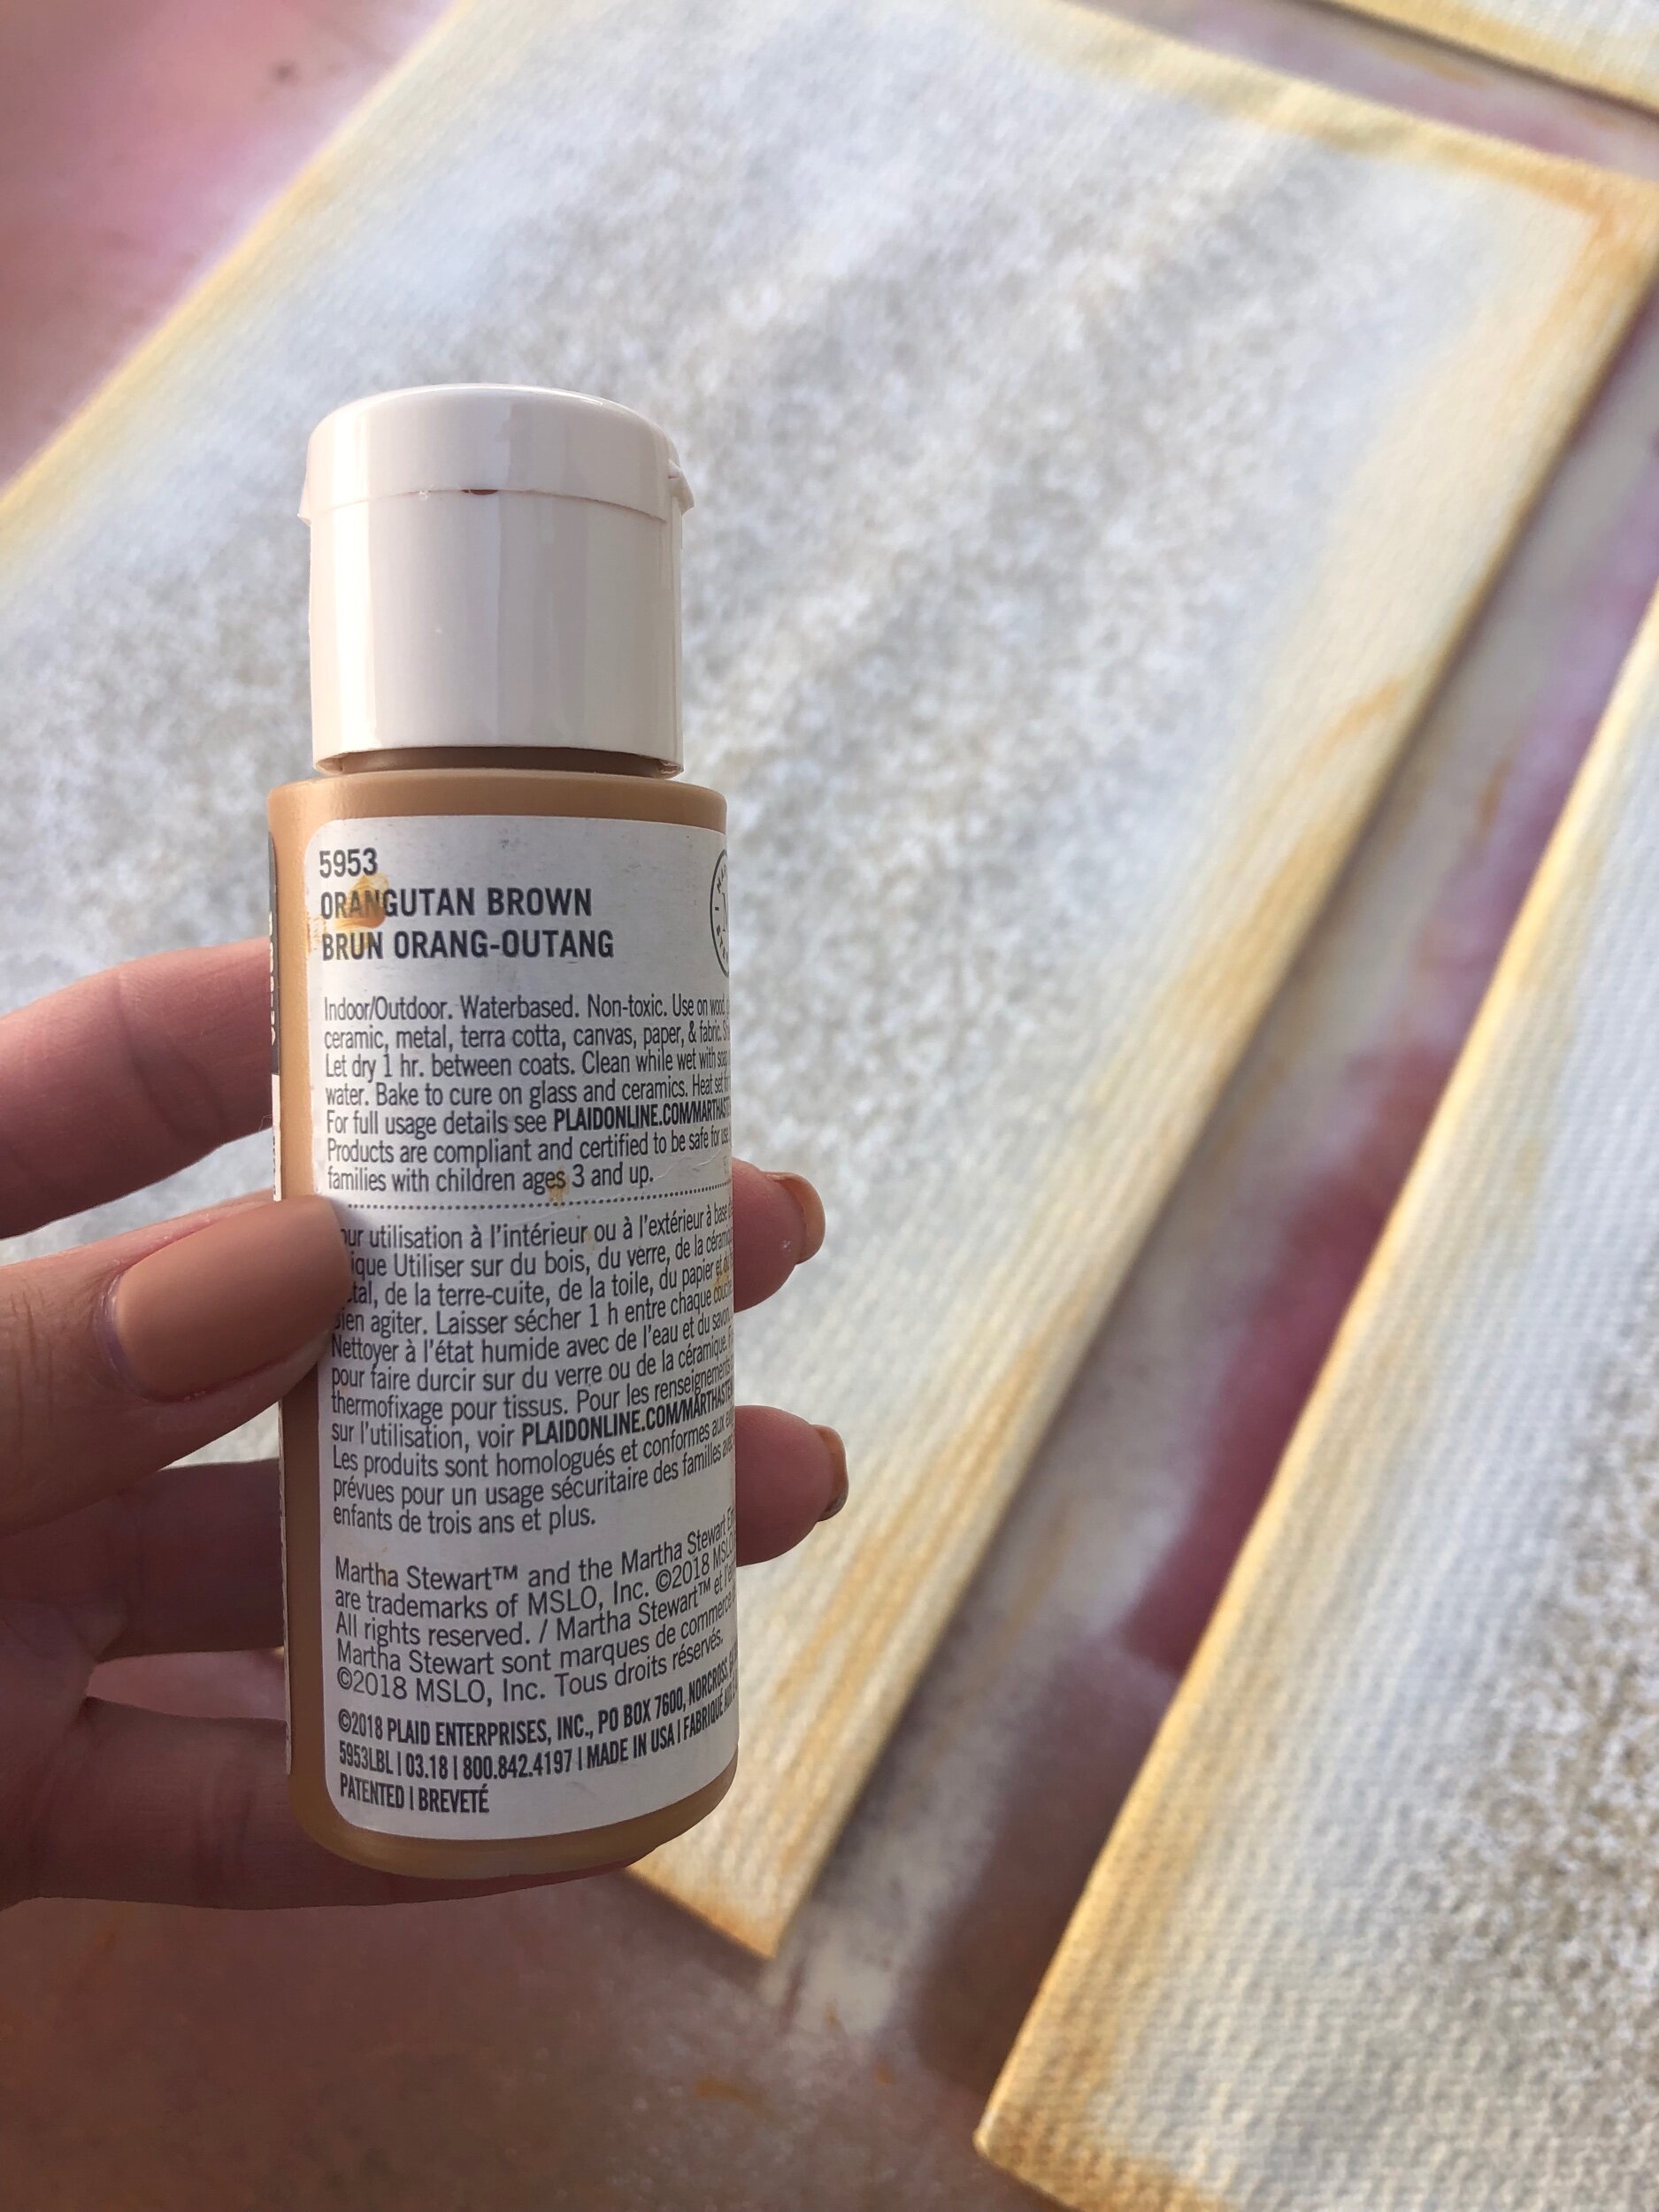
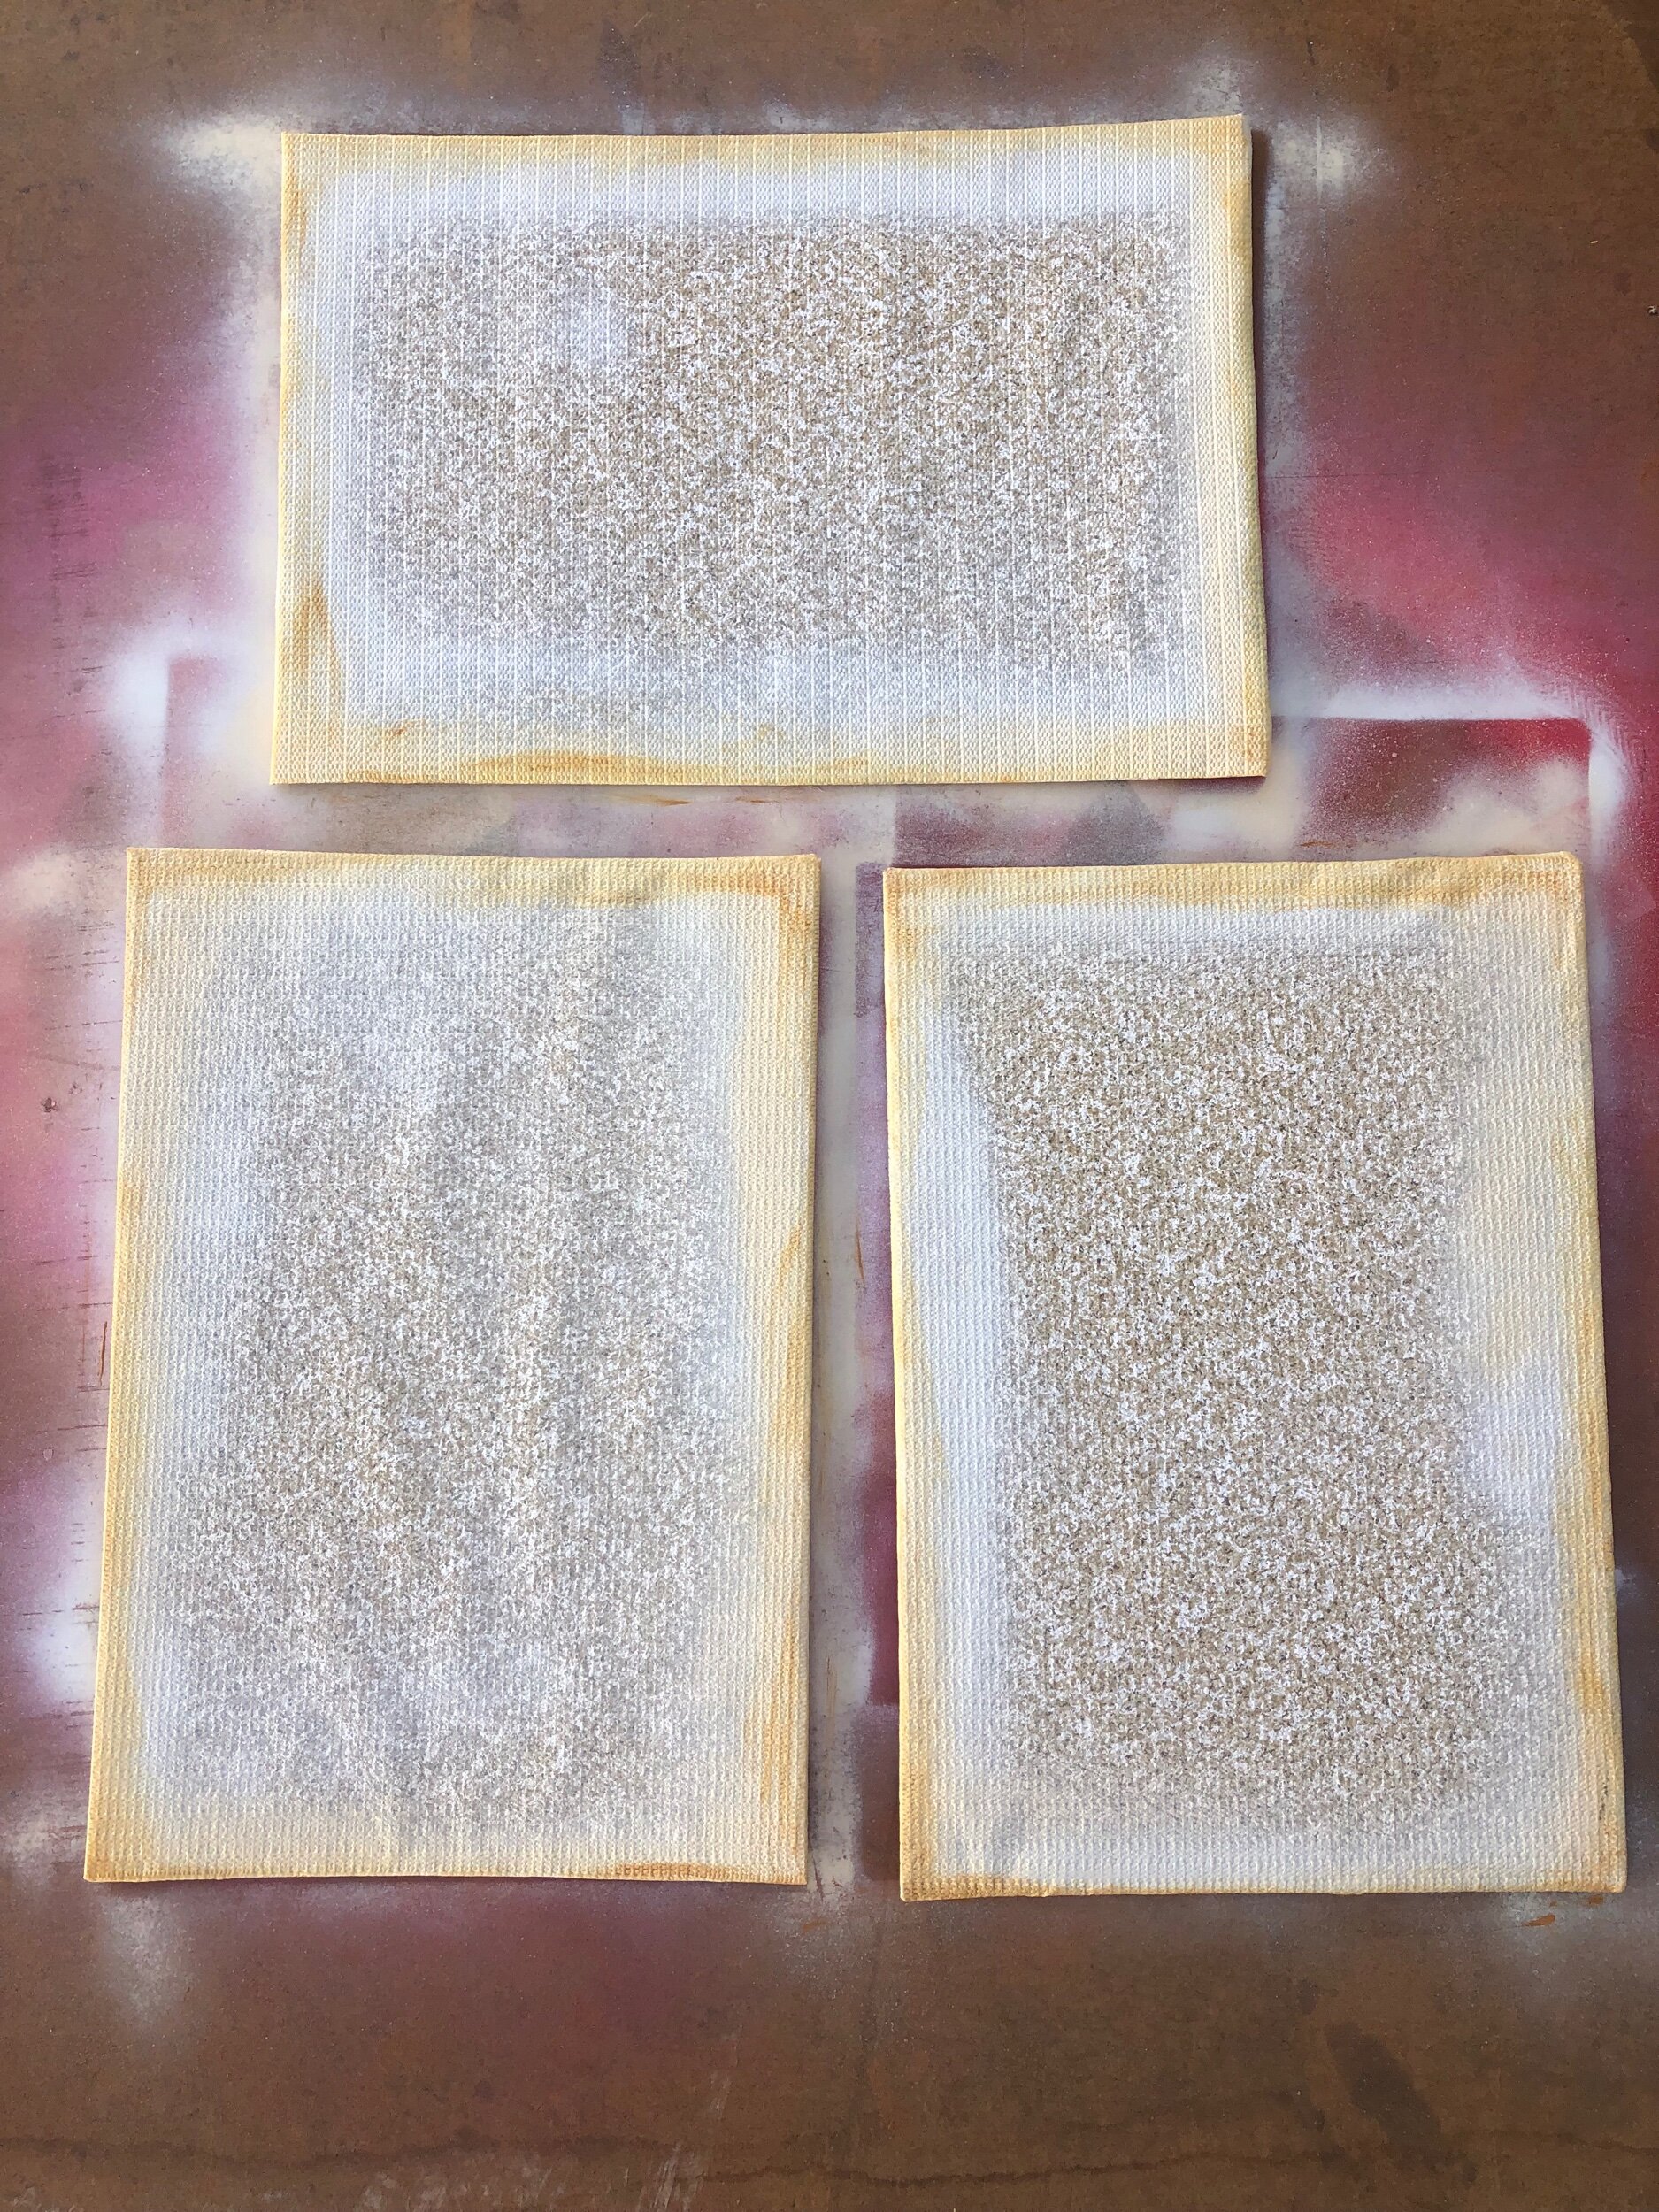
- Once all the crackers have been glued, spray paint the edges white on 3 crackers, followed by a gentle spray of ivory spray paint and then use a brush to paint the light brown on the edges. Just roughly brush along the edge so it looks unique on all sides. You do not need to paint the centers of these crackers as they will be glued to the main cracker. For the main cracker that will show, you need to paint the entire cracker. I went back and forth with white spray paint, ivory spray paint, and a light brown acrylic paint to make it look as real as possible.
Once all the crackers have been glued, spray paint the edges white on 3 crackers, followed by a gentle spray of ivory spray paint and then use a brush to paint the light brown on the edges. Just roughly brush along the edge so it looks unique on all sides. You do not need to paint the centers of these crackers as they will be glued to the main cracker. For the main cracker that will show, you need to paint the entire cracker. I went back and forth with white spray paint, ivory spray paint, and a light brown acrylic paint to make it look as real as possible.
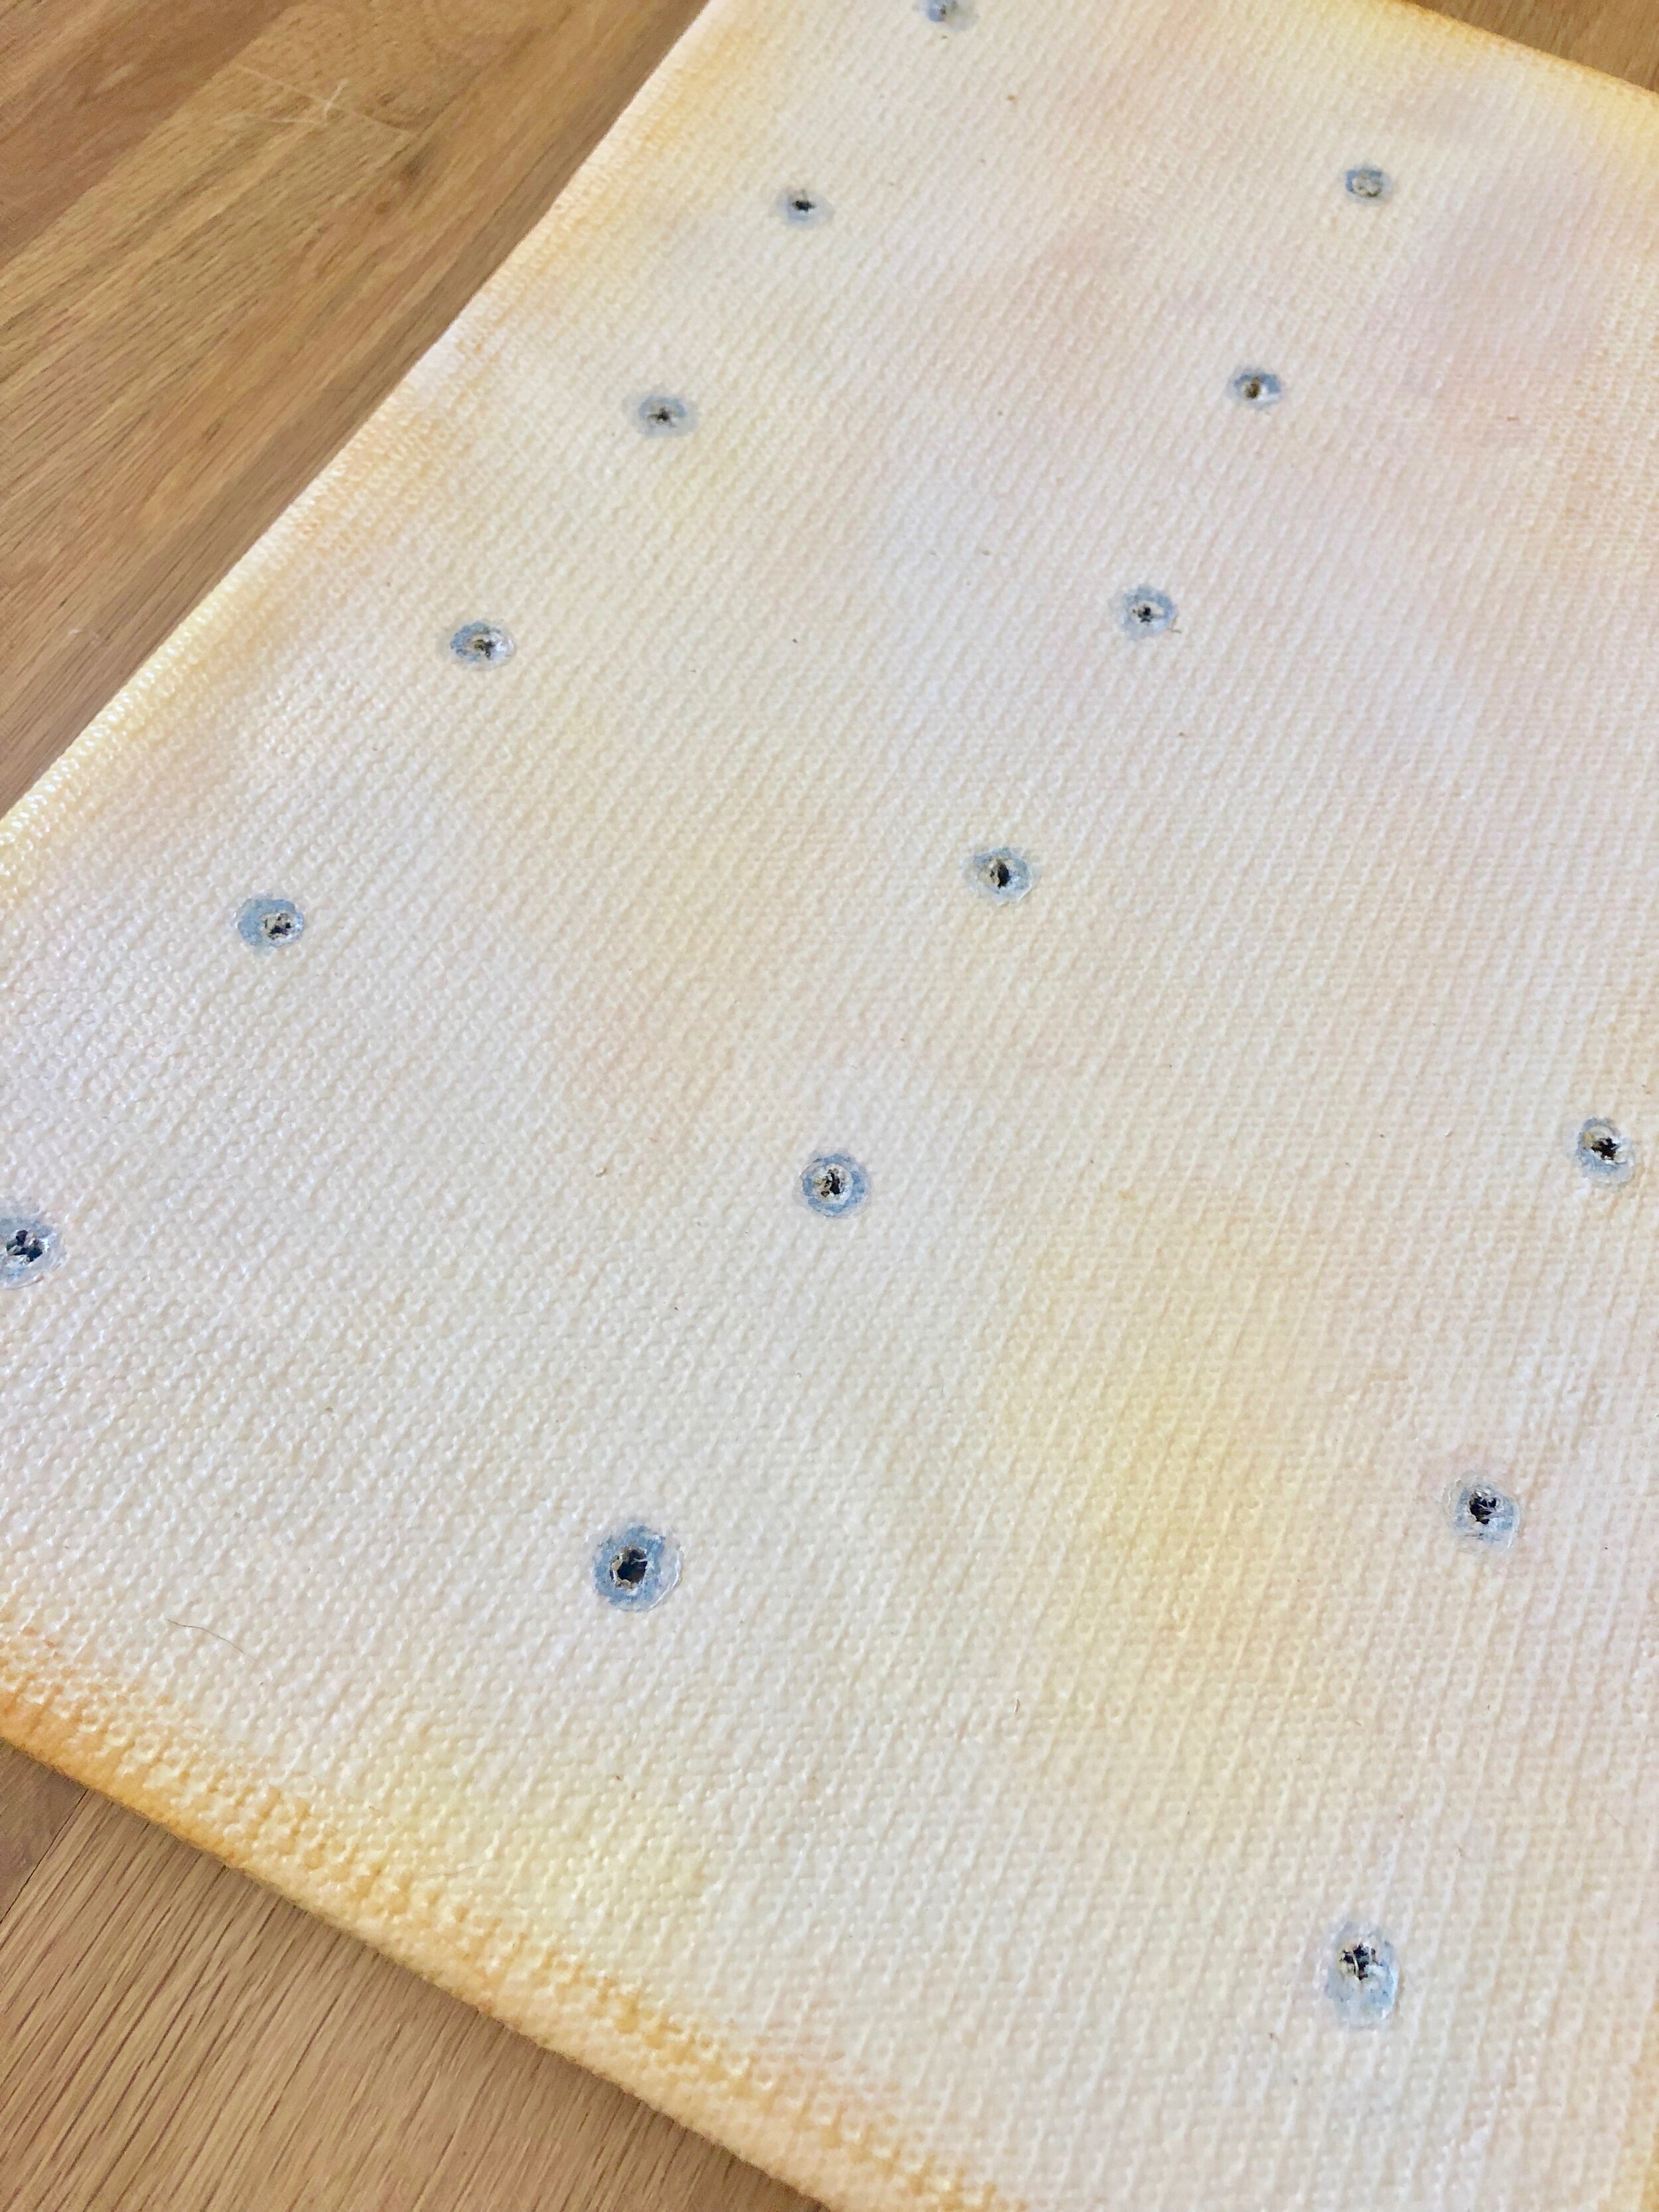
- Once completely dry, you will use your 3/16” drill bit to make 18 evenly spaced holes on the cracker. I just eyeballed these and marked them out with a sharpie beforehand and then drilled right through the contact paper and cardboard. Once I drilled all the holes I went over the holes gently with light brown paint and then sprayed another super light coat of ivory over them so it looked like a cracker. The paint isn’t a science so just keep layering colors until to resembles a cracker and don’t forget to gently brush the brown on certain areas as well. The brown gives it depth.
Once completely dry, you will use your 3/16” drill bit to make 18 evenly spaced holes on the cracker. I just eyeballed these and marked them out with a sharpie beforehand and then drilled right through the contact paper and cardboard. Once I drilled all the holes I went over the holes gently with light brown paint and then sprayed another super light coat of ivory over them so it looked like a cracker. The paint isn’t a science so just keep layering colors until to resembles a cracker and don’t forget to gently brush the brown on certain areas as well. The brown gives it depth.
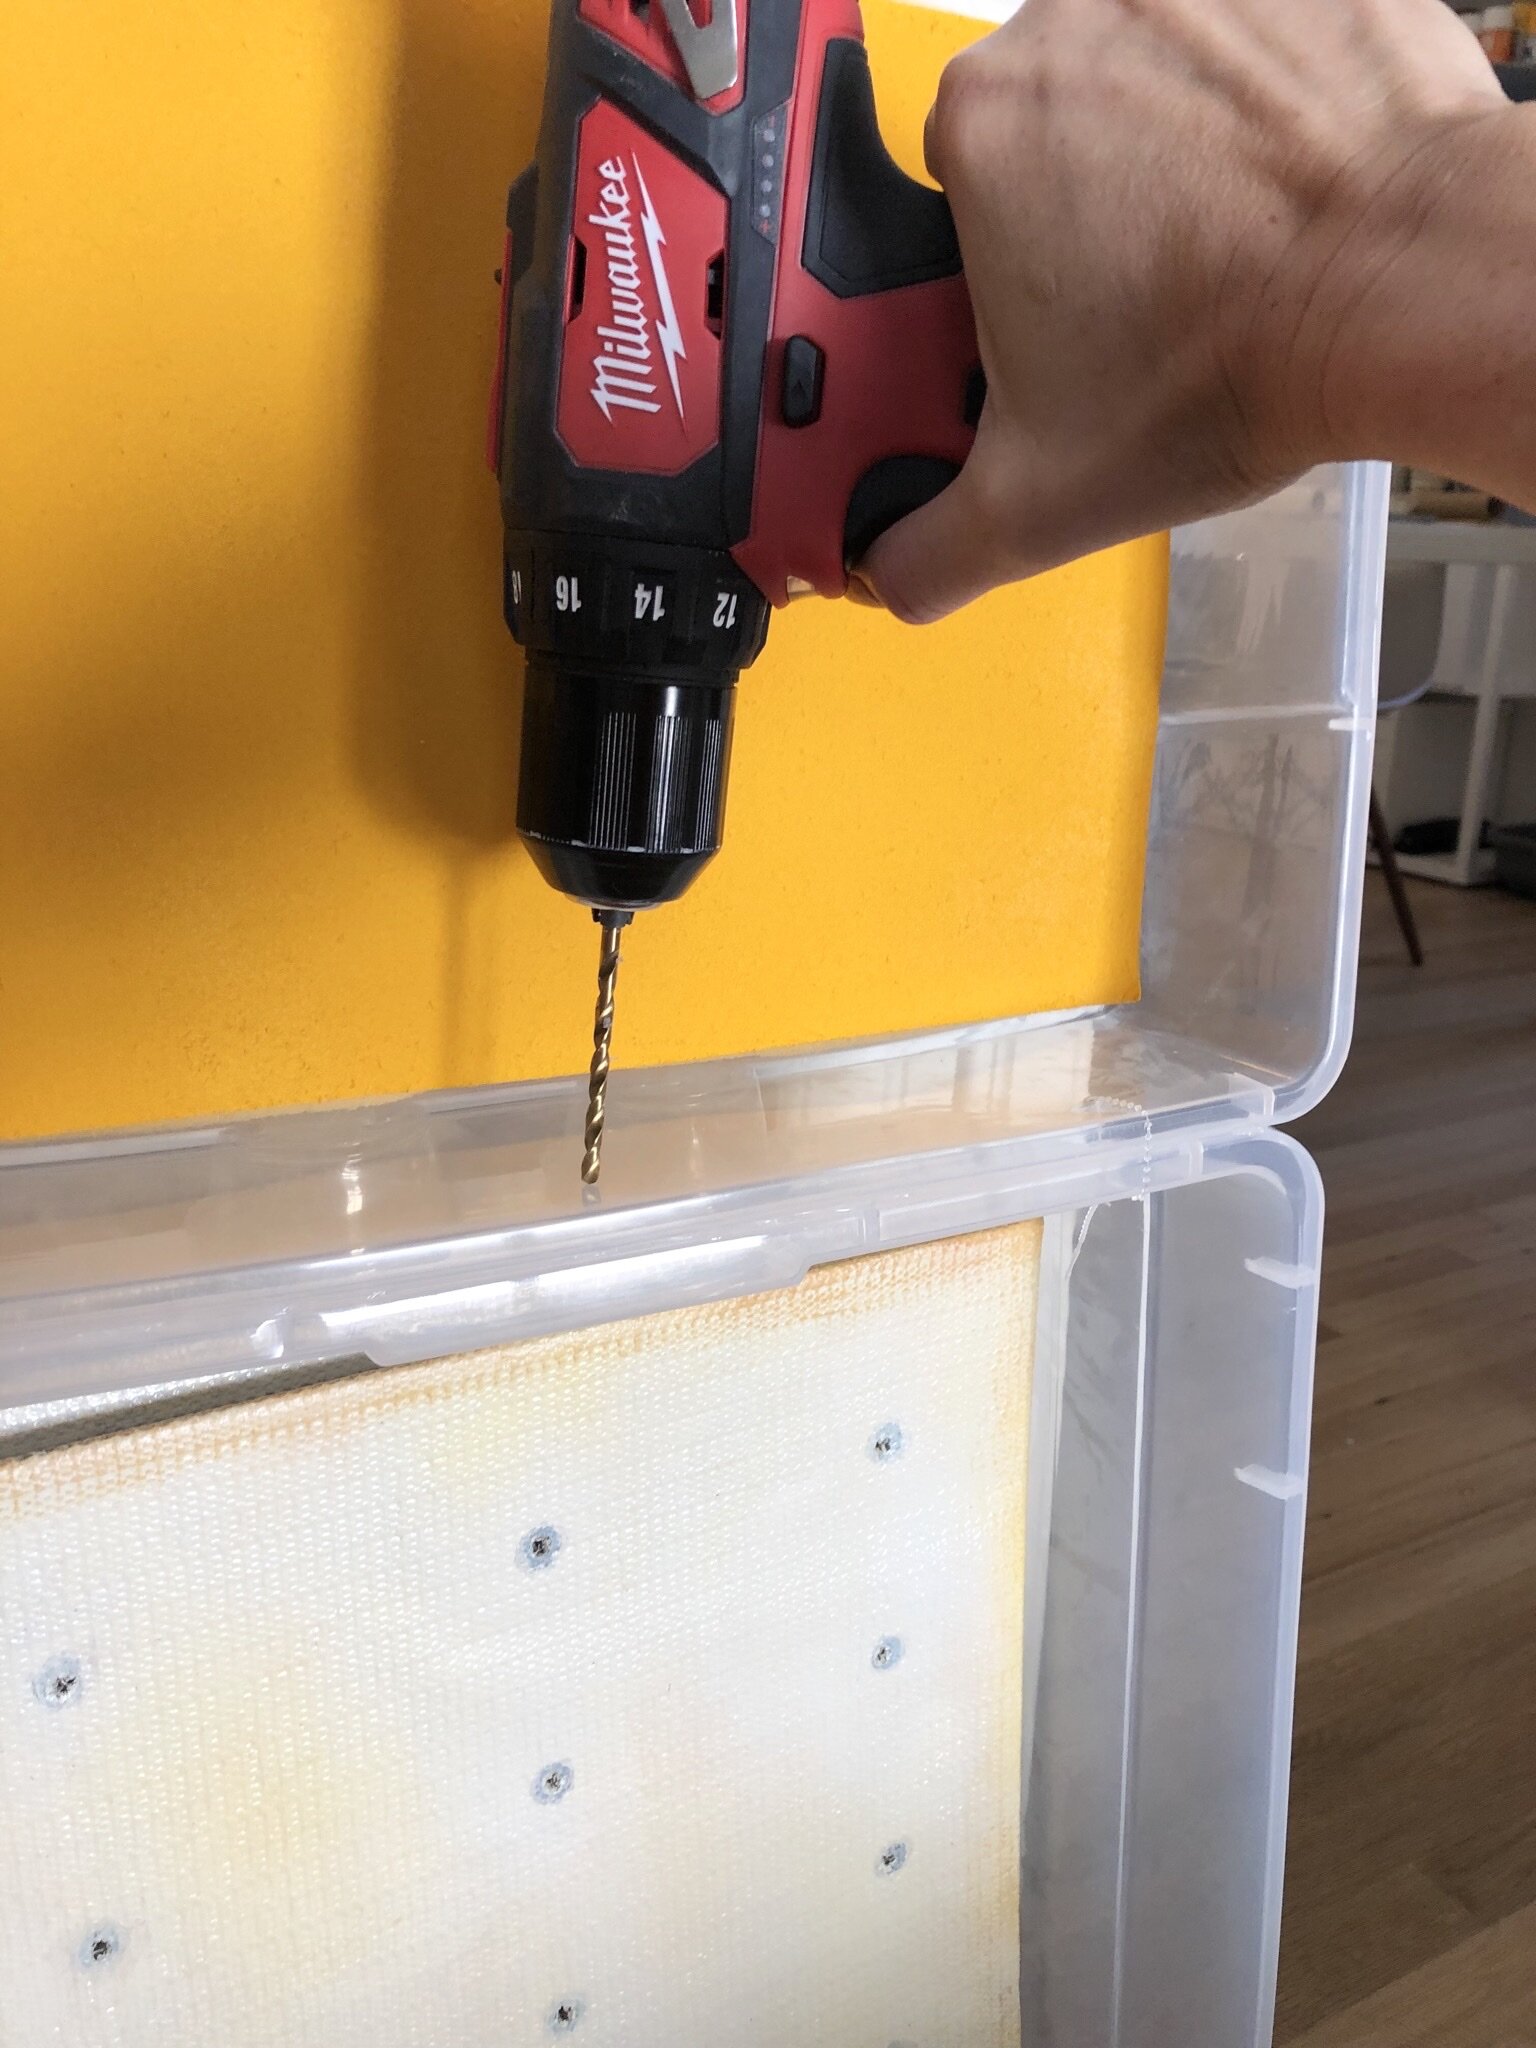
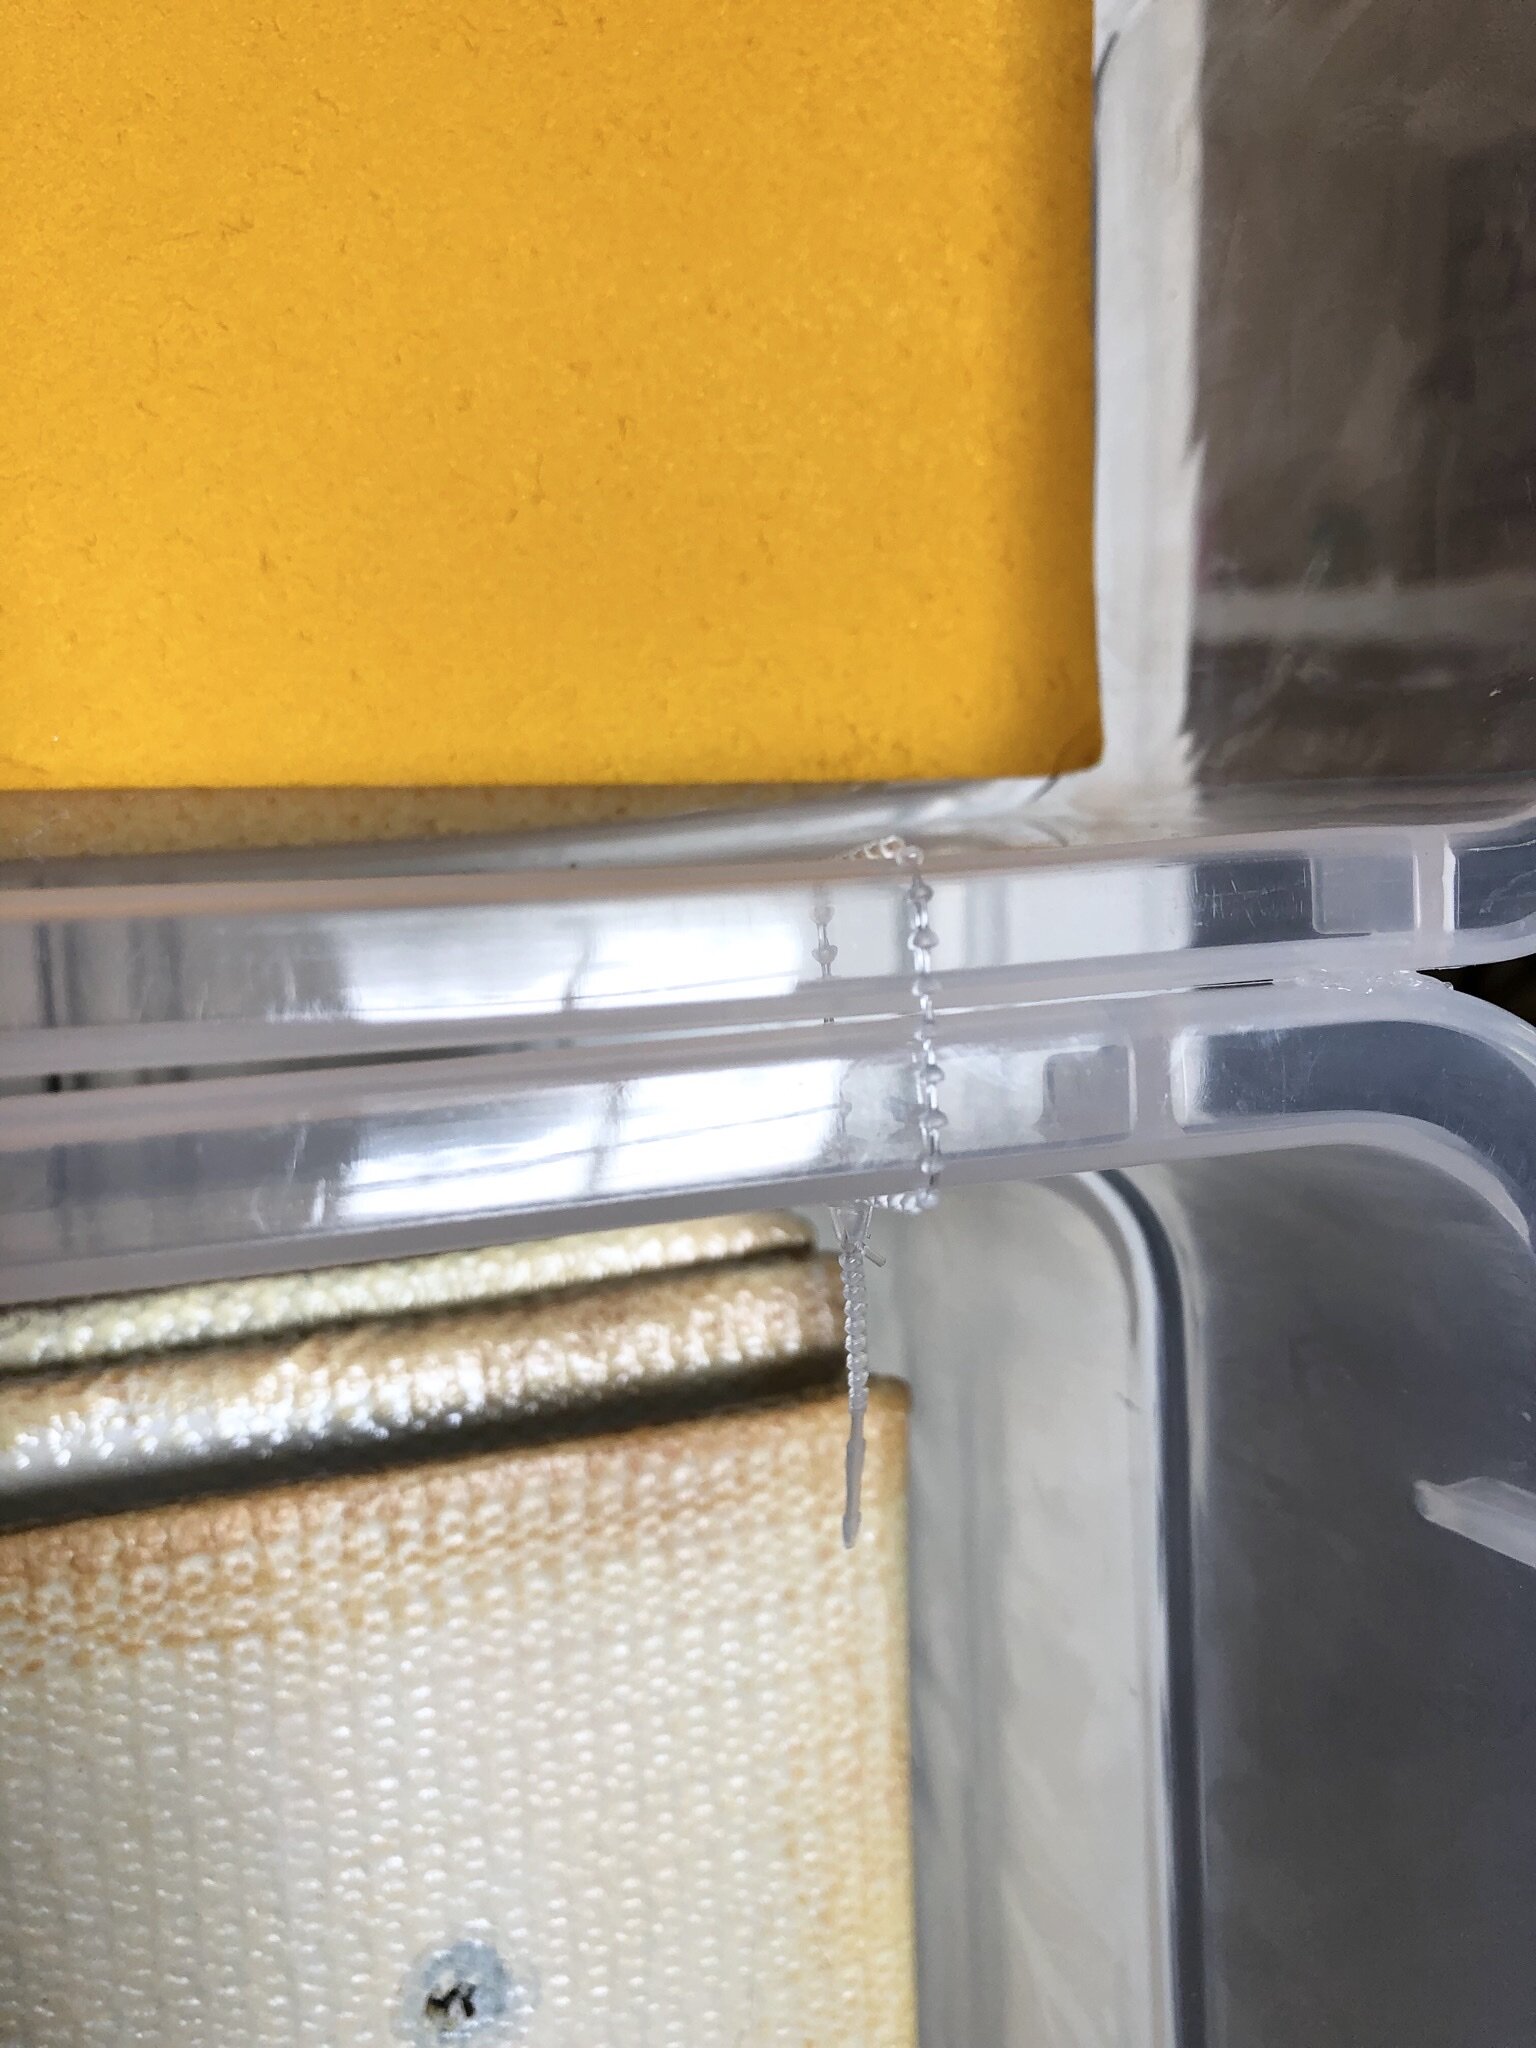
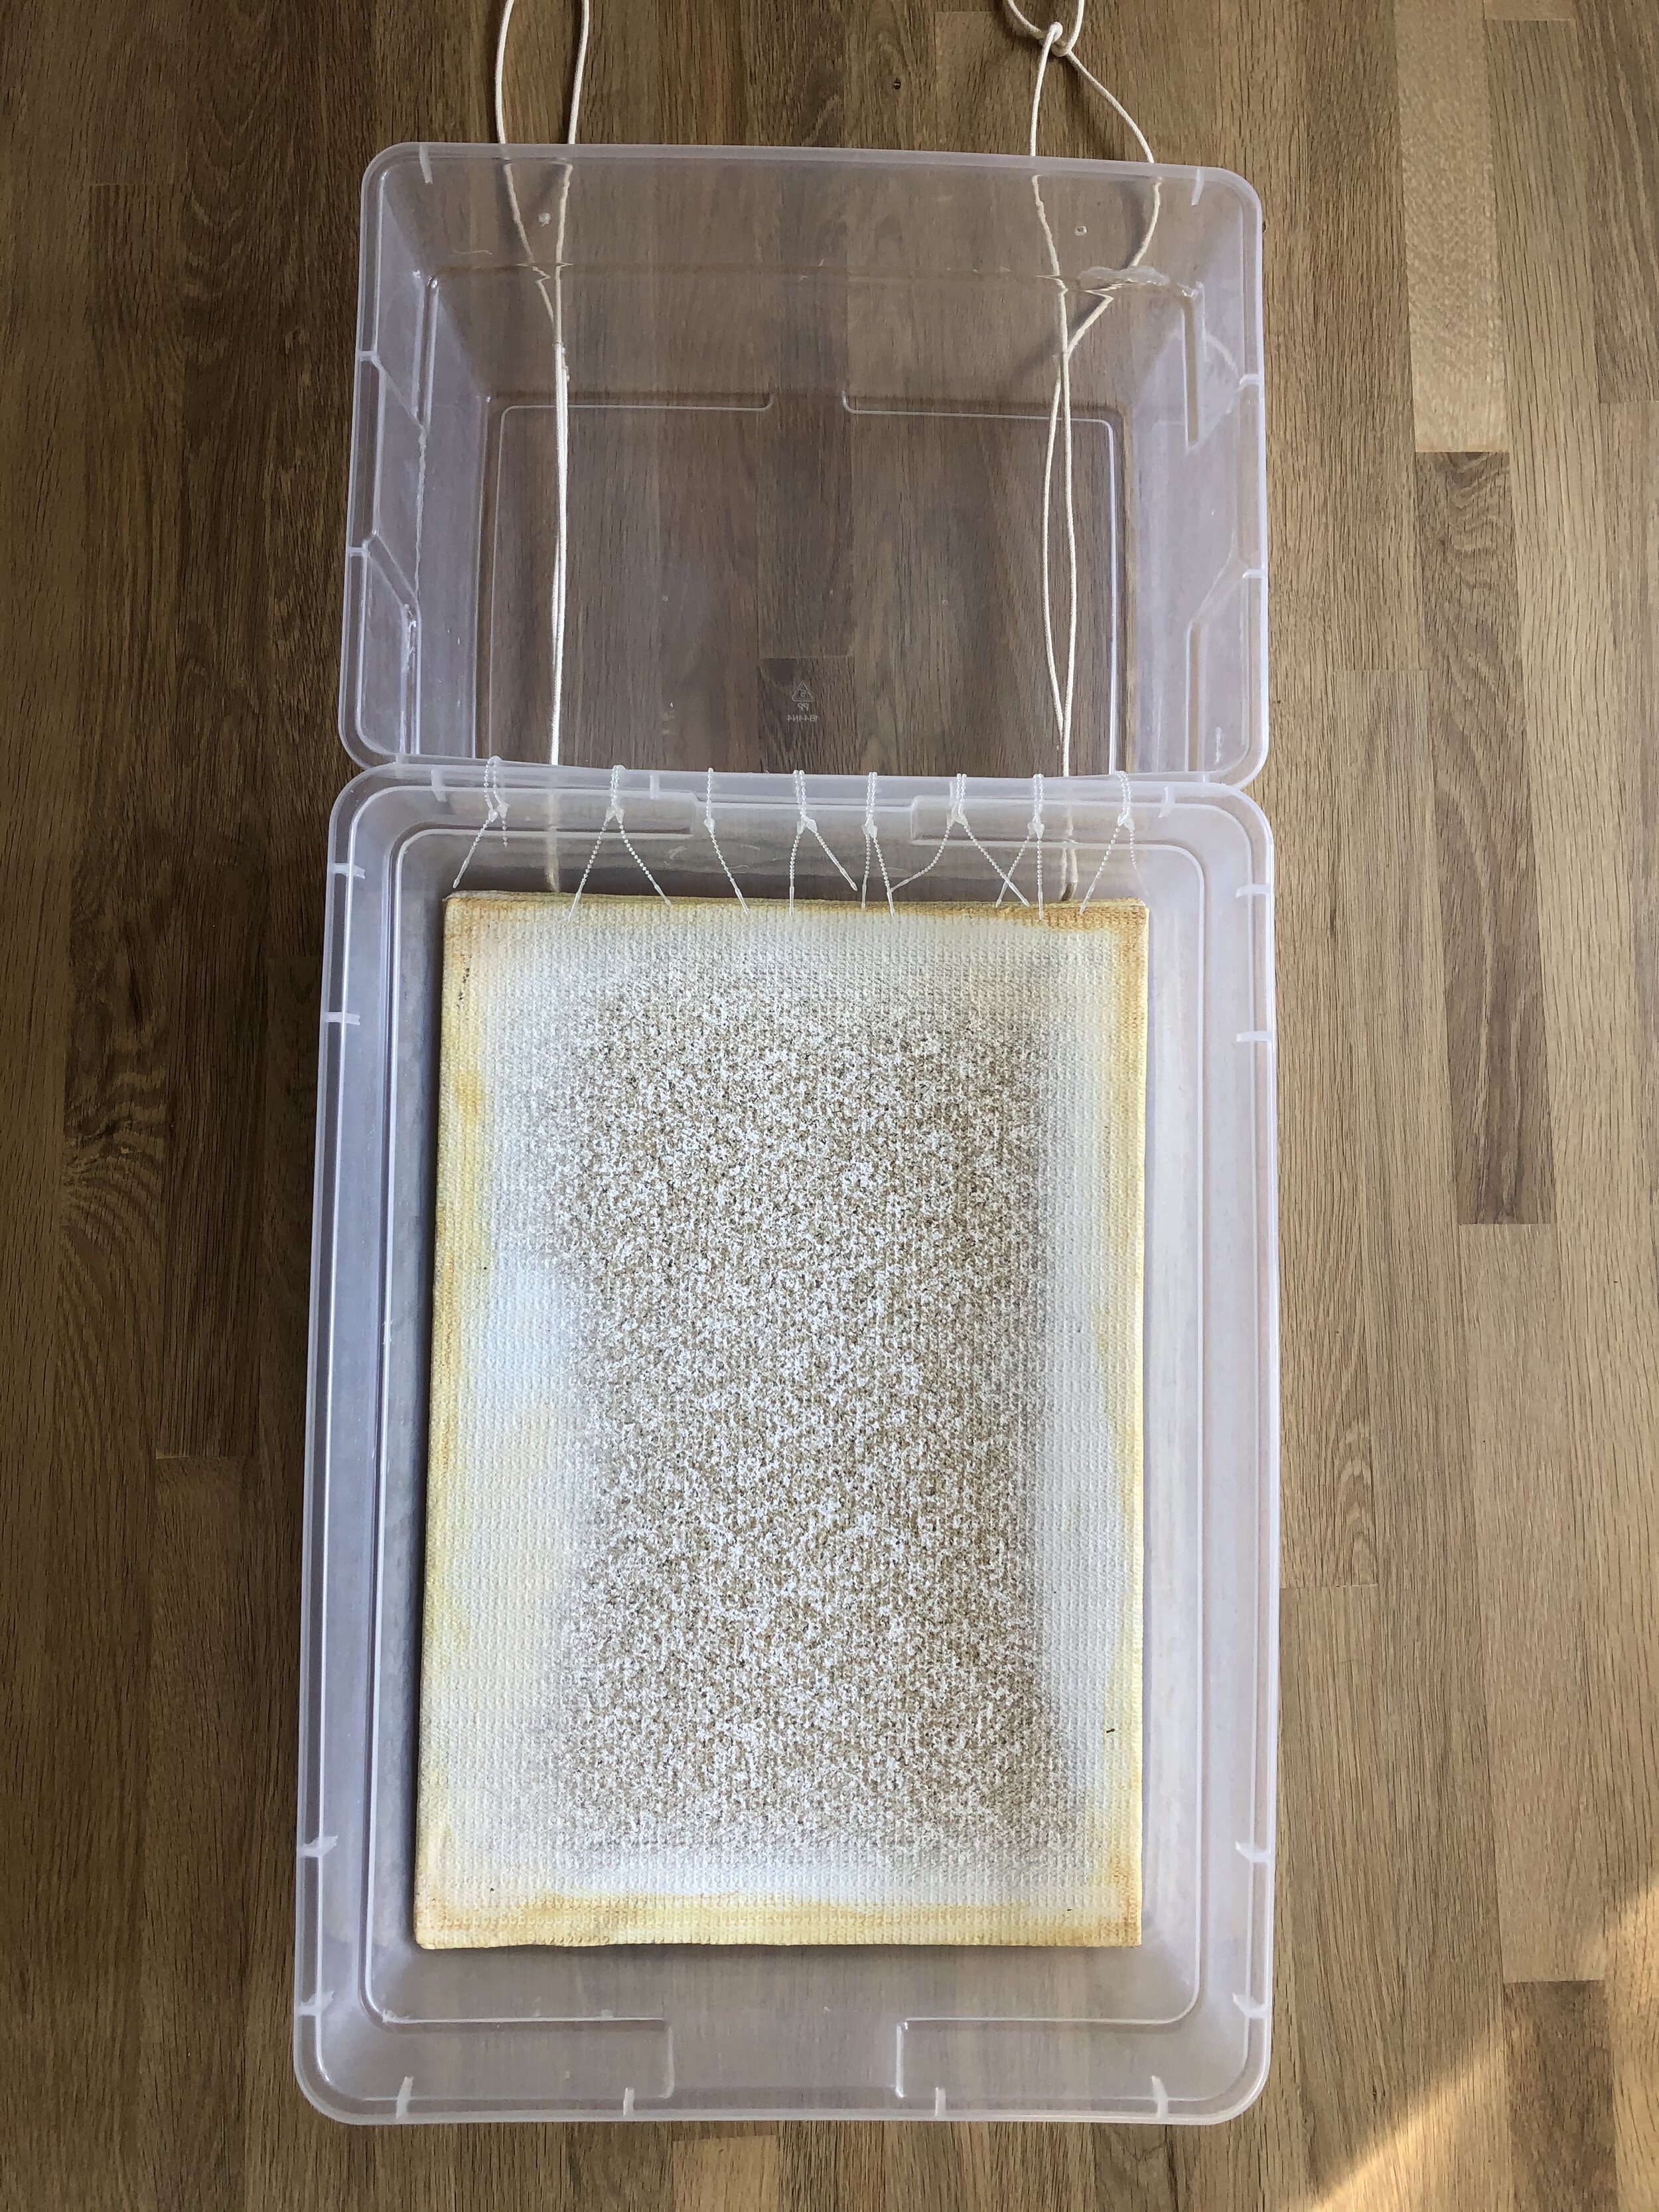
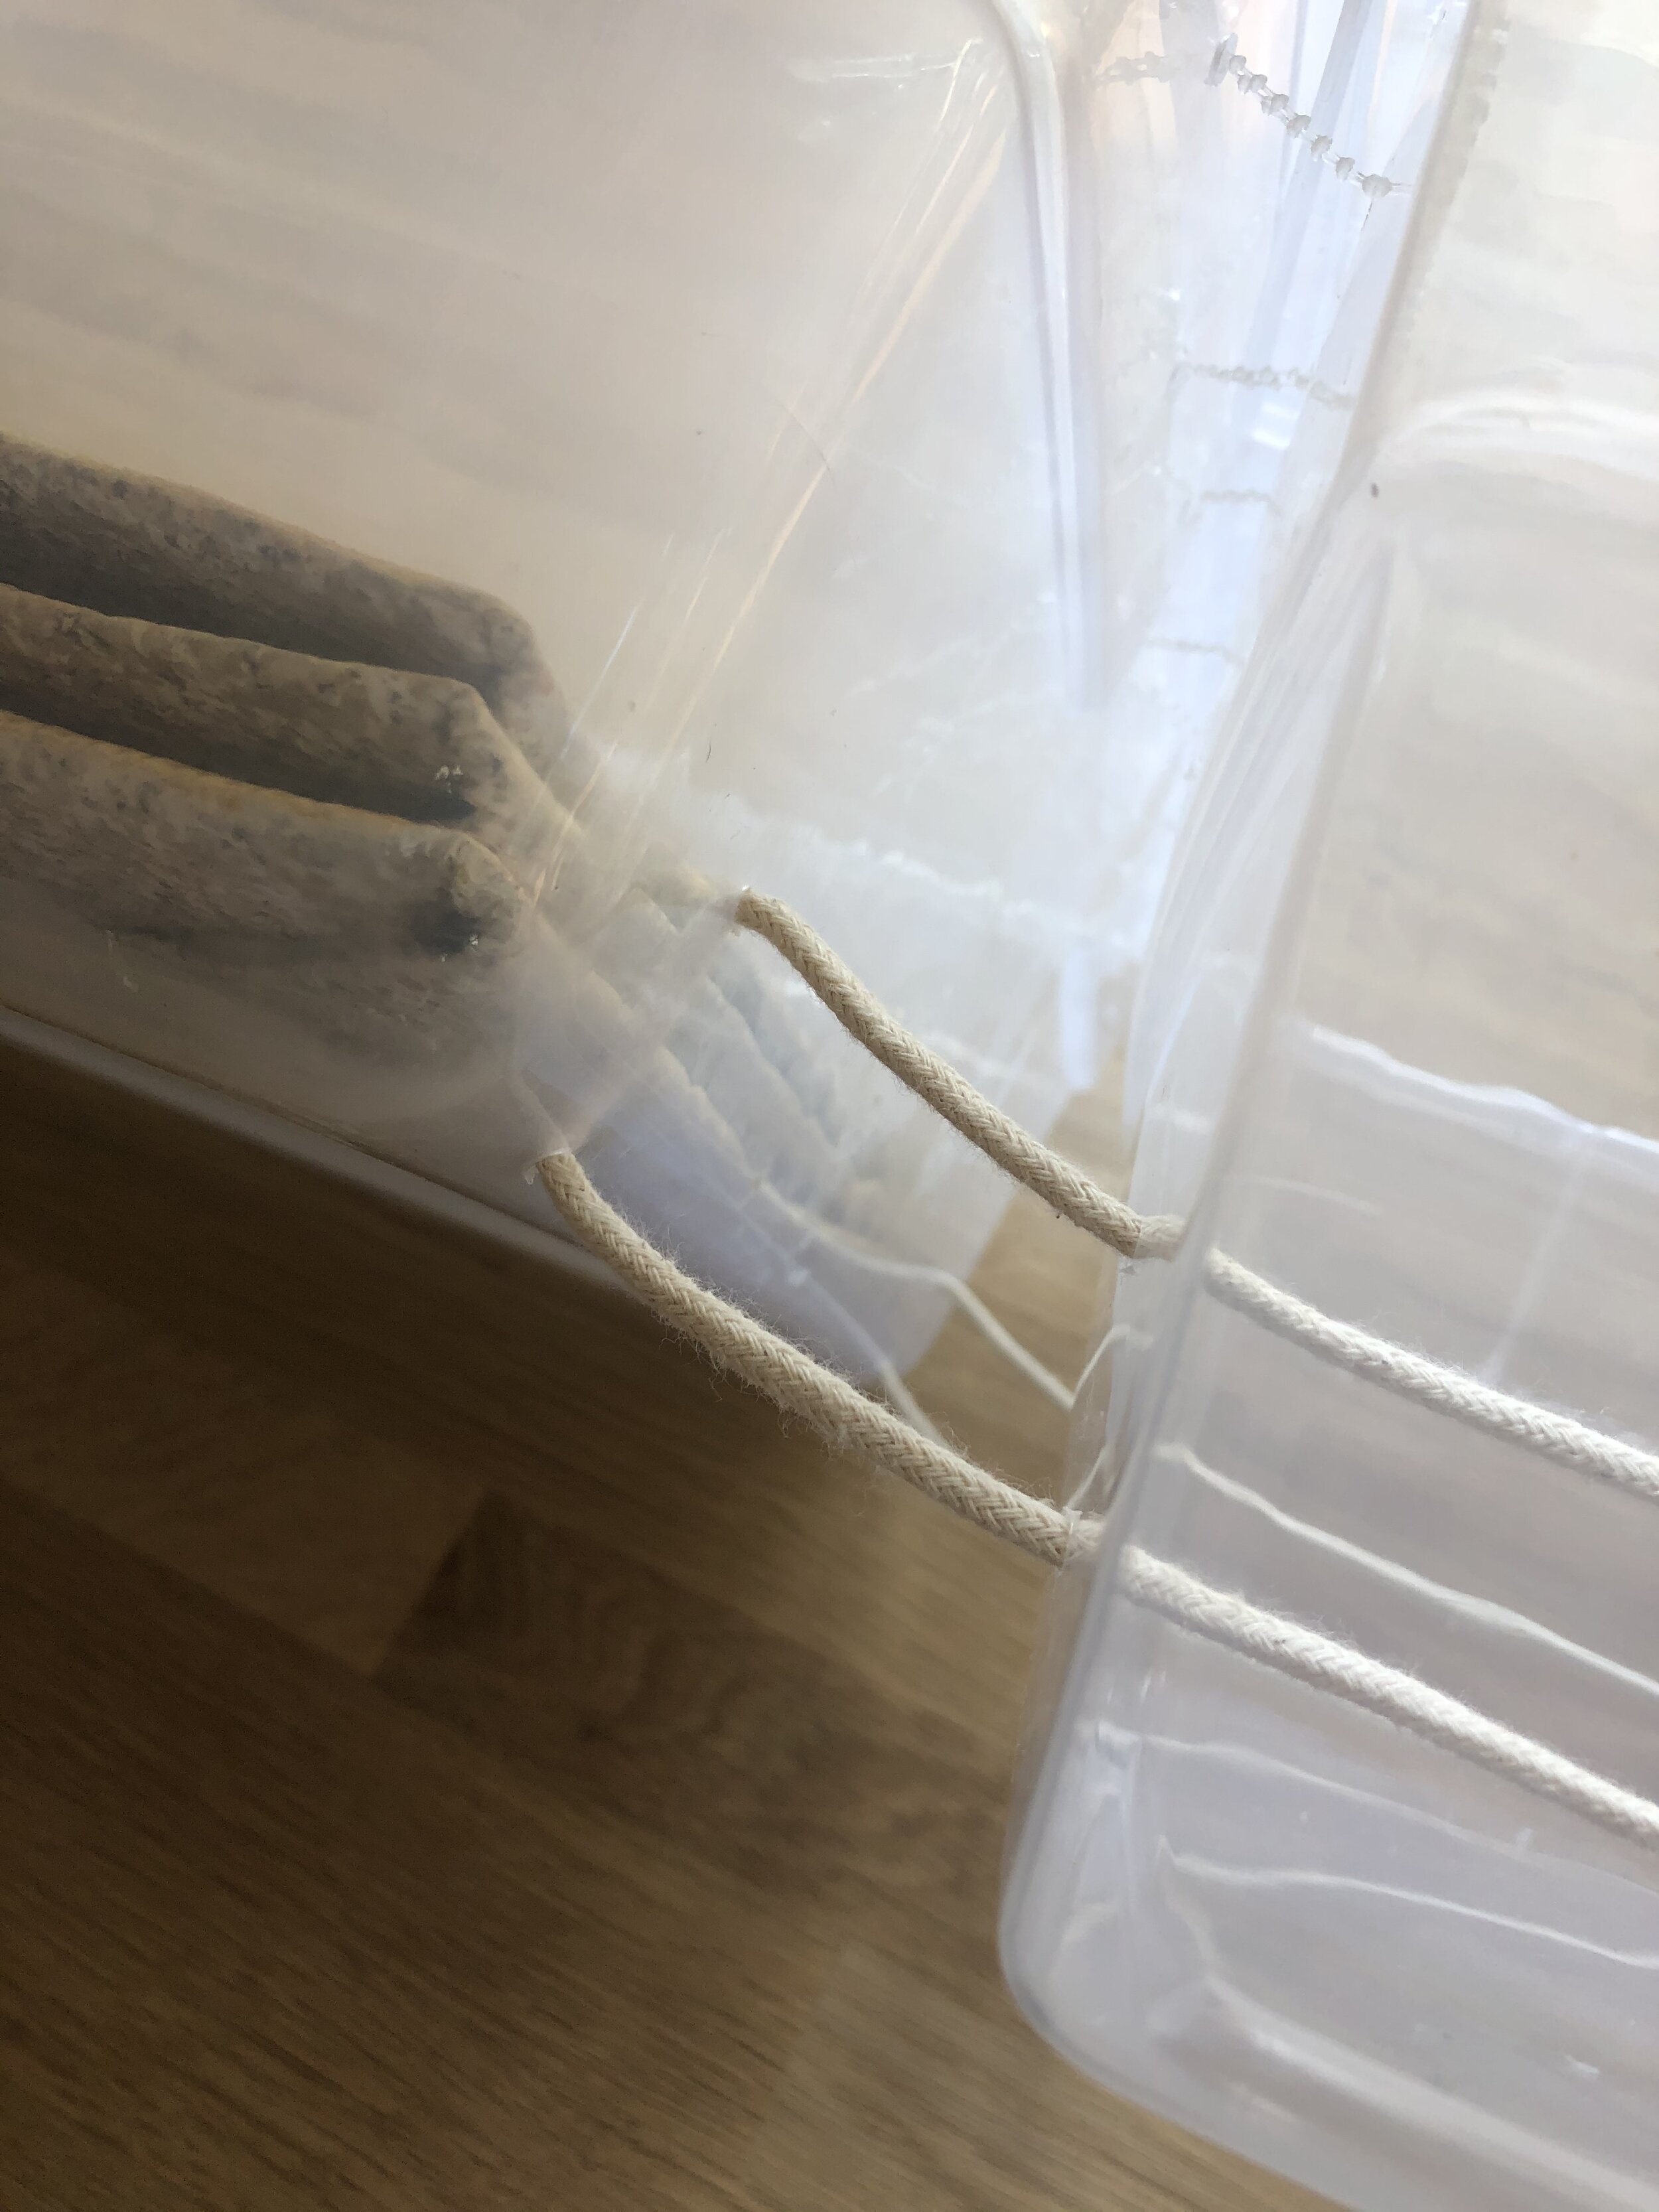
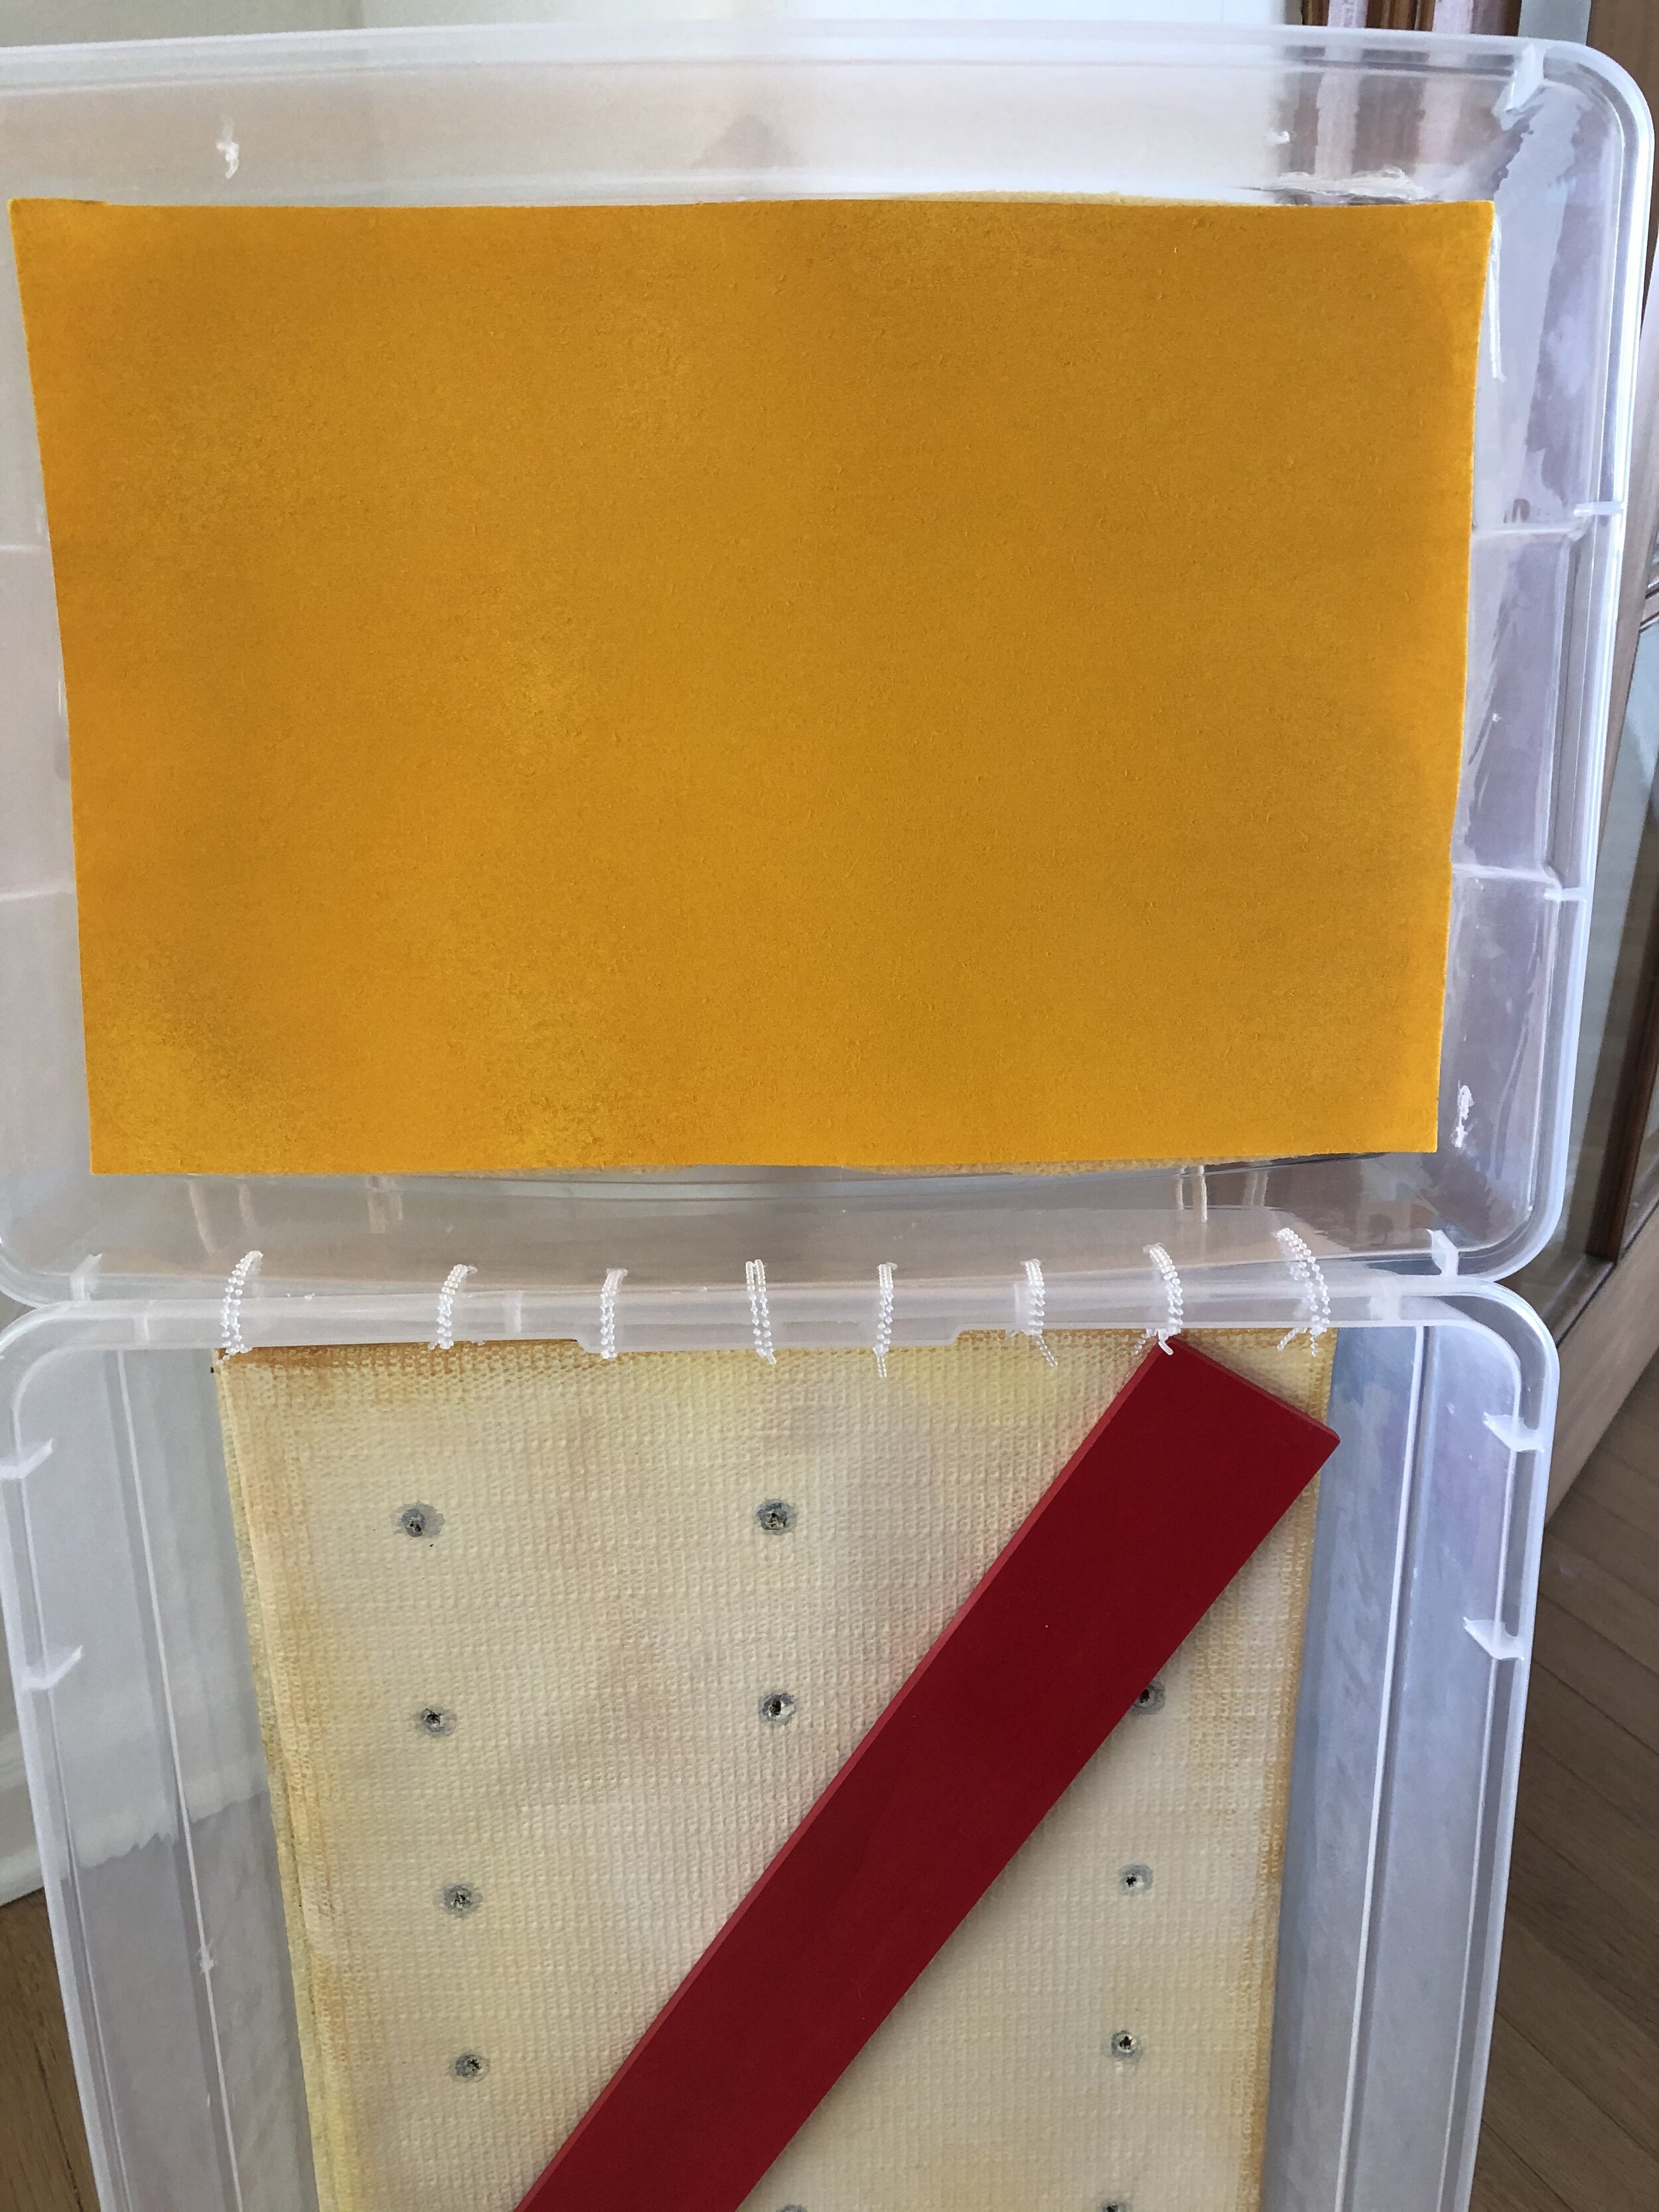
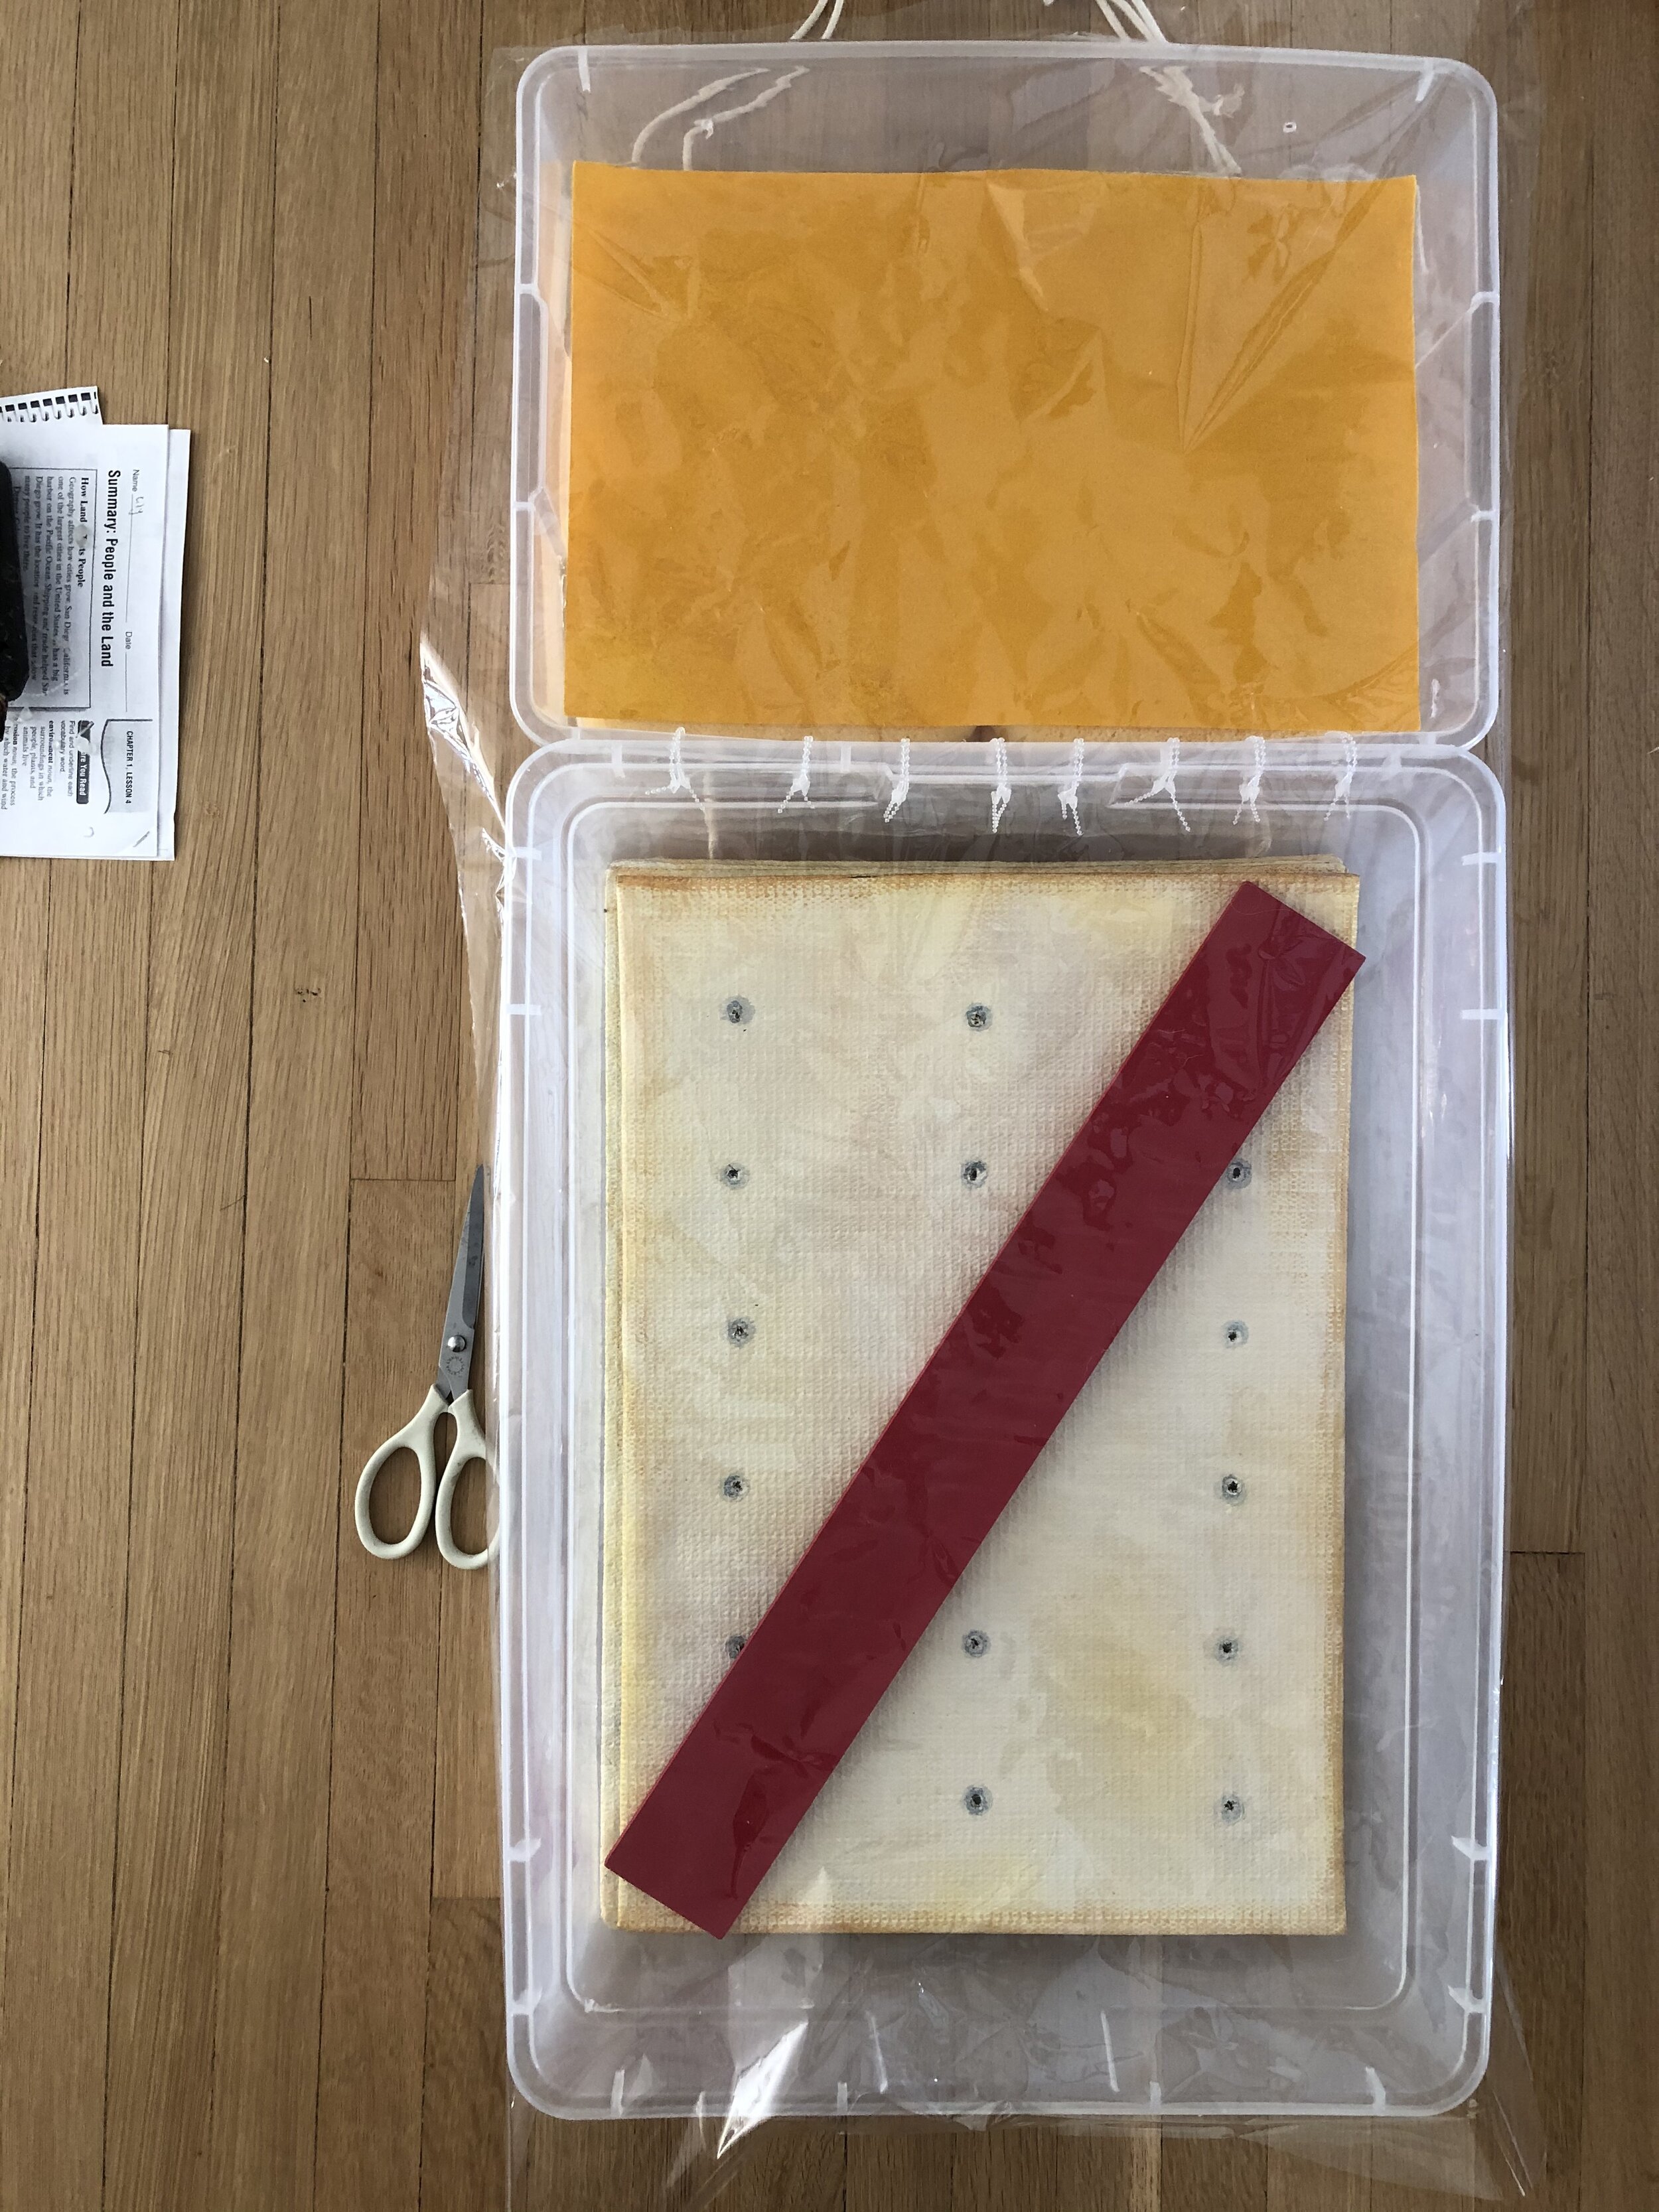
- Now drill through the bottom container and the top container so you can add your straps. You need the weight to be even so drill through both containers. If you only drill holes through the top, the cheese will pull off the cracker container and break because of the weight. Please see the picture above for more complete directions.
Now drill through the bottom container and the top container so you can add your straps. You need the weight to be even so drill through both containers. If you only drill holes through the top, the cheese will pull off the cracker container and break because of the weight. Please see the picture above for more complete directions.
- Carefully cut the shrink-wrap material to fit over the entire front of both bins. If your shrink-wrap is double sided, like mine, meaning it’s on the roll and when it comes off it looks like a pocket, just cut off the other half. You want the shrink wrap to hang over about three inches. It will shrink up so it’s better long than short! If it’s cut too short you will have to re-do it again.
Carefully cut the shrink-wrap material to fit over the entire front of both bins. If your shrink-wrap is double sided, like mine, meaning it’s on the roll and when it comes off it looks like a pocket, just cut off the other half. You want the shrink wrap to hang over about three inches. It will shrink up so it’s better long than short! If it’s cut too short you will have to re-do it again.
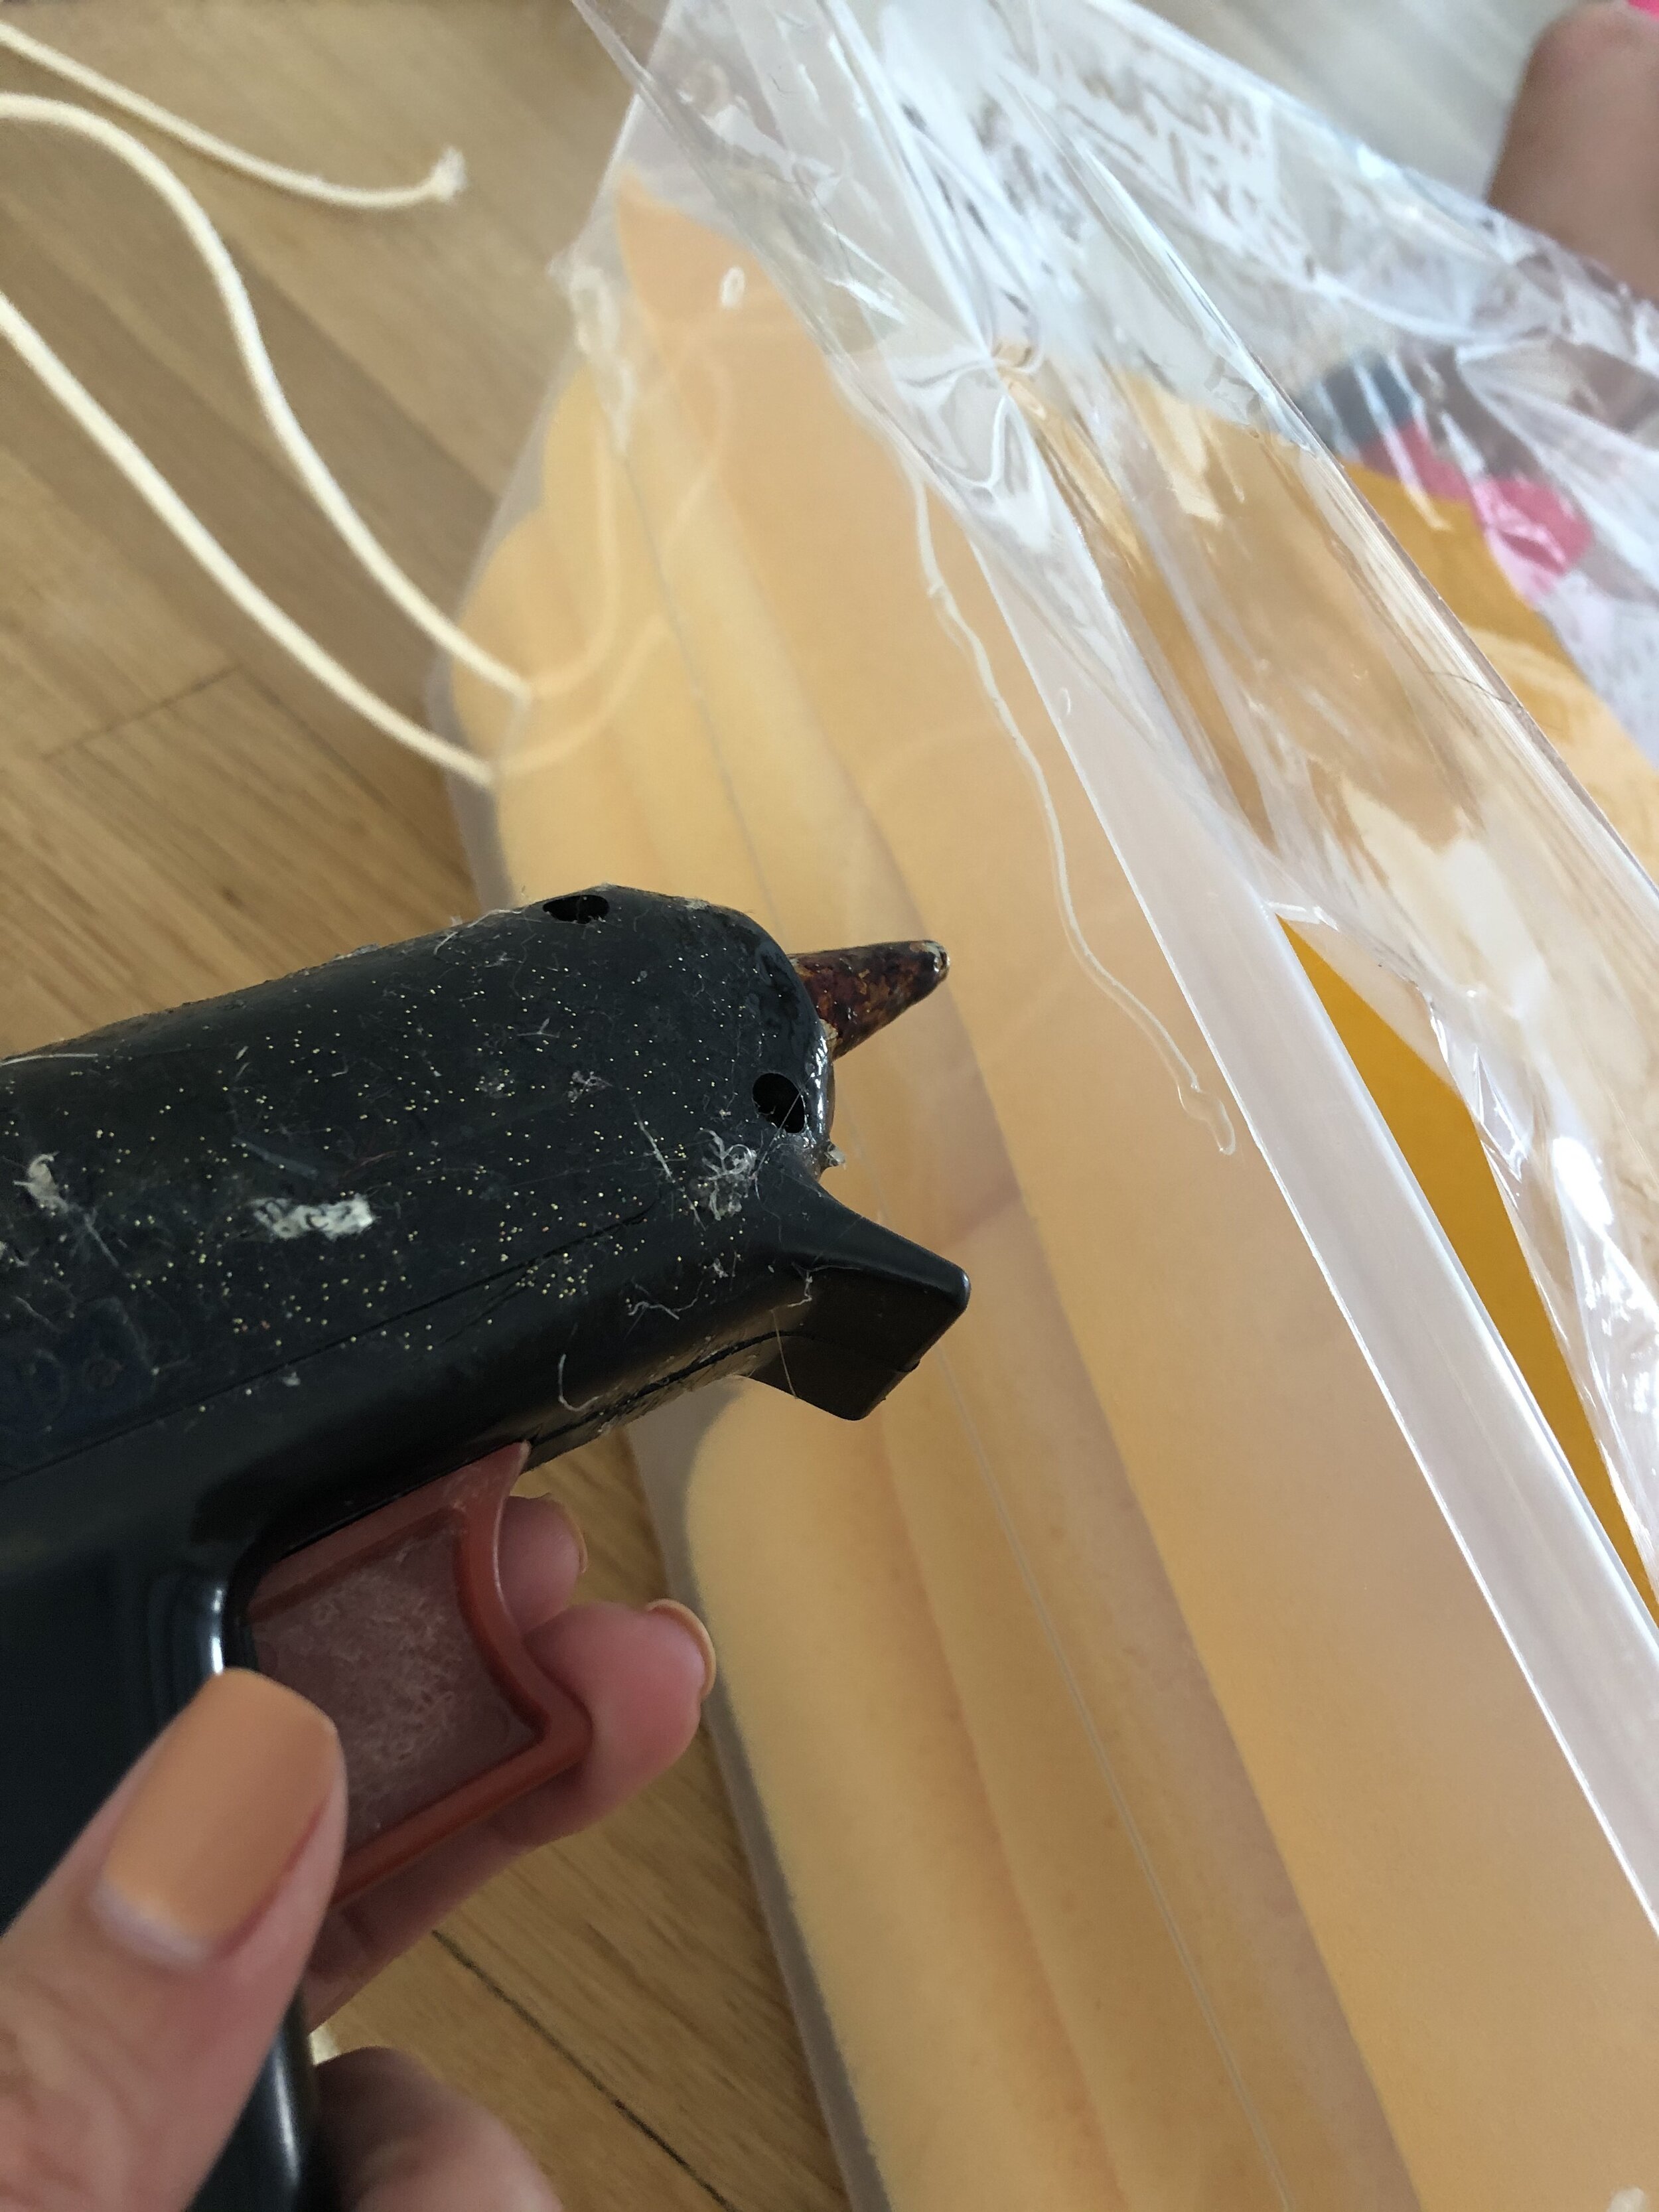
- Now super carefully, yet super quickly add hot glue along each edge not the base of the bin and hold down the edge of the shrink-wrap. Usually when you shrink wrap a basket you place it in the middle of the shrink wrap pocket so it all seals together, but in this case we are only shrink-wrapping the top so we need it to be glued to the sides for it to get tight on top. Does that make sense? Think of it like Saran Wrap on a bowl of food, but the Saran Wrap is already sticky. The shrink wrap isn’t sticky so we need to glue it around the edges of the bin.
Now super carefully, yet super quickly add hot glue along each edge not the base of the bin and hold down the edge of the shrink-wrap. Usually when you shrink wrap a basket you place it in the middle of the shrink wrap pocket so it all seals together, but in this case we are only shrink-wrapping the top so we need it to be glued to the sides for it to get tight on top. Does that make sense? Think of it like Saran Wrap on a bowl of food, but the Saran Wrap is already sticky. The shrink wrap isn’t sticky so we need to glue it around the edges of the bin.
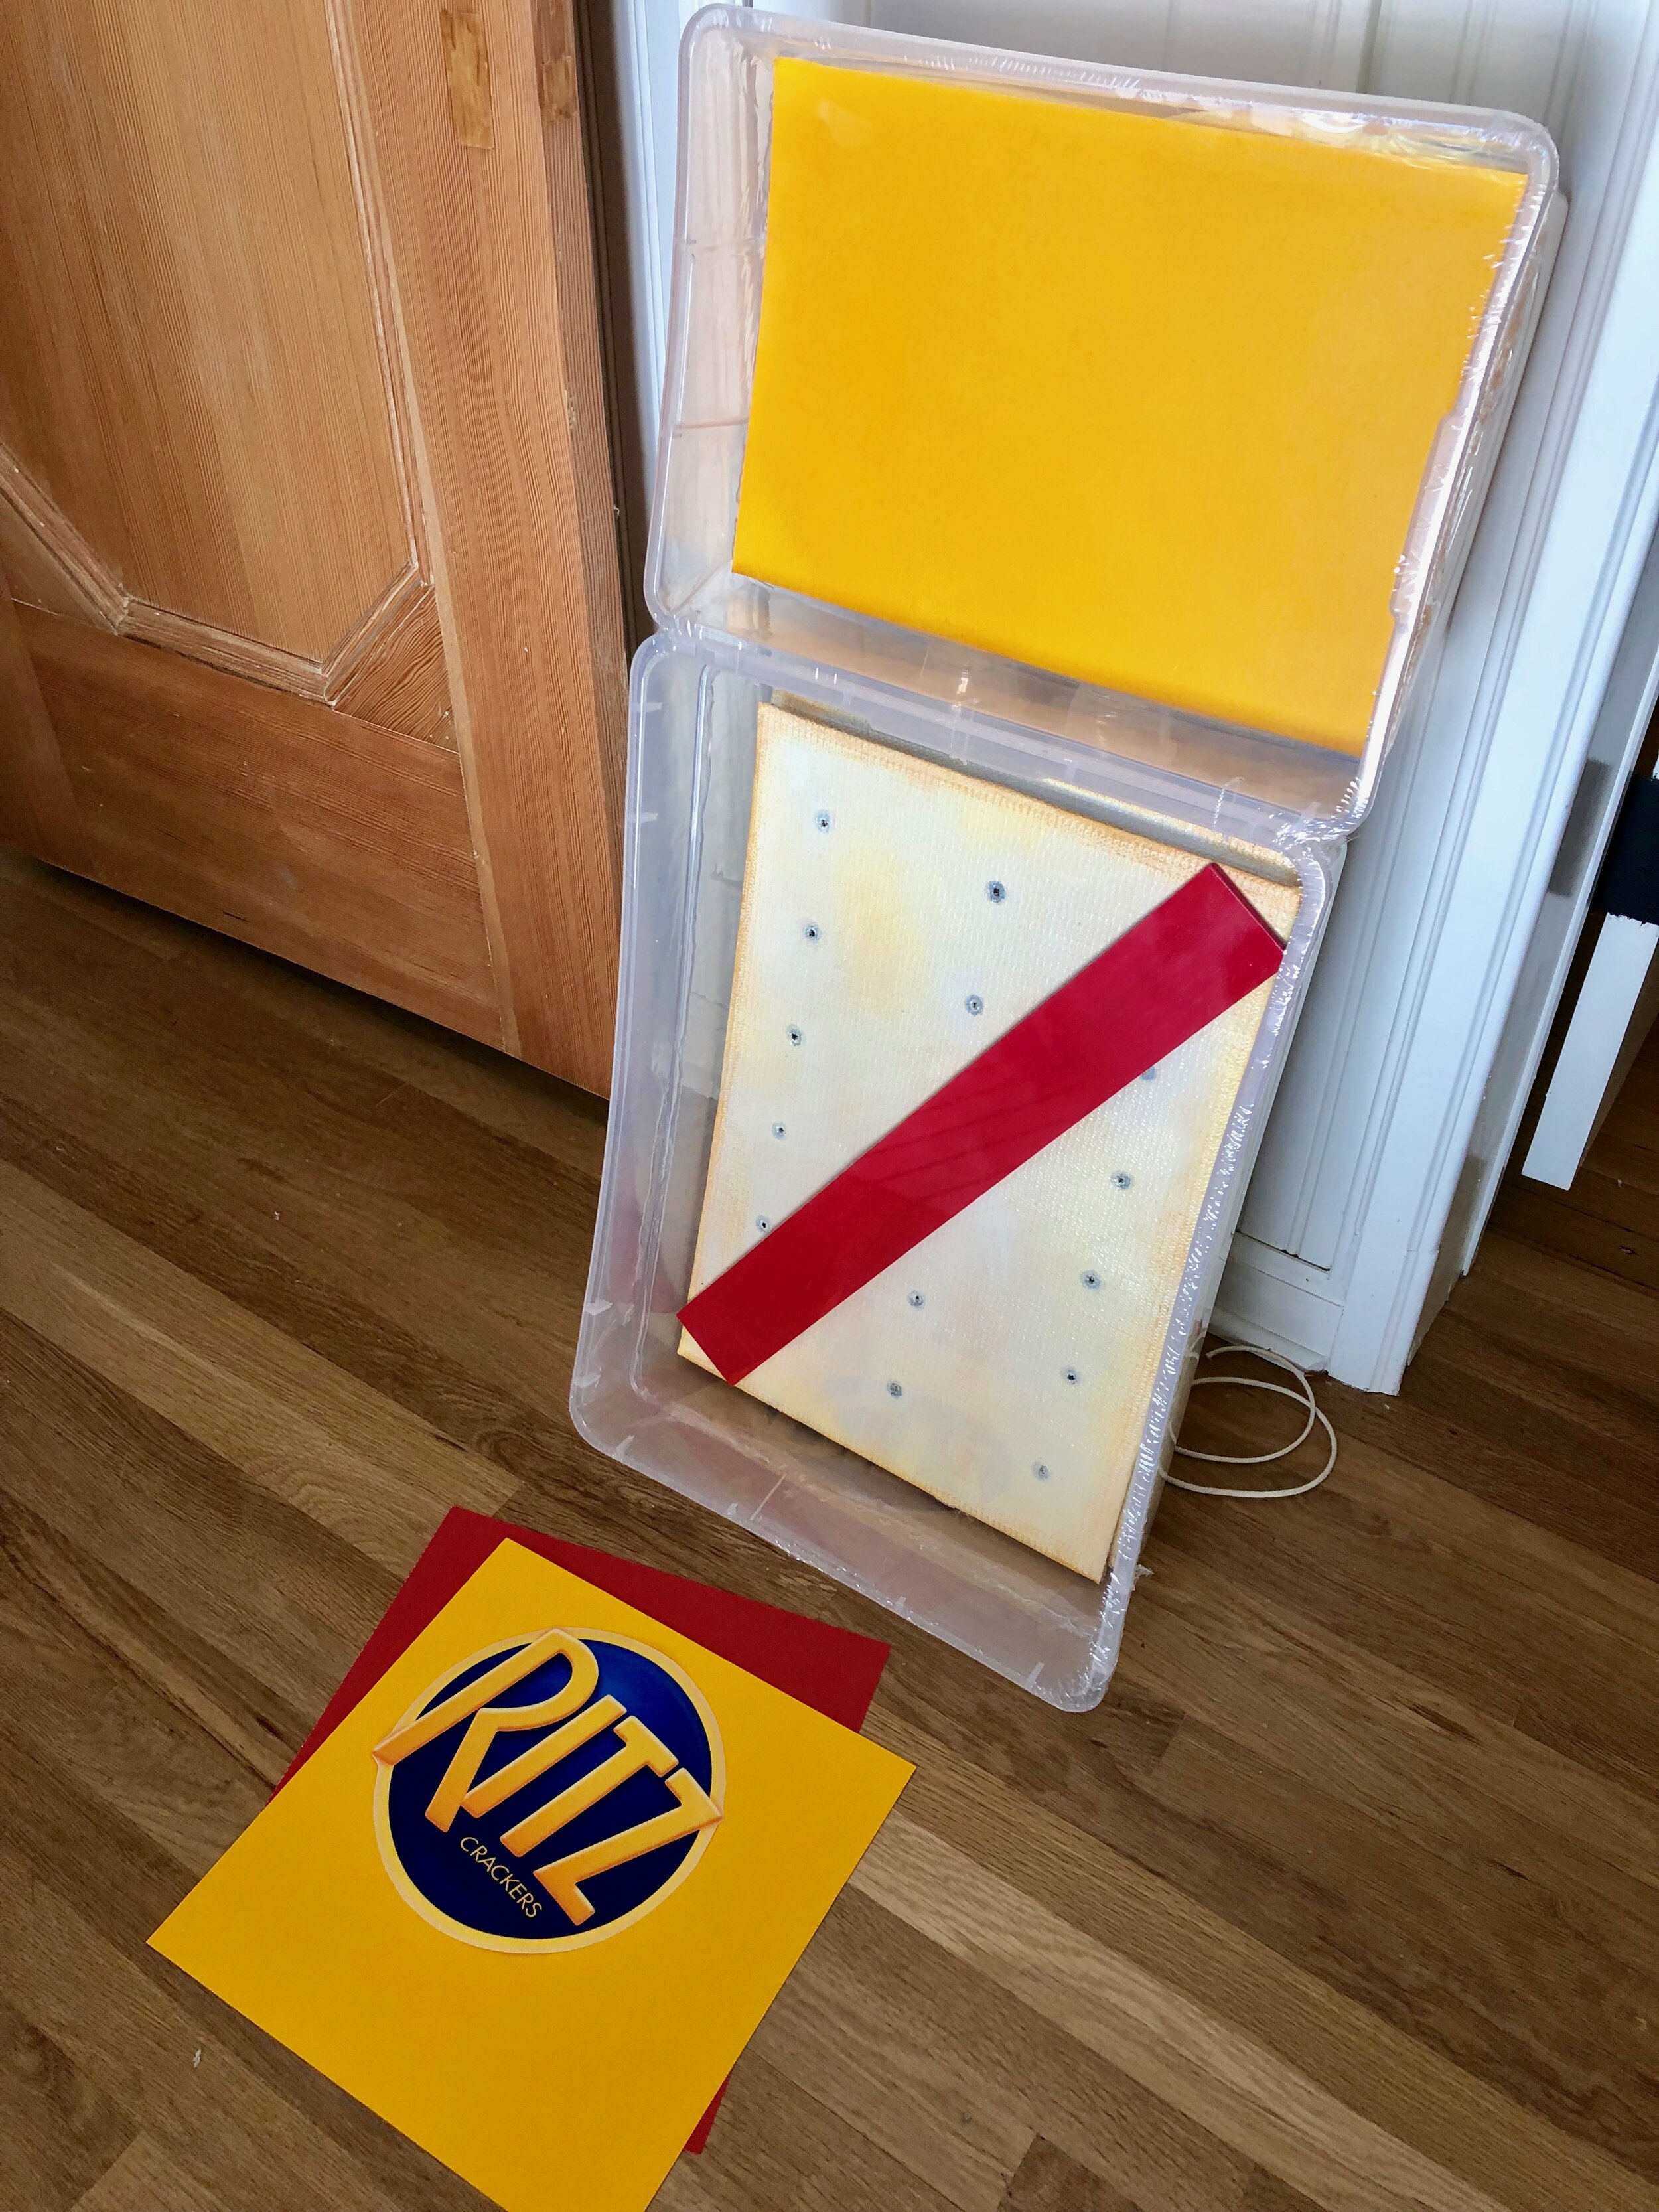
- Using a blowdryer, on Medium High heat and Medium Strength, carefully blow-dry the shrink-wrap material until it’s completely tight across the bins. If it starts to lift anywhere on the sides just add a dab of hot glue. Once everything is tight, blow dry the edges and shrink the extra long side pieces until they shrivel up. DO NOT use HIGH heat or High power with this. It will shrink it to fast and it will rip.
Using a blowdryer, on Medium High heat and Medium Strength, carefully blow-dry the shrink-wrap material until it’s completely tight across the bins. If it starts to lift anywhere on the sides just add a dab of hot glue. Once everything is tight, blow dry the edges and shrink the extra long side pieces until they shrivel up. DO NOT use HIGH heat or High power with this. It will shrink it to fast and it will rip.
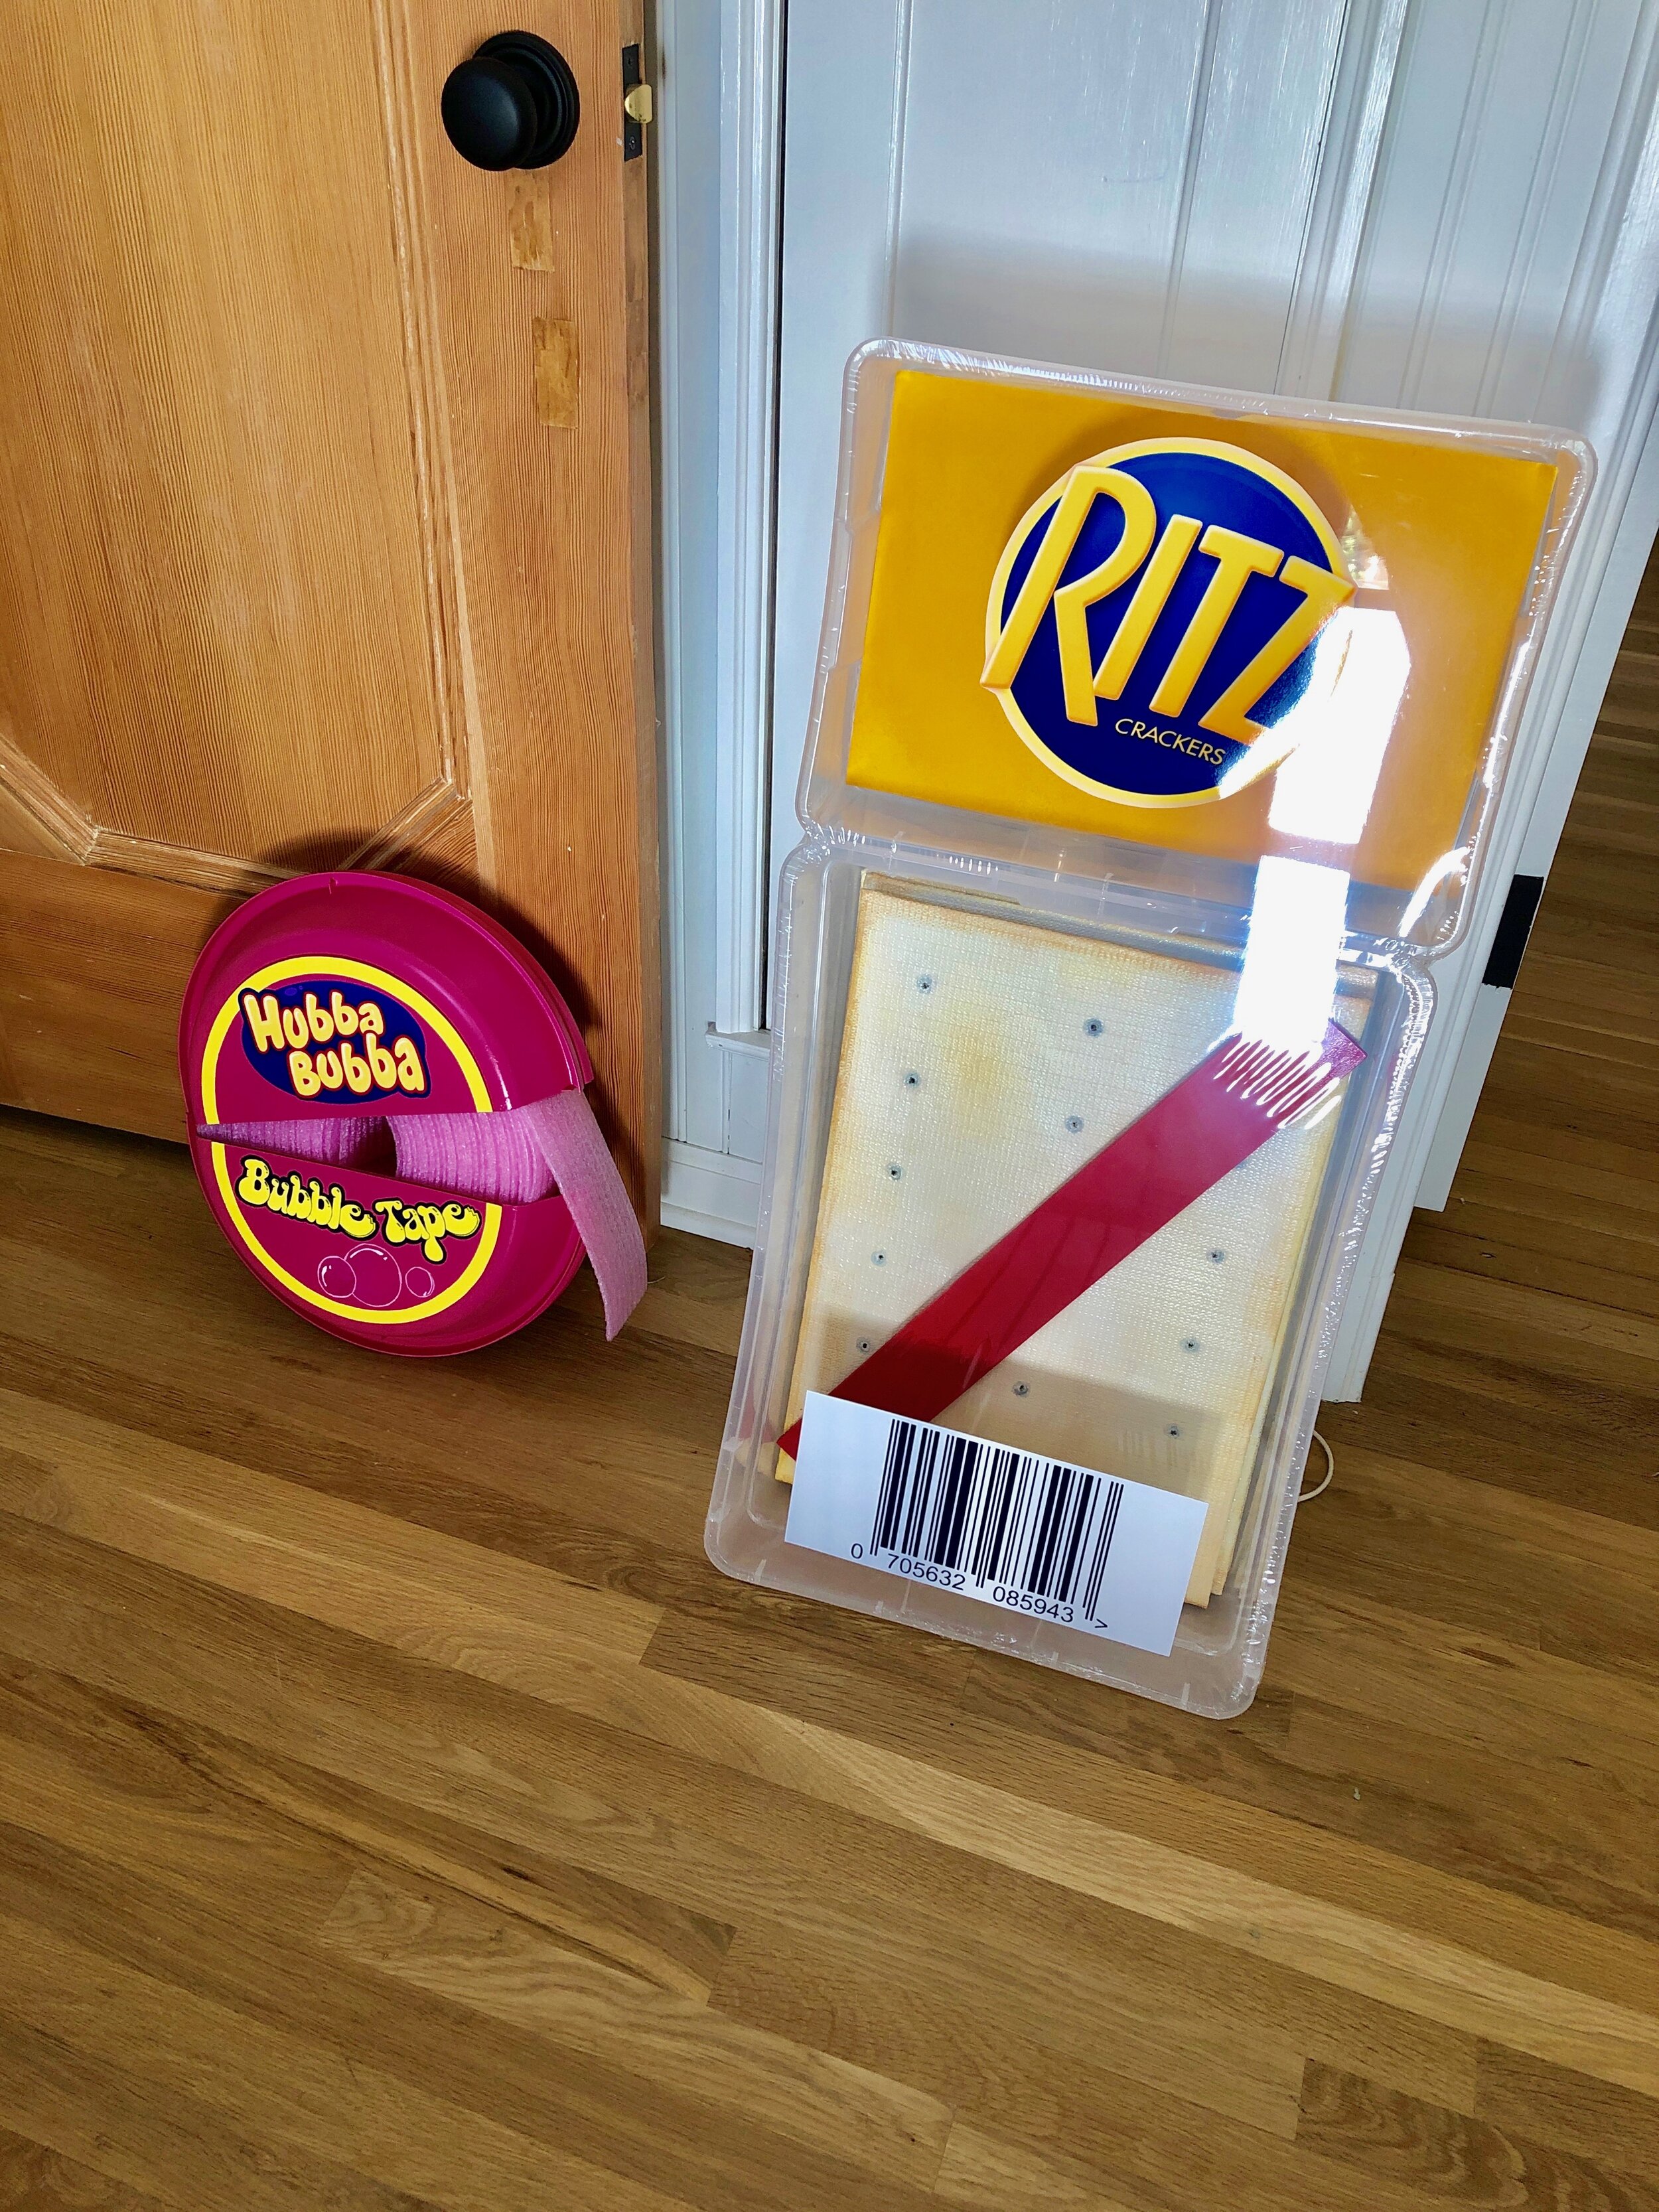
- Print the Hubba Bubba logo on High-Gloss Printer paper. If you wish to add the bar code, just google “Printable Barcode” and print any one that you desire on High Gloss paper as well. Attach with 3M spray glue!
Print the Hubba Bubba logo on High-Gloss Printer paper. If you wish to add the bar code, just google “Printable Barcode” and print any one that you desire on High Gloss paper as well. Attach with 3M spray glue!
- Firstly, you need (1) 23”Lx16 1/4” W x 6” H clear storage bin. I purchased mine at Home Depot. You could use a more shallow bin if you find one, but the smaller bin on top needs to be the same depth. This is the best I could find when I went looking. For the smaller bin I used a clear 16 3/4”L x 11 7/8"W x 7” H bin. This is going to hold your “cheese”.
Firstly, you need (1) 23”Lx16 1/4” W x 6” H clear storage bin. I purchased mine at Home Depot. You could use a more shallow bin if you find one, but the smaller bin on top needs to be the same depth. This is the best I could find when I went looking. For the smaller bin I used a clear 16 3/4”L x 11 7/8"W x 7” H bin. This is going to hold your “cheese”.
Firstly, you need (1) 23”Lx16 1/4” W x 6” H clear storage bin. I purchased mine at Home Depot. You could use a more shallow bin if you find one, but the smaller bin on top needs to be the same depth. This is the best I could find when I went looking. For the smaller bin I used a clear 16 3/4”L x 11 7/8"W x 7” H bin. This is going to hold your “cheese”.
- Take your sponges and trim (4) of the sponges length-wise about 3/4”. See picture above. In order to fit them in the small cheese bin I mentioned above (4) will need to be trimmed just ever so slightly. You will have two layers of 4 sponges. Place them iside the bin and make sure they all fit. You arenotgluing them down yet.
Take your sponges and trim (4) of the sponges length-wise about 3/4”. See picture above. In order to fit them in the small cheese bin I mentioned above (4) will need to be trimmed just ever so slightly. You will have two layers of 4 sponges. Place them iside the bin and make sure they all fit. You arenotgluing them down yet.
Take your sponges and trim (4) of the sponges length-wise about 3/4”. See picture above. In order to fit them in the small cheese bin I mentioned above (4) will need to be trimmed just ever so slightly. You will have two layers of 4 sponges. Place them iside the bin and make sure they all fit. You arenotgluing them down yet.
- Next, trim your piece of felt to fit your small bin. It will go right on top of the sponges.
Next, trim your piece of felt to fit your small bin. It will go right on top of the sponges.
Next, trim your piece of felt to fit your small bin. It will go right on top of the sponges.
- Spray the felt with yellow spray paint and let dry. Make sure it fits perfectly in your small bin on top of the sponges. Do not hot glue yet. Set aside.
Spray the felt with yellow spray paint and let dry. Make sure it fits perfectly in your small bin on top of the sponges. Do not hot glue yet. Set aside.
Spray the felt with yellow spray paint and let dry. Make sure it fits perfectly in your small bin on top of the sponges. Do not hot glue yet. Set aside.
- Take your piece of wood and using sand paper, remove any rough edges. Blow off any dust and spray paint red on both sides. (TIP:There is a hand saw in the wood aisle at Home Depot and you can cut the piece of wood to size yourself, for free, before even leaving the store.)
Take your piece of wood and using sand paper, remove any rough edges. Blow off any dust and spray paint red on both sides. (TIP:There is a hand saw in the wood aisle at Home Depot and you can cut the piece of wood to size yourself, for free, before even leaving the store.)
Take your piece of wood and using sand paper, remove any rough edges. Blow off any dust and spray paint red on both sides. (TIP:There is a hand saw in the wood aisle at Home Depot and you can cut the piece of wood to size yourself, for free, before even leaving the store.)
- Next, you will need to make the “crackers”. I made all my crackers roughly 22”L x 15” W, but you will need to cut the cardboard to the size of your bin. Once all the cardboard is cut, wrap each cracker in textured contact paper on one side only. I used the speckled contact paper from Home Depot because I think it gives the crackers a more realistic look. Use a small amount of hot glue to adhere the contact paper and secure the corners.
Next, you will need to make the “crackers”. I made all my crackers roughly 22”L x 15” W, but you will need to cut the cardboard to the size of your bin. Once all the cardboard is cut, wrap each cracker in textured contact paper on one side only. I used the speckled contact paper from Home Depot because I think it gives the crackers a more realistic look. Use a small amount of hot glue to adhere the contact paper and secure the corners.
Next, you will need to make the “crackers”. I made all my crackers roughly 22”L x 15” W, but you will need to cut the cardboard to the size of your bin. Once all the cardboard is cut, wrap each cracker in textured contact paper on one side only. I used the speckled contact paper from Home Depot because I think it gives the crackers a more realistic look. Use a small amount of hot glue to adhere the contact paper and secure the corners.
- Once all the crackers have been glued, spray paint the edges white on 3 crackers, followed by a gentle spray of ivory spray paint and then use a brush to paint the light brown on the edges. Just roughly brush along the edge so it looks unique on all sides. You do not need to paint the centers of these crackers as they will be glued to the main cracker. For the main cracker that will show, you need to paint the entire cracker. I went back and forth with white spray paint, ivory spray paint, and a light brown acrylic paint to make it look as real as possible.
Once all the crackers have been glued, spray paint the edges white on 3 crackers, followed by a gentle spray of ivory spray paint and then use a brush to paint the light brown on the edges. Just roughly brush along the edge so it looks unique on all sides. You do not need to paint the centers of these crackers as they will be glued to the main cracker. For the main cracker that will show, you need to paint the entire cracker. I went back and forth with white spray paint, ivory spray paint, and a light brown acrylic paint to make it look as real as possible.
Once all the crackers have been glued, spray paint the edges white on 3 crackers, followed by a gentle spray of ivory spray paint and then use a brush to paint the light brown on the edges. Just roughly brush along the edge so it looks unique on all sides. You do not need to paint the centers of these crackers as they will be glued to the main cracker. For the main cracker that will show, you need to paint the entire cracker. I went back and forth with white spray paint, ivory spray paint, and a light brown acrylic paint to make it look as real as possible.
- Once completely dry, you will use your 3/16” drill bit to make 18 evenly spaced holes on the cracker. I just eyeballed these and marked them out with a sharpie beforehand and then drilled right through the contact paper and cardboard. Once I drilled all the holes I went over the holes gently with light brown paint and then sprayed another super light coat of ivory over them so it looked like a cracker. The paint isn’t a science so just keep layering colors until to resembles a cracker and don’t forget to gently brush the brown on certain areas as well. The brown gives it depth.
Once completely dry, you will use your 3/16” drill bit to make 18 evenly spaced holes on the cracker. I just eyeballed these and marked them out with a sharpie beforehand and then drilled right through the contact paper and cardboard. Once I drilled all the holes I went over the holes gently with light brown paint and then sprayed another super light coat of ivory over them so it looked like a cracker. The paint isn’t a science so just keep layering colors until to resembles a cracker and don’t forget to gently brush the brown on certain areas as well. The brown gives it depth.
Once completely dry, you will use your 3/16” drill bit to make 18 evenly spaced holes on the cracker. I just eyeballed these and marked them out with a sharpie beforehand and then drilled right through the contact paper and cardboard. Once I drilled all the holes I went over the holes gently with light brown paint and then sprayed another super light coat of ivory over them so it looked like a cracker. The paint isn’t a science so just keep layering colors until to resembles a cracker and don’t forget to gently brush the brown on certain areas as well. The brown gives it depth.
- Now drill through the bottom container and the top container so you can add your straps. You need the weight to be even so drill through both containers. If you only drill holes through the top, the cheese will pull off the cracker container and break because of the weight. Please see the picture above for more complete directions.
Now drill through the bottom container and the top container so you can add your straps. You need the weight to be even so drill through both containers. If you only drill holes through the top, the cheese will pull off the cracker container and break because of the weight. Please see the picture above for more complete directions.
Now drill through the bottom container and the top container so you can add your straps. You need the weight to be even so drill through both containers. If you only drill holes through the top, the cheese will pull off the cracker container and break because of the weight. Please see the picture above for more complete directions.
- Carefully cut the shrink-wrap material to fit over the entire front of both bins. If your shrink-wrap is double sided, like mine, meaning it’s on the roll and when it comes off it looks like a pocket, just cut off the other half. You want the shrink wrap to hang over about three inches. It will shrink up so it’s better long than short! If it’s cut too short you will have to re-do it again.
Carefully cut the shrink-wrap material to fit over the entire front of both bins. If your shrink-wrap is double sided, like mine, meaning it’s on the roll and when it comes off it looks like a pocket, just cut off the other half. You want the shrink wrap to hang over about three inches. It will shrink up so it’s better long than short! If it’s cut too short you will have to re-do it again.
Carefully cut the shrink-wrap material to fit over the entire front of both bins. If your shrink-wrap is double sided, like mine, meaning it’s on the roll and when it comes off it looks like a pocket, just cut off the other half. You want the shrink wrap to hang over about three inches. It will shrink up so it’s better long than short! If it’s cut too short you will have to re-do it again.
- Now super carefully, yet super quickly add hot glue along each edge not the base of the bin and hold down the edge of the shrink-wrap. Usually when you shrink wrap a basket you place it in the middle of the shrink wrap pocket so it all seals together, but in this case we are only shrink-wrapping the top so we need it to be glued to the sides for it to get tight on top. Does that make sense? Think of it like Saran Wrap on a bowl of food, but the Saran Wrap is already sticky. The shrink wrap isn’t sticky so we need to glue it around the edges of the bin.
Now super carefully, yet super quickly add hot glue along each edge not the base of the bin and hold down the edge of the shrink-wrap. Usually when you shrink wrap a basket you place it in the middle of the shrink wrap pocket so it all seals together, but in this case we are only shrink-wrapping the top so we need it to be glued to the sides for it to get tight on top. Does that make sense? Think of it like Saran Wrap on a bowl of food, but the Saran Wrap is already sticky. The shrink wrap isn’t sticky so we need to glue it around the edges of the bin.
Now super carefully, yet super quickly add hot glue along each edge not the base of the bin and hold down the edge of the shrink-wrap. Usually when you shrink wrap a basket you place it in the middle of the shrink wrap pocket so it all seals together, but in this case we are only shrink-wrapping the top so we need it to be glued to the sides for it to get tight on top. Does that make sense? Think of it like Saran Wrap on a bowl of food, but the Saran Wrap is already sticky. The shrink wrap isn’t sticky so we need to glue it around the edges of the bin.
- Using a blowdryer, on Medium High heat and Medium Strength, carefully blow-dry the shrink-wrap material until it’s completely tight across the bins. If it starts to lift anywhere on the sides just add a dab of hot glue. Once everything is tight, blow dry the edges and shrink the extra long side pieces until they shrivel up. DO NOT use HIGH heat or High power with this. It will shrink it to fast and it will rip.
Using a blowdryer, on Medium High heat and Medium Strength, carefully blow-dry the shrink-wrap material until it’s completely tight across the bins. If it starts to lift anywhere on the sides just add a dab of hot glue. Once everything is tight, blow dry the edges and shrink the extra long side pieces until they shrivel up. DO NOT use HIGH heat or High power with this. It will shrink it to fast and it will rip.
Using a blowdryer, on Medium High heat and Medium Strength, carefully blow-dry the shrink-wrap material until it’s completely tight across the bins. If it starts to lift anywhere on the sides just add a dab of hot glue. Once everything is tight, blow dry the edges and shrink the extra long side pieces until they shrivel up. DO NOT use HIGH heat or High power with this. It will shrink it to fast and it will rip.
- Print the Hubba Bubba logo on High-Gloss Printer paper. If you wish to add the bar code, just google “Printable Barcode” and print any one that you desire on High Gloss paper as well. Attach with 3M spray glue!
Print the Hubba Bubba logo on High-Gloss Printer paper. If you wish to add the bar code, just google “Printable Barcode” and print any one that you desire on High Gloss paper as well. Attach with 3M spray glue!
Print the Hubba Bubba logo on High-Gloss Printer paper. If you wish to add the bar code, just google “Printable Barcode” and print any one that you desire on High Gloss paper as well. Attach with 3M spray glue!




2 comments
Christina Tobia
Incredible 🙂
Jessie Daye
Thank you!