A handmade wooden serving tray made from wood planks with handles and optional stenciled decoration.
DIY Wood Christmas Tray

by Jessie Daye
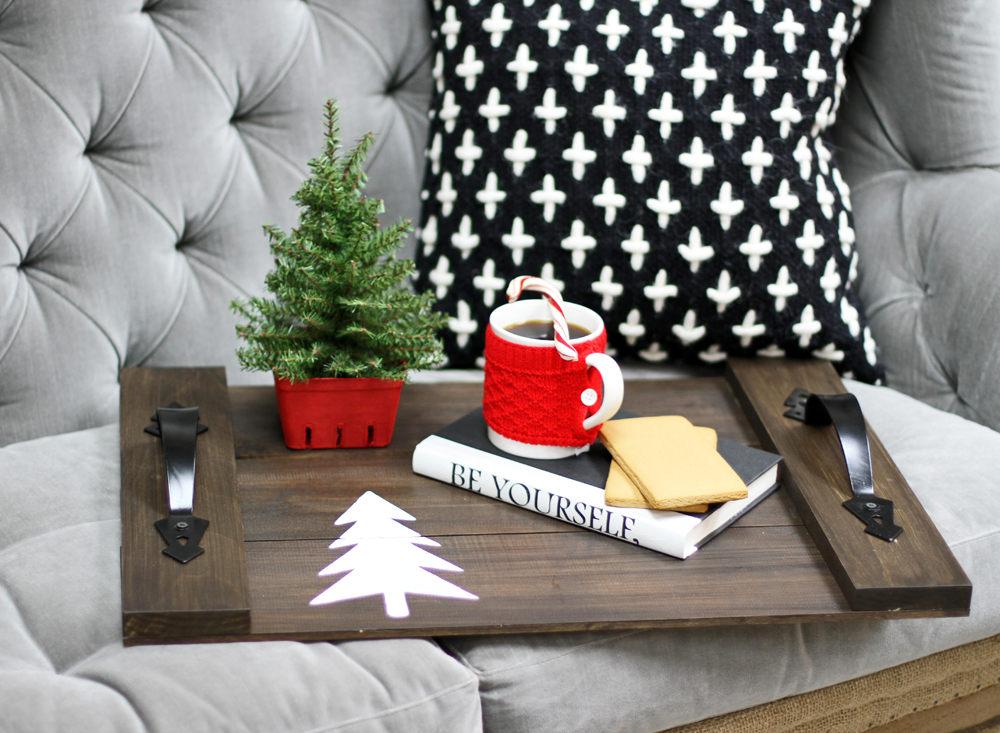
DIY Wood Christmas Tray
What you need
- 3 pieces 24" x 5" wood
- 2 pieces 15" x 4" wood pieces
- Nails
- Wood Glue
- Cabinet or door hardware (2 handles)
- Screw driver/Hammer
- Wood Stain
- Stencils & Paint & Brush (optional)
Directions
- Stain all wood pieces with wood stain and let dry.
- Lay three 24" wood bases down and leave about a half inch in between the slats if you want it to look more like a tray crate.
- Apply wood glue to the sides of both ends of each of the three planks and carefully lay the two smaller slats over top the glue and press down to dry.
- Hammer in nails on the top of the wood plank that is laying across the three planks (6 nails total - 3 on each side).
- Lay hardware on the edges of the tray and screw into place.
- If stenciling the tray, lay the stencil down and using a short, rough paint brush, dot your color into the stencil. Try not to brush back and forth as this will get paint underneath the stencil.
Tips: You can use any type of wood. You can add hardware to an existing round piece of wood or use a pallet and take apart the planks. You could even use a cutting board and add door hardware to it. Get creative!
Tried this project?
Let us know how it was!This post may contain affiliate links, please see our privacy policy for details.

Hi, I'm Jessie.
I’m a Los Angeles mama, home renovator, and lifelong creative, sharing the things that make everyday life a little more beautiful. I believe food is one of the best ways to bring people together, which is why I love cooking: it turns an ordinary Tuesday into something worth remembering. From recipes I make on repeat to DIY projects, home design, and a little bit of real life in between — welcome to my corner of the internet. I’m so glad you’re here.
Let’s be friends!
Be the first to receive exclusive content, hear about upcoming collaborations, and special events!