Create affordable and easy Halloween tombstones from foam sheets with carved lettering and distressed details.
DIY Halloween Tombstones

by Jessie Daye
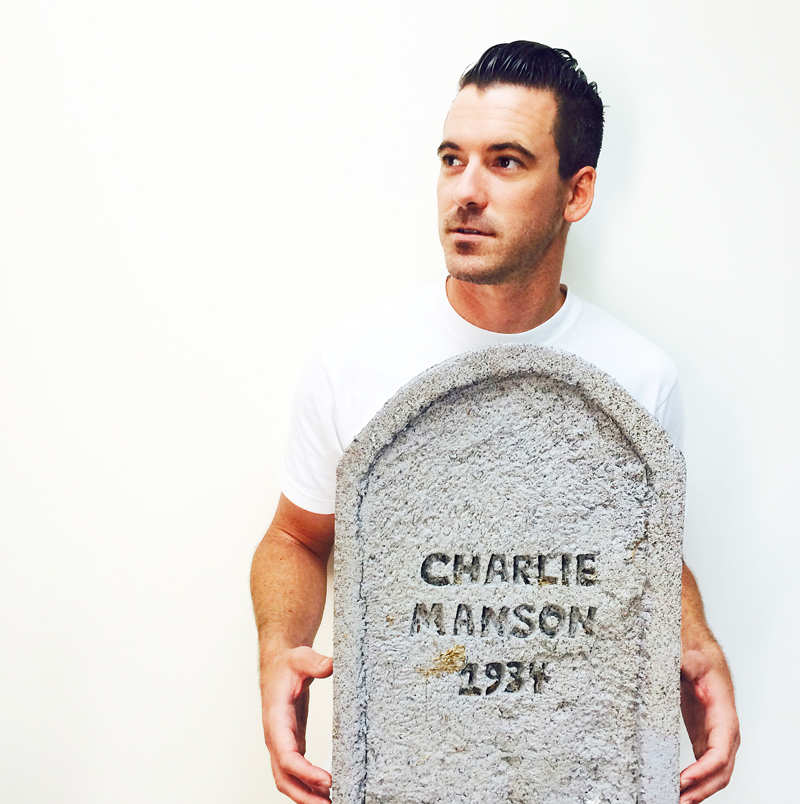
DIY Halloween Tombstones
What you need
- 1 sheet of 2" Insulfoam ($6, makes 3 tombstones)
- Utility Knife
- Primer & Black Paint (or gray paint)
- Paint Brush
- Pencil
- Tape Measurer
- Hand saw (optional)
- Rock Spray paint (optional) or Dirt
- X-acto knife
- Serrated knife or saw
- Pen or screwdriver
Directions
- Peel off foil backing from both sides of foam sheet.
- Measure and cut sheet into 3 equal pieces using utility knife, cutting both sides then breaking apart.
- Draw tombstone shape with rounded top edges using pencil.
- Write RIP, dates, or names in thick block letters.
- Scrape out the middle of letters with X-acto or utility knife.
- Round the edges using serrated knife or saw.
- Create cracks all over the tombstone using the back of a pen or screwdriver to add creepy texture.
- Mix primer with one drop of black paint - it will look white but turn gray on foam. The primer eats away at foam creating small holes for extra creepy effect.
- Paint both sides and let dry.
- 1
- Optional: Add darker stain, rock spray paint, or brown paint with actual dirt inside lettering for weathered, creepy appearance.
Tried this project?
Let us know how it was!This post may contain affiliate links, please see our privacy policy for details.

Hi, I'm Jessie.
I’m a Los Angeles mama, home renovator, and lifelong creative, sharing the things that make everyday life a little more beautiful. I believe food is one of the best ways to bring people together, which is why I love cooking: it turns an ordinary Tuesday into something worth remembering. From recipes I make on repeat to DIY projects, home design, and a little bit of real life in between — welcome to my corner of the internet. I’m so glad you’re here.
Let’s be friends!
Be the first to receive exclusive content, hear about upcoming collaborations, and special events!