Create a decorative rug by adhering leather belts to a faux leather fabric base in a custom pattern.
DIY Belt Rug

by Jessie Daye
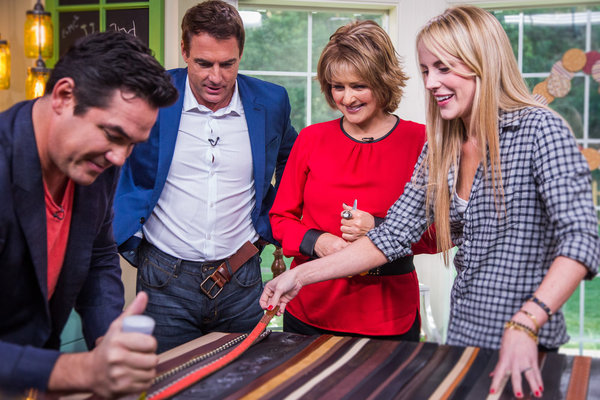
DIY Belt Rug
What you need
- Leather belts (multiple, various colors)
- Faux leather or pleather fabric (cut to desired rug size)
- Scissors
- Heavy-duty adhesive/fabric glue (fast-drying, high-tack)
- Large belt or heavy object (for weighing down belts while drying)
Directions
- Cut a piece of faux leather or pleather fabric to your desired rug size.
- Arrange belts on the fabric in your desired pattern.
- Using scissors, cut off the buckle from one side of each belt and trim the other side to fit the rug dimensions.
- Mix and match belt colors and consider leaving some belt holes visible for visual interest.
- Working with 2-3 belts at a time, apply generous amounts of fast-drying glue in a zig-zag pattern directly to the faux leather base, covering a large area.
- Quickly press belts down onto the glued surface.
- If belts start to pop up, place a heavy belt or weight on top to keep them flat while drying.
- Work in sections until all belts are adhered. Note: The glue dries very quickly, so work fast and only glue a few belts at a time. Approximately 2 bottles of heavy-duty adhesive needed for a large rug.
Tried this project?
Let us know how it was!This post may contain affiliate links, please see our privacy policy for details.

Hi, I'm Jessie.
I’m a Los Angeles mama, home renovator, and lifelong creative, sharing the things that make everyday life a little more beautiful. I believe food is one of the best ways to bring people together, which is why I love cooking: it turns an ordinary Tuesday into something worth remembering. From recipes I make on repeat to DIY projects, home design, and a little bit of real life in between — welcome to my corner of the internet. I’m so glad you’re here.
Let’s be friends!
Be the first to receive exclusive content, hear about upcoming collaborations, and special events!