Create oxidized copper patina-finished decorative pumpkins using a patina kit.
DIY Patina Pumpkins

by Jessie Daye
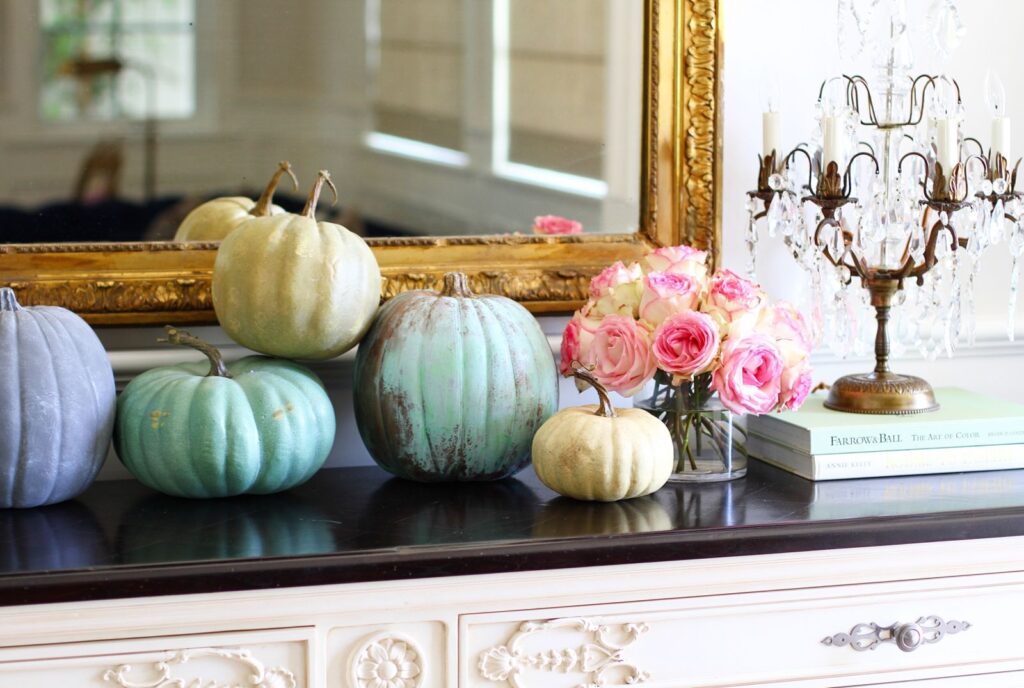
DIY Patina Pumpkins
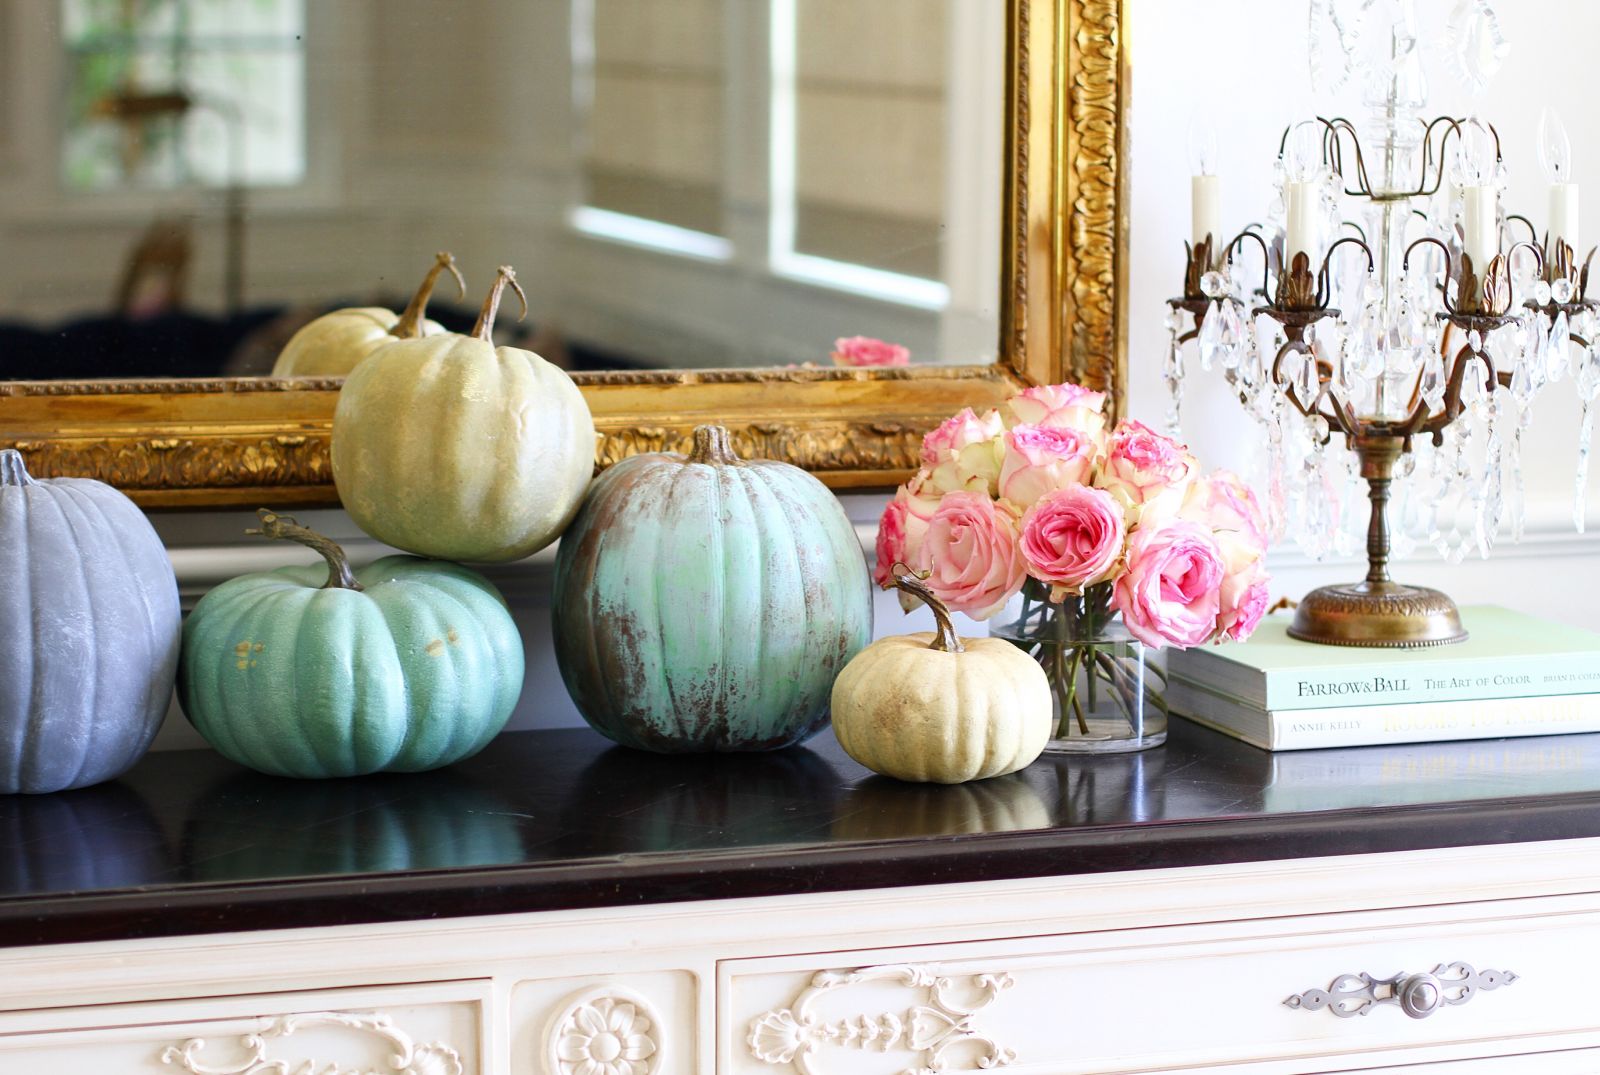
What you need
- 9" craft pumpkin
- Modern Masters green patina kit
- Primer (included in kit)
- Copper paint (included in kit)
- Aging solution (included in kit)
Directions
- Paint the pumpkin following the instructions in the kit with the primer.
- Apply one coat of the copper paint and allow to dry for 1/2 hour.
- Apply the last layer of copper on 1/3 of the pumpkin and spray heavily with the aging solution. Repeat, carefully avoiding the area already sprayed.
- Repeat for the last 1/3 of the pumpkin and allow to dry completely.
Tried this project?
Let us know how it was!This post may contain affiliate links, please see our privacy policy for details.

Hi, I'm Jessie.
I’m a Los Angeles mama, home renovator, and lifelong creative, sharing the things that make everyday life a little more beautiful. I believe food is one of the best ways to bring people together, which is why I love cooking: it turns an ordinary Tuesday into something worth remembering. From recipes I make on repeat to DIY projects, home design, and a little bit of real life in between — welcome to my corner of the internet. I’m so glad you’re here.
Let’s be friends!
Be the first to receive exclusive content, hear about upcoming collaborations, and special events!