Opens in a new tab

Thumbprint Bunny Cookies

by Jessie Daye

First published: February 15, 2026 | Updated: June 22, 2026

Soft and buttery Easter Bunny thumbprint cookies filled with melted white chocolate (or biscoff). An easy, festive Easter dessert recipe for spring baking. Recipe below!

Thumbprint Bunny Cookies

Author: Jessie Daye
No ratings yet
Share
Print

Ingredients

  • 1 cup (226 g) unsalted butter softened room temperature
  • ⅓ cup (70 g) granulated sugar
  • ⅓ cup (70 g) light brown sugar packed
  • 1 large egg yolk
  • 1 teaspoon vanilla bean paste or extract
  • ½ teaspoon almond extract optional
  • ½ teaspoon salt
  • 2 ¼ cups (280 g) All purpose flour
  • 2 teaspoons cornstarch
  • ½ cup sugar for rolling
  • ⅓ cup white chocolate melted(or biscoff or raspberry jam for filling)

Method

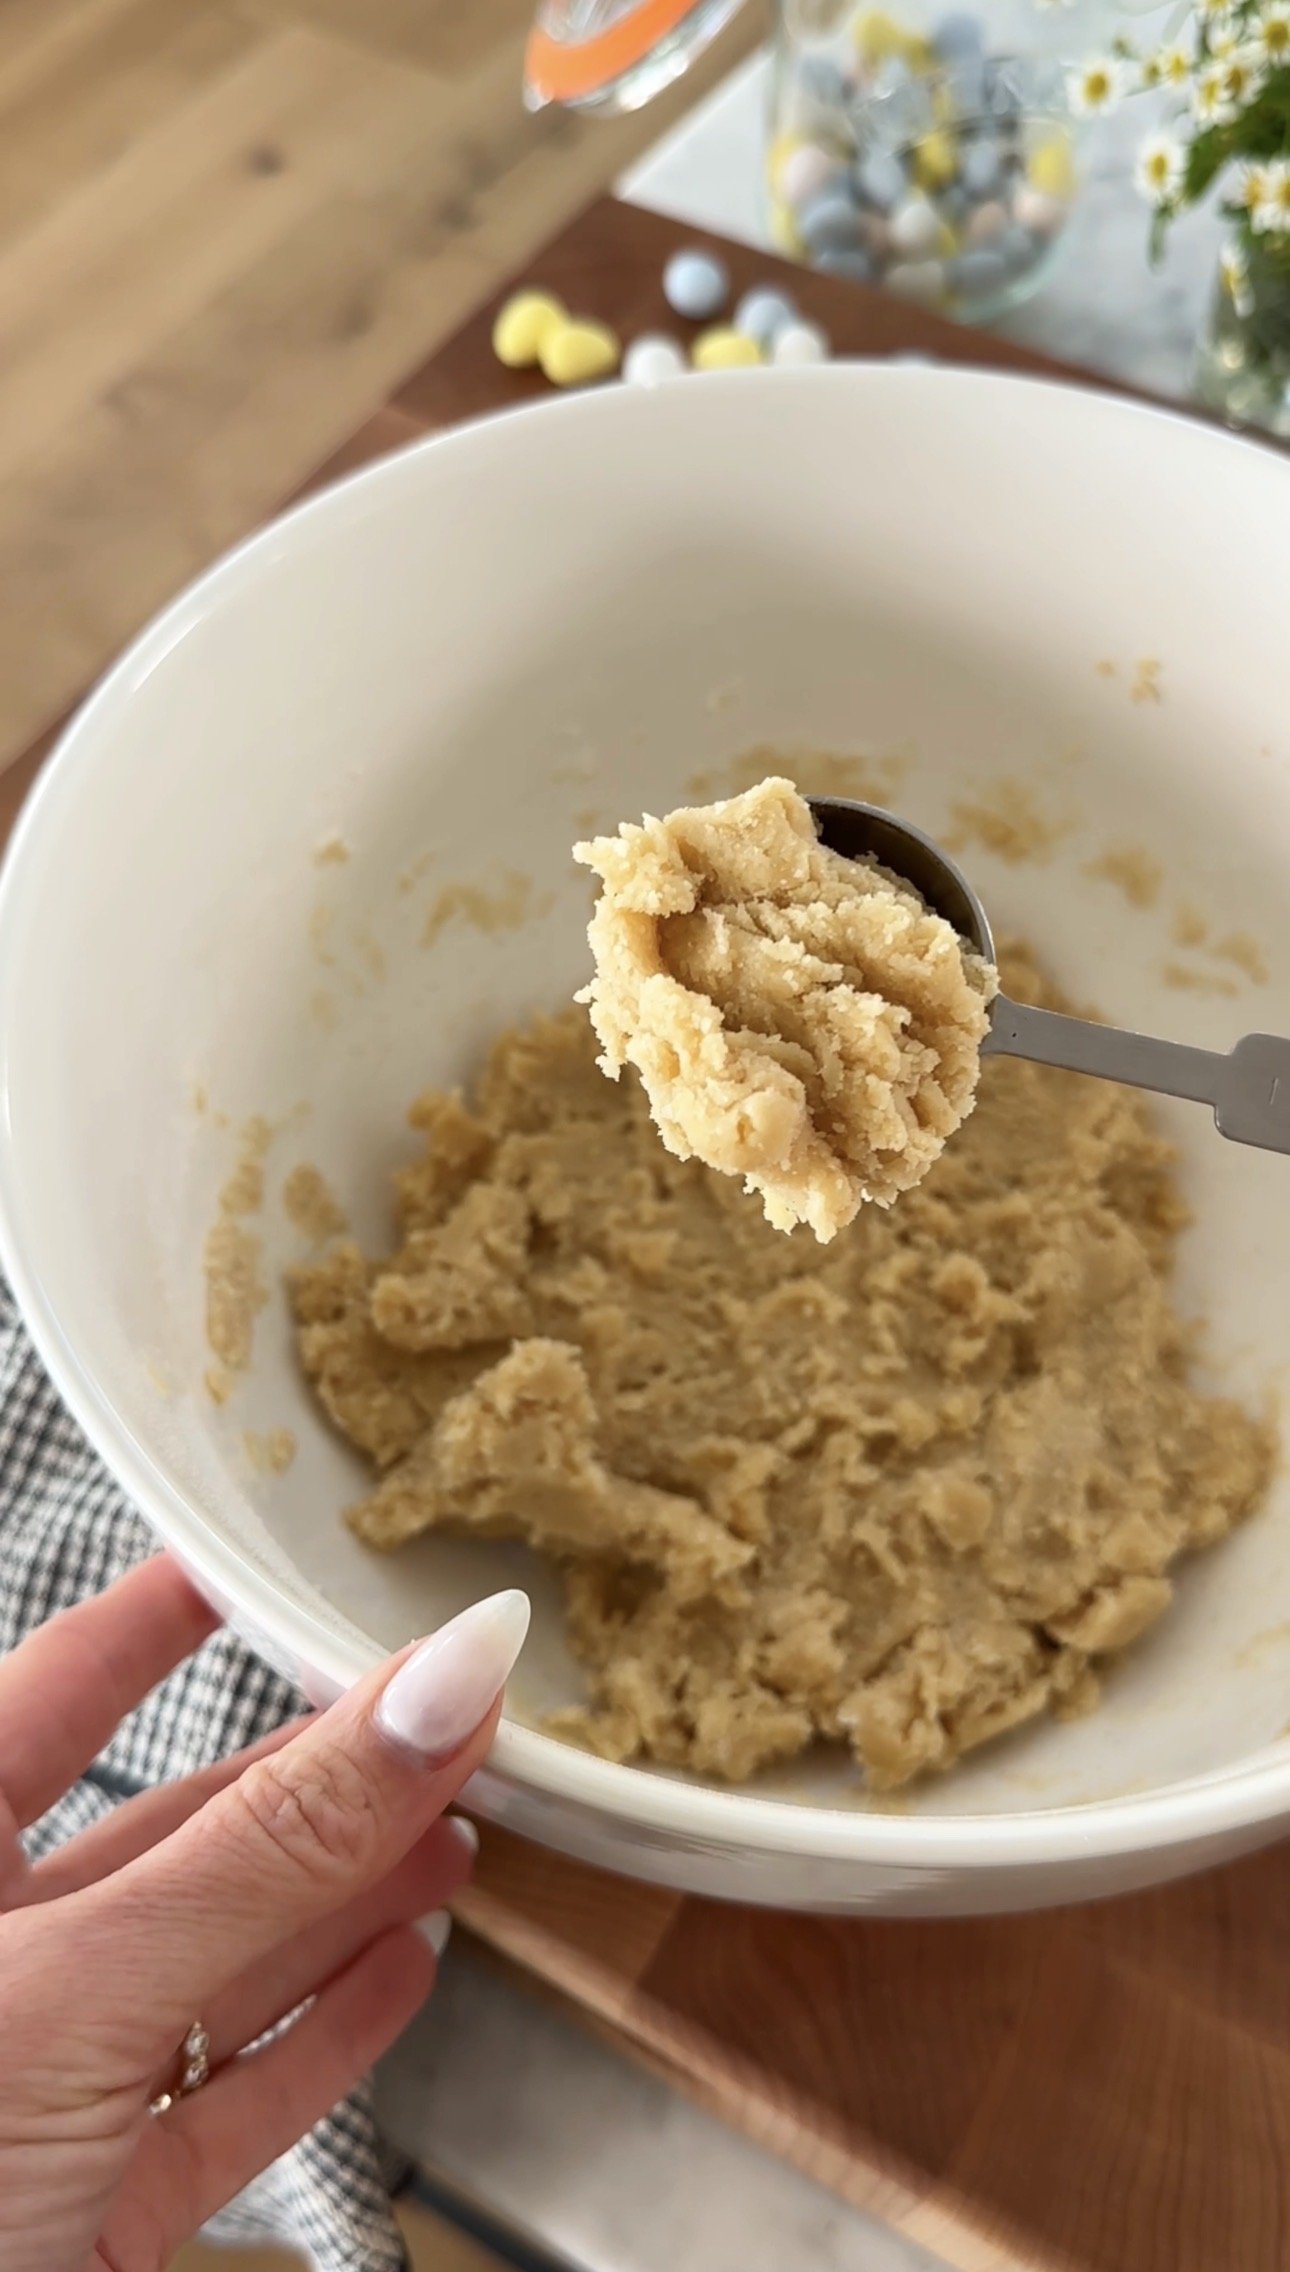
  1. Place 1 cup of butter in a medium bowl and both sugars and mix with a hand mixer until creamy.
  2. Add egg yolk and vanilla and almond extract and beat until fully incorporated.
  3. In a separate bowl, whisk together flour, cornstarch, and salt. Gradually beat flour mixture into the egg and sugar mixture until just incorporated.
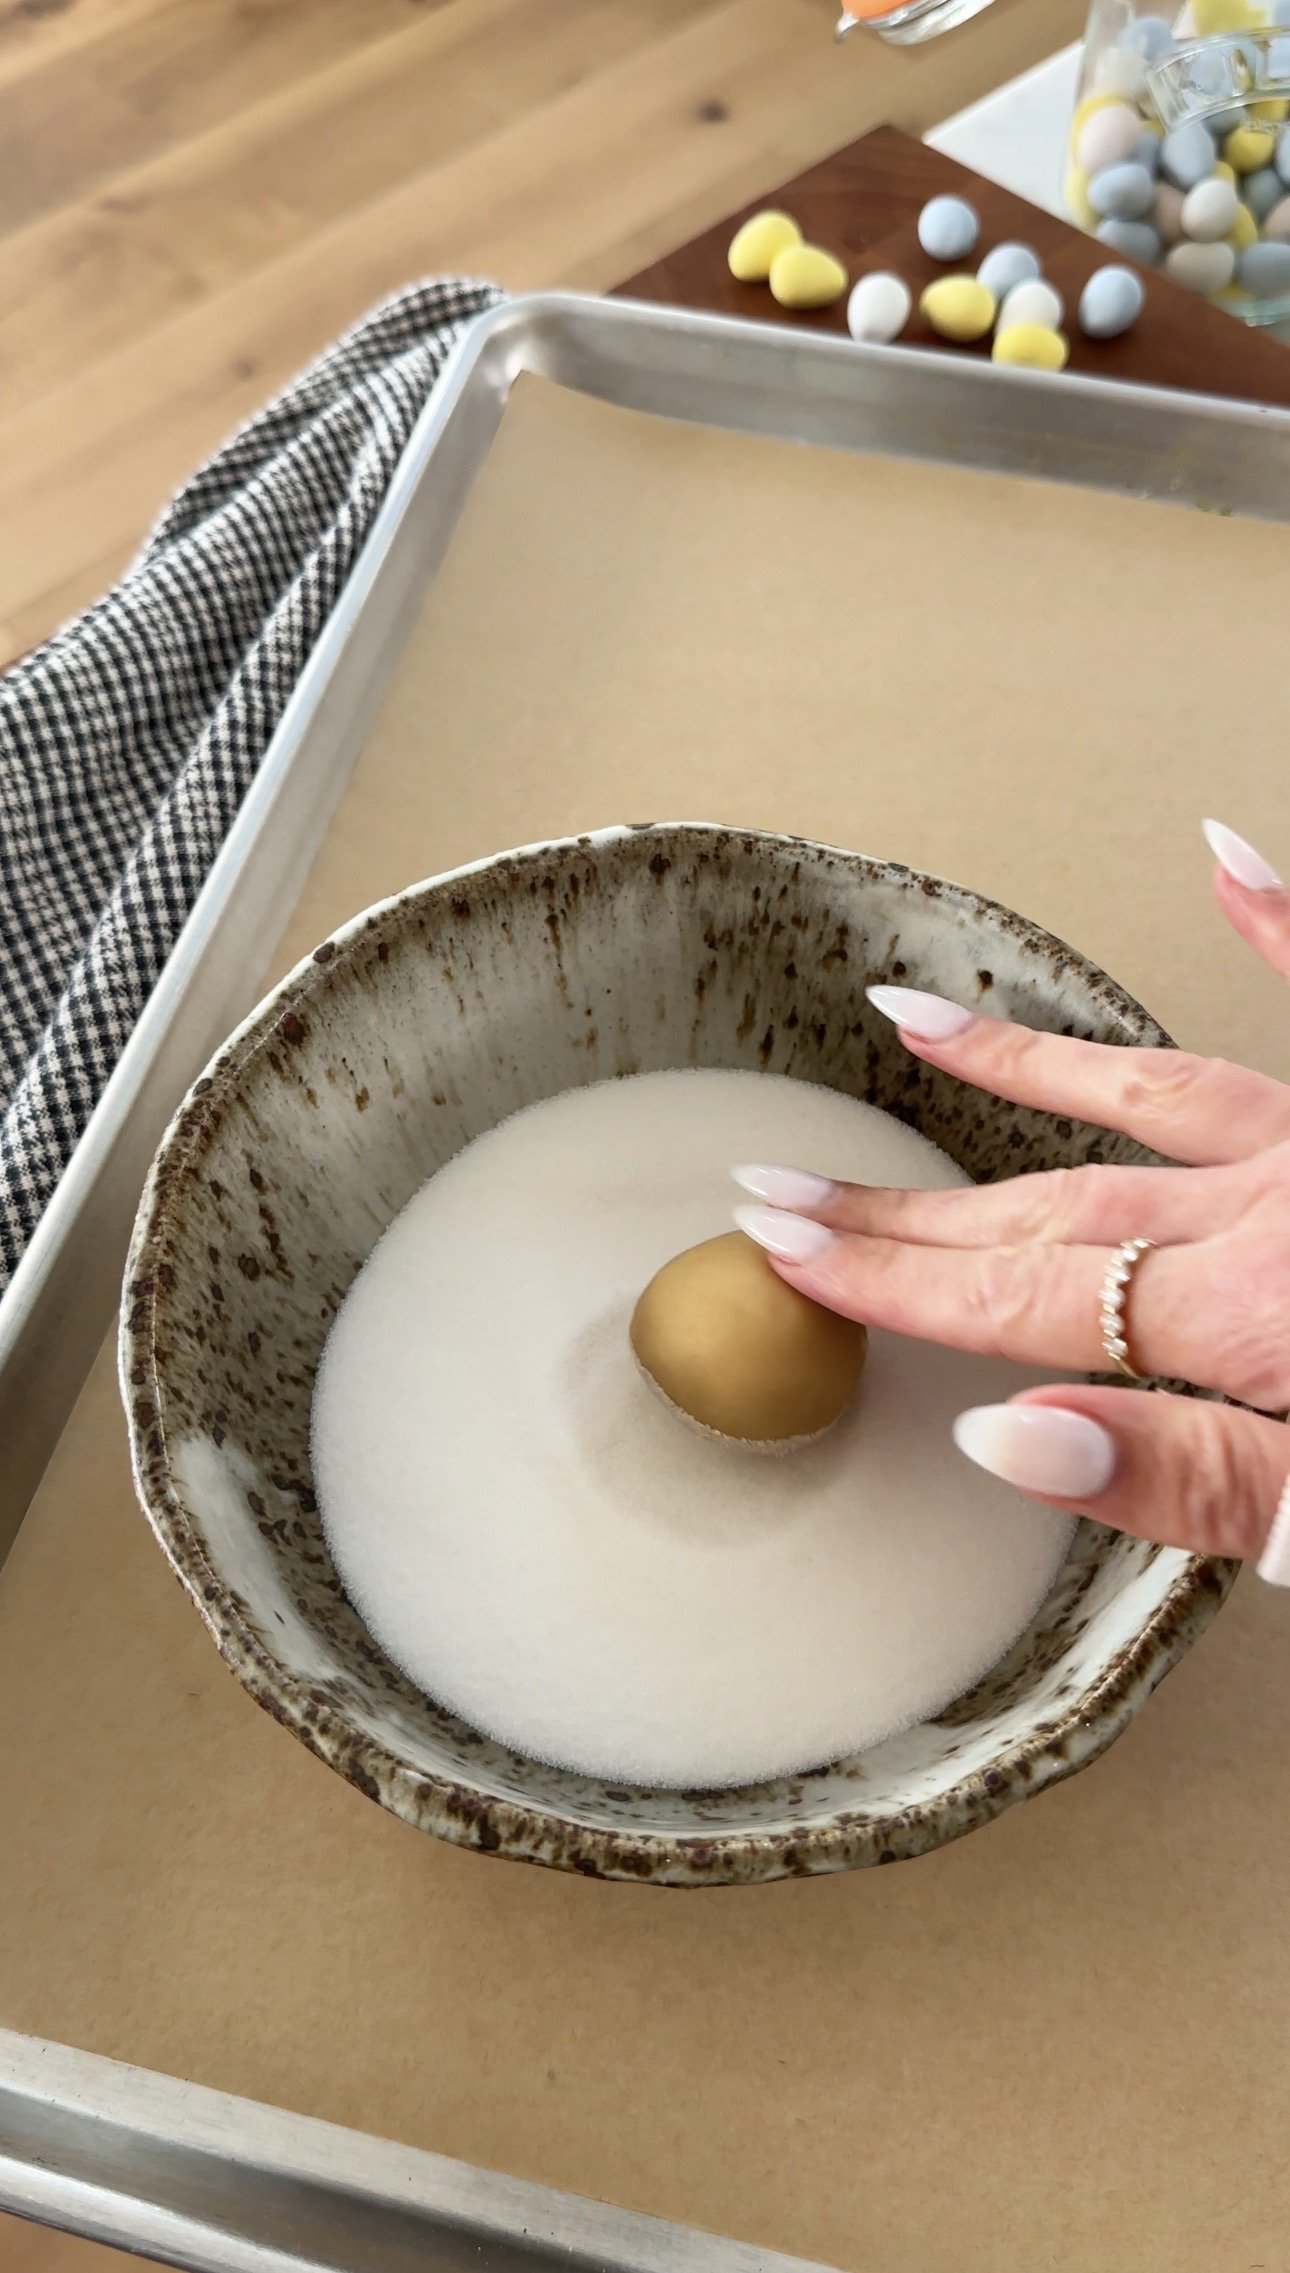
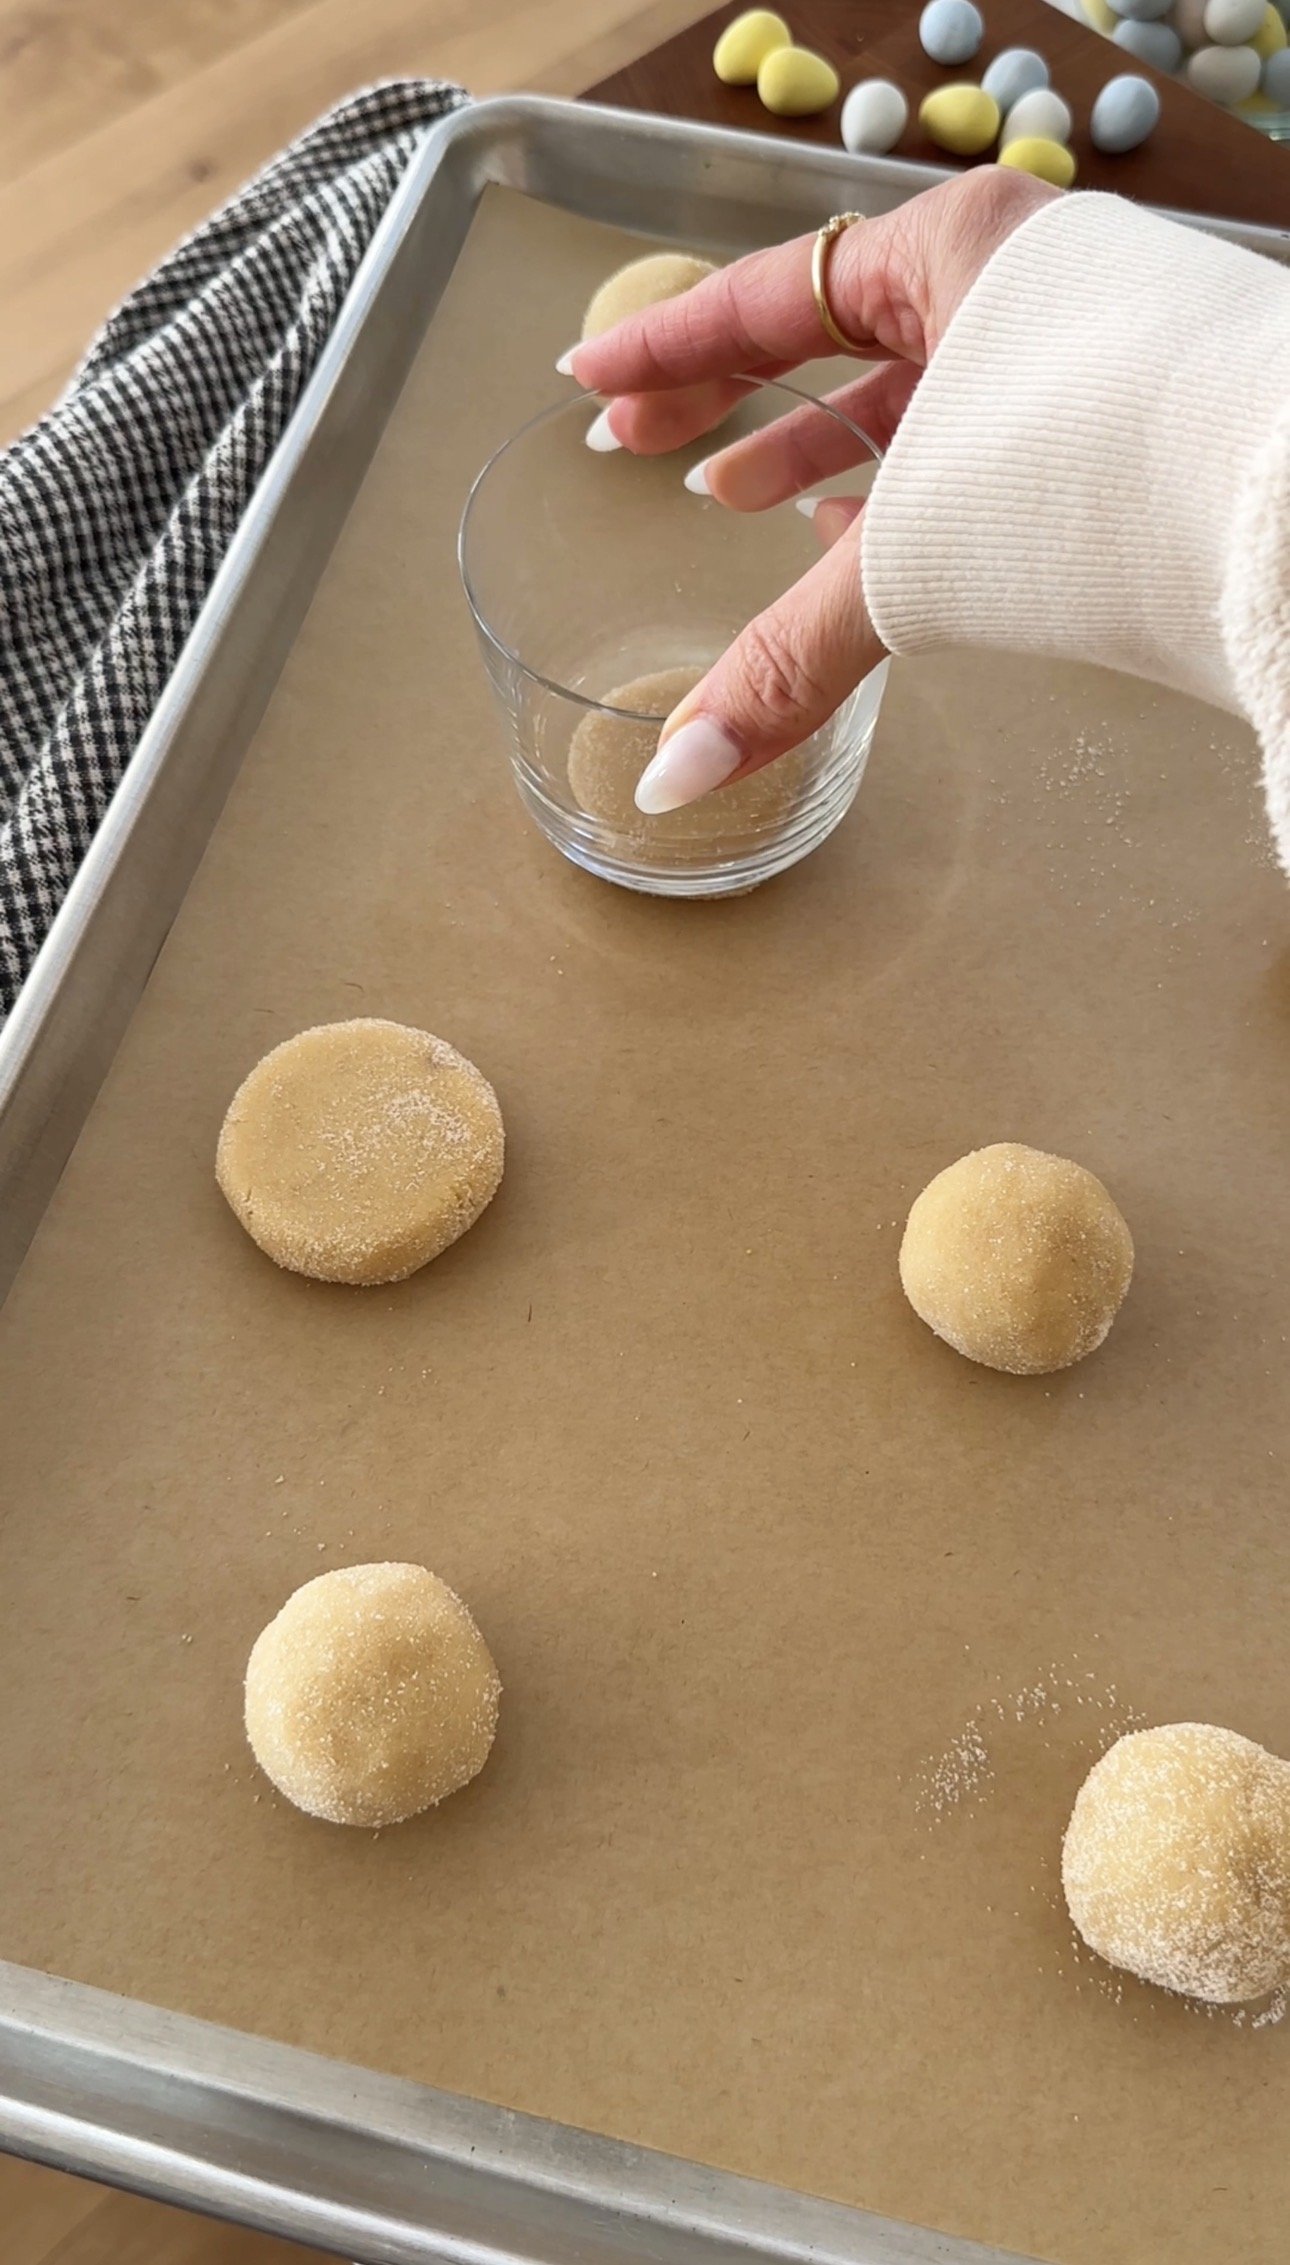
  4. Scoop heaping 1 1/2 tablespoon balls of dough and roll into smooth balls. Place dough balls into a shallow dish with granulated sugar and roll in the sugar then place 2 inches apart on prepared baking sheet. Use the bottom of a glass to gently press down each dough ball until you have roughly 2.5” thick discs.
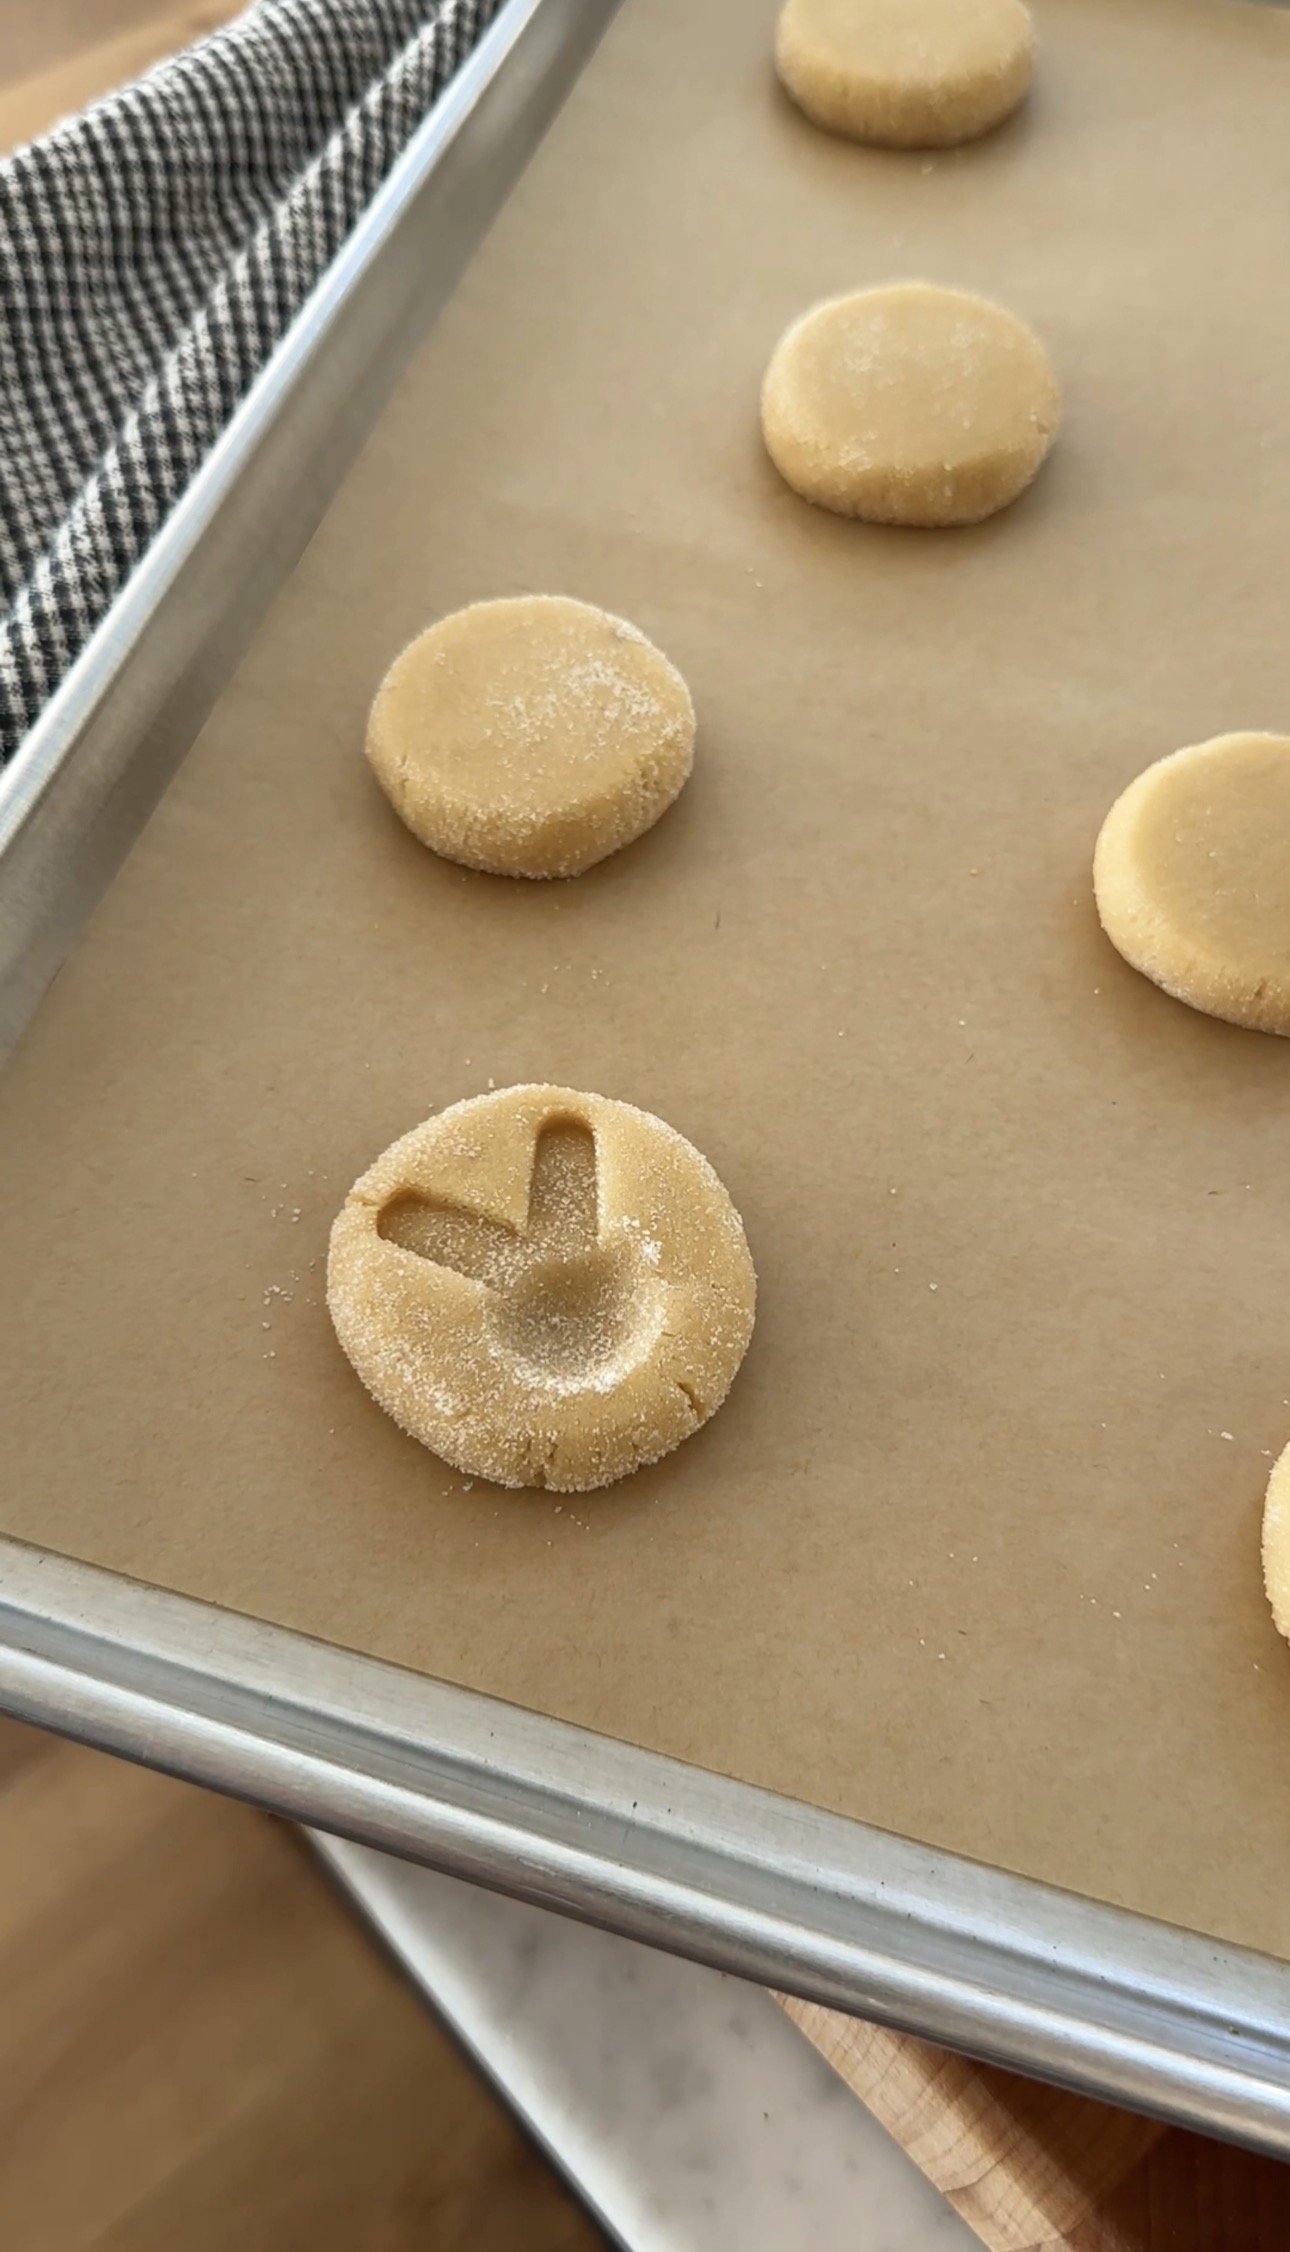
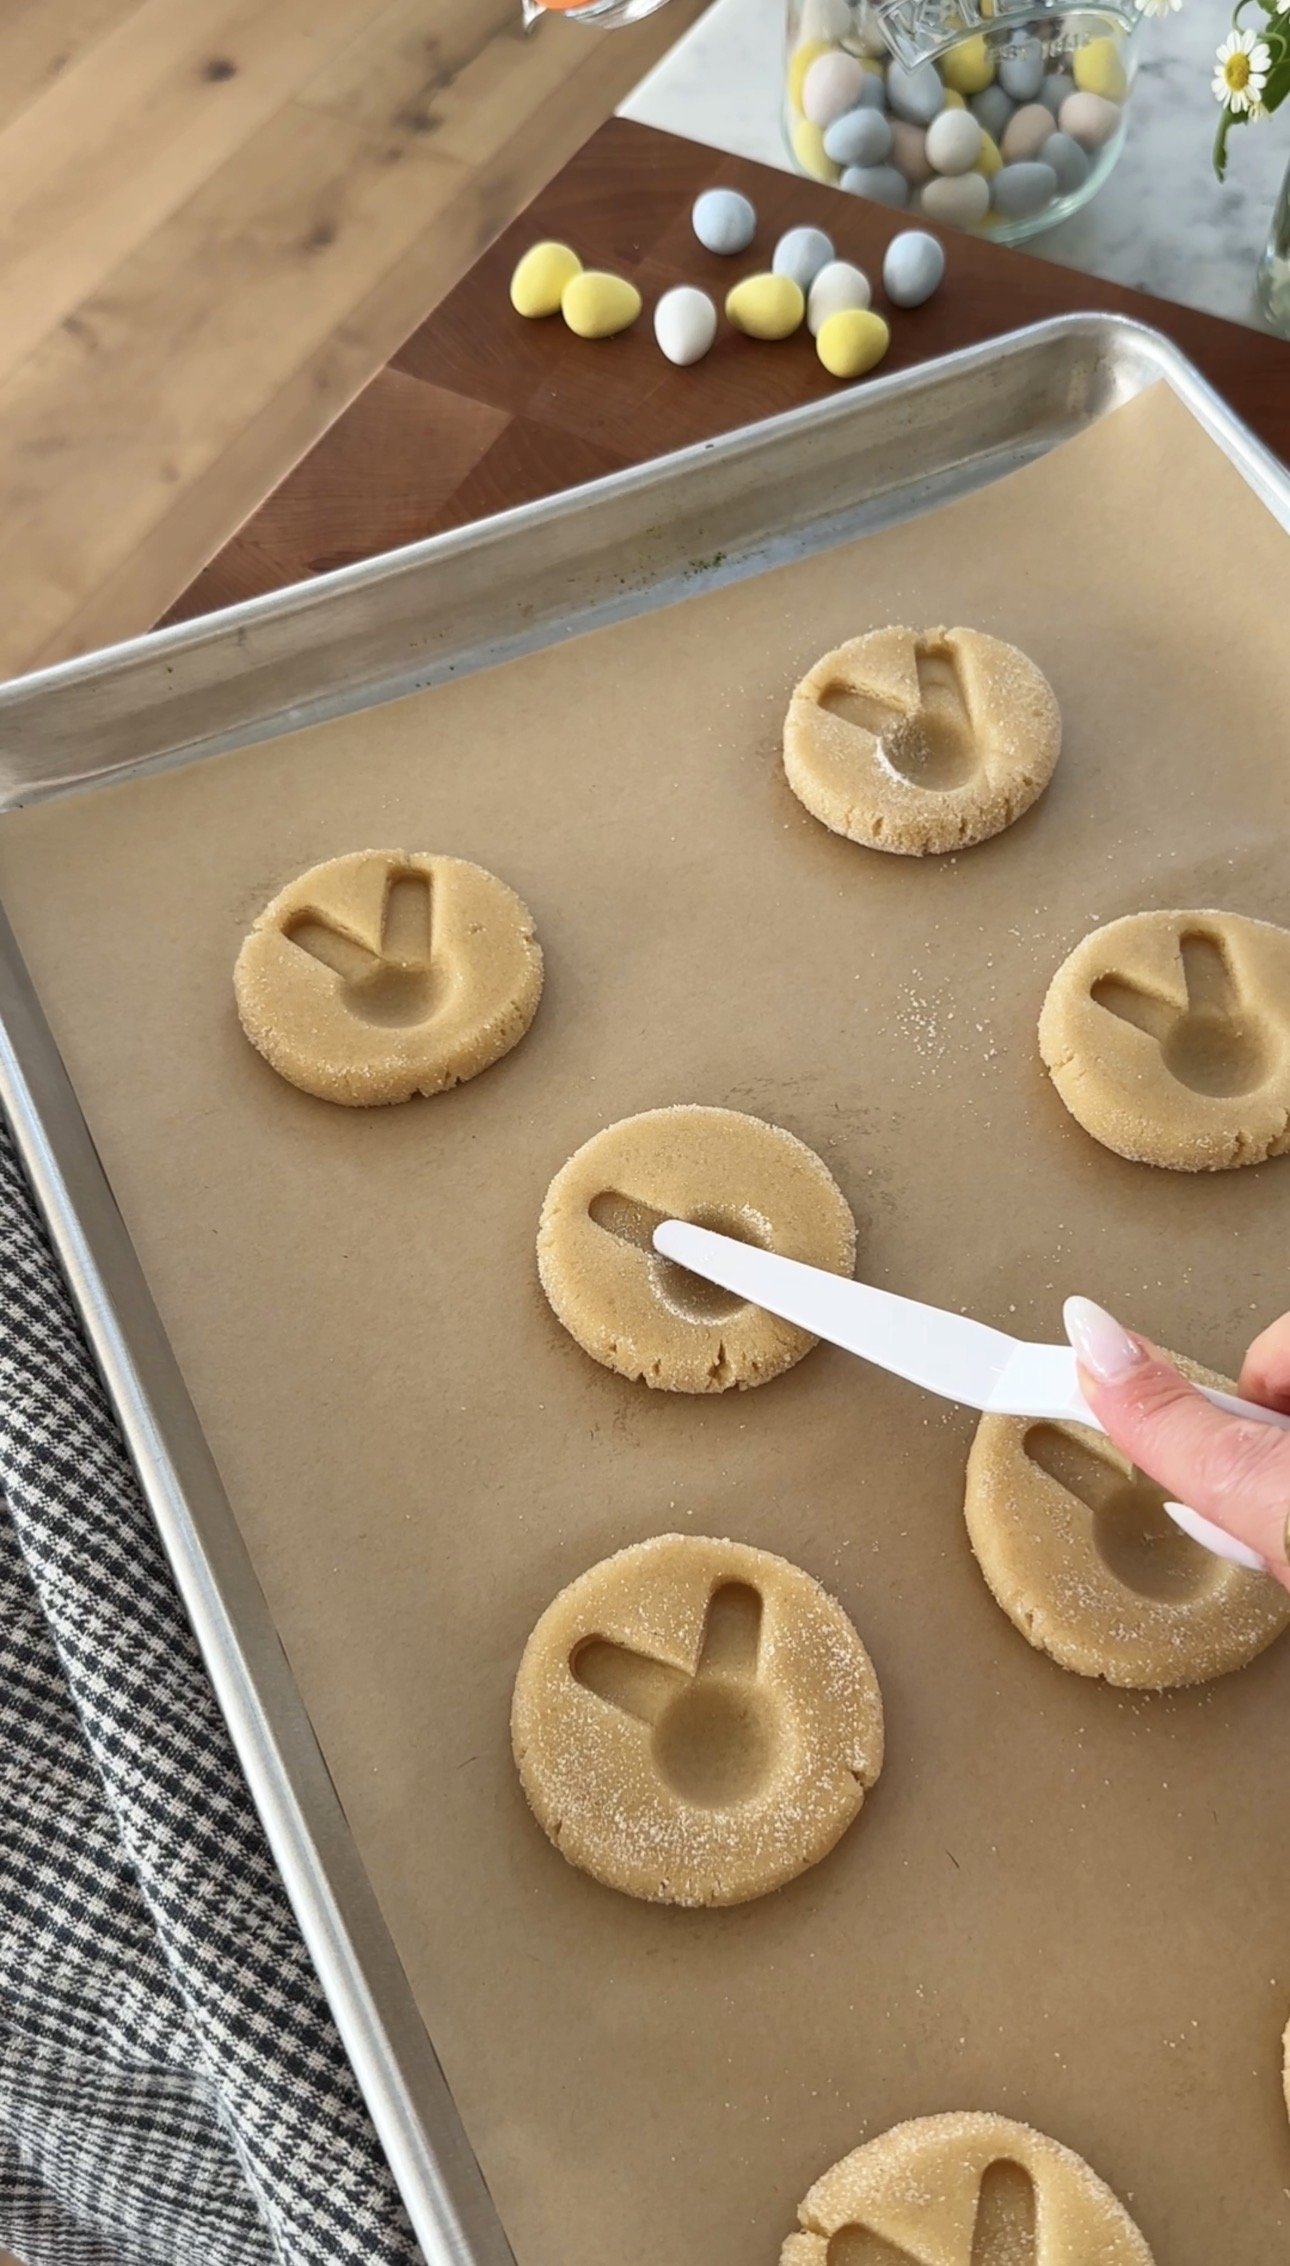
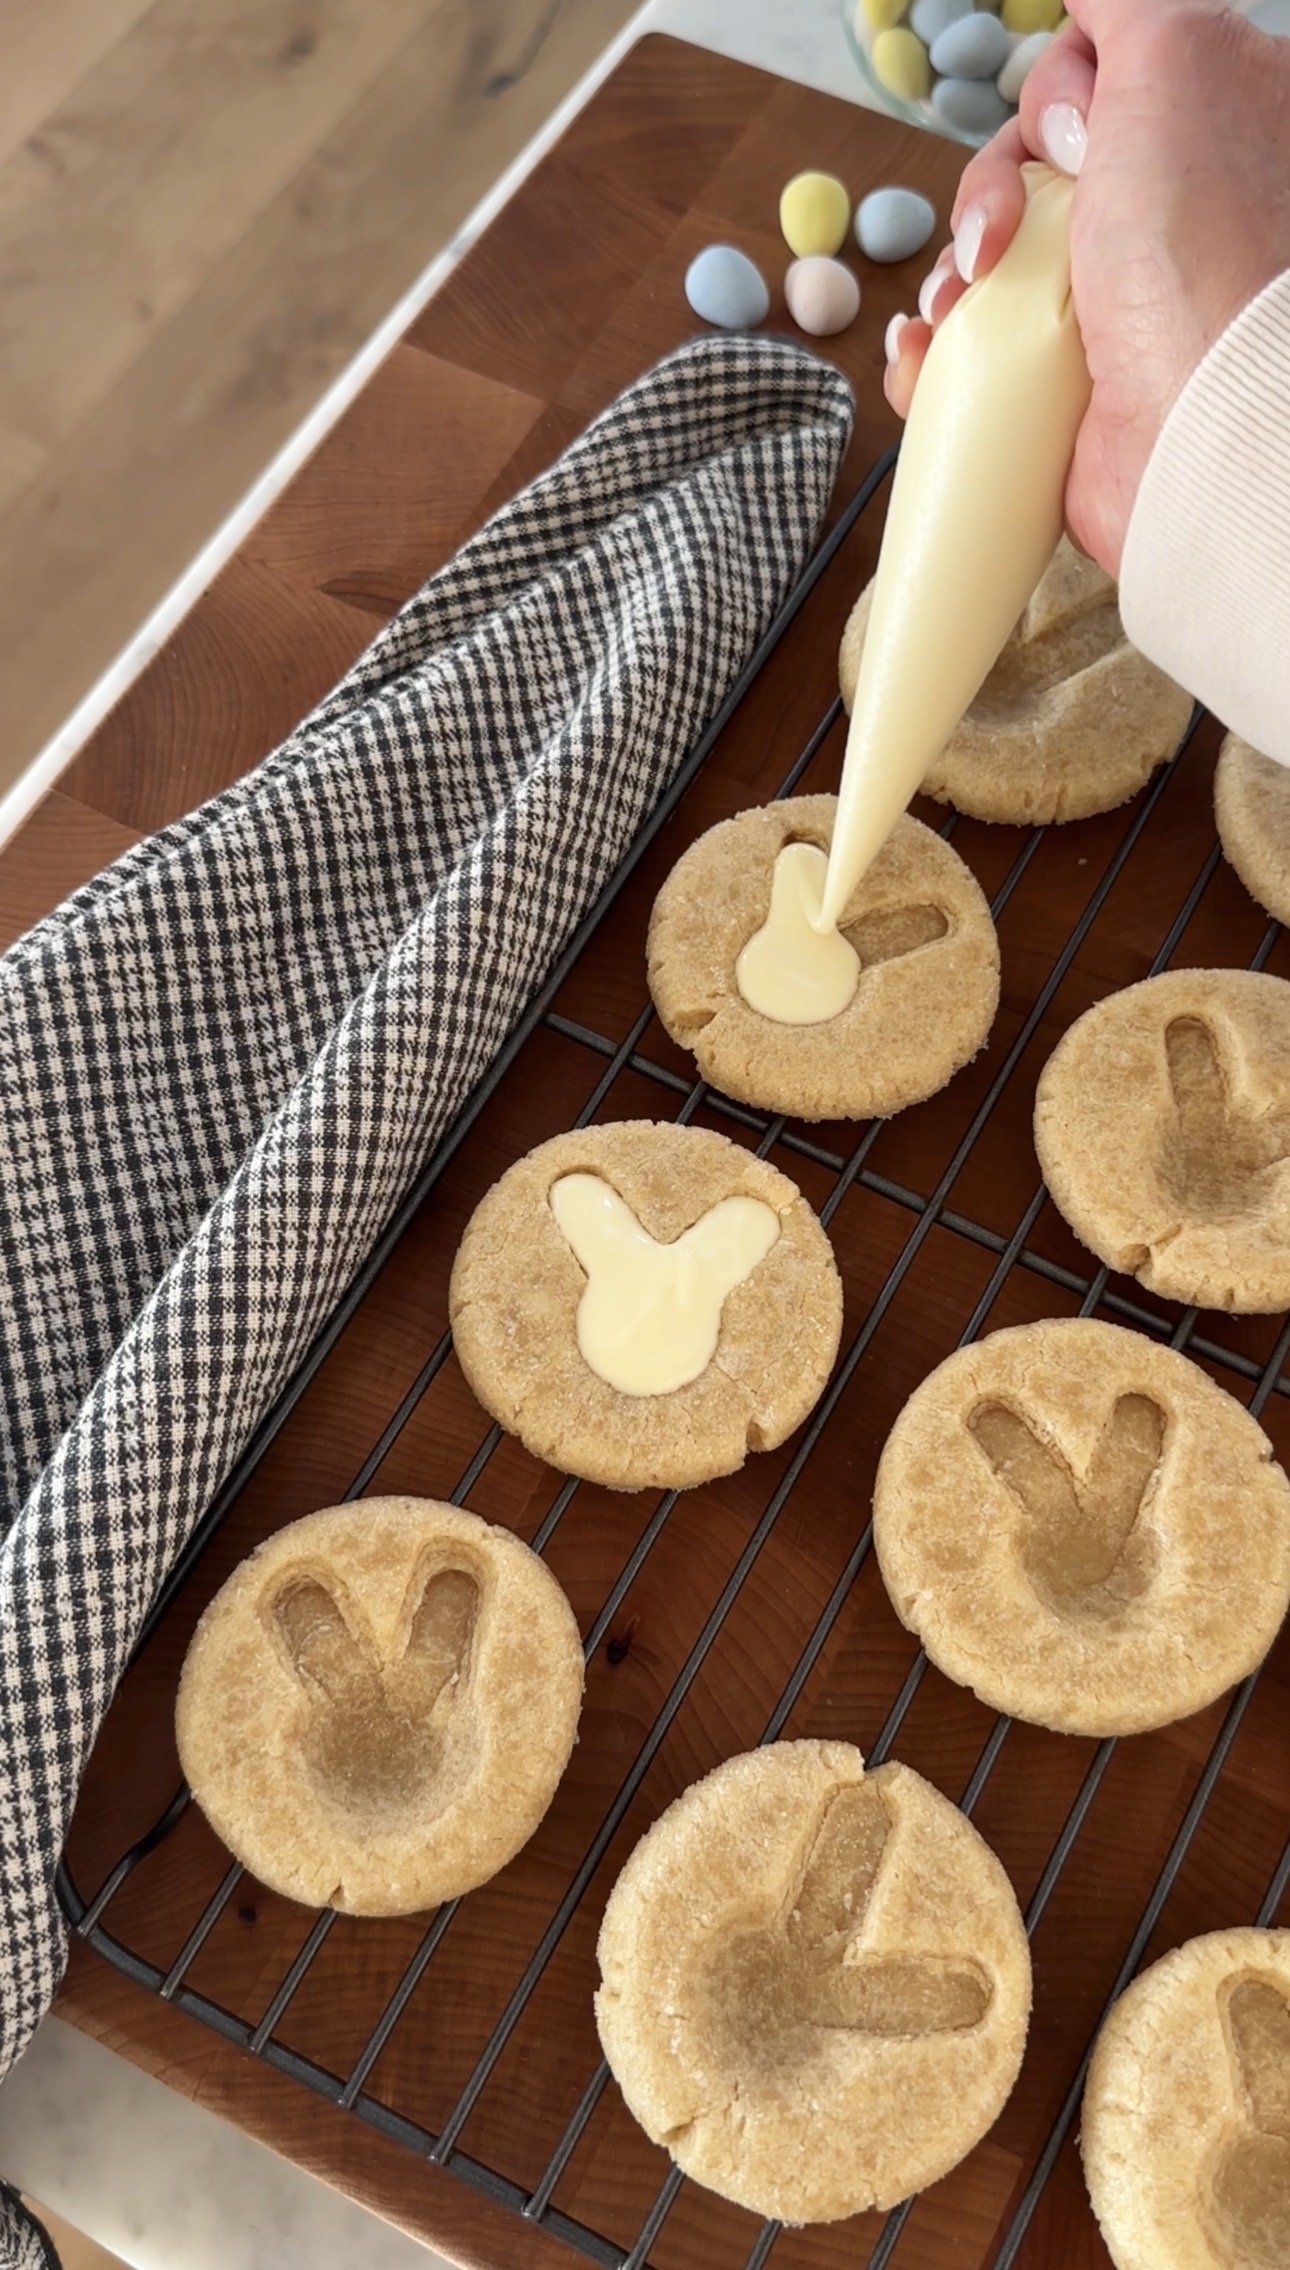
  5. Using the back of a teaspoon to gently press an indentation into the bottom center of each cookie. If edges crack, lightly smooth them with your fingers. Using the bottom of a knife, chopstick, or thin spatula create the indentations of the two bunny ears above the teaspoon indentation.
  6. Cover cookies and chill for 45 minutes.
  7. Preheat oven to 375°F. Line baking sheets with parchment paper.
  8. Bake 15-20 minutes, or until edges are just beginning to turn lightly golden. Do not over bake. You want them to be pale.
  9. Remove from oven and, if needed, gently re-press the bunny imprints while still warm to deepen the wells. Allow cookies to cool completely on baking sheet.
  10. Melt 1 cup high-quality white chocolate chips or chopped white chocolate in 30-second intervals in the microwave, stirring between each, until smooth. Let cool slightly so it thickens just a bit.
  11. Spoon or pipe melted white chocolate into each thumbprint well.
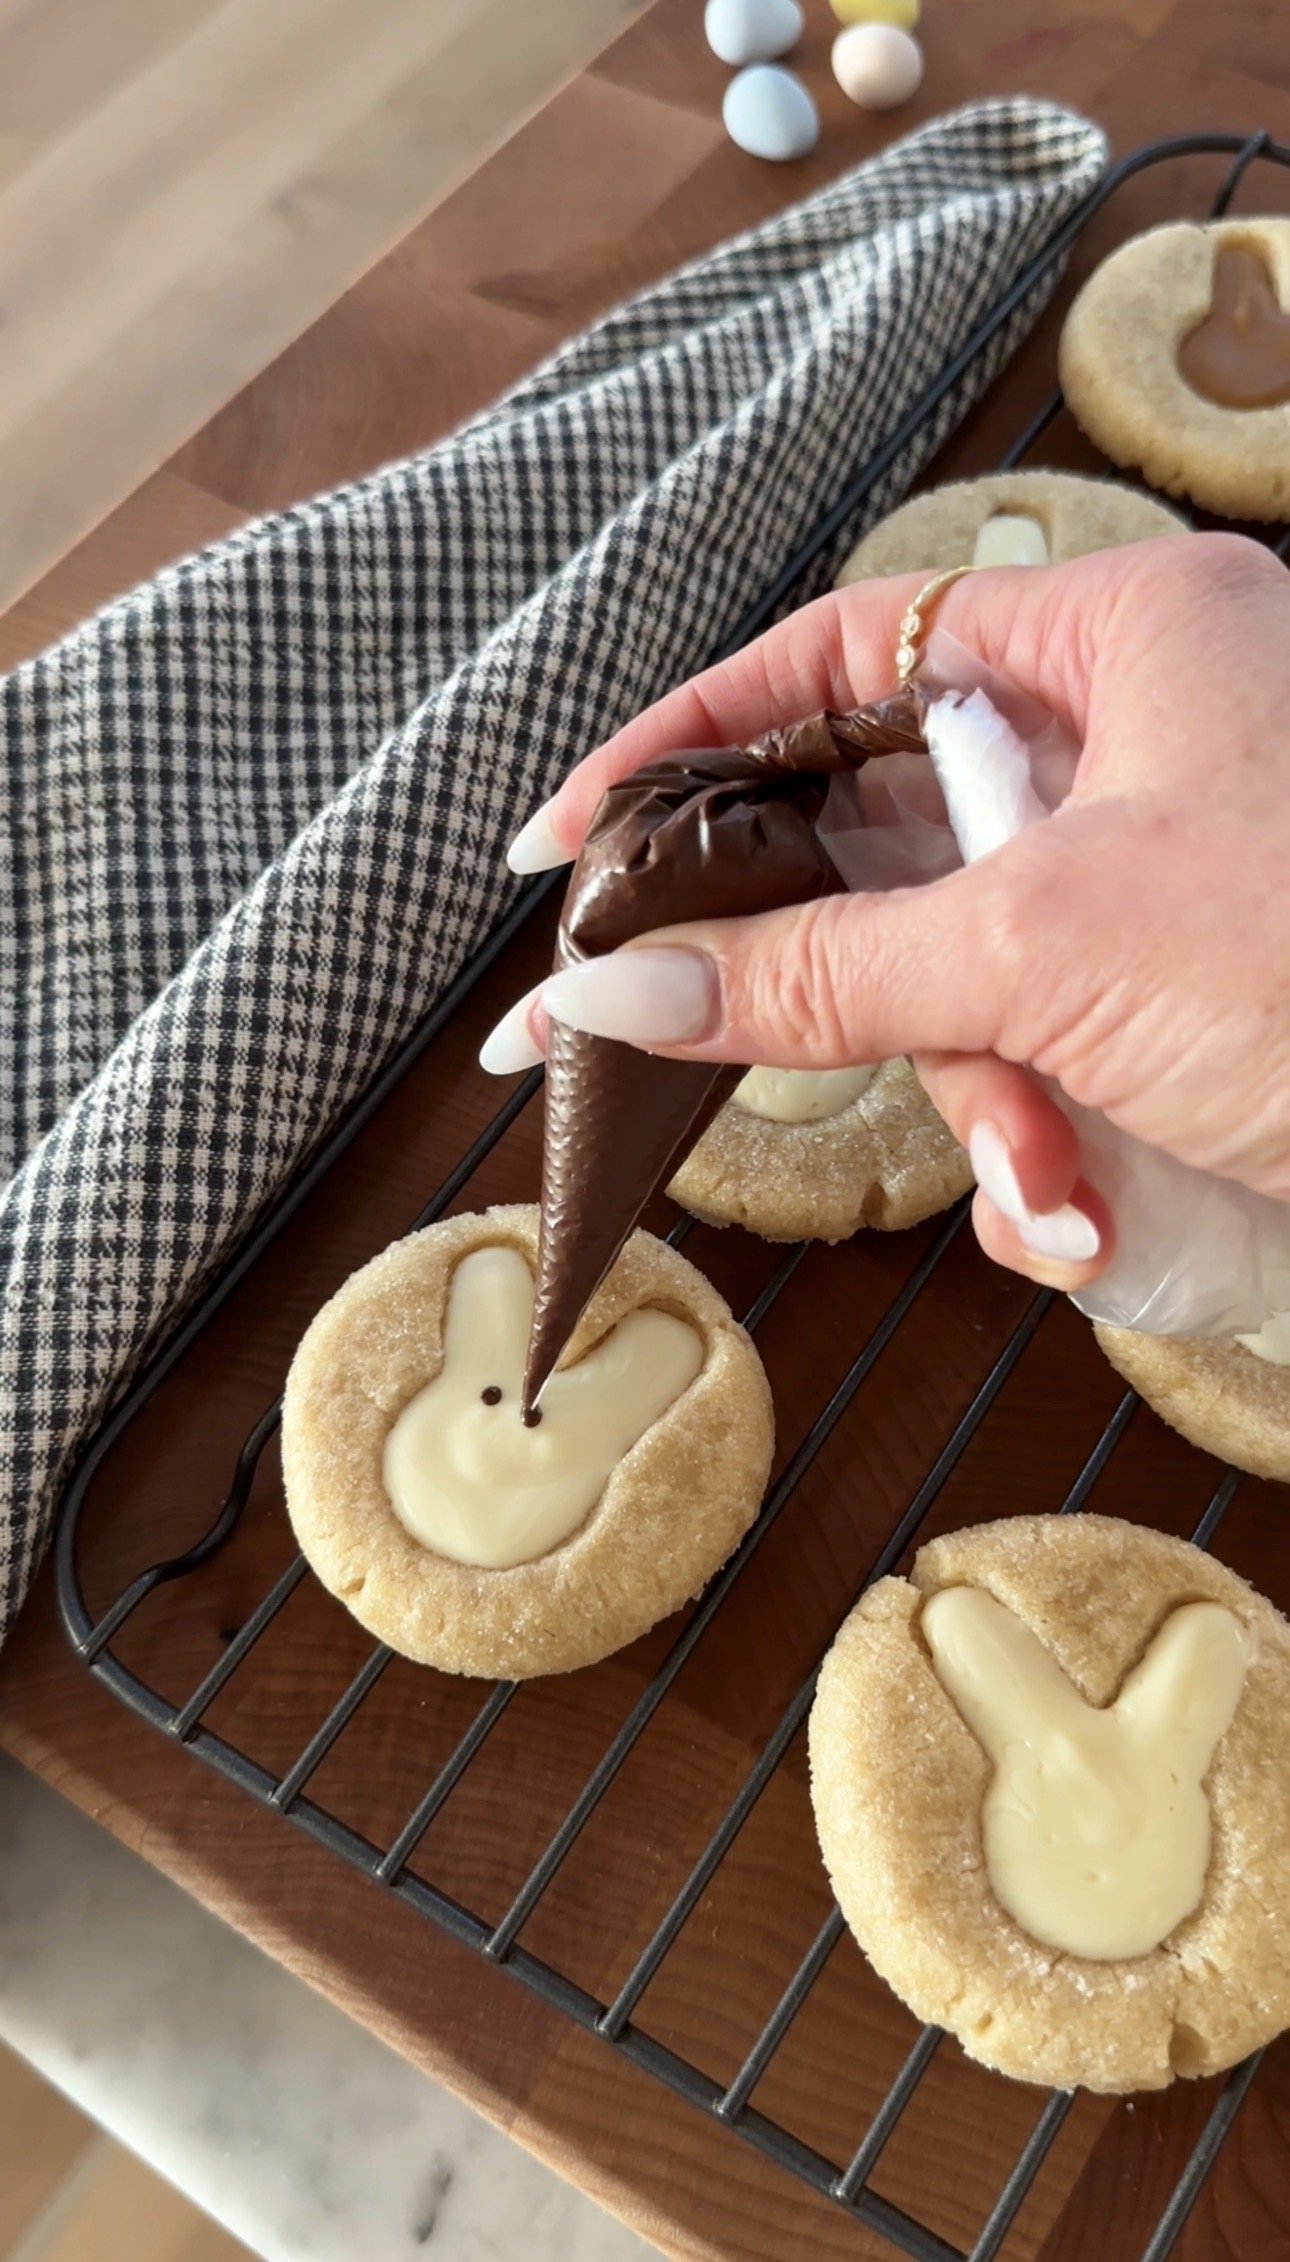
  12. If desired add a bunny face with melted dark chocolate or add sprinkles.
  13. Let set at room temperature until firm, or chill for 15 minutes in the fridge until centers are firm.
  14. The thumbprint cookie dough recipe is adapted from Sugar Spun Run!
  15. https://sugarspunrun.com/thumbprint-cookies/#recipe

Tried this recipe?

Let us know how it was!

4 comments

Leave your comment

Recipe Rating


This post may contain affiliate links, please see our privacy policy for details.

Hi, I'm Jessie. 

I’m a Los Angeles mama, home renovator, and lifelong creative, sharing the things that make everyday life a little more beautiful. I believe food is one of the best ways to bring people together, which is why I love cooking: it turns an ordinary Tuesday into something worth remembering. From recipes I make on repeat to DIY projects, home design, and a little bit of real life in between — welcome to my corner of the internet. I’m so glad you’re here.

More about Jessie

Let’s be friends!

Be the first to receive exclusive content, hear about upcoming collaborations, and special events!

* indicates required

Intuit Mailchimp