Opens in a new tab

Mason Jar Lid Pumpkin Cheesecakes

by Jessie Daye

First published: November 8, 2016 | Updated: June 10, 2026

Talking to my best friend about cheesecake and positive energy this morning. Cold cheesecake straight out of the fridge is the best. You just want more and more and more. By the way, so is positive energy : ) Good energy is contagious so stay away from people who aren’t sharing their cheesecake because what you put out is what you get back. One of my favorite quotes is “Blowing out someone else’s candle, doesn’t make yours any brighter.” It’s the truth. Blowing out someone else’s candle actually just makes you an asshole : )

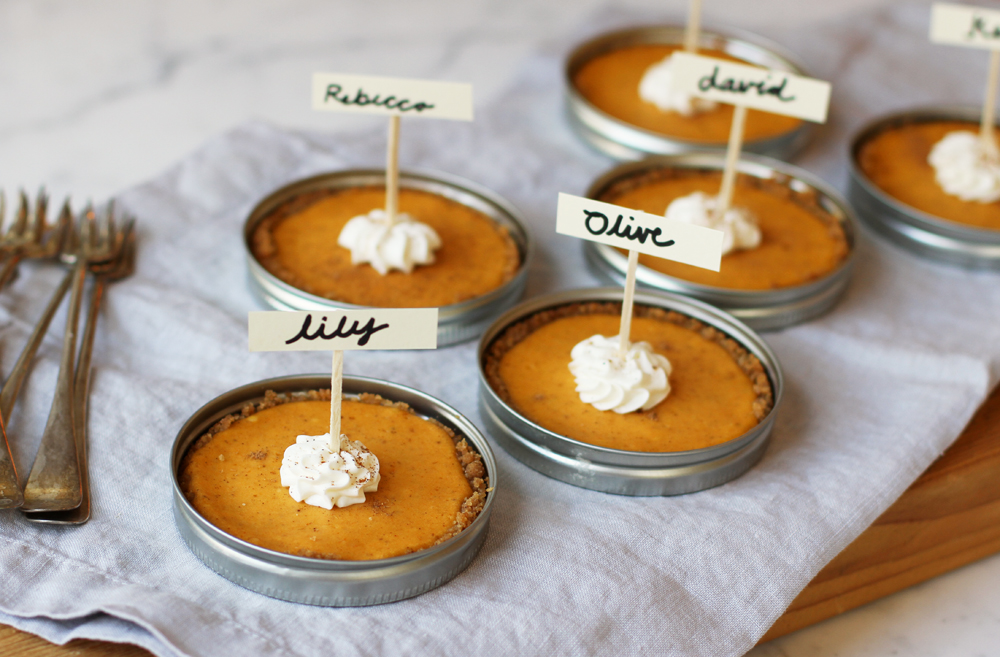
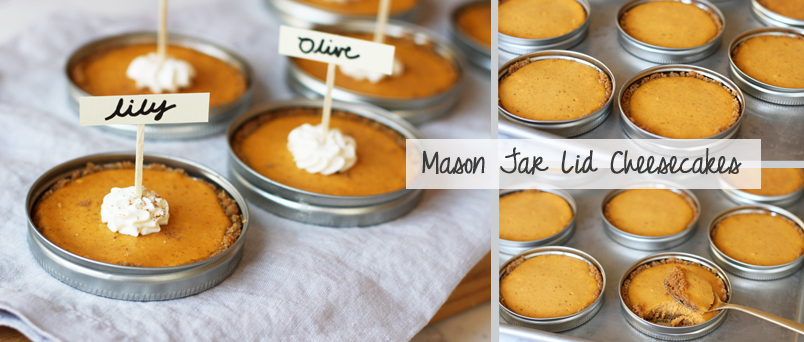
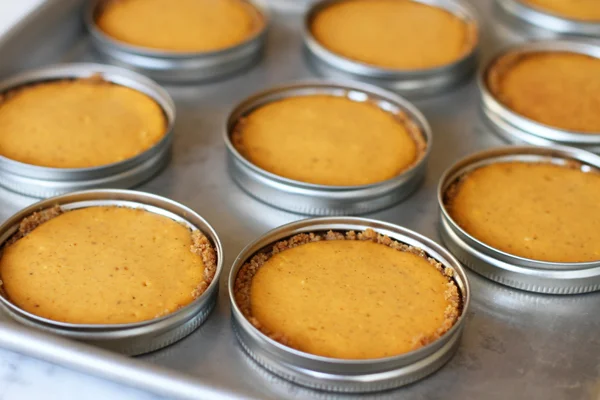
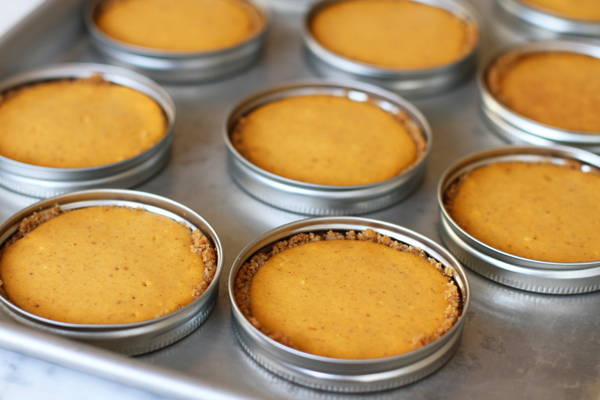
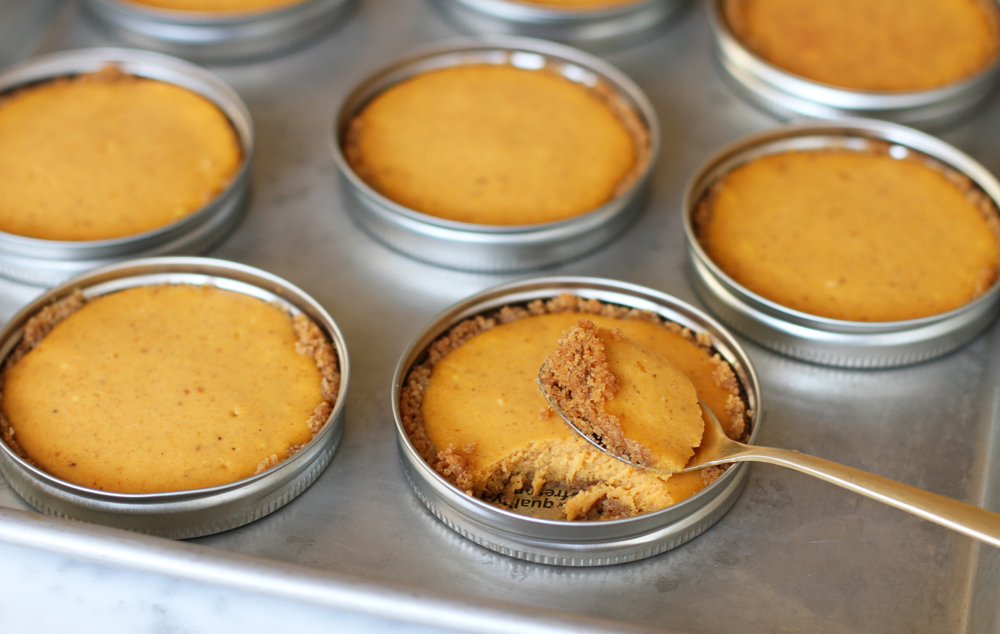
Plenty of pumpkin cheesecake to go around. These were all baked in mason jar lids and they are not only adorable, but super freaking delicious! Xx
IndividualPumpkinCheesecakesLilyshop3.jpg
IndividualPumpkinCheesecakesLilyshop4.jpg
IndividualPumpkinCheesecakesLilyshop1.jpg
MasonJarLidCheesecakesLilyshop.jpg

Mason Jar Lid Pumpkin Cheesecakes

(You need 40 lids)

Crust Ingredients
3 1/2 cups graham cracker crumbs
6 tablespoons light brown sugar
1 teaspoon ground cinnamon
2 sticks melted salted butter

Filling Ingredients
3 (8-ounce) packages cream cheese, at room temperature
1 (15-ounce) can pureed pumpkin
3 eggs plus 1 egg yolk
1/4 cup sour cream
1 1/2 cups sugar
1/2 teaspoon ground cinnamon
1/8 teaspoon fresh ground nutmeg
1/8 teaspoon ground cloves
2 tablespoon all-purpose flour
1 teaspoon vanilla extract

Directions
1. Preheat oven to 350°. Line a baking sheet with parchment paper. Using mason jar lids, turn the inserts over so the rubber seal is facing down and place them in the mason jar lid rings. Place on prepared pan and set aside.

2. To make the crust, combine crumbs, sugar and cinnamon in a medium bow. Add melted butter. Mix until well combined. Place a heaping tablespoon of mixture onto each mason jar lid. Press down flat. Set aside.

3. In another bowl, beat cream cheese until very smooth. Add pumpkin puree, eggs, egg yolk, sour cream, sugar and the spices. Add flour and vanilla. Beat together until well combined.

4. Pour 1/3 cup onto each crust. Spread out evenly and place in oven for 10-15 minutes (the centers should still jiggle slightly). Remove from the oven and let sit for 15 minutes. Cover with plastic wrap and refrigerate for 4 hours and then serve.


Mason Jar Lid Pumpkin Cheesecakes

Author: Jessie Daye
No ratings yet
Share
Print
Cook 15 minutes
Total 4 hours 15 minutes
Individual pumpkin cheesecakes baked in mason jar lids with graham cracker crust and spiced pumpkin filling.
Servings 40 lids

Ingredients

  • 3.5 cups graham cracker crumbs
  • 6 tablespoons light brown sugar
  • 1 teaspoon ground cinnamon
  • 2 sticks salted butter melted
  • 3 packages cream cheese 8-ounce, at room temperature
  • 1 can pureed pumpkin 15-ounce
  • 3 eggs plus 1 egg yolk
  • 0.25 cup sour cream
  • 1.5 cups sugar
  • 0.5 teaspoon ground cinnamon
  • 0.125 teaspoon fresh ground nutmeg
  • 0.125 teaspoon ground cloves
  • 2 tablespoons all-purpose flour
  • 1 teaspoon vanilla extract

Method

  1. Preheat oven to 350°. Line a baking sheet with parchment paper. Using mason jar lids, turn the inserts over so the rubber seal is facing down and place them in the mason jar lid rings. Place on prepared pan and set aside.
  2. To make the crust, combine crumbs, sugar and cinnamon in a medium bowl. Add melted butter. Mix until well combined. Place a heaping tablespoon of mixture onto each mason jar lid. Press down flat. Set aside.
  3. In another bowl, beat cream cheese until very smooth. Add pumpkin puree, eggs, egg yolk, sour cream, sugar and the spices. Add flour and vanilla. Beat together until well combined.
  4. Pour 1/3 cup onto each crust. Spread out evenly and place in oven for 10-15 minutes (the centers should still jiggle slightly). Remove from the oven and let sit for 15 minutes. Cover with plastic wrap and refrigerate for 4 hours and then serve.
Notes

The centers should still jiggle slightly when removed from the oven. Allow to sit for 15 minutes after baking, then refrigerate for at least 4 hours before serving.

Tried this recipe?

Let us know how it was!

Leave the first comment

Recipe Rating


This post may contain affiliate links, please see our privacy policy for details.

Hi, I'm Jessie. 

I’m a Los Angeles mama, home renovator, and lifelong creative, sharing the things that make everyday life a little more beautiful. I believe food is one of the best ways to bring people together, which is why I love cooking: it turns an ordinary Tuesday into something worth remembering. From recipes I make on repeat to DIY projects, home design, and a little bit of real life in between — welcome to my corner of the internet. I’m so glad you’re here.

More about Jessie

Let’s be friends!

Be the first to receive exclusive content, hear about upcoming collaborations, and special events!

* indicates required

Intuit Mailchimp