
Opens in a new tab

DIY Candy Necklaces

by Jessie Daye

First published: December 19, 2012 | Updated: June 10, 2026
necklacegrayl.jpg
necklace11.jpg
necklace11.jpg
makingcandynecklaces1.jpg
necklace7.jpg
necklace7.jpg
necklaces6.jpg
necklaces6.jpg
necklace8.jpg
necklace8.jpg
necklace9.jpg
necklace9.jpg
necklace10.jpg
necklace10.jpg
necklaces4.jpg
necklaces4.jpg
necklace5.jpg
necklace5.jpg
necklace12.jpg
necklace12.jpg
candynecklace2.jpg
candynecklace2.jpg
candyneckace3.jpg
candyneckace3.jpg

DIY Candy Necklaces
 

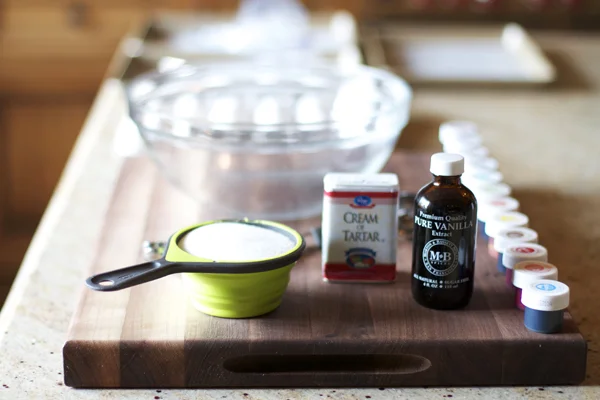
Ingredients
4 egg whites
1 cup sugar
1/4 cream of tartar (this is a powder in the spice aisle – makes everything shiny, but it’s optional)

** Optional
1 tsp of flavoring if desired
1 tbs cocoa powder (if you want them to be chocolate flavored)

Directions
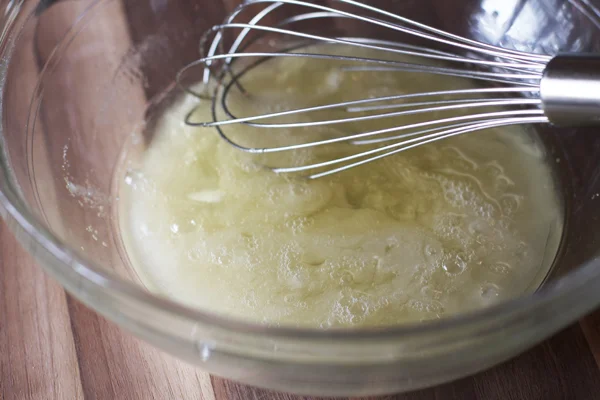
1. In a very clean, dry, large glass bowl separate your 4 egg whites. This is the most important step. We are making meringue so if one speck of yolk gets into this mix you need to toss the whole thing out. That’s right, one speck! OK, now that you heard me loud and clear be very careful and DO NOT get any yolk into the bowl. 

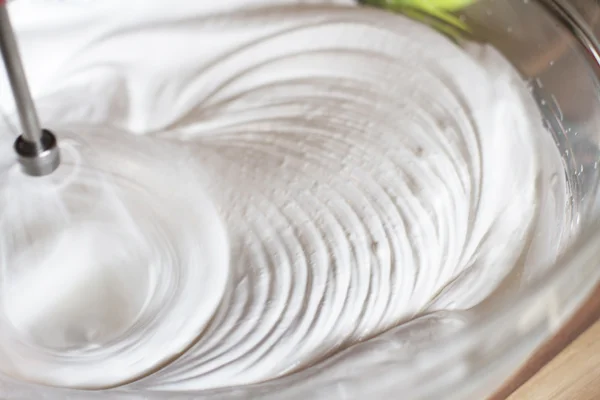
2. Start whipping your egg whites with an electric handheld mixer until foamy, then add in the cream of tartar and continue whipping on a faster speed. As the egg whites begin to stiffen, start adding in your sugar in very tiny increments. This is very important. You want to beat the sugar in slowly to give the egg whites time to absorb it gradually. If you want to add a flavoring, whip it in at the very end. 

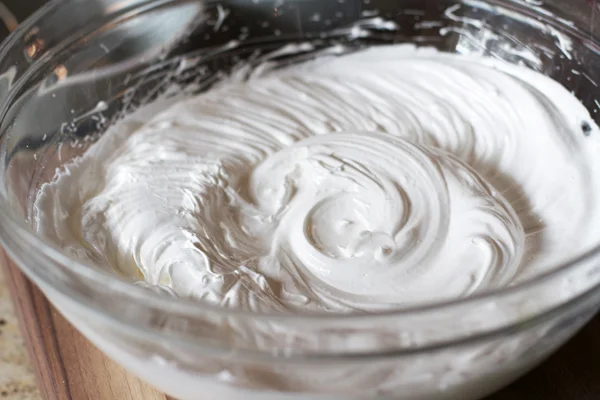
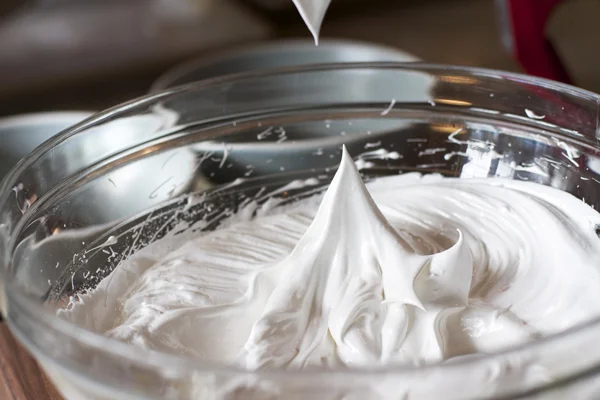
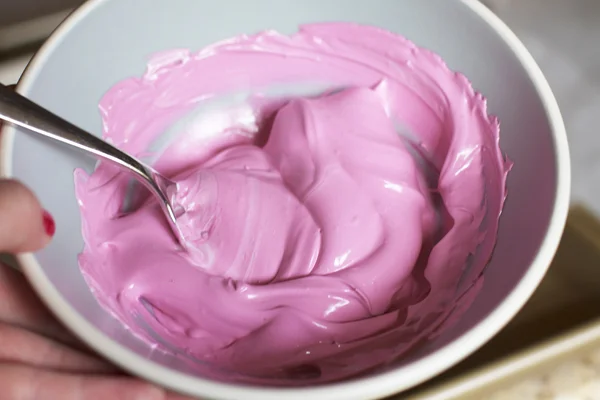
3. After about 10 minutes it should be very thick like marshmallow cream. Separate your meringue into different bowls and add your food coloring gels until you get your desired color.

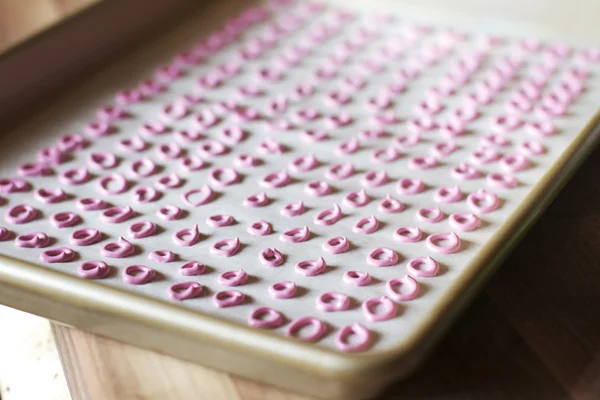
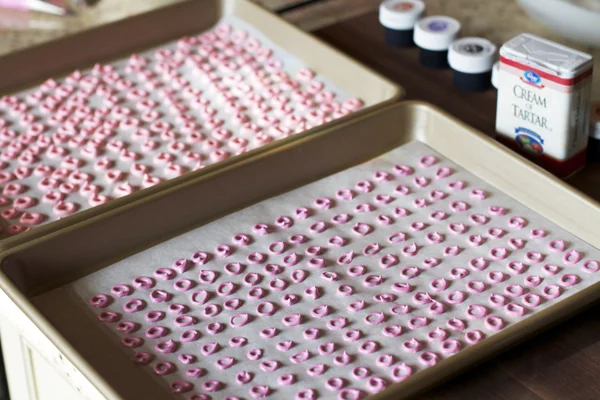
4. Preheat your oven to 175 degrees and line four baking sheets with parchment paper. You must work fast because as meringue sits it get’s soft and doesn’t hold its shape. I recommend placing your extra bowl of meringue in the fridge if you think you’re going to take  along time piping. Now fill your piping bags and start piping 1/2″ rings all over the parchment paper.

5. Bake in oven at 175 degrees for 1 hr until completely dry then let cool on the baking sheet over night. 

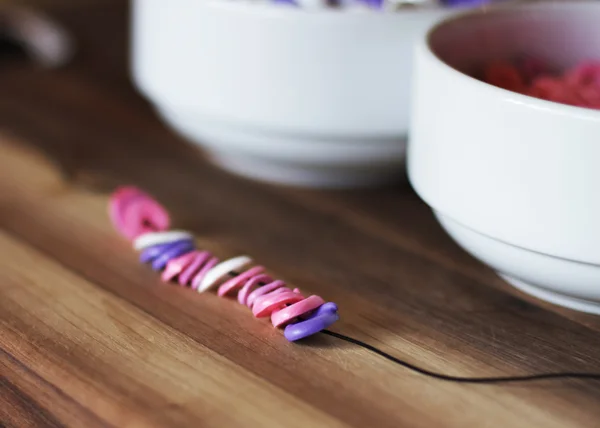
6. String candies on to an elastic cord.

DIY Candy Necklaces

Author: Jessie Daye
No ratings yet
Share
Print
Prep 20 minutes
Cook 1 hour
Total 1 hour 20 minutes
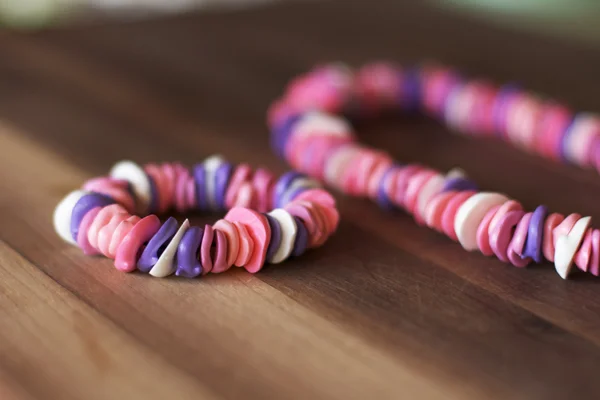
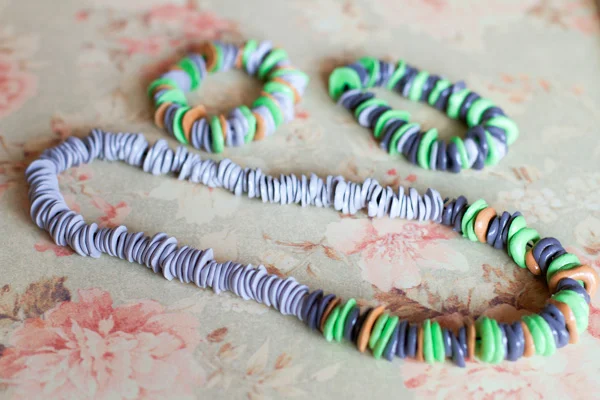
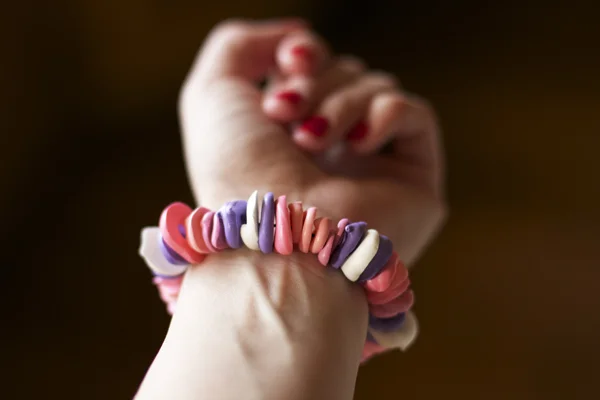
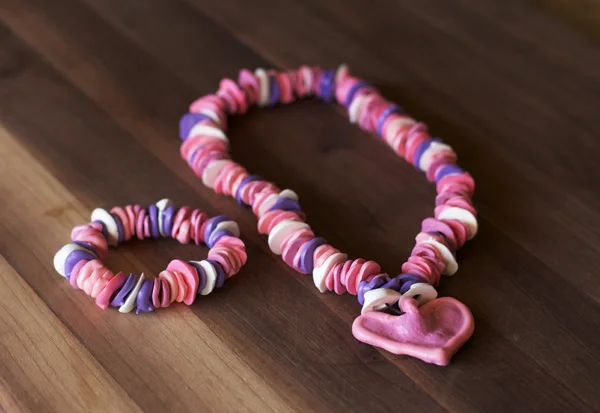
Homemade meringue candy rings piped and baked until crispy, then strung together on elastic cord to make edible necklaces.

Ingredients

  • 4 egg whites
  • 1 cup sugar
  • ¼ tsp cream of tartar optional, makes everything shiny
  • 1 tsp flavoring optional, if desired
  • 1 tbs cocoa powder optional, if you want chocolate flavored
  • food coloring gels as desired for color
  • 1 elastic cord

Method

  1. In a very clean, dry, large glass bowl separate your 4 egg whites. This is the most important step. Be very careful and do not get any yolk into the bowl, as even one speck will ruin the meringue.
  2. Start whipping your egg whites with an electric handheld mixer until foamy, then add in the cream of tartar and continue whipping on a faster speed. As the egg whites begin to stiffen, start adding in your sugar in very tiny increments. Beat the sugar in slowly to give the egg whites time to absorb it gradually. If you want to add a flavoring, whip it in at the very end.
  3. After about 10 minutes the mixture should be very thick like marshmallow cream. Separate your meringue into different bowls and add your food coloring gels until you get your desired color.
  4. Preheat your oven to 175 degrees and line four baking sheets with parchment paper. Work fast because as meringue sits it gets soft and doesn't hold its shape. Place your extra bowl of meringue in the fridge if you think you're going to take a long time piping. Fill your piping bags and start piping 1/2" rings all over the parchment paper.
  5. Bake in oven at 175 degrees for 1 hour until completely dry then let cool on the baking sheet overnight.
  6. String candies onto an elastic cord.

Notes

Make sure the bowl and mixer are completely clean and dry before starting, as any fat or water will prevent the egg whites from whipping properly. Keep extra meringue refrigerated while piping to maintain shape. The candies must cool overnight before stringing to ensure they are completely crisp and dry.

Tried this recipe?

Let us know how it was!

3 comments

  • 1/4 cream of tarter? What measurement?

  • See below. And! How long do these keep? Make and craft the same day? Thinking of a Valentine’s party!

  • Adorable! Can these be made ahead for a class valentines party?

Leave your comment

Recipe Rating


This post may contain affiliate links, please see our privacy policy for details.

Hi, I'm Jessie. 

I’m a Los Angeles mama, home renovator, and lifelong creative, sharing the things that make everyday life a little more beautiful. I believe food is one of the best ways to bring people together, which is why I love cooking: it turns an ordinary Tuesday into something worth remembering. From recipes I make on repeat to DIY projects, home design, and a little bit of real life in between — welcome to my corner of the internet. I’m so glad you’re here.

More about Jessie

Let’s be friends!

Be the first to receive exclusive content, hear about upcoming collaborations, and special events!

* indicates required

Intuit Mailchimp